
Bogstop is about to make contact with the other dog on the timeline.
But before we get right into the thick of things, I’m just going to mention that I will (hopefully) be able to close out the other settlement with the Gold Smoke Knight obliterating whatever is left standing still soon. Of course we still need to get to him first, but the 3 lantern years before that are more a matter of keeping our population high enough rather than anything else. I’ll write up a brief little summary of events for that settlement as well once we are done.
I am also contemplating putting together my thoughts and opinions on the various tiers of gear and the experiences I’ve had with them. I’m not a min-maxer (most of the time*), so I’m not overly interested in putting out guides, but I think it would be nice to add something to the greater discussion surrounding the game.
*I do enjoy one-shotting stuff in other games though and whilst that isn’t possible in KD:M.., seeing a club hit for 30+ does scratch that itch a bit.
And finally, I’ve received 3 of my 4 BF orders now, the big one with the 3 expansions from EU still being on the way – but the courier has it and tracking shows it in my local area, so there is a decent chance I’ll have them by Christmas – yay!
Just more proof that complaining to the aether does help.
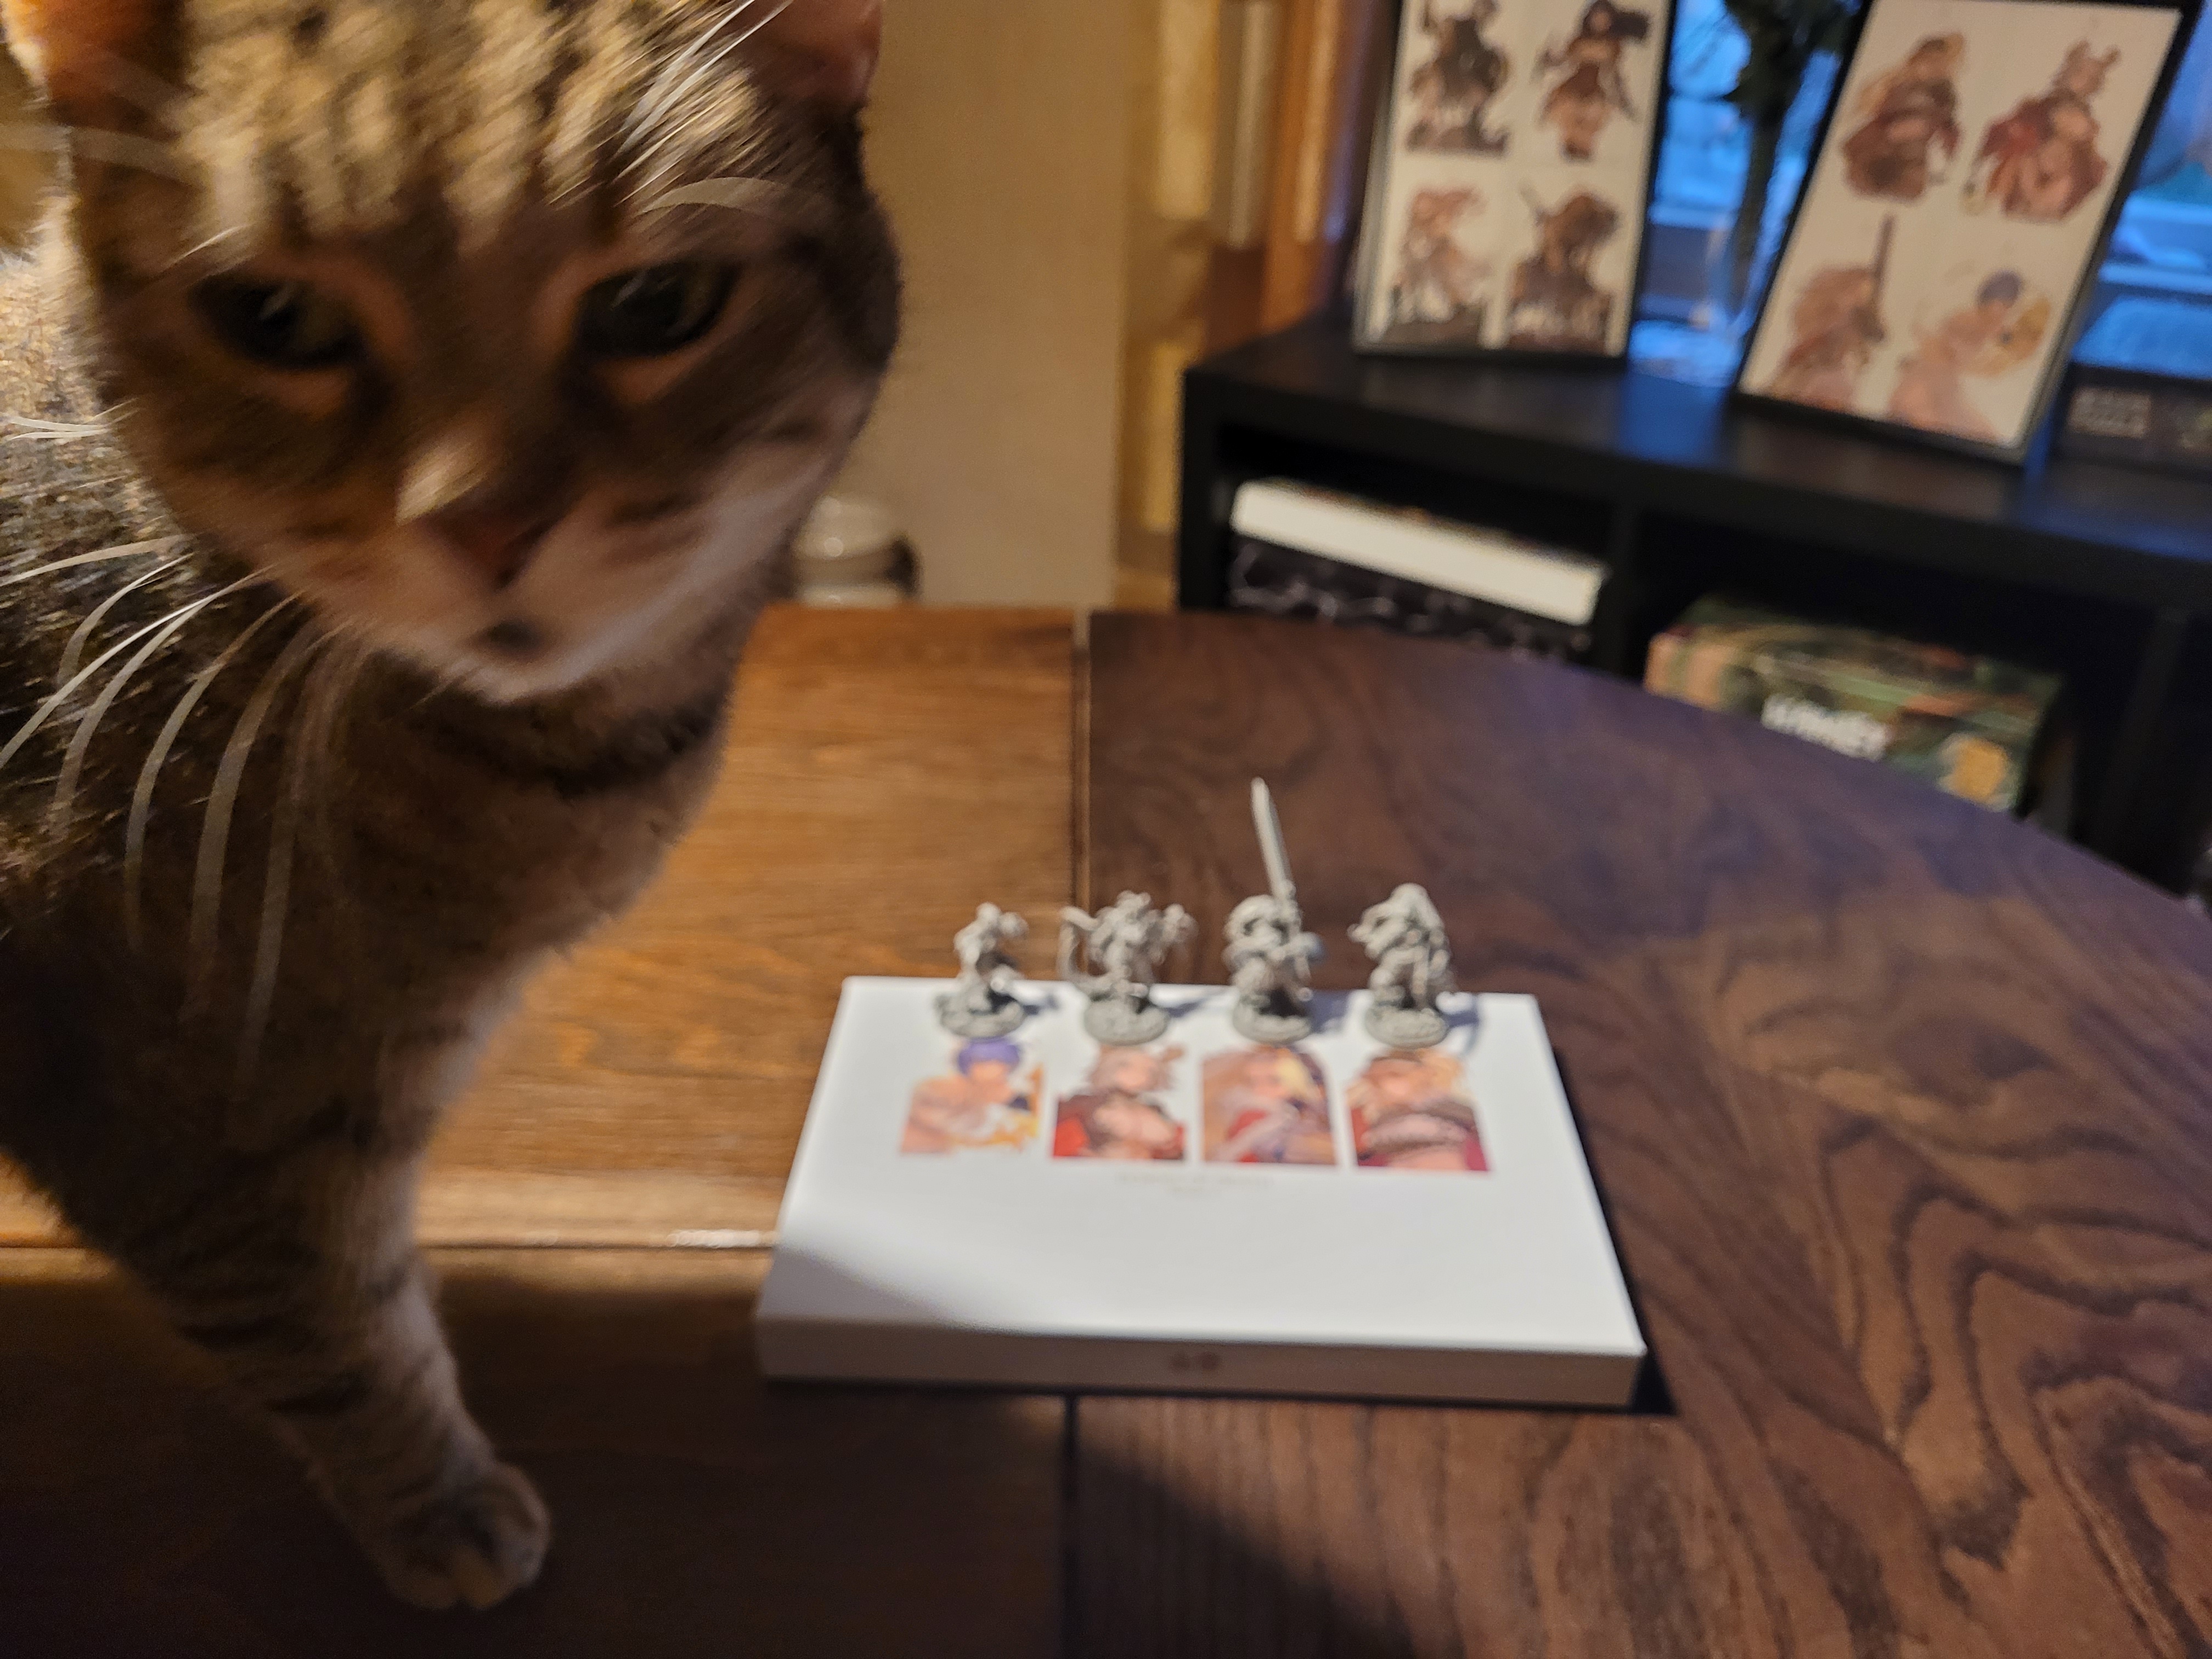
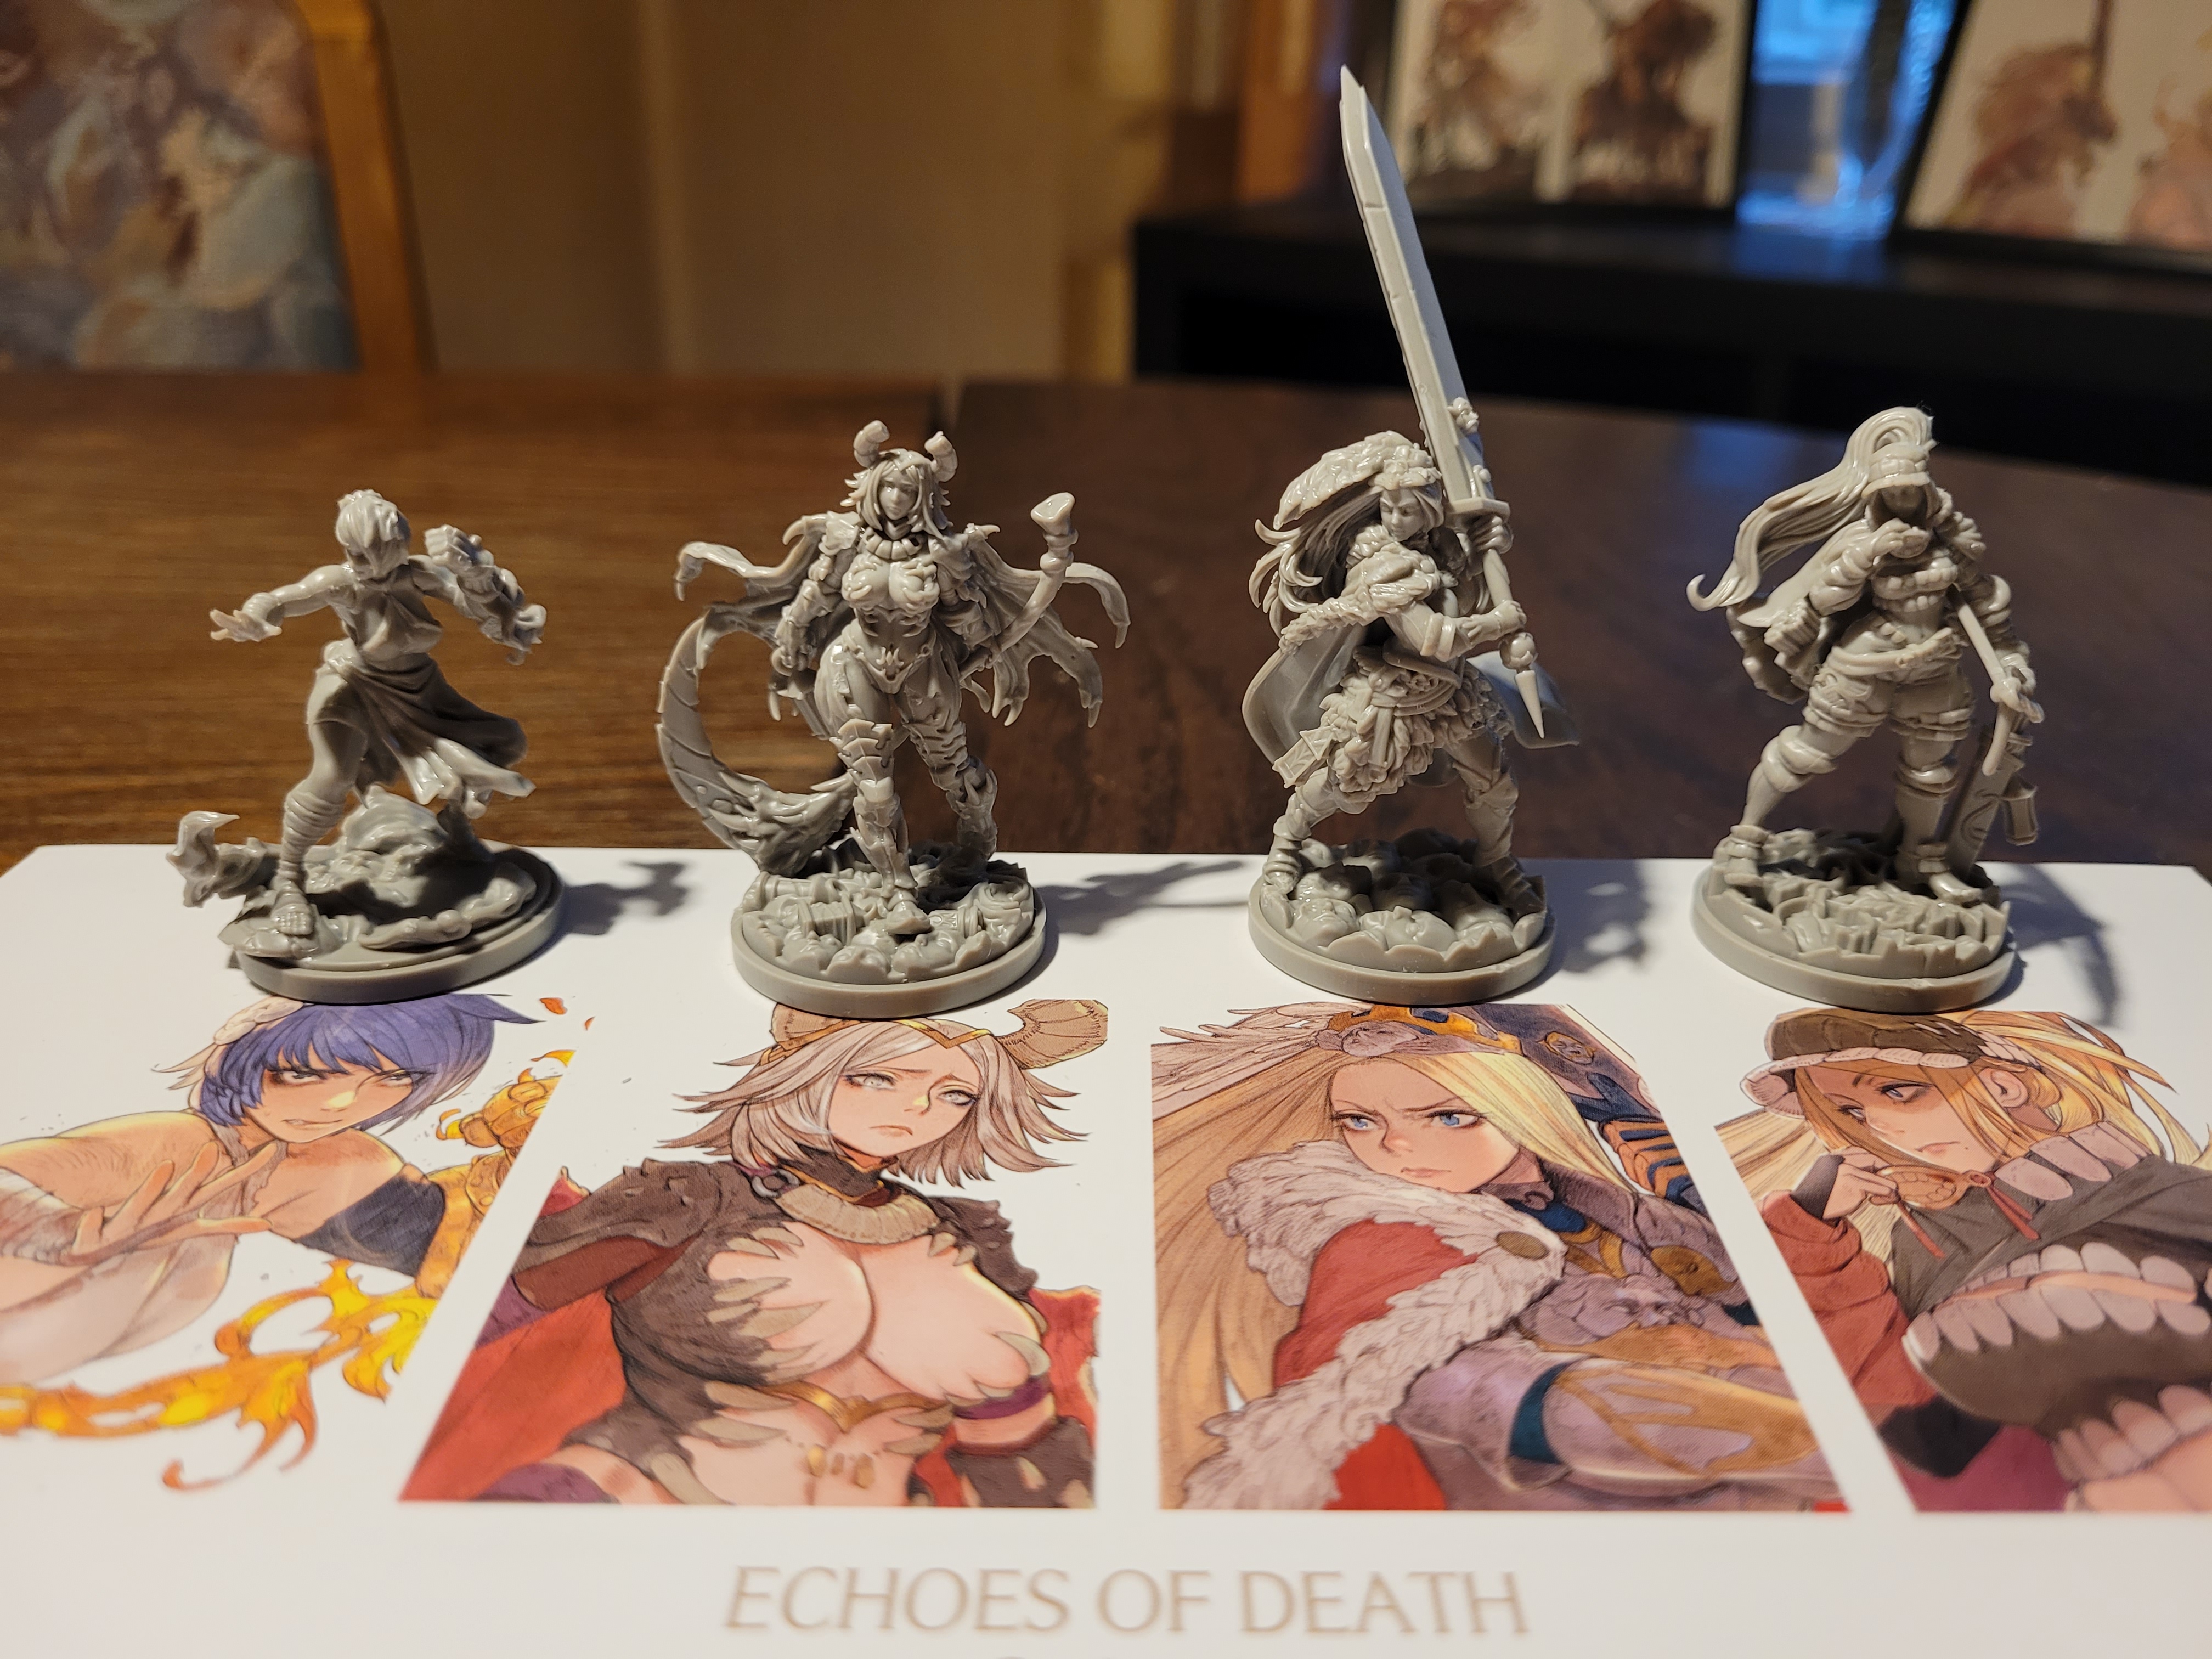
With more stone face bases in hand I got to building my new figures immediately and ended up getting that woozy feeling from working with plastic glue for too long. It should go without saying, but be careful when working with fumes..!
The Echoes of Death 3 box in particular has 4 of my favorite models across all of the game’s releases so far, and if I wanted to complain about something – which as a German is only natural – it would be the fact that this box in particular is still not available in the EU area as the only one from the EoD line.


But onwards to Bogstop! This is going to be a long one.
We have successfully defeated a Dragon King and were on the way home with the perfect spread of resources! But before we could make any use of them, we needed to clear the events beforehand.
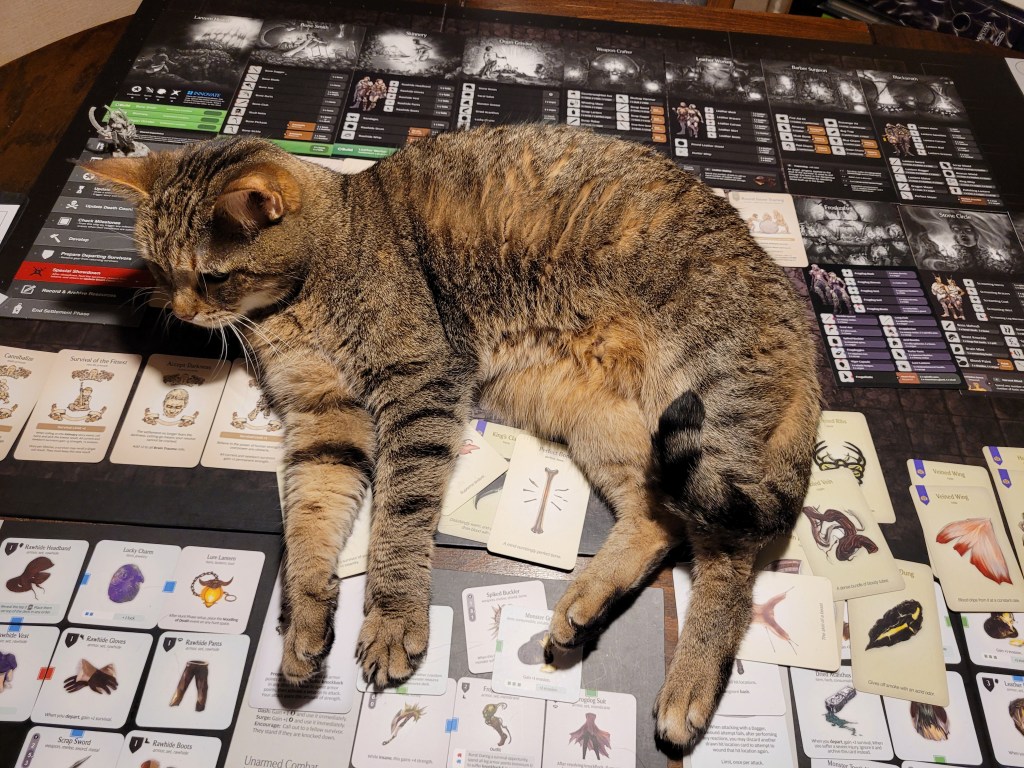
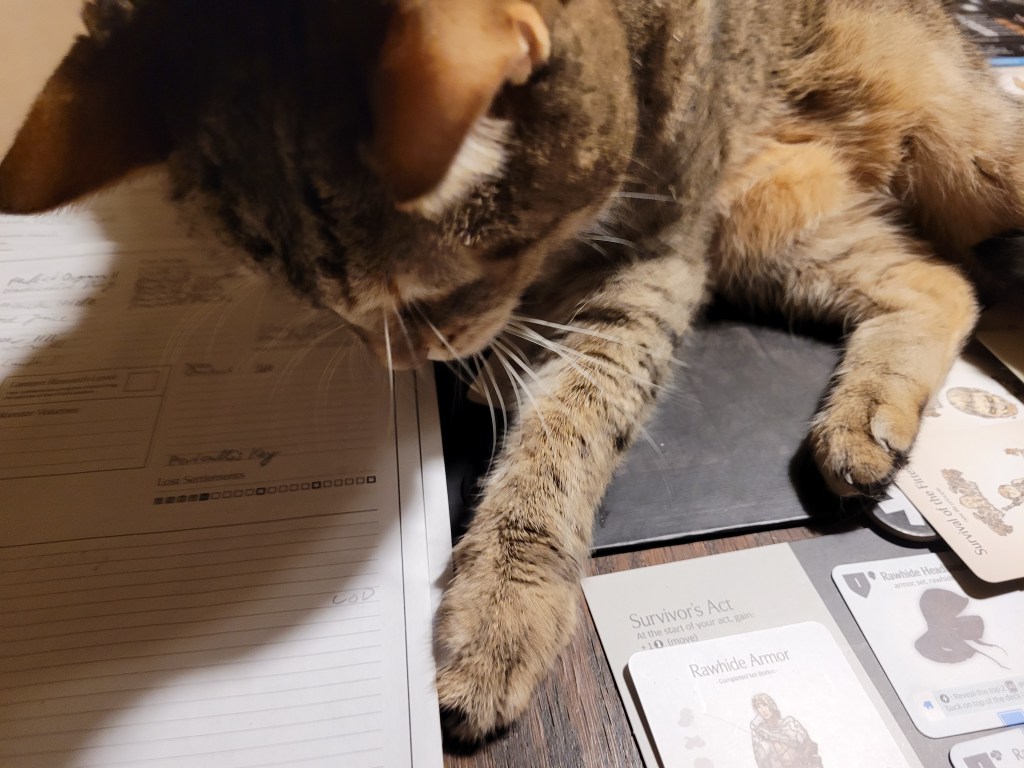
First up: the Feline Entity! She has come to lounge in the settlement.
Next: the settlement event! I drew Hunt Reenactment. Nominating a favorite survivor proved somewhat hard as I liked a lot of them, and whilst Sir Hermes and Lelia were strong contenders, with recent developments it probably was Hysteria – so I nominated her. Whilst I was trying to make up my mind about who I liked the least – the last unnamed female survivor still in the settlement – the Feline Entity proceeded to steal 2 of my endeavors and the card for Survival of the Fittest…
Reclaiming our creative juices from the Feline Entity, she got a little annoyed and left me to deal with the rest of the event – I chose Dragon King for the reenactment to celebrate the successful hunt and rolled.
It’s a 2 – that’s it for Hysteria. In a surprising turn of events she was killed during the play and Beastia (freshly named) learned Monster Claw Style (FA). We looted a Monster Bone from Hysteria as a consolation prize.
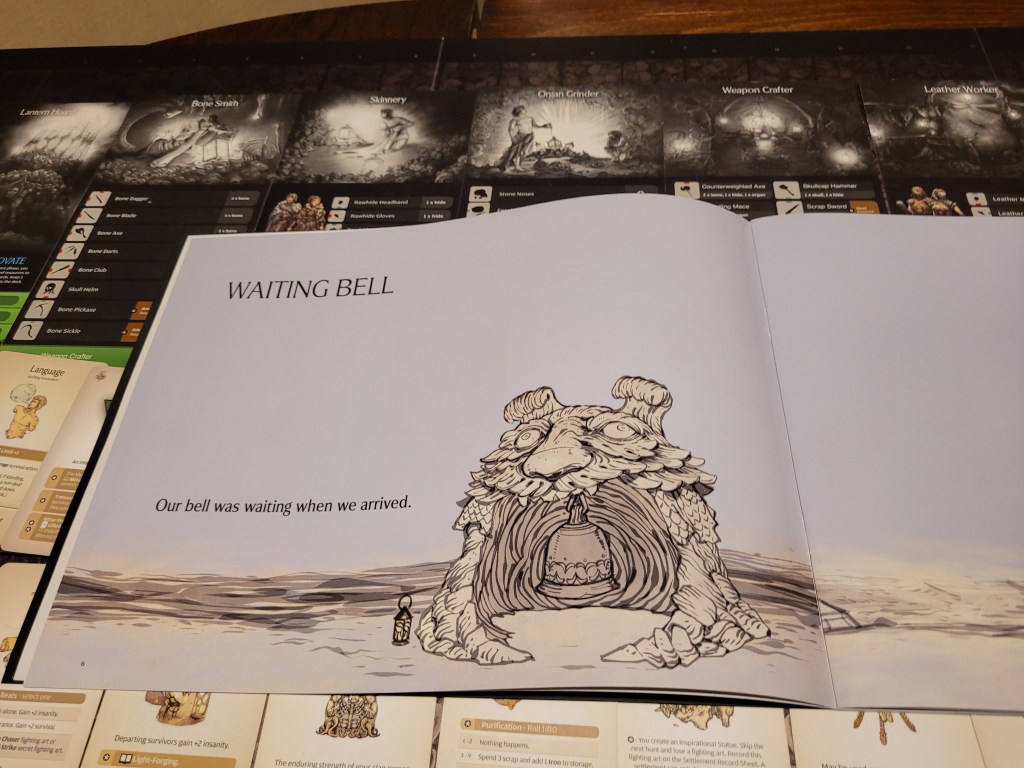
Next on the list: The Waiting Bell – the Black Knight intro event. We added the doggo to 3 years on the timeline, cutting down on our future normal hunts in the progress. Hopefully the rewards will be worth it in the end. The bell would also be rung this year – but that event got added to the end of the current ongoing string.
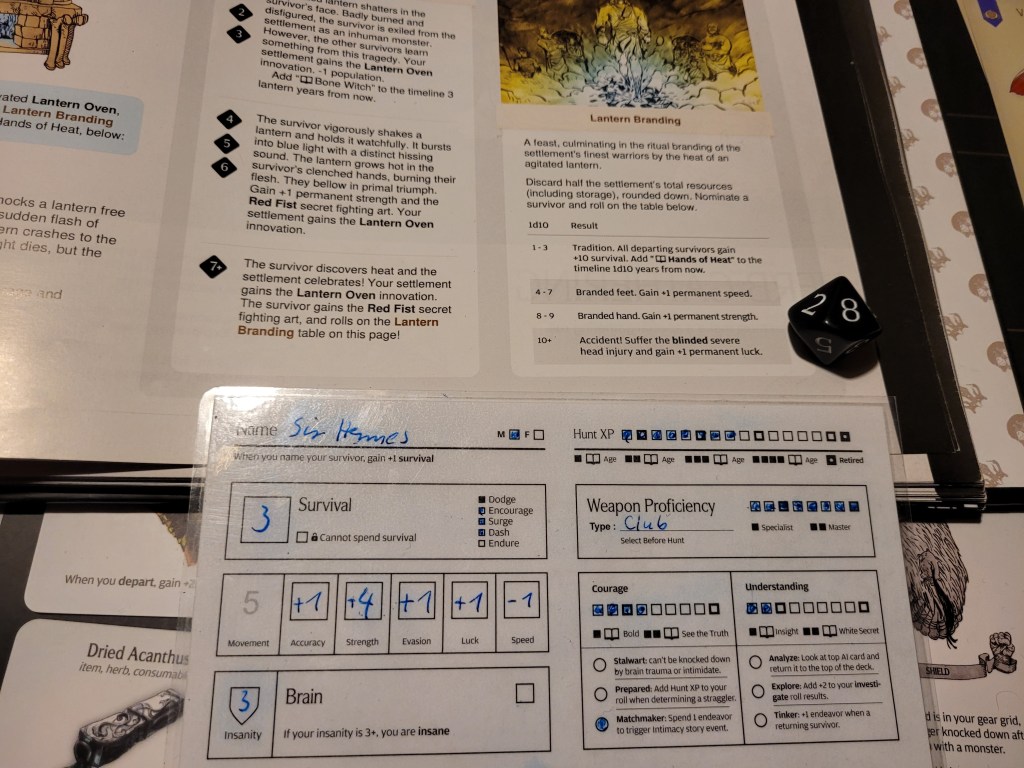
Then it was time for the feast: Hands of Heat. First of, it would take away half of our total resources, so.. a crisp 19.
10 of them were a mixture of Nightmare Ticks (V), Beast Steaks and Shank Bones, or other general cooking ingredients, so they got added to the potluck. And this was the moment when I finally realized:
The resources I got from the Dragon King last year were the perfect spread to build the entire rest of the armor set. I was only missing a couple more iron and the leather. So, clearly I would not be touching those!
In the end, I threw out all but 1 Dark Water(SR) as well as the freshly gained copper from the last hunt along with a few lanterns and whatever wasn’t from the Dragon King, leaving just enough for 1 innovate and a piece of armor.
Finally done Sir Hermes got himself branded in an attempt to hopefully get +1SPD to off-set his -1, but instead he gained +1STR. Sure, it’s fine.
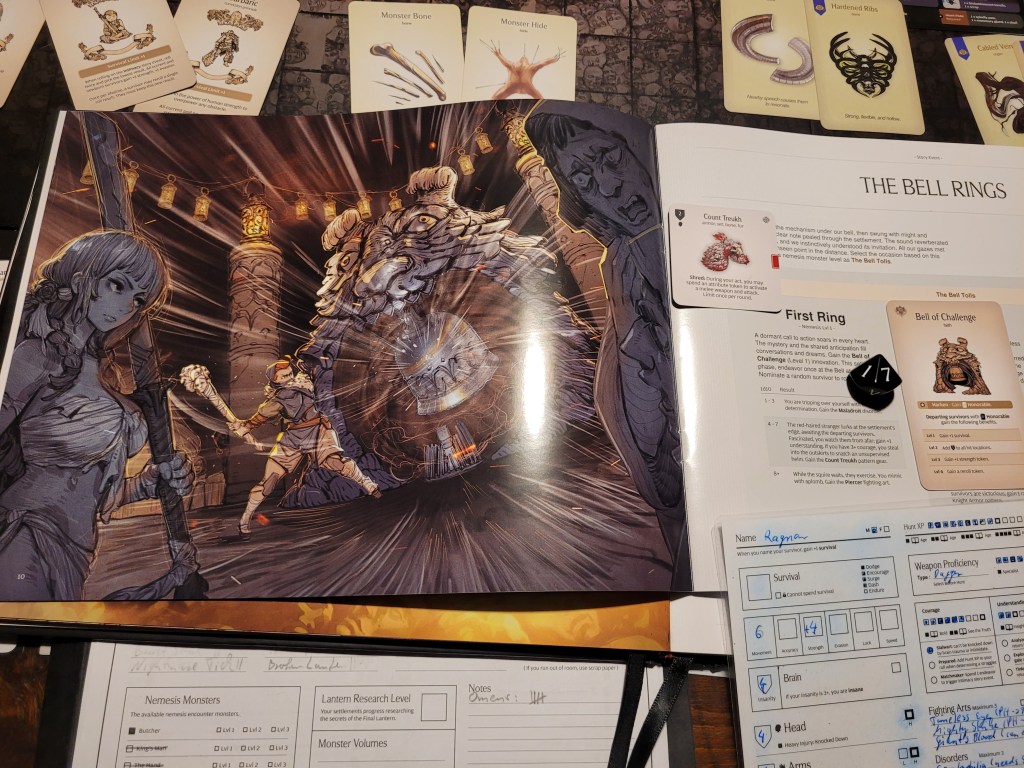
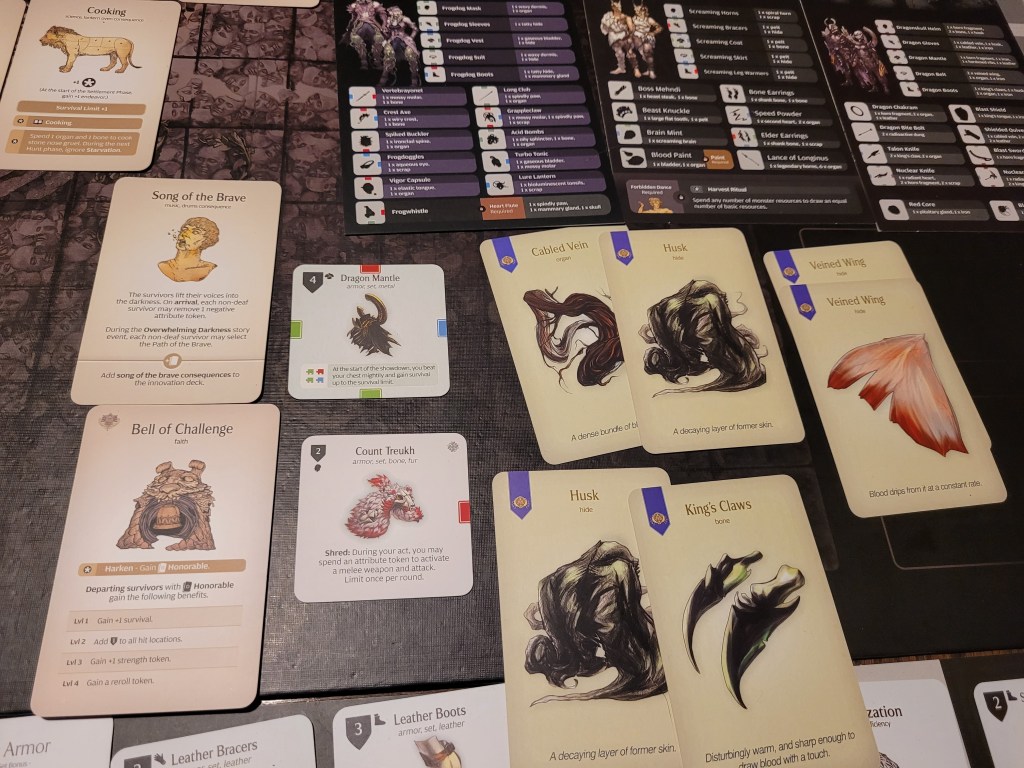
And then The Bell Rings! We gained the innovation – Bell of Challenge – and randomly chose Ragnar to roll on the table. He proceeded to watch the red haired stranger from afar for a while and ultimately stole their hat – the Count Treukh.
That was a little awkward. I had not planned on going for the Count set – I really wanted Marchioness. But we would see about that after our first fight against the Black Knight.
After all these events, it was finally time for us to develop! I did still feel really strongly about innovating so I started off with that – it would cost a Perfect Organ but we did need to learn how to sing.
This years choice would be: Partnership (again..) and Song of the Brave! Clearly we would be picking up Partn.., no, of course it had to be Song of the Brave!
This would make the long hunts a little more bearable, and more importantly, if we managed to slay a Lvl3 Frogdog – an even greater foe would await us afterwards from then on thanks to our singing!
This also meant that I would not need to innovate quite as aggressively in the years to come.
With our endeavors, Selen took 2 attempts to find 1 more broken lantern, which we then smelted into an iron with the other scrap left in the settlement storage. Our final endeavor was used to make leather and build the dragon mantle chest piece.
Lastly Sir Hermes used the free activation of the Bell of Challenge (1) to gain Honorable (D).
As I stored away the rest of our gained resources, I began considering who to bring along for the fight. No fear was still the central idea but, as I’ve fought the Black Knight Lvl1 a bunch of times with the squires I knew that having people with 3+ understanding would help a lot. And going through the settlement that would be…
Jerryn.
And.., huh.
..
Yup.
..
Just Jerryn.
With that knowledge I assembled the party.
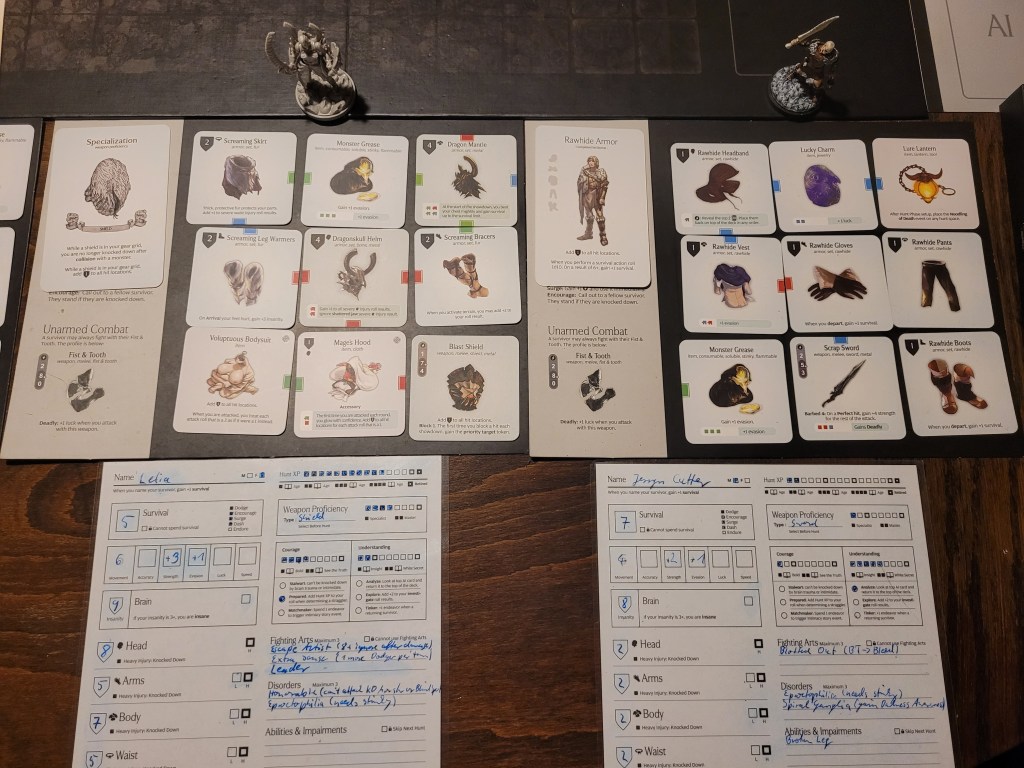
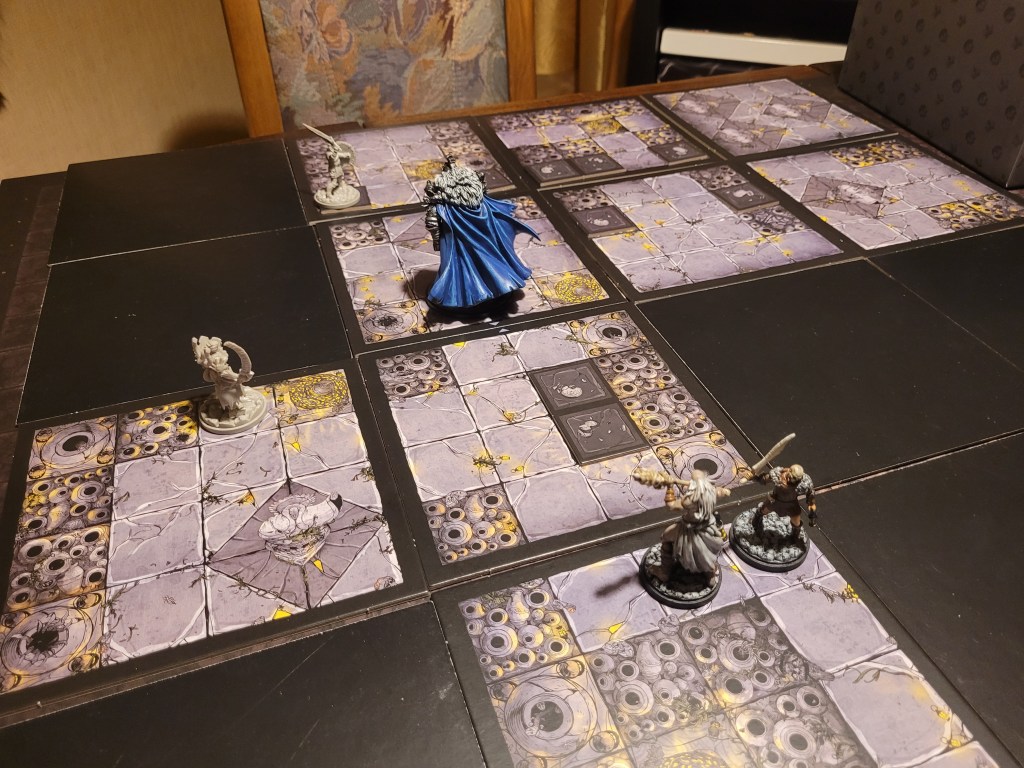
The Challengers:
Sir “no fear” Hermes (frogdog set, bone club)
Ragnar (leather set, lantern dagger)
Lelia (screaming/dragon bits, blast shield)
Jerryn (rawhide set, scrap sword, 5 understanding)

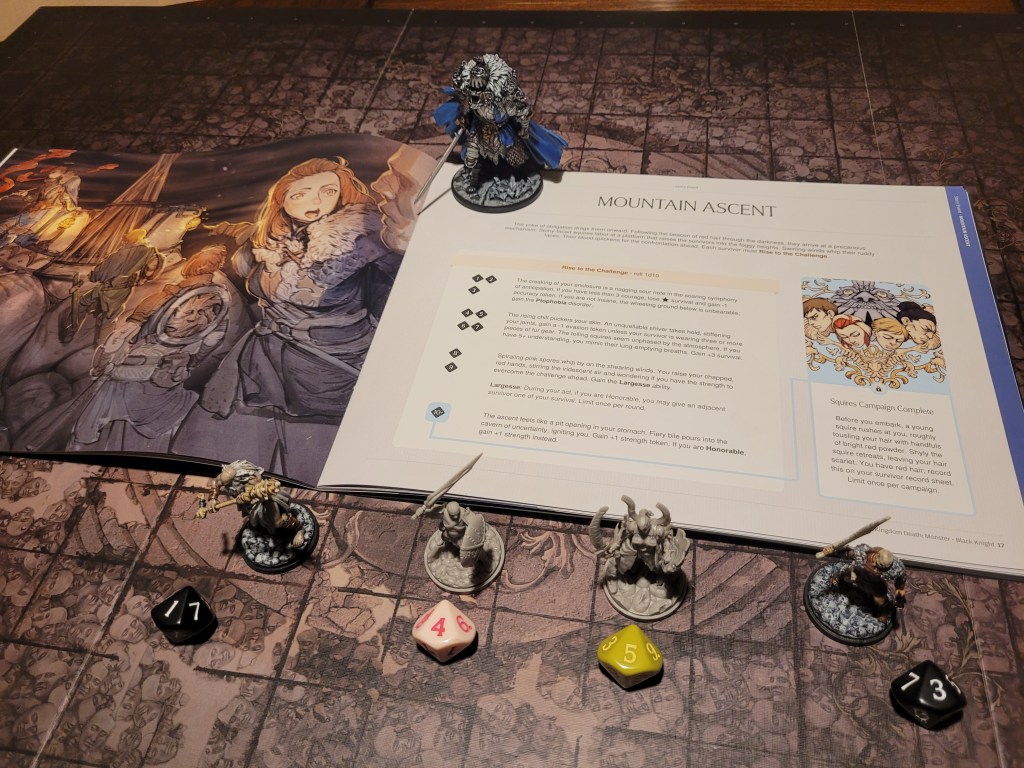
Before we were allowed to face off against the Black Knight, we needed to brave the Mountain Ascent first.
Sir Hermes was unaffected, whilst Jerryn could not handle the creaking of the basket they had boarded (-1ACC-token).
And as Lelia remained unfazed by the cold air as they travelled upwards, Ragnar could not quell the violent shivers (-1EVA-token).
Of course, the song they would sing would trivialize these impairments.
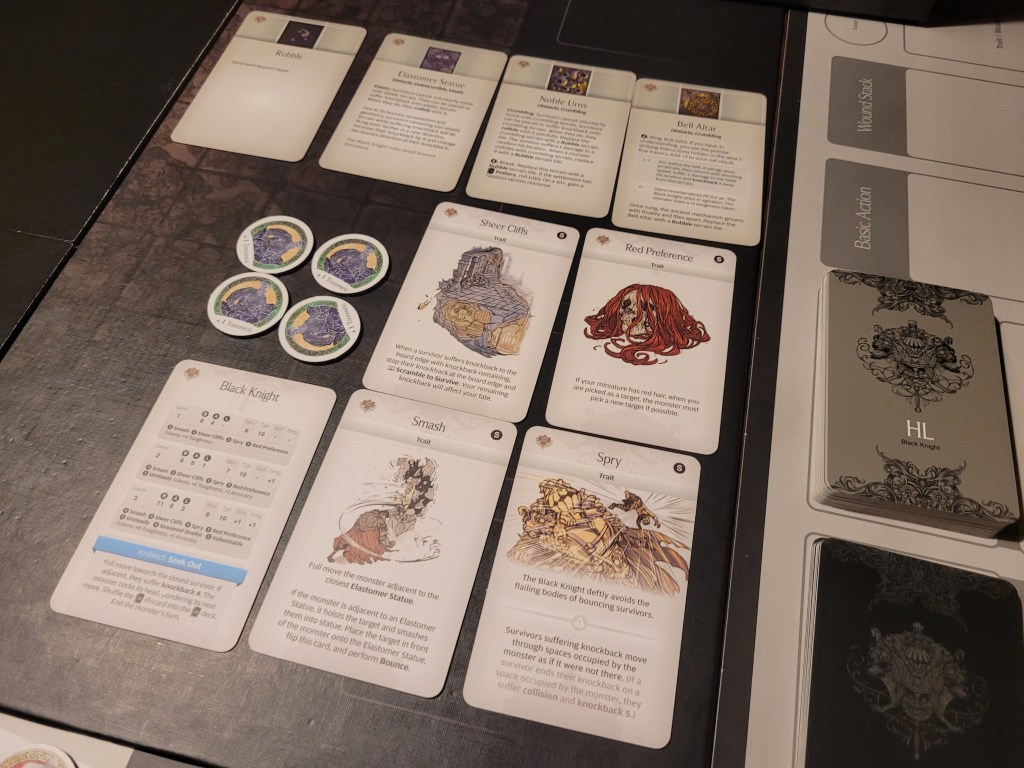
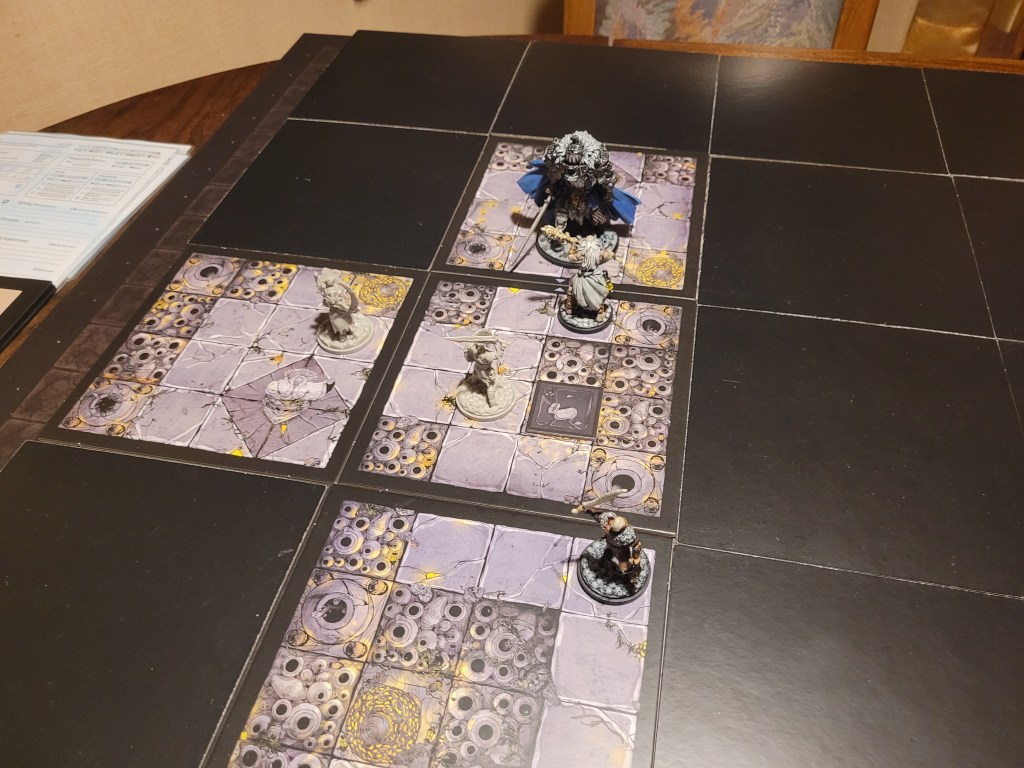
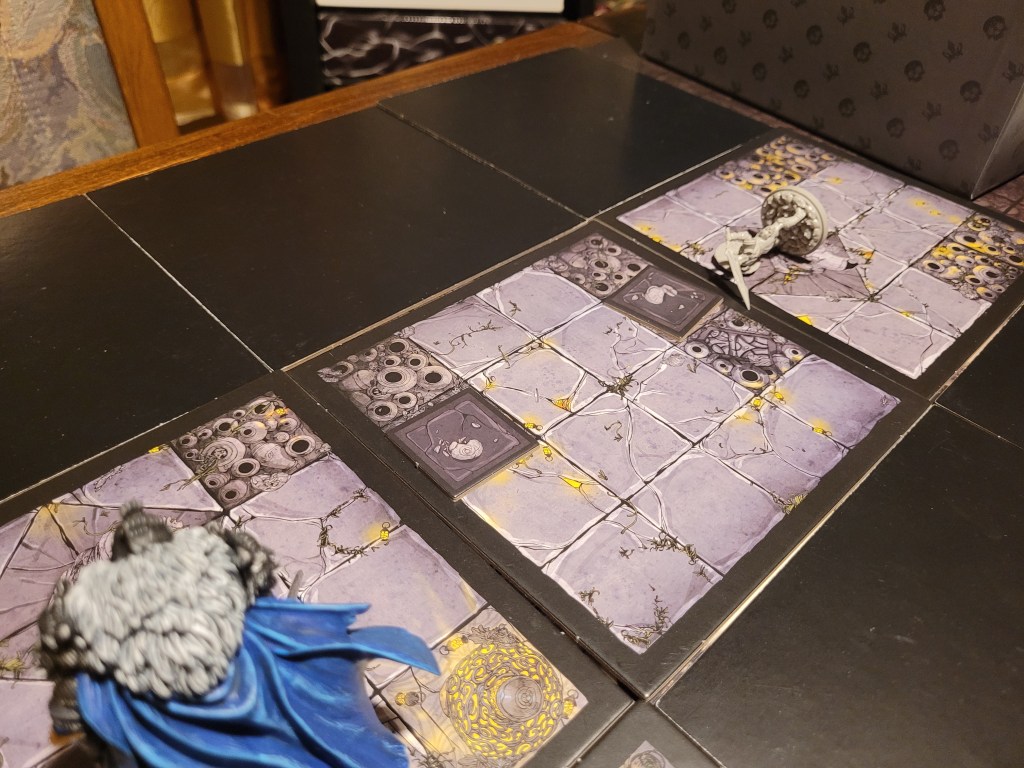
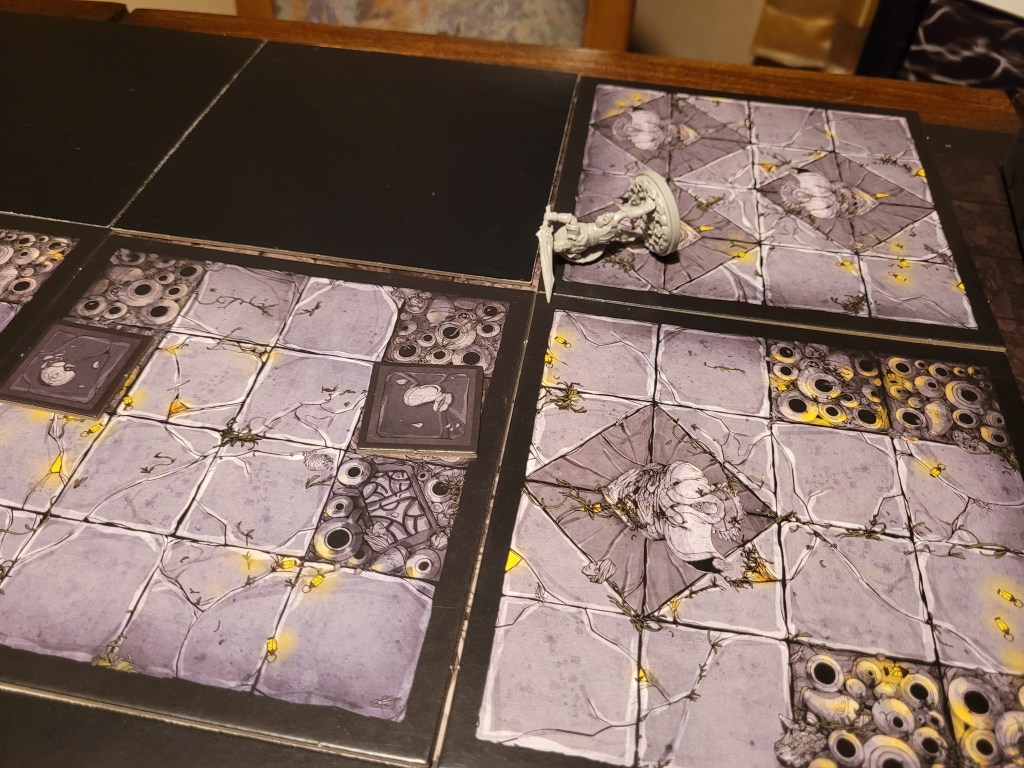
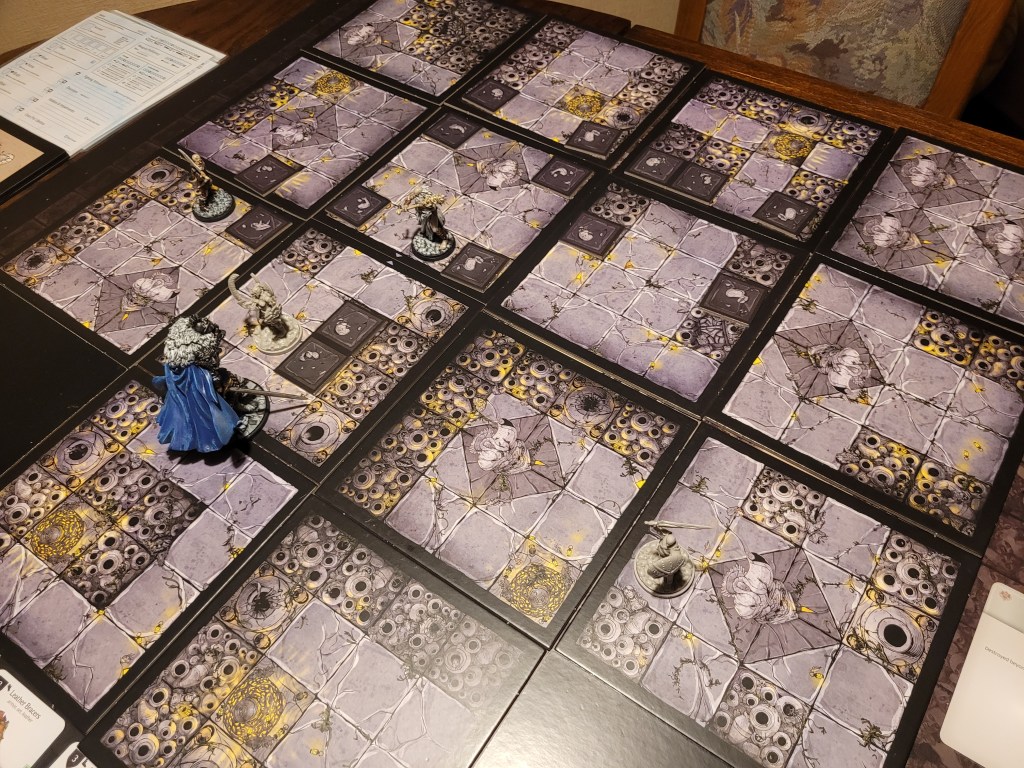
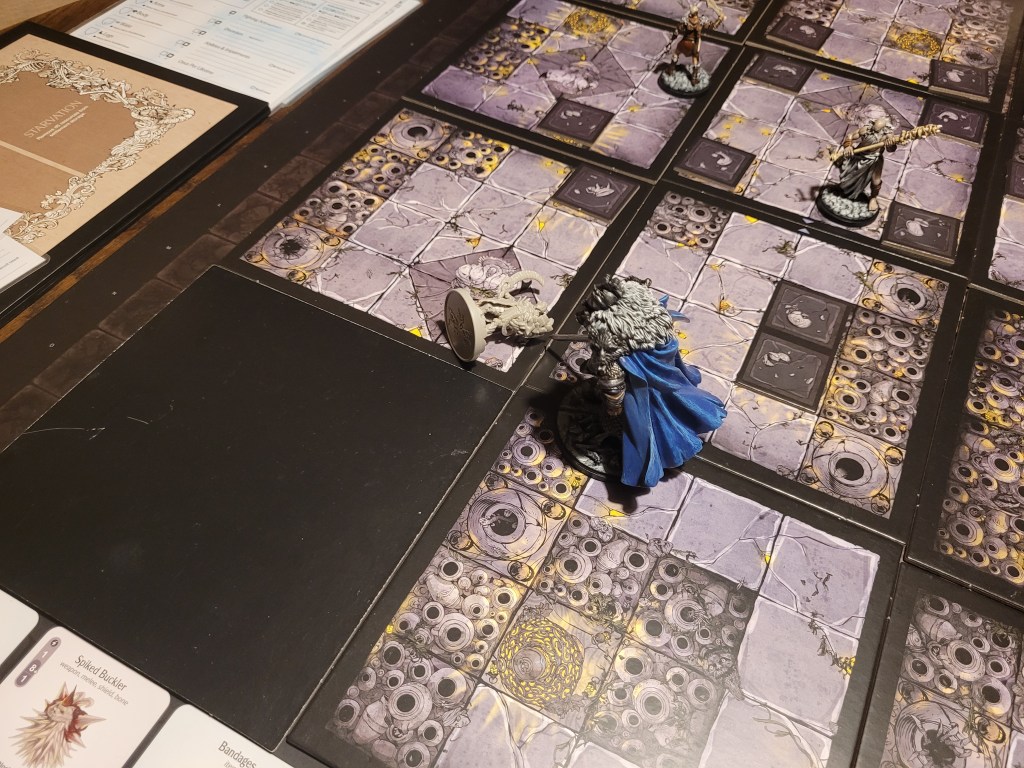
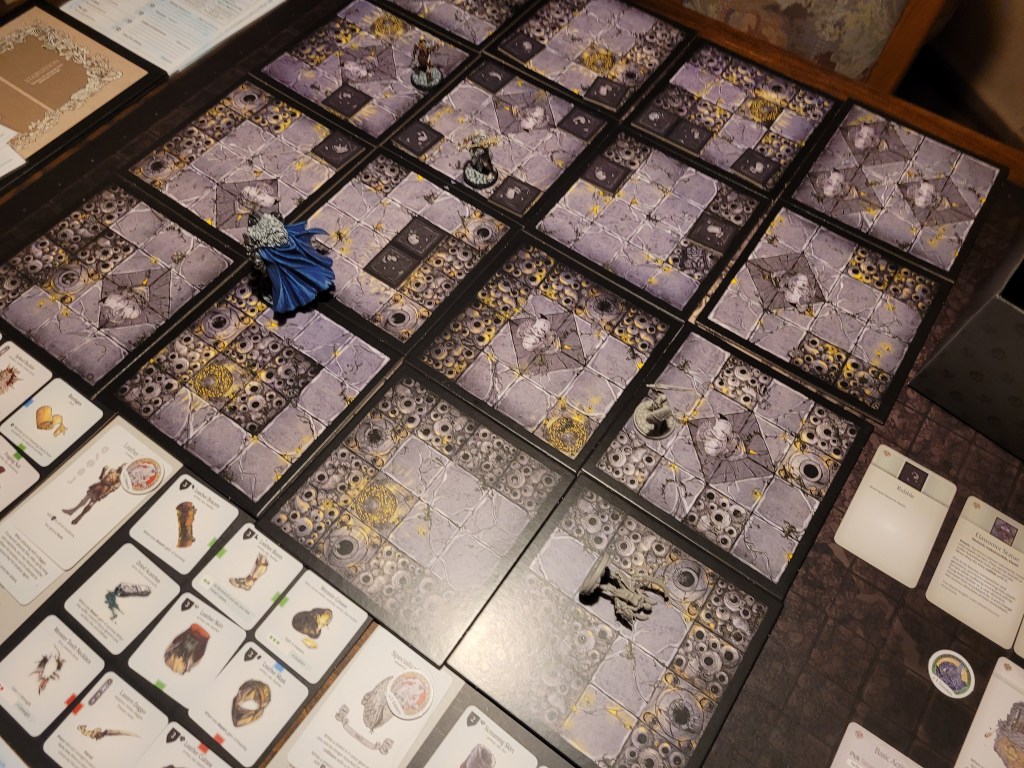
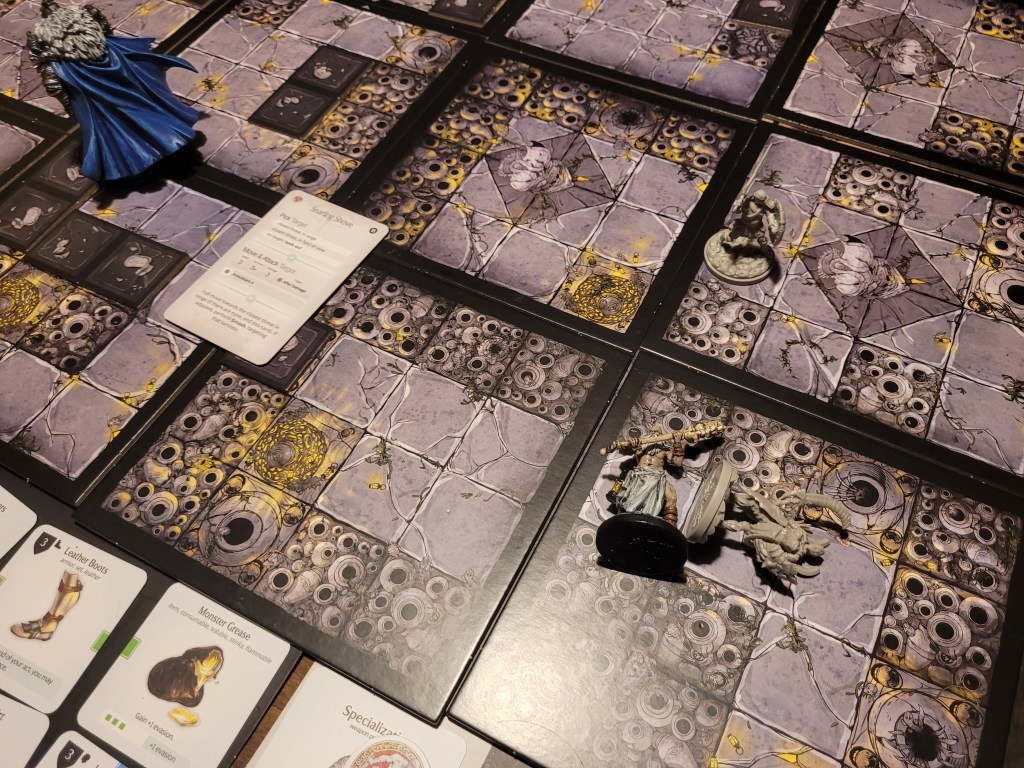
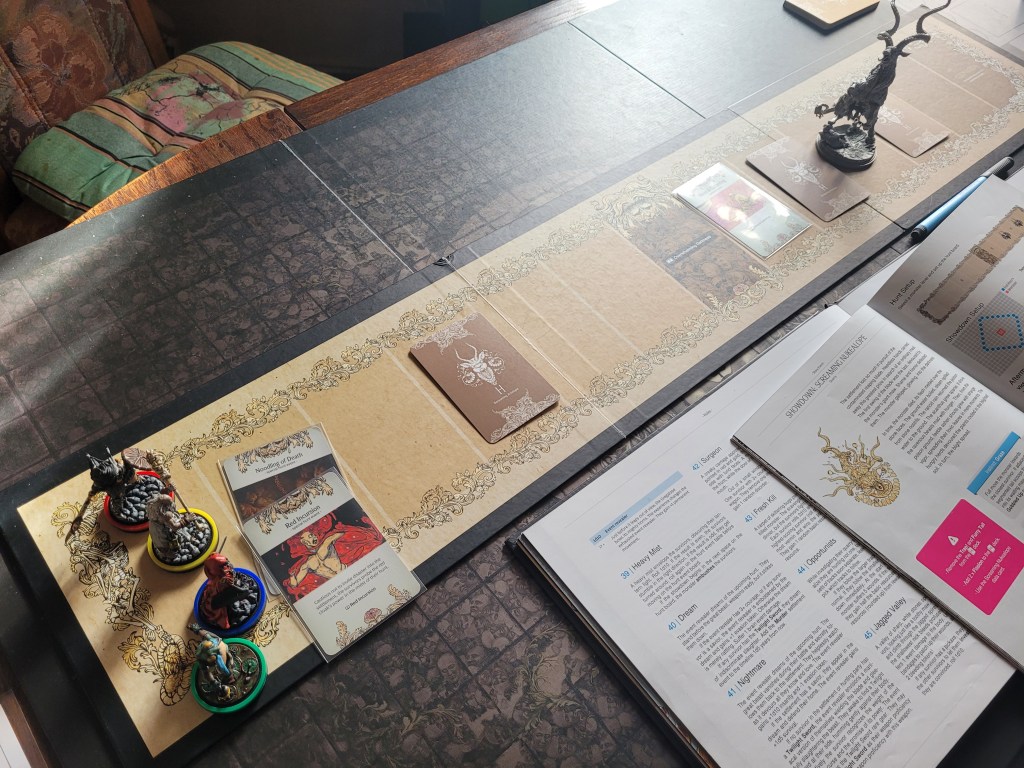
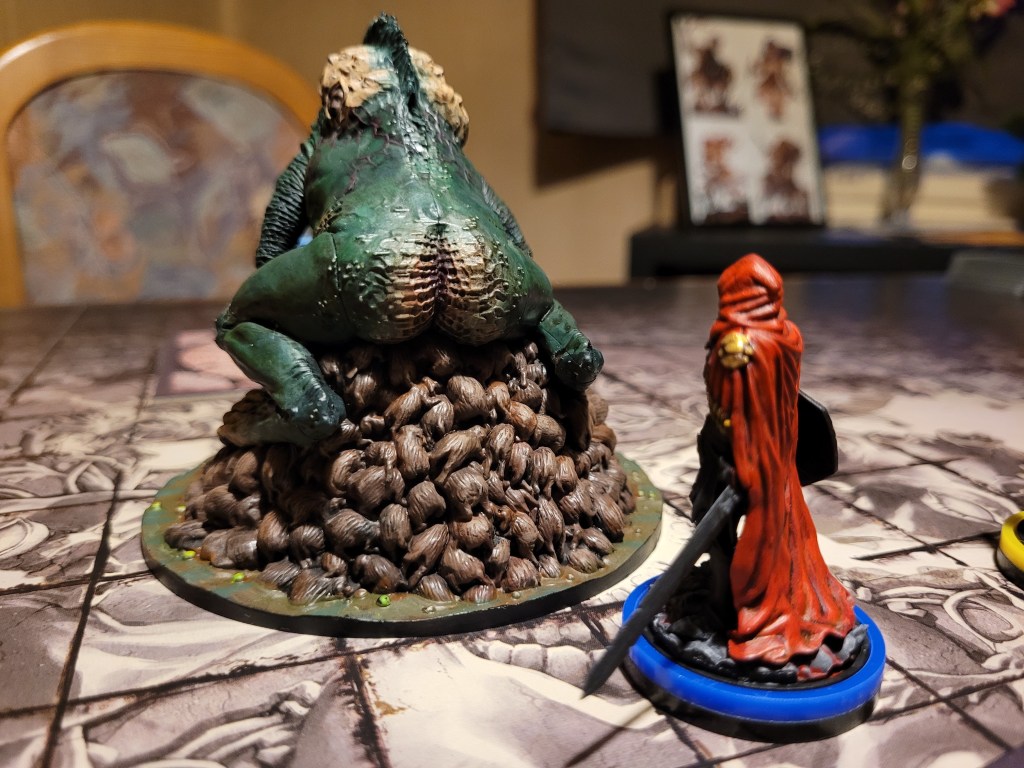
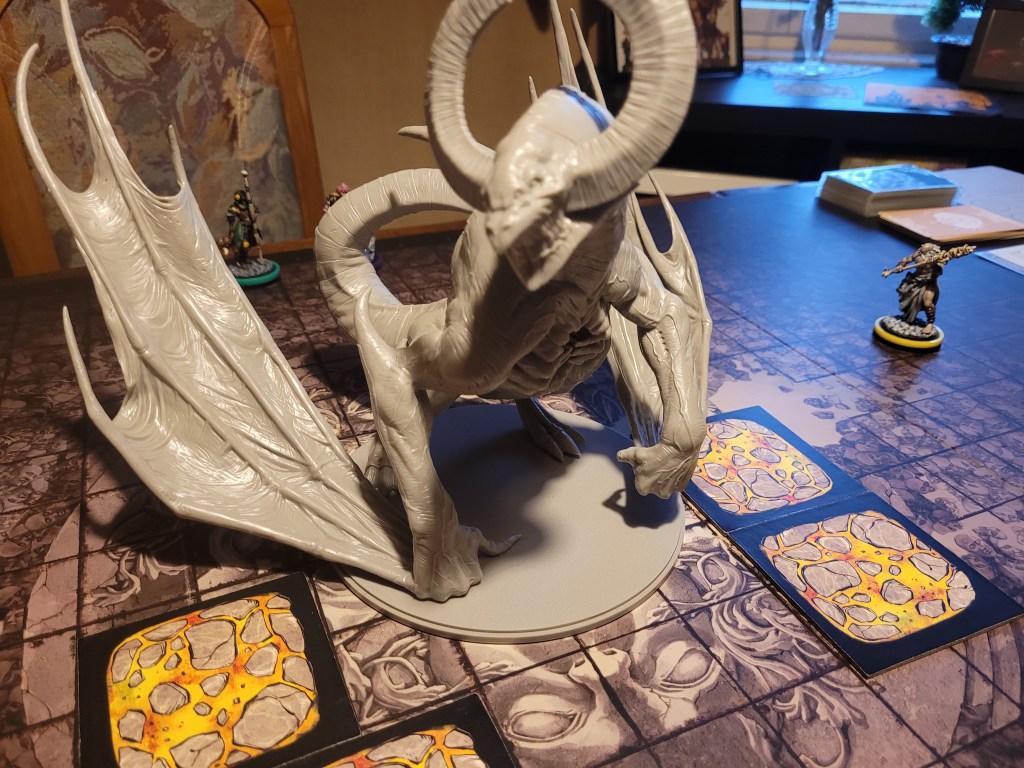
All around, the Black Knight features a very interesting showdown, fought on its own, randomized, modular board that needs to be revealed throughout the fight, combined with the constant fear of getting knocked off its edges, plummeting off the inverted mountain to an untimely demise.
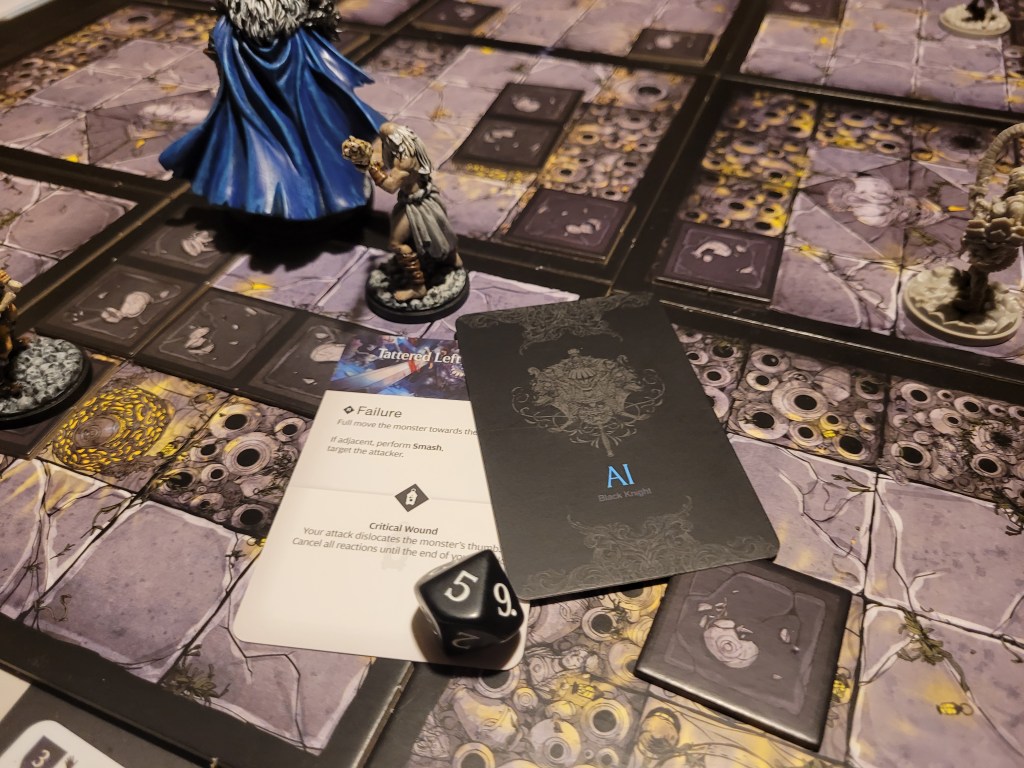
The Black Knight itself has 4 traits on Lvl1, including:
Smash/Bounce – a double sided card, describing how the Black Knight will use the elastomer statues scattered around the citadel to fling survivors away with knockback 8.
Spry – the Black Knight is ignored when knockback sends a survivor through the spaces it occupies.
Sheer cliffs – the trigger for the story event if a survivor is flung off the side of the board with excess knockback.
Red Preference – the Black Knight will attempt to target survivors without red hair. None of my miniatures in this fight have red hair.
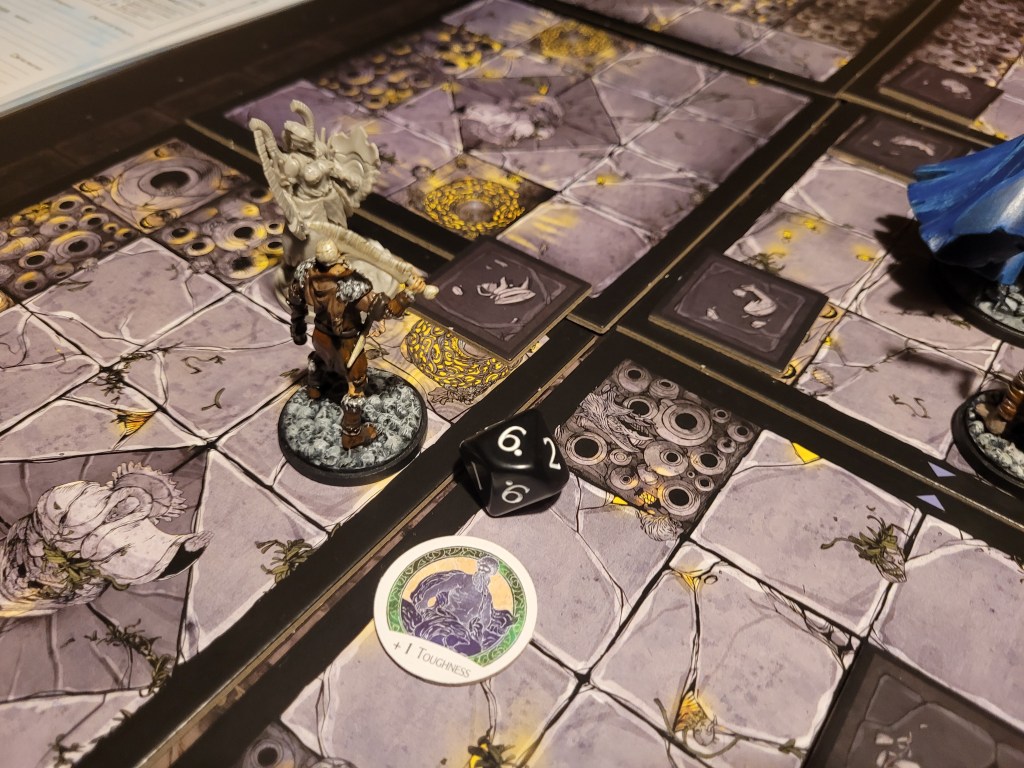
The Black Knight also has 4 +1TGH-tokens and its 4 special terrain cards.
Bell Altars can be activated to remove a +1TGH-token from the monster on a 6+ (if you have 3+ understanding it will be easier)
Noble Urns – these block movement and you take damage if you get knocked through them.
Elastomer Statues – these will bounce the survivors along with +4 knockback if you get knocked into them.
And rubble – nothing. A replacement for everything that gets destroyed during the fight.

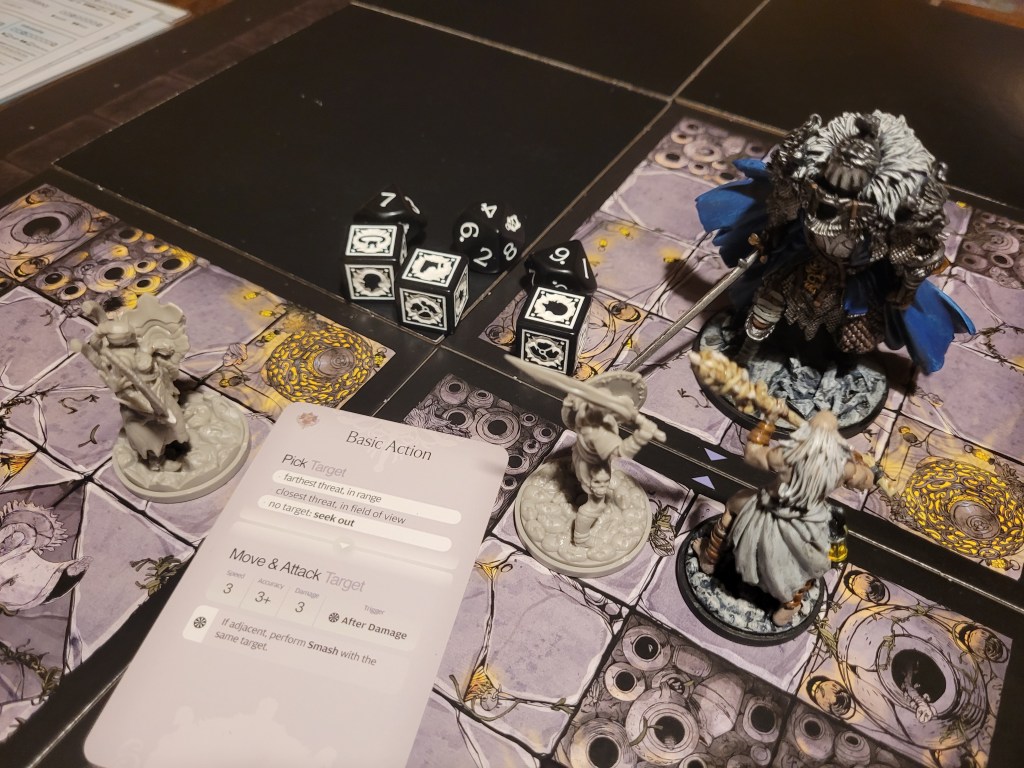
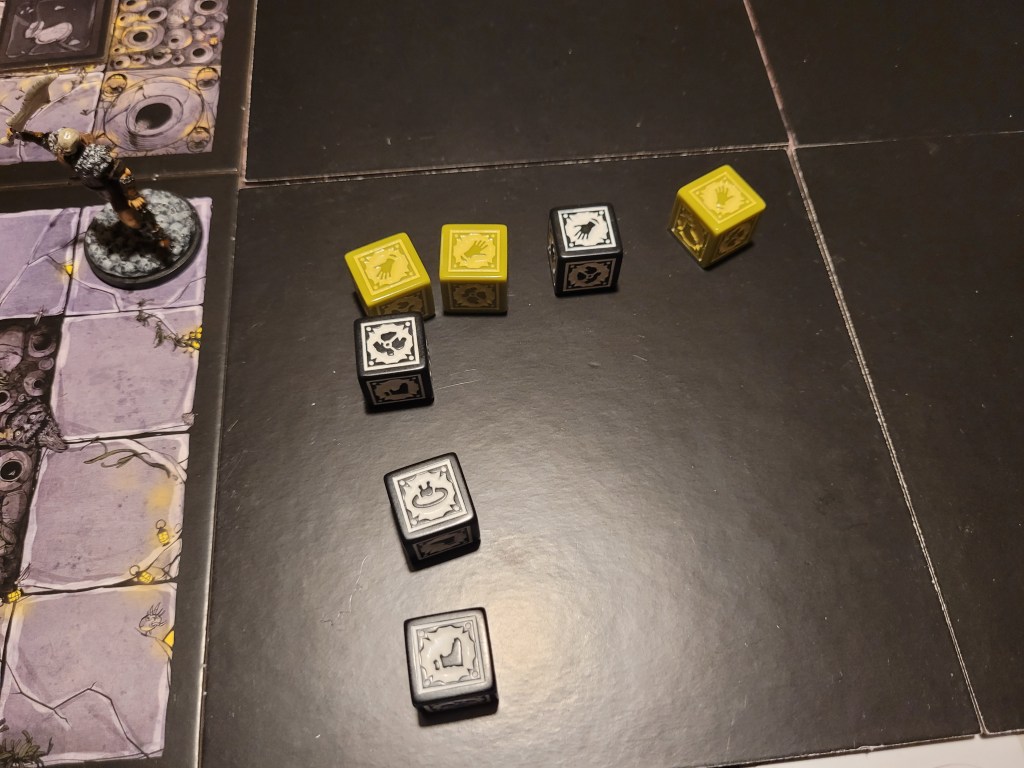
With the board set up, the Black Knight is a nemesis, so the survivors get the first turn.
Jerryn would be mainly on altar duty until we got rid of all 4 +1TGH-tokens, so he began by activating the altar on the starting tile. A smashing success – the monster has lost its first token! He then surged to reveal the tile behind him and began making his way towards the next, newly revealed altar.


Sir Hermes then began the unga-bunga. Barely hitting the Pearl-eyed Pauldron, the 15TGH proved no hurdle to him and he even triggered his Insight upon gaining 1 understanding from seeing a glimpse of the monster. Sir Hermes even gained +1MOV!
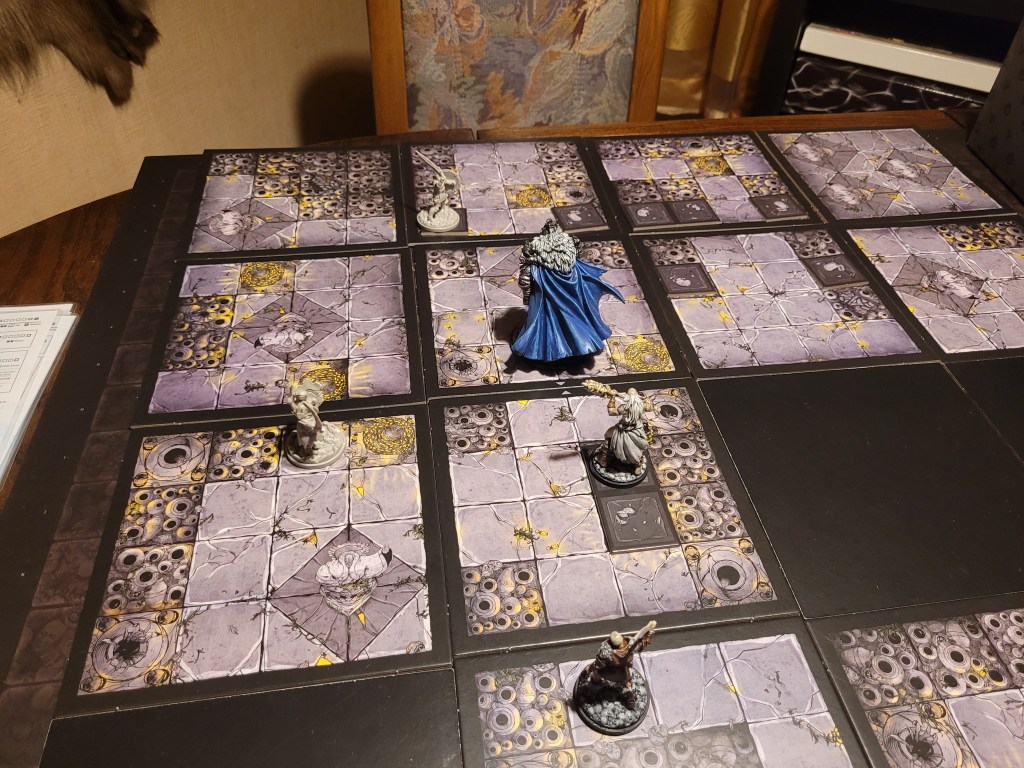
Lelia on the other hand took her first turn to reveal more of the map towards her left and stepped onto it, dispersing the group should the monster trigger a shockwave.

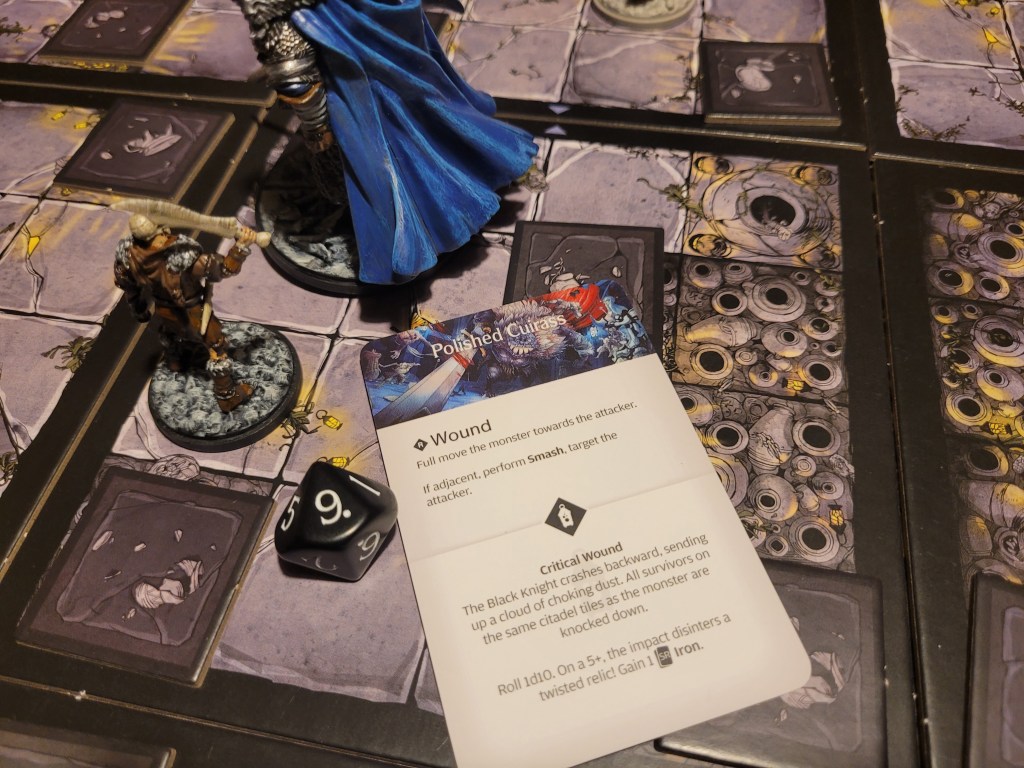
Lastly Ragnar ran up to the monster. He scored only 1 hit, but it was a perfect one. Right in the butt. Not the best hit location with a chance to get basic attacked in return on a wound. But a 26 is a wound, so the Black Knight felt compelled to hit back.
3 hits on the basic. Oof.
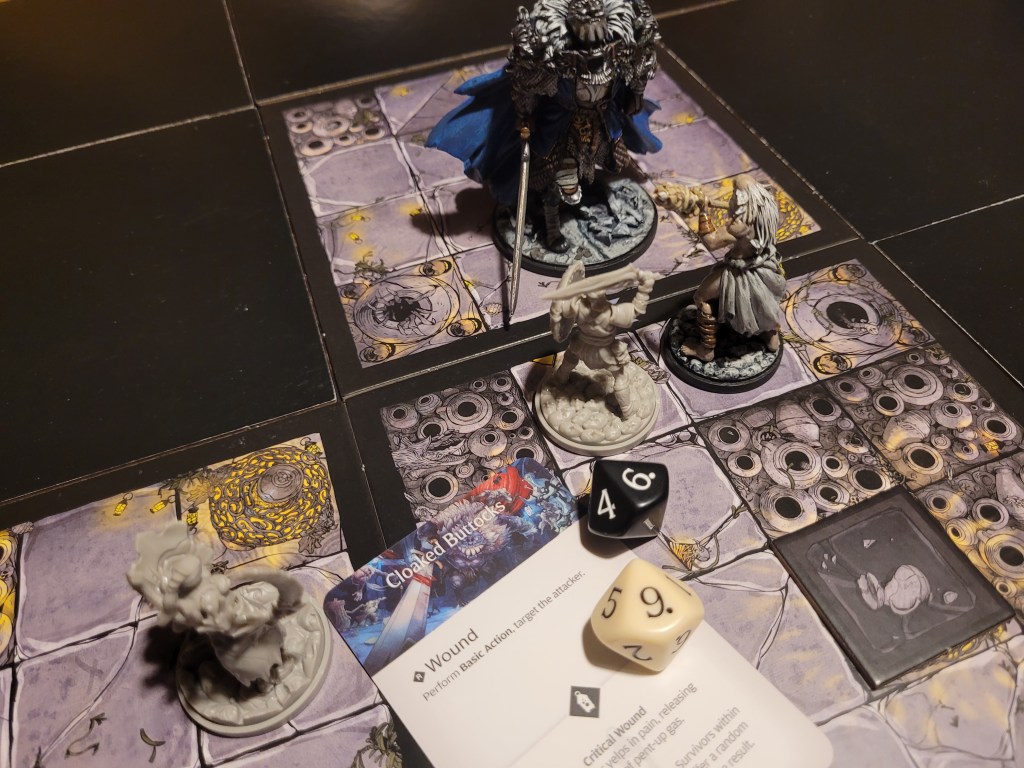
The end of the basic also triggered Smash – this picked up Ragnar and smashed him into the closest Elastomer Statue – on the starting tiles there is one right behind the Black Knight. Depending on how you get places on the statues determines which direction you get flung in. So with 8 knockback, Ragnar chose to go to the right into the unknown.

Every statue hit adds +4 knockback to the total movement and he ended up almost where he began this round trip. Also every urn hit and destroyed during his flight adds 1 damage to a single hit location. So.., 7 more hits.
He did get quite lucky, but from the 4 armor in all hit locations, almost nothing remained after that one retaliatory attack.

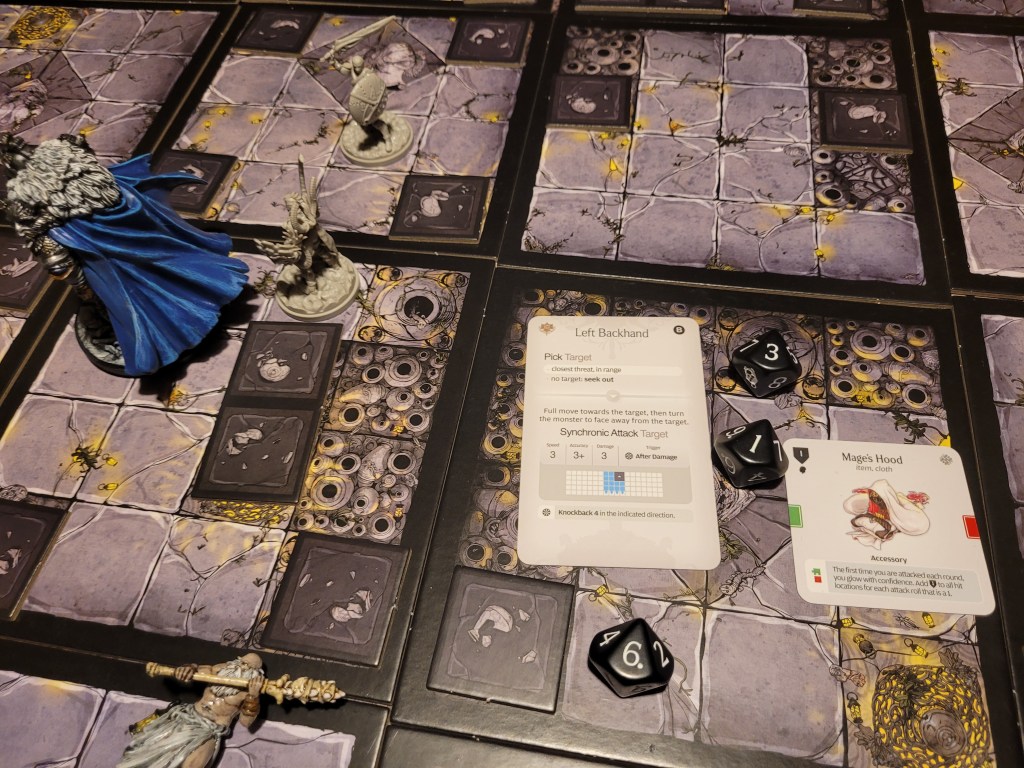
10 cards remaining, 3 +1TGH-tokens, first attack: Left Backhand. This is a synchronic attack, meaning it would roll once and apply the hit results to all survivors in the targeted zone. Lelia quickly dashed out of the zone to avoid this, but Sir Hermes had to take it. Another 3 hits by the monster – Sir Hermes dodged one of them, and got flung away by the after damage effect. Luckily he did not go too far.

This turn would be spent mostly with doing reconnaissance and moving around. Lelia revealed another tile, this one having an altar and a statue, not great.
Sir Hermes moved a few steps up and pumped his armor as he was honorable (D) and would not be allowed to attack from behind. Jerryn also revealed another tile and slowly walked to the next altar still.
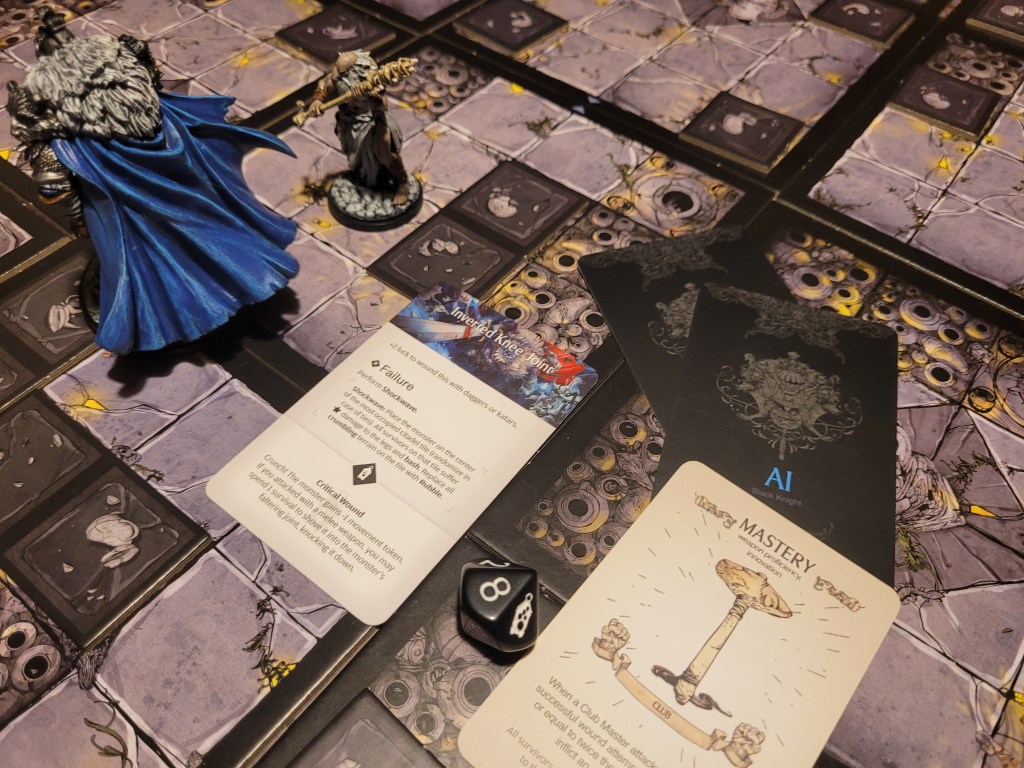
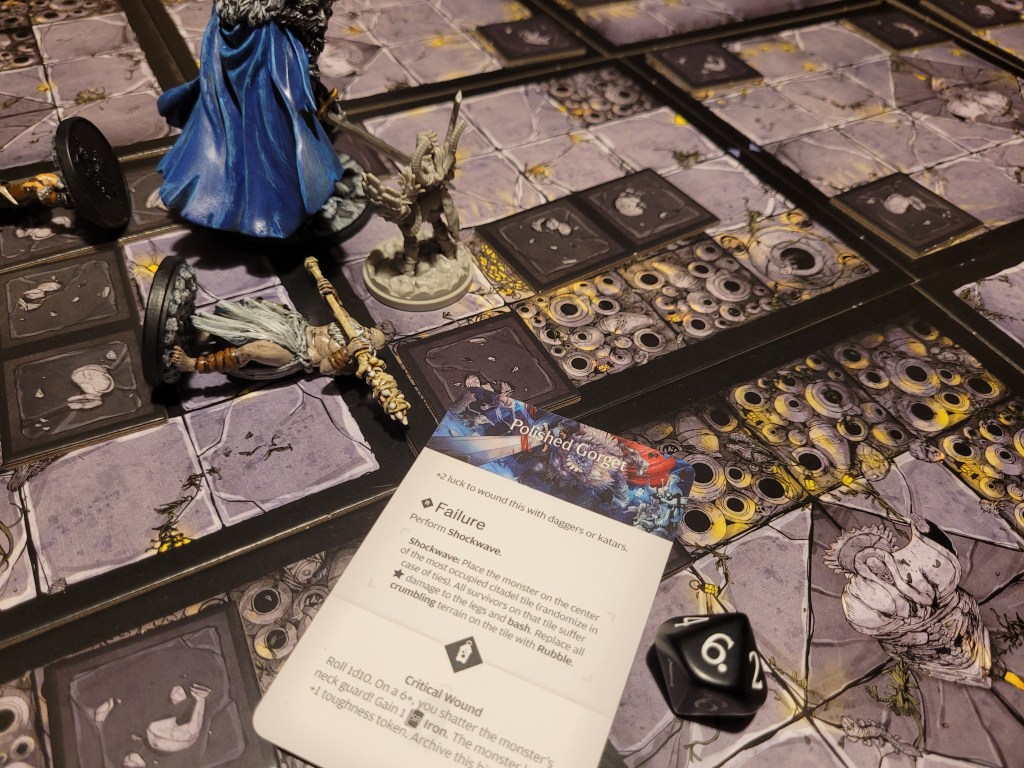
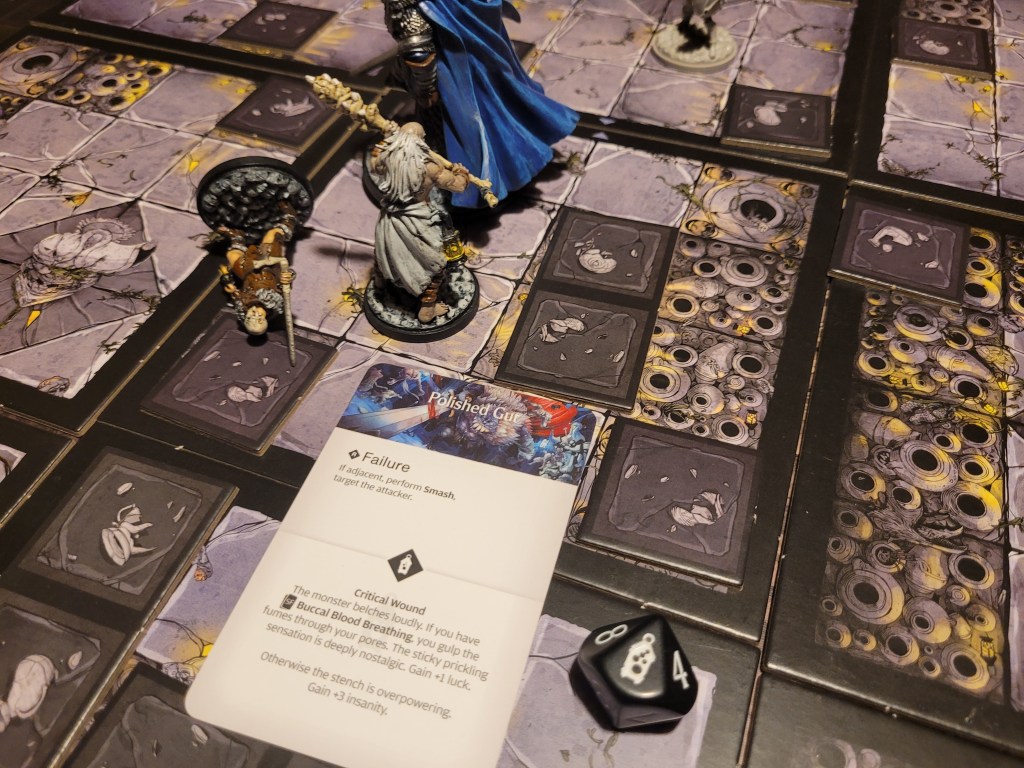
Finally Ragnar activated and also revealed another tile before dashing over to the Black Knight and surging to attack. The hit location was impervious and the wound thusly failed, prompting the monster to jump and unleash a shockwave, replacing all urns and altars on the tile with the most survivors with rubble. inflicting bash and dealing monster level damage to their leg location.
We were spread out and had to roll for which tile it would target, it jumped up and down next to Ragnar. Yeah.

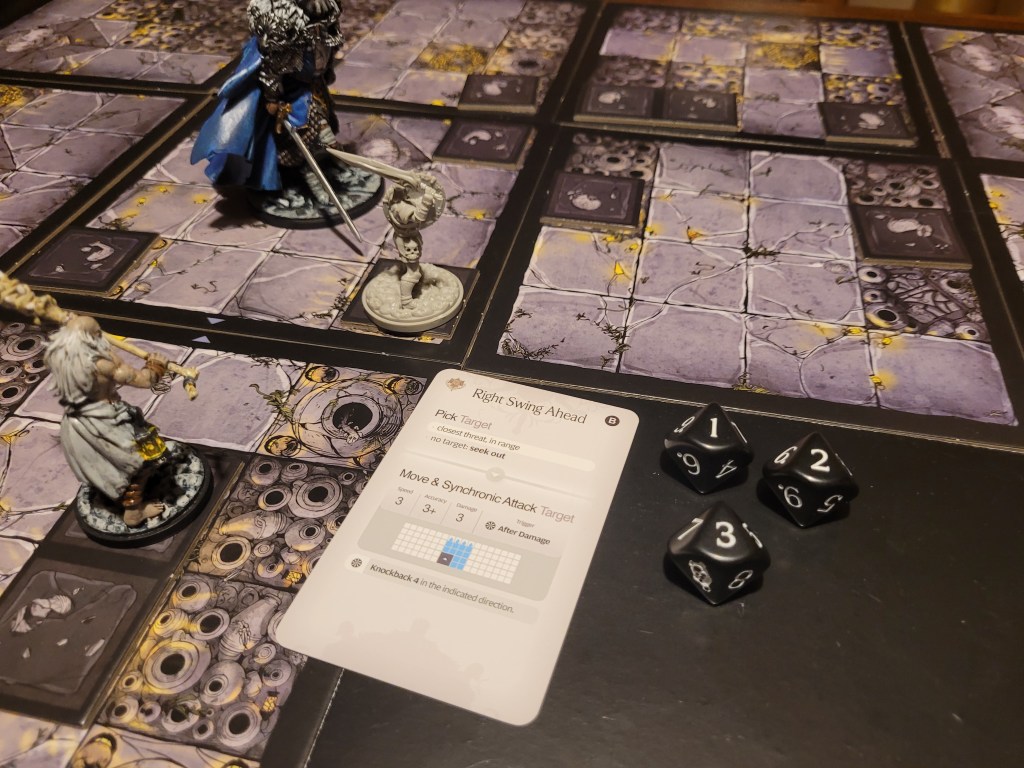
10 cards remaining, 3 +1TGH-tokens, the next card drawn was Right Swing Ahead. It would target Ragnar again. And just to avoid further hits on other survivors with this synchronic attack, Ragnar dashed around the monster, preparing to suffer the brunt on the attack.., but it missed! It missed all three of its hits on 4+!
At this point Sir Hermes dashed up to the monster to attack, but he failed to wound on a 1!
Jerryn moved and dashed closer to the group and activated an altar off to the side, successfully removing another token!
Lelia saw a chance to attack as well, but missed – go figure. And finally Ragnar, bleeding, not quite broken and alive, took his chance to almost cut off the monster’s belt – which would have been bad, as it would +1DMG to the monster – but luckily he only inflicted a wound instead.

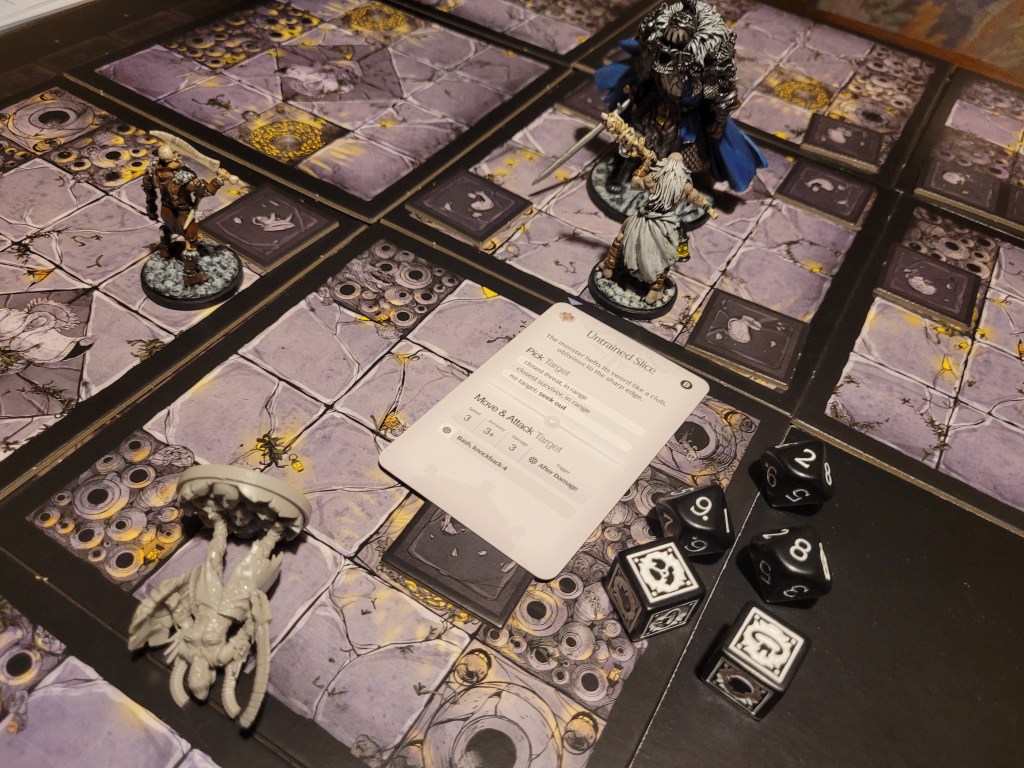
9 cards remaining, 2 +1TGH-tokens, the next card was Untrained Slice. This one targeted the closest threat, which gave us the opportunity to chose. So we had it target Lelia. 2 hits on 6+, no 1s or 2s, she dodged one hit but got flung away all the same.
Jerryn walked over to another altar and removed yet another token.
Sir Hermes attacked again, 1 hit, 1 wound and a reflex that had the Black Knight charge over Sir Hermes.
Ragnar revealed a tile a few steps away and was content with just staying over to the side, not getting too involved for the moment, but he helped up Lelia so she could block.


8 cards remaining, 1 +1TGH-token, another Untrained Slice was drawn. Again it targeted Lelia, but all 3 attacks missed her outright, but he wasn’t rolling any 1s or 2s either.
Jerryn began making his way over to hopefully the final altar we needed, but with his reduced movement he wasn’t quite quick enough. Ragnar revealed another tile and began making his way down along the map.

Lelia needed to get that shield experience, so she swung at the monster, just about hitting and wounding! This triggered Smash in return, which could still be pretty bad at this stage.
So much for Ragnar’s plans of revealing the missing tiles, as Lelia came to a stop, we knew all of them.

We weren’t quite done yet, though. Sir Hermes dashed up and attacked as well. A perfect hit lead to a beautiful 38 for the wound attempt total – which is definitely more than double than 11.
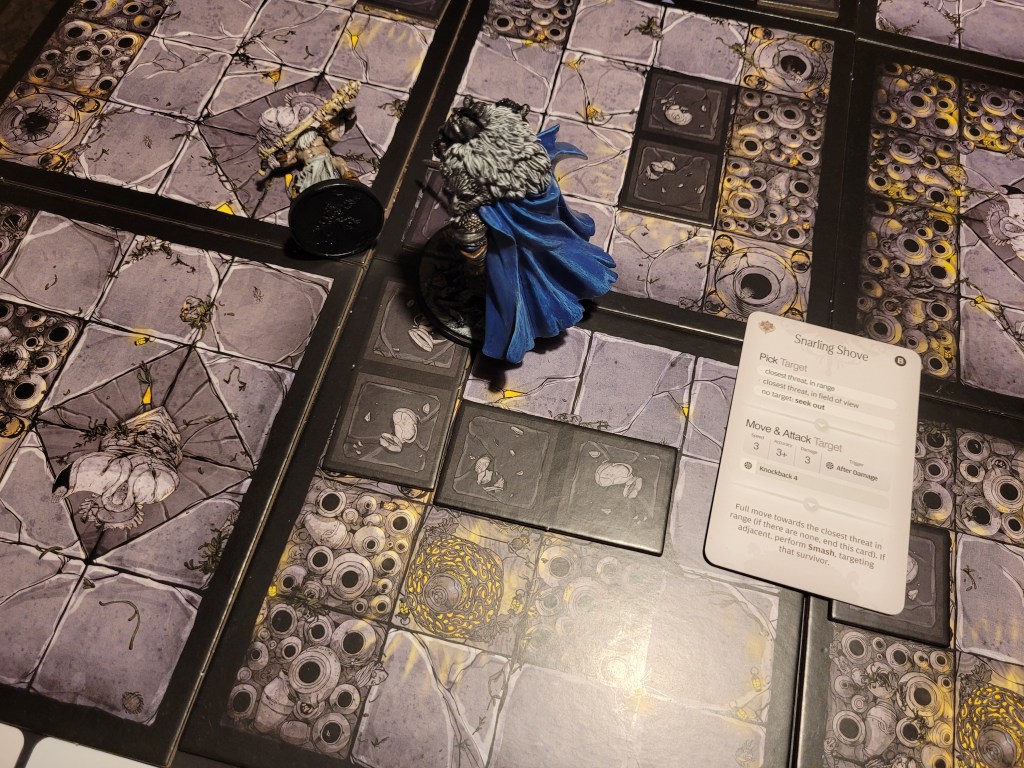
5 cards remaining, 1 +1TGH-token, the monster drew Snarling Shove and we now knew at that point that we had wounded off all possible A cards. That was quite relieving. It targeted Sir Hermes, being right in front of him and, as he could surge to block, he was able to avoid all hits with his dodge. However, the second part of the attack sent him down the same path that Lelia had just travelled.

At this point Ragnar turned around and began heading back up and around to get back into the fight, as Jerryn encouraged Sir Hermes so he could activate the fourth Bell Altar with his newly gained 3 understanding. The last +1TGH-token has been removed!
Jerryn then moved and dashed to the monster and hits twice on his attack. Both attempts barely miss their wounds.
Finally, Lelia moved towards the monster and blocked.
5 cards remaining, Right Swing Ahead was drawn. Jerryn was the target, but all 3 attacks missed.
Jerryn began the turn by moving and dashing into the monster’s blind spot, but despite the effort, his attack failed against the monster’s helmet – the implications of the dog-face being too much for him.
Lelia moved in as well and her strike found her target once again, dealing a much needed wound.
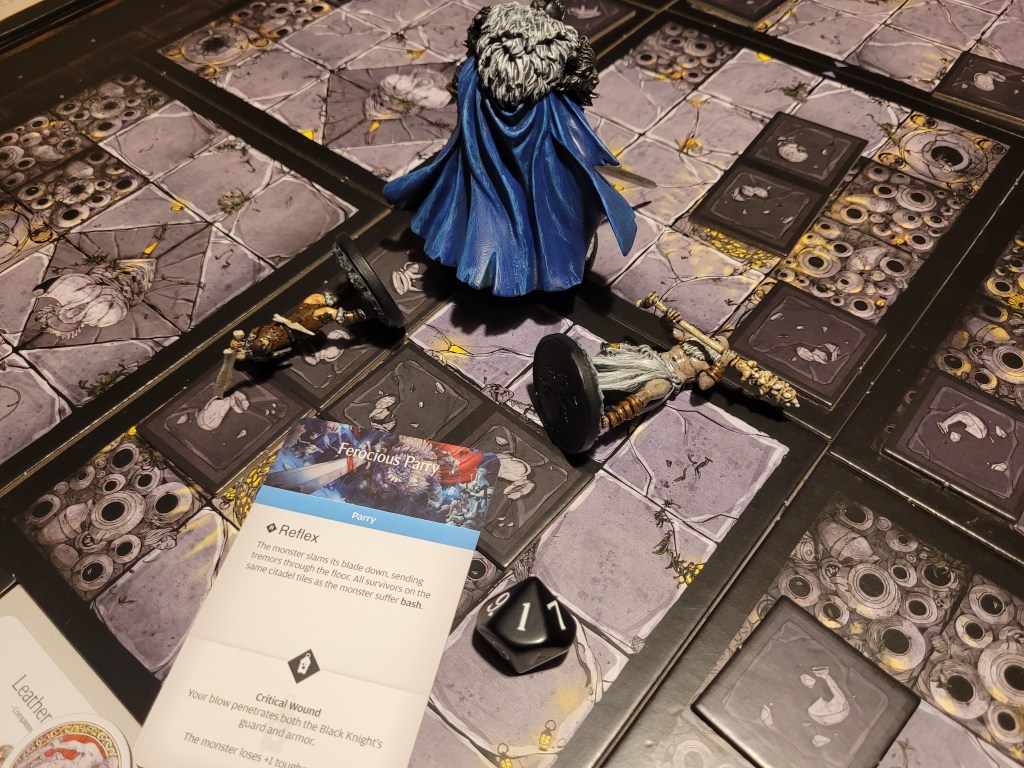
Following the idea of the unga-bunga, Sir Hermes dashed in, but his attack was roughly parried away, knocking down all 3 close survivors. Upon seeing this, Ragnar backed off again.


4 cards remaining, Left Backhand did not find a target because Ragnar was too far away, triggering the monster’s instinct instrad. It kicked Lelia away and shuffled its deck, contemplating what it wanted to do next.
After we all had gotten up, Sir Hermes swung with reckless abandon, hitting once, wounding as well.
Jerryn wanted to follow up, but the monster was prepared for his attack and parried it, knocking both him and Sir Hermes down yet again.
As Ragnar inched a little closer once more, Lelia ran in and hit the monster one more time, wounding. Where were all these wounds for her over the last couple of fights?
2 cards remaining, Left Backhand was about to hit Lelia. The current placement was bad for this, so she had to dash into a better spot, so the monster would not hit Sir Hermes as well. She also surged to block, just in case. The monster only hit her once, and it even rolled a 1! Finally! Some extra armor for her from the Mage’s Hood!
I had a bad feeling about the hit location deck at this point. We had been drawing a lot of cards from it, and the trap must have been just around the corner. But I could not really afford to hold back now.
Lelia began this turn’s volley of attacks, and missed.
Jerryn was up next and he missed twice on his first attack, but at this point, I figured, he might as well surge. Only 1 hit, but it turned into a crit! It knocked him over again – meh – but he rolled high enough to at least make it worth it! He gained an iron (SR)!
Sir Hermes also joined in on the fun and hit once, also causing a crit! Sadly he did not have the required secret fighting art (another +1LCK would have been incredible), but at this point anything would be fine. +3 insanity? Sure.
I had the distinct feeling Ragnar would draw the trap after all this, so he backed off again.

0 cards remaining, Lelia would be the target of a basic action. The monster missed all 3 attacks.
In turn, Lelia swung and missed. She surged and there it was – the hit we needed – still not the trap. She rolled a 3 for the wound and with everything adding up to 11, she dealt the final wound!
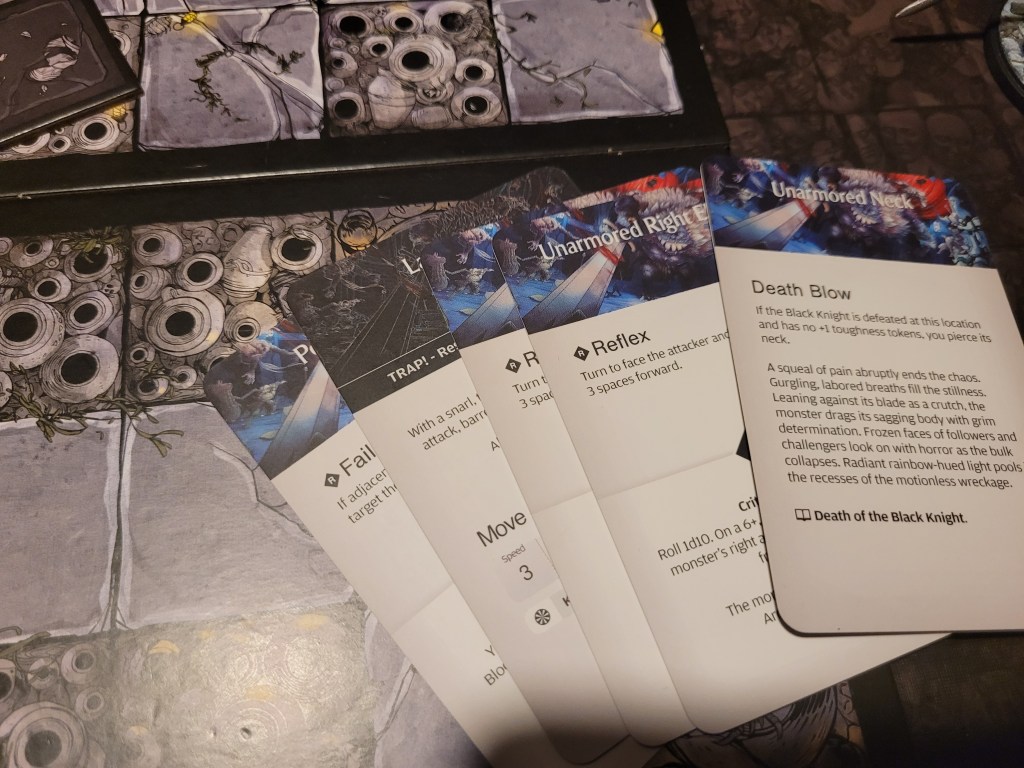

I was a bit nervous about drawing the death blow to be honest, but it worked out real nice.
As for rewards:
Ragnar (Soft Landing FA) reached age 3 and, more importantly, he gained Dagger Mastery after this fight! Another reason why I did not want to risk his life at the end there.
And with our Scavenger Kit we gained a single Monster Hide from the fight. We also gained a rank for the Bell of Challenge, further buffing any departing survivor with the honorable disorder, and the Black Knight Badge.
On to the actual rewards – we spied the Darkened Workshop.
This would be the moment of truth .. we did have a portcullis key after all. And no rerolls to boot. Yeah. I had to do it though. I could not not do it.., right? Jerryn would be the one for the job. He was the most expendable – just don’t tell him that.
The key clicked loudly in the heavy doorway as the gates swung open to this lost treasury. This hidden vault of dragon slaying prowess. Eyes closes I chucked the dice onto the board – an 8 on 7+.
Oh, my… he did it. He actually did it! Wow!
The hidden blades cut him deep across the chest, leaving a Gaping Chest Wound (-1STR), but he found it. Wrath.
1/5+/13 – Deadly 3 – when you critically wound with this, archive all tokens the monster has and inflict an additional wound for each.
That is such a powerful sword its ridiculous. Damn. And it doesn’t get discarded if the one carrying it dies even. It just stays.
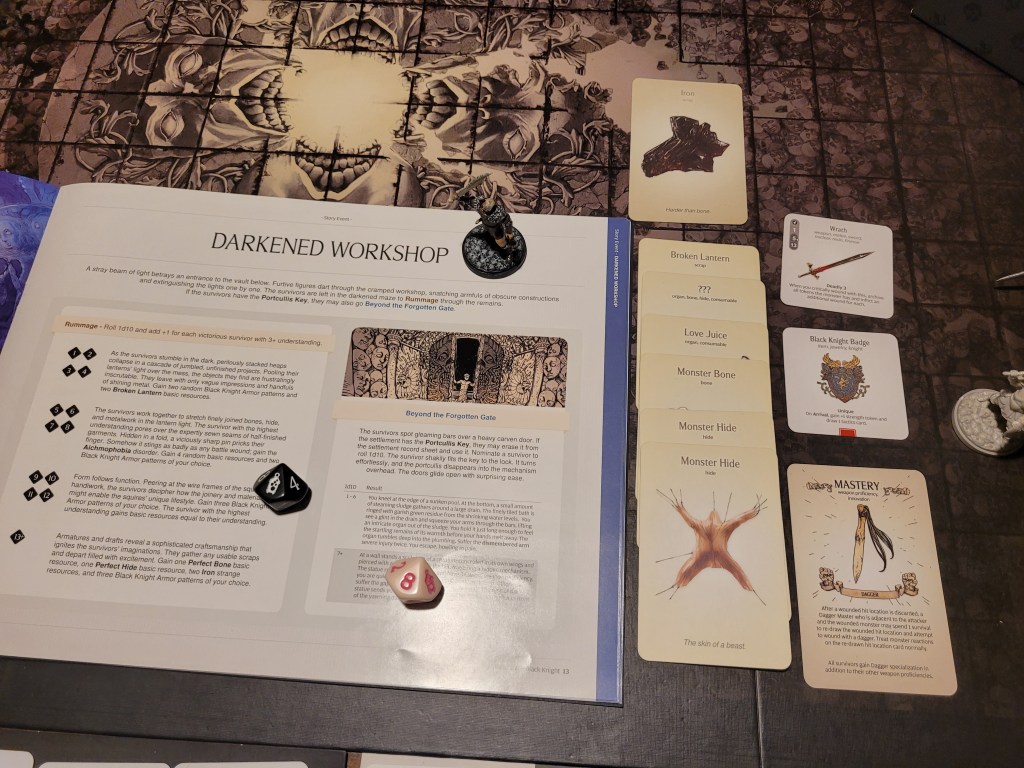
And we also got a 12 for the other roll as well. That’s 5 resources and 3 patterns. Jerryn just kept on winning in the end.
The hardest choice was which patterns to chose now. Part of me had resolved myself to taking the count stuff, both for ease of crafting and because we already had the head piece, but.., now with Wrath in hand.., I want Marchioness even more now!
It’s 12 iron for the full set though. Yikes. We have 1… and the dragon set also wants 5 iron.
This decision took me some time, but in the end I picked the Marchioness Gorget, Trousers and Sollerets. I picked those 3 items partially for their comparative ease of crafting and immediate usefulness.
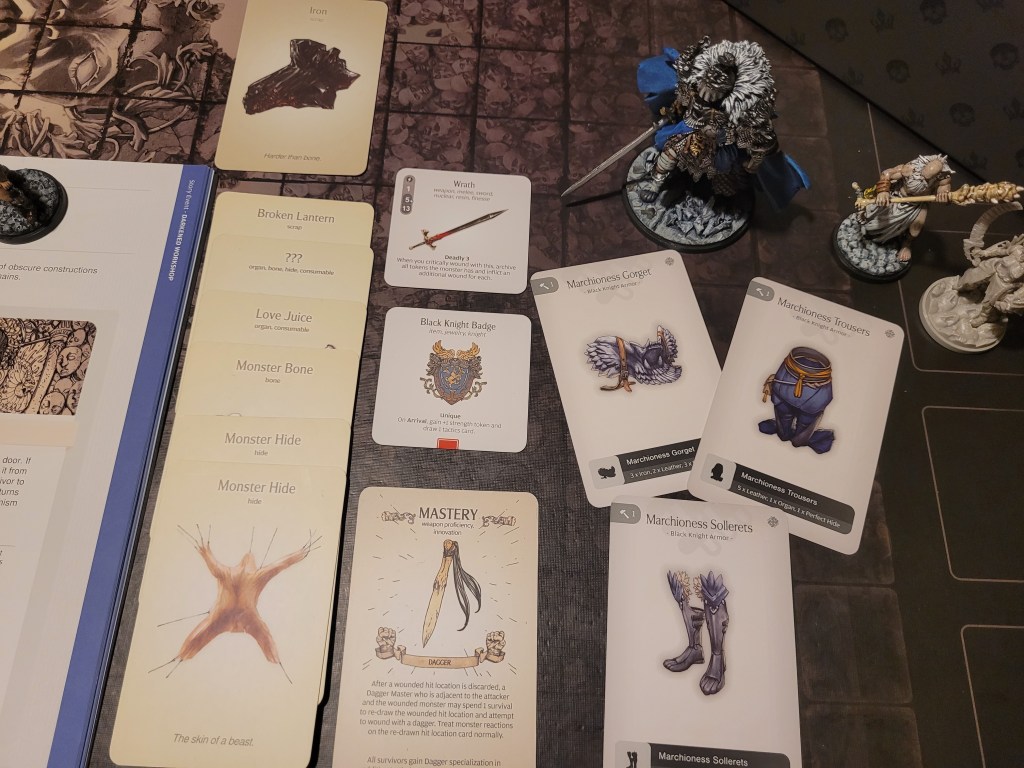
Suddenly we need tons of iron as well…
I really like the Black Knight fight on the extra randomized board. That is also one of the best parts about the Squire Campaign – you can just fight this Nemesis Node 3 right off the bat in a semi-staged Vignette.
With regular survivors it is a lot harder to avoid all the knockback during the fight, and whilst 3 of the 4 squires can negate this aspect of the fight fairly efficiently during the Vignette, it is more noticeable that you do have to get a little lucky with the placement of the elastomer statues in a regular campaign. To that end, it might not be in your best interest to even explore that much of the citadel. The less you know, the less the Black Knight knows as well. Of course getting flung into the unknown is always a risky proposition.
It is funniest when a survivor rolls the flee brain trauma and just runs off the edge of the map.., which is how my very first attempt at the Squire Campaign ended.. on turn 1. Startling Bark (I think the card is called) caused only Cain to flee.. yes the guy with 6 courage.., and he ran straight off the edge and rolled a 1. Good job.
But anyways…
Oof, that was a long lantern year, but damn, it was worth it. The more I think about Wrath the more busted it seems. It almost feels like an I-win-button against future Black Knight encounters, Lvl 3 antelopes and Dragon Kings. I do want to try it against a Lvl3 Frogdog though. That might be my next target now that we can sing.
Even just the fact that it has deadly 3!
Now, as I keep gushing about the sword to myself, enjoy the holidays, have a nice Christmas and I will be back with the Christmas update in a couple of days after writing this.
As always, thank you very much for your time, and don’t Hans-Gruber-yourself off the inverted mountain, even if it were seasonally appropriate,
Amathul

Leave a comment