
With my next co-op settlement’s start left in limbo for the time being, I took the opportunity to keep chipping away at Bogstop instead. So there is some catching up to do! Let’s get right to it!
I have made the choice to go against the alternate version of the Butcher mostly because I did not want to lose all resources we currently held on an unfortunate loss. Whilst we should be fine, with 5 copper in storage it just seemed sensible to chose this route. Besides that, Wrath offered us also potential counter play to Killy B as well. If we managed to find the crit that is.
But first.. settlement event!
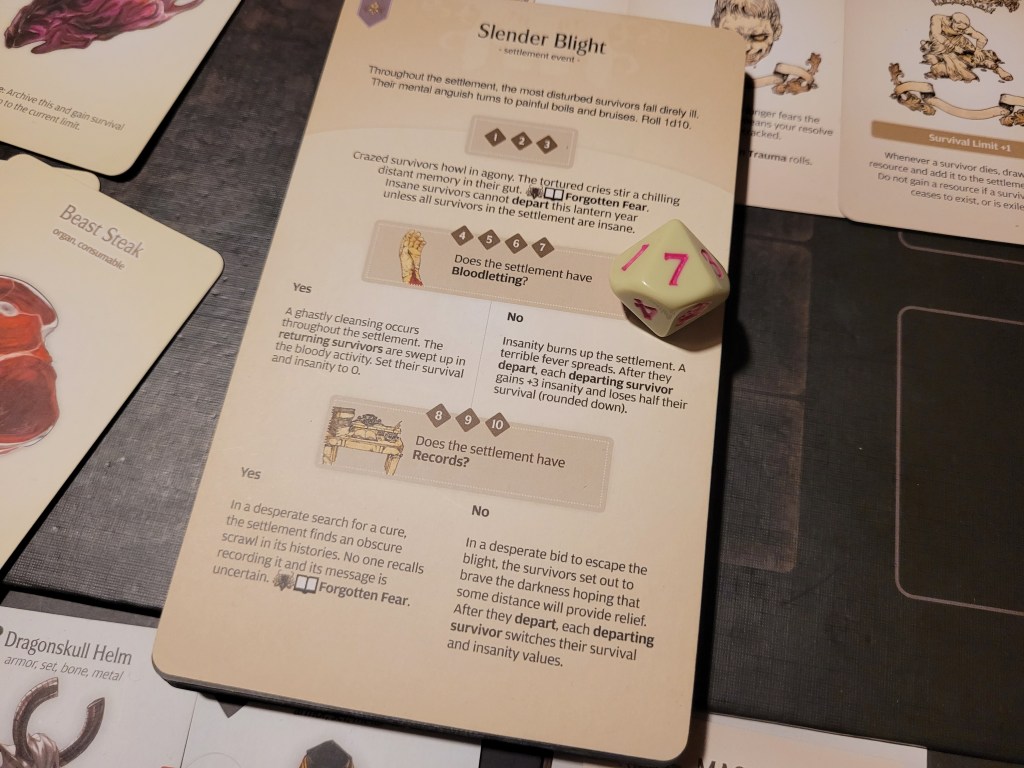
Slender Blight.. uh-oh.
A 7. That’s fine, I guess?
Then the Hooded Knight also came round for another training session with Selen. She rolled badly though and suffered a gaping chest wound whilst sparing. In a way that puts my worries of Selen leaving prematurely at ease, but I could have done without her losing that +1STR. The Knight would be back in the year of the *redacted*.

With all that out of the way we are ready to develop away.
We had 2 love juice to work with and a match maker primed to get people to meet up, so this year felt like I should get to making babies whilst we could so comfortably. I was also contemplating what to do with the iron we got and with a bunch lot of sword-people in the settlement (Jerryn, Mars, Glow), a lantern sword would be nice if I wanted to send out two of them at the same time.
Alternatively I could also build the Lance of Longinus and use the iron to finish the dragon set.. and I liked that idea a whole lot more. I have had good experiences with the lance in the past (and I enjoy my NGE references), it’s just the irreplaceable on it that made any decision more difficult. However, the spear also added a -1TGH-token to the monster the first time it wounded each fight, so effectively it’s +1 wound to Wrath as well.
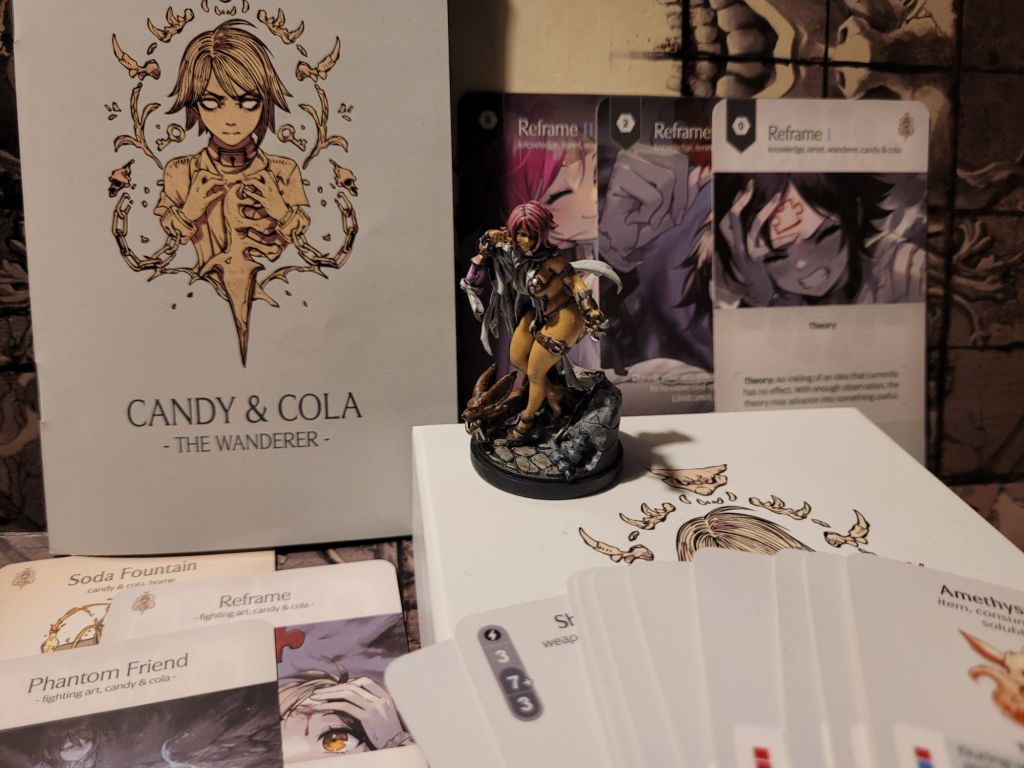
What I did already know on the other hand: I wanted to pool the Black Lichen I got so I could get the Ethereal Pact strain if possible. I just like the idea of the rare-random Savior via Fighting Art.
With the general idea of a plan made, I started off by rolling for Face Painting – Founder’s Eye: and got a 9. Good start
Now before I got to the babies-part, I did wonder if I should innovate beforehand, Bed would not be the worst to have – adding +1STR to one of the more likely rolls. Or better even, if we got Saga the next generation of survivors would already be age 1.
So I said: ‘What the heck!’ and innovated first.
The choice I got was between: Partnership (couldn’t help but chuckle), Sacrifice, Pictograph or Saga.
With those choices, we just had to pick Saga, obviously.
Anyway.., time we got to business, if you know what I mean.
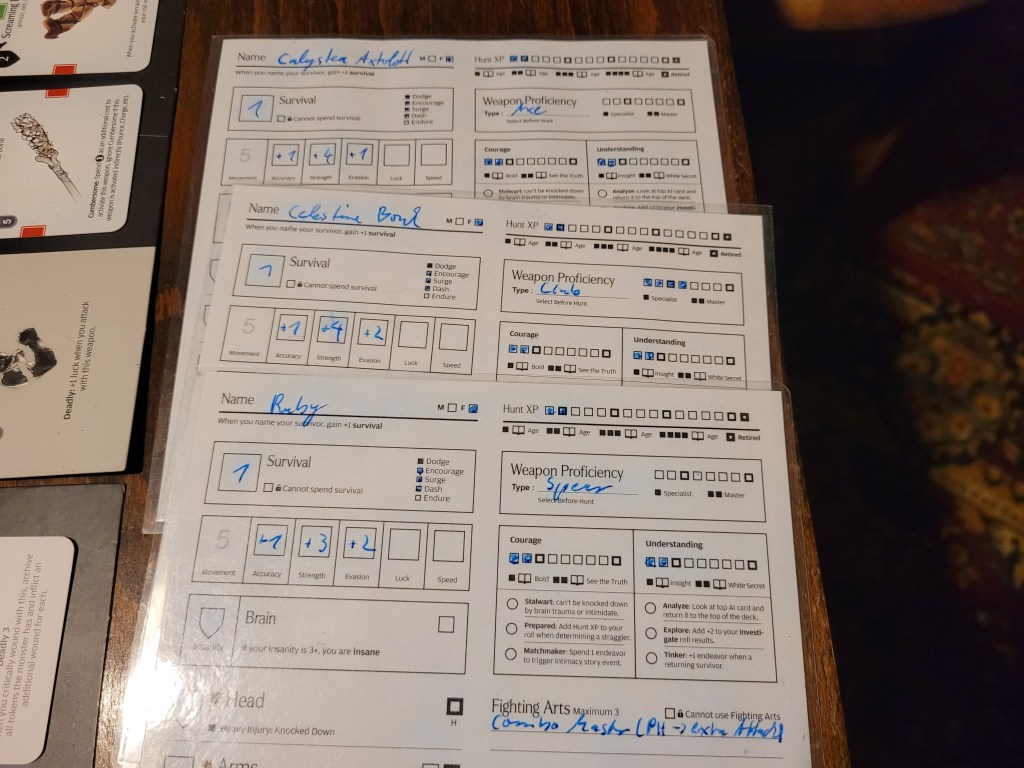
The Matchmaker was up first: Sir Hermes & Beastia – not a match made in heaven as it took 2 rerolls for a single child. Still the freshly established Bonk-clan got their first prodigy: Celestine (+1STR).
Love Juice #1: Calys & Thalas – a much better pairing as it turned out: they had a child without issues. Calystea (+1STR) of the Axtolotl-clan.
Love Juice #2: Glow & Mars – neither good or bad, an instant 4 as the lower dice and with that one more child. Ruby (Combo Master FA) would move away from the sword most of the Cutter-clan used though, picking the spear as her weapon of choice.
Population was up to 16, and thanks to the boosts from innovations and principles all 3 children were able to immediately compete with established veterans.


Next on the agenda was the crafting of items.
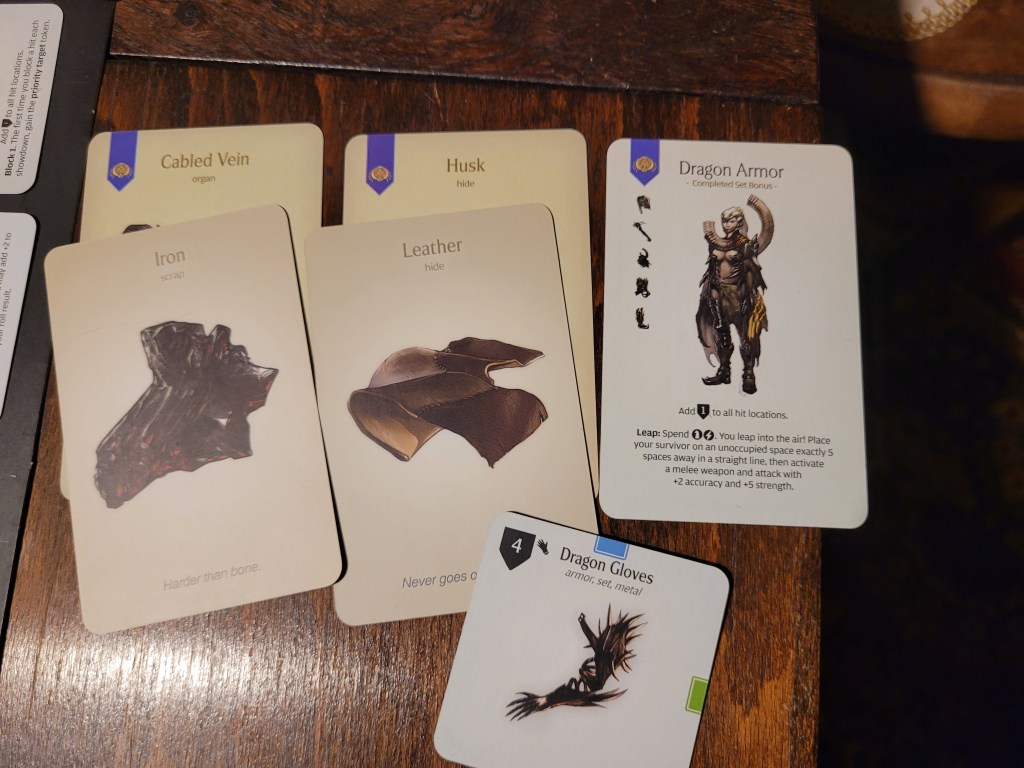
First I built the Brain Mint I needed for the strain (which I ended up using for its affinities with the Dragon Armor as well).
This was followed by the final piece of the Dragon Armor (which also locked in 1 more endeavor for leather making). The gloves in hand – the set was completed!
Both the Lance of Longinus and cooking were still up for debate, sadly I could not do both due a limited number of organs/beast steaks. It felt like one of those “what’s the worst that could happen?”-moments for a bit and I ended up building the Lance of Longinus. If we were going to lose it immediately then so be it. In theory getting more Legendary Horns shouldn’t be that much of a problem.
We also added 1 leather shield to our arsenal. And the rest just got stashed.


We finished off the Lantern Year by going Scrap Scavenging – Celestine emerged with a broken lantern in hand within seconds; a prayer session at the shrine – I rolled a 5: so 1 additional armor for everyone and a long overdue visit from the Feline Entity. After two lantern years of absence she returns! And immediately tried to take Glow out ye(e)t again.


The Chosen:
Calystea (crest axe, frogdog set)
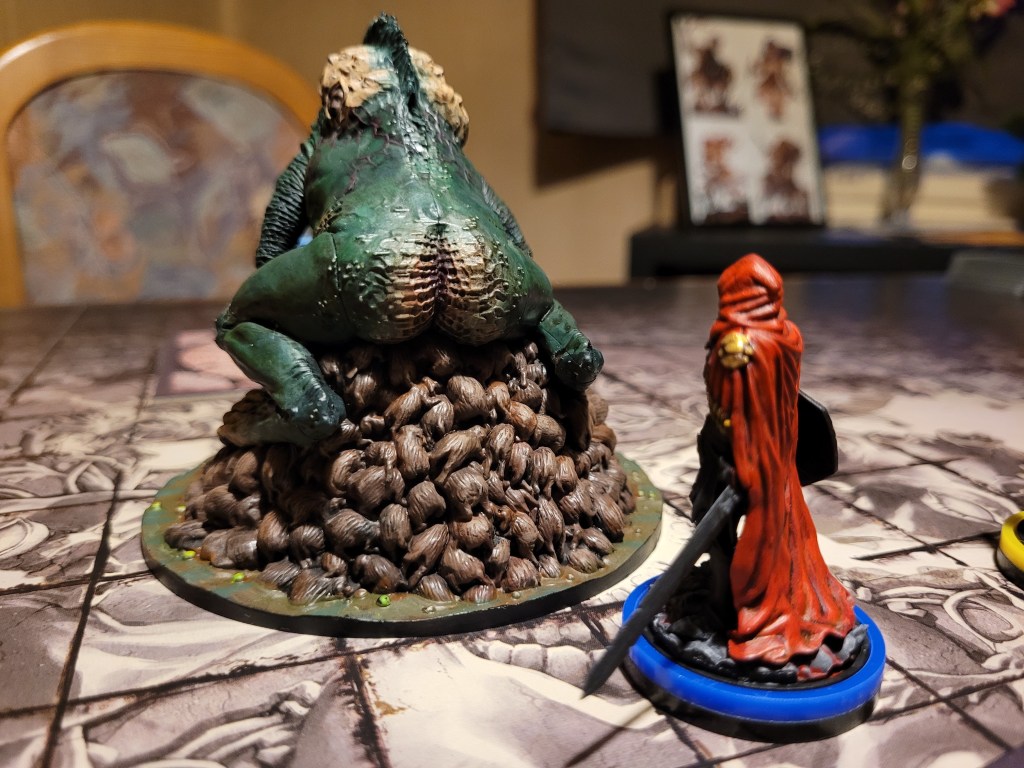
Mars (Wrath, leather set)
Celestine (bone club, dragon set)
Ruby (Lance of Longinus, rawhide set)

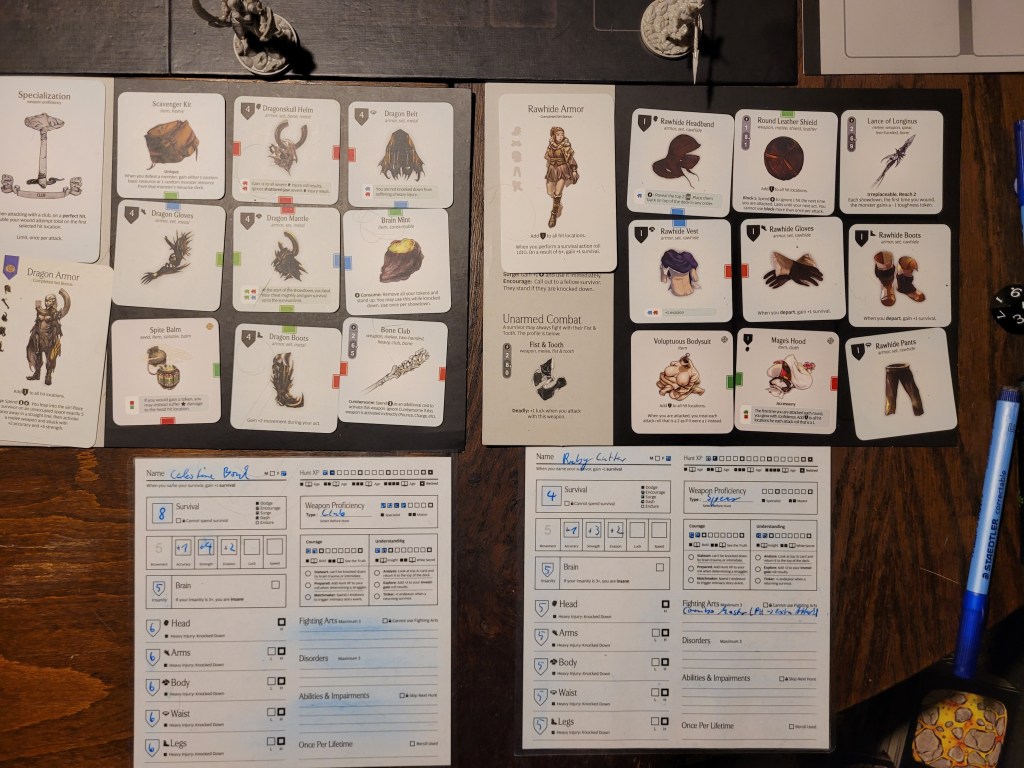
All survivors went out with at least 5 armor everywhere and between 2 and 4 Evasion. In theory Wrath could be able to tear this Butcher version apart, if we found the 1 in 15 crit at an opportune time.
Survival wasn’t looking quite as healthy though, only at 4 for 3 participants.
Yes, I sent out all 3 “newborns” and the hamstrung Mars. The team was set up in a way where I felt like wouldn’t lose too much if it went awry, but with all the stat boosts for new survivors they seemed better then a lot of the established fighters.
But onwards to the Killennium Butcher.
I’ve said it a bunch before – the biggest difference to a normal Butcher would be the general theme of quality over quantity with KillyB, who looks at the top card of its deck each round and discards it if it isn’t an A. It also does not draw a second card and doesn’t reshuffle its deck each turn. For how it sucks the Frenzy out of you and similar in depth bits: I covered all that in my Vignette fight I posted just prior to Black Friday 24.
And I should just mention as well: because I have lost to the vignette before, I am able to replace all Butcher Lvl2+ encounters of a given campaign with KillyB, however you are locked in to your choice for that particular campaign. So our Level 3 will also be the Killennium Butcher.

After all was set up, we initiated the fight as per usual with a nemesis encounter.
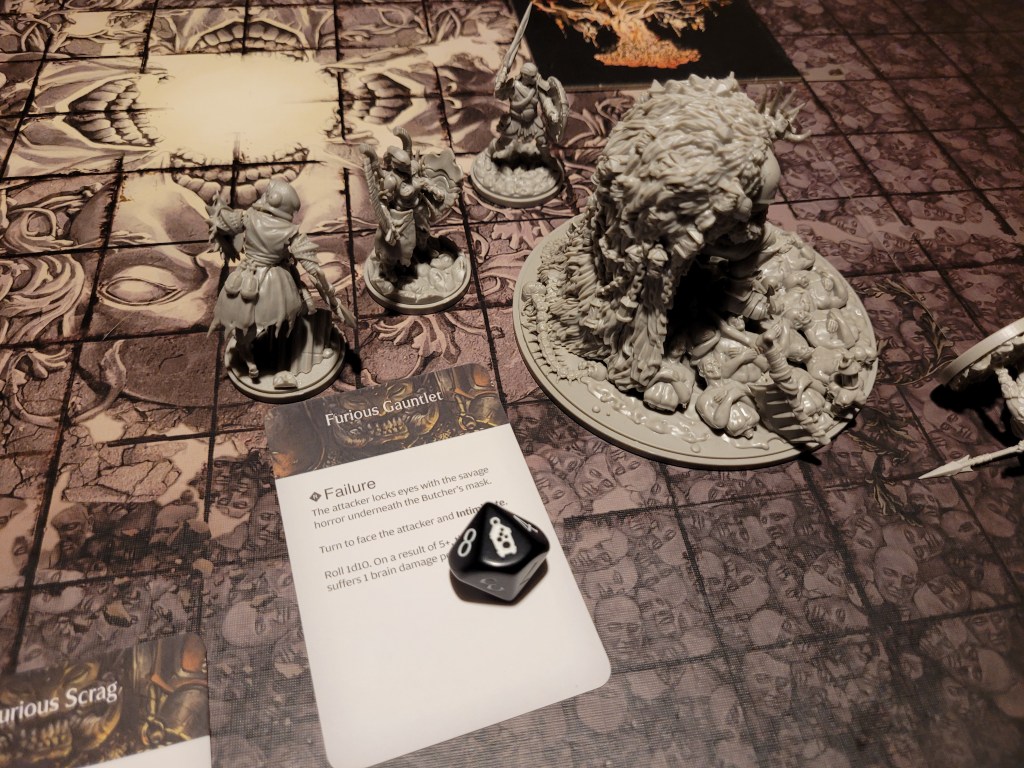
Ruby ran up and attacked with the Lance of Longinus hoping to quickly get the additional -1TGH onto the monster. Somehow on 5+ to hit, she missed all 4 attacks she was able to put out in total.
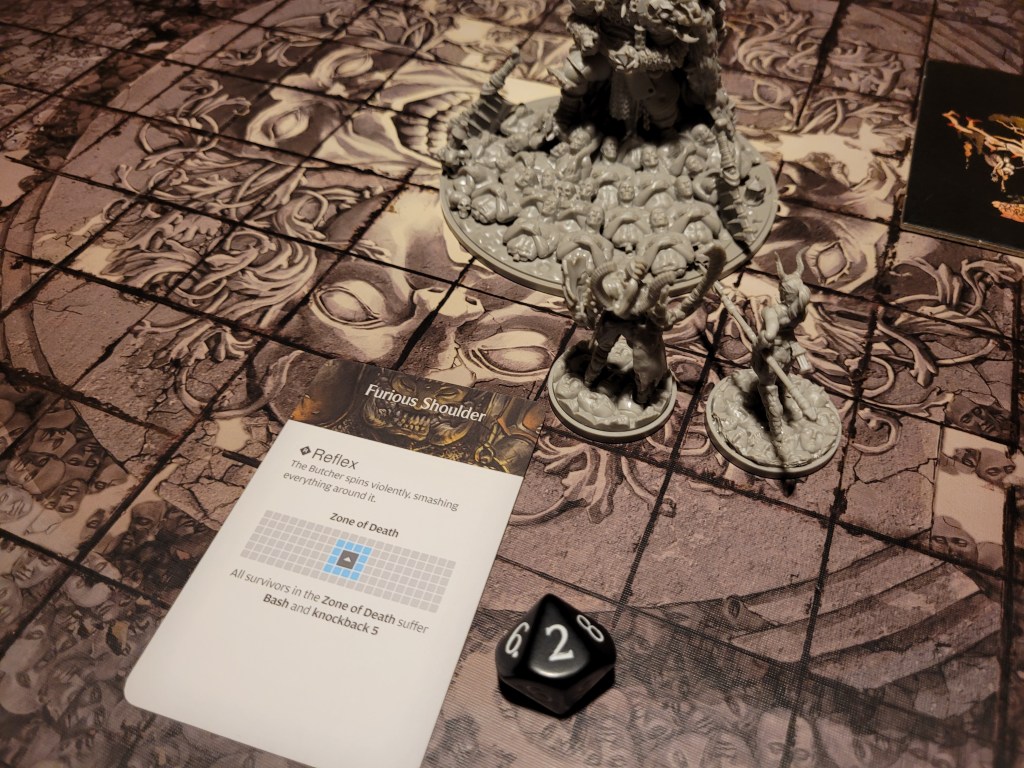
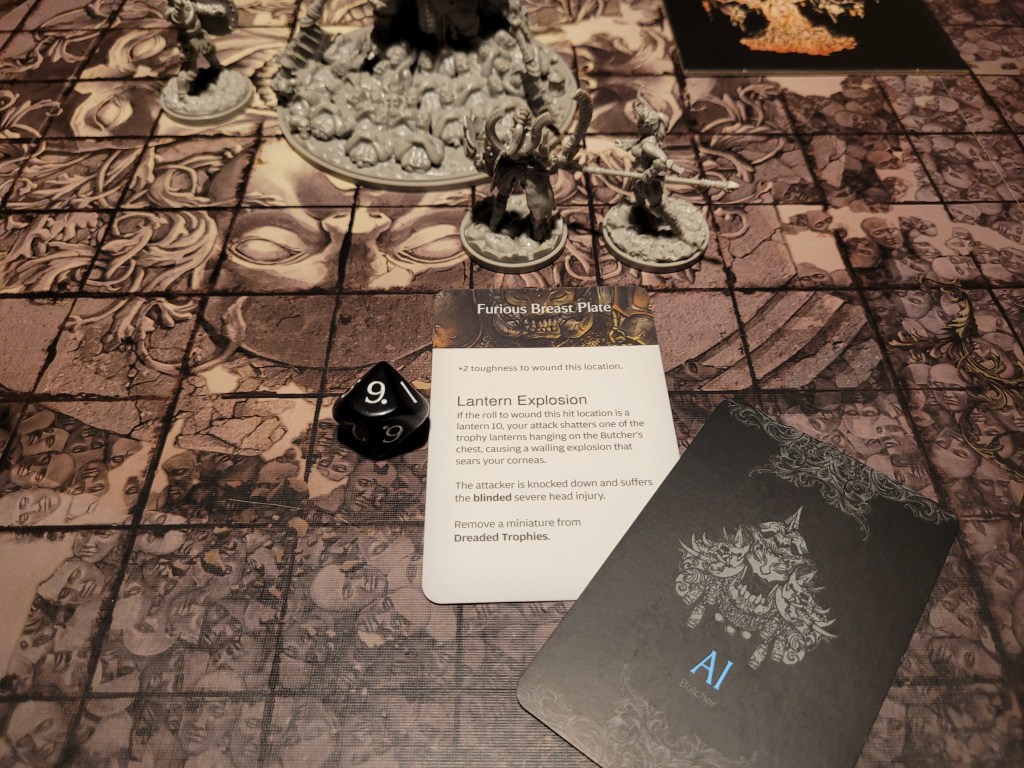
Celestine then went ahead and jumped in with the ability of the Dragon Armor – spending both act and move she is placed in a space exactly 5 spaces away and activates a weapon with +2ACC and +5STR. She hit the monster twice. The first wound was dealt – but we missed out on the singlular crit for it. The second wound was dealt as well, but both survivors close to the Butcher were pushed back out and knocked over by the reflex.
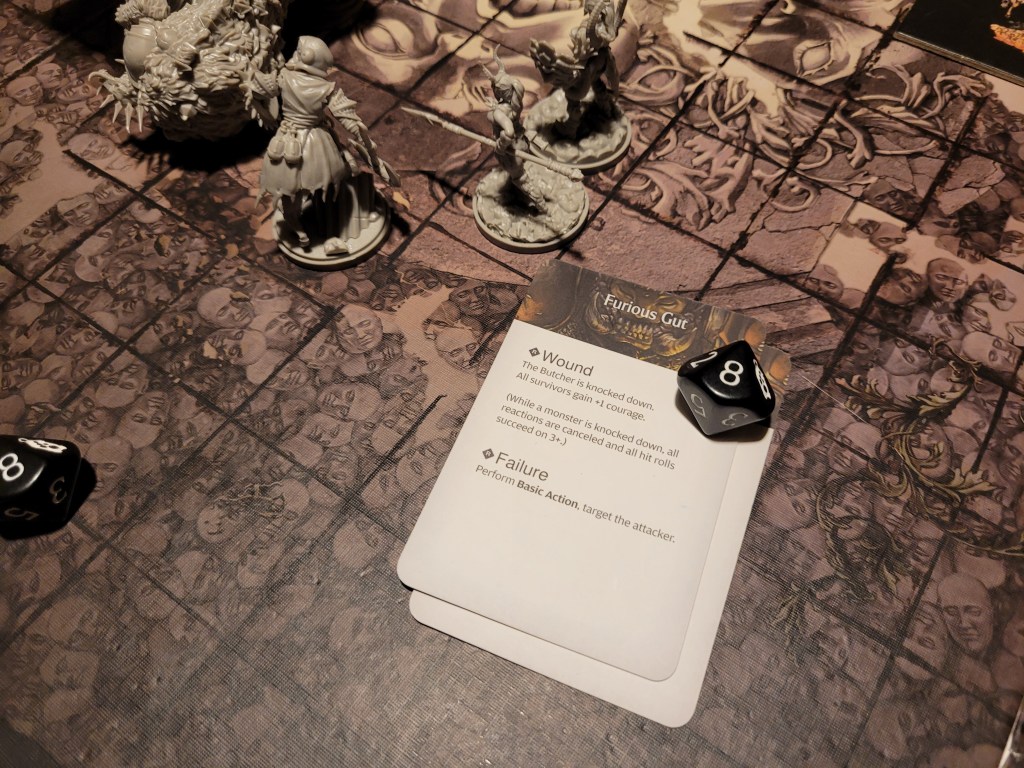
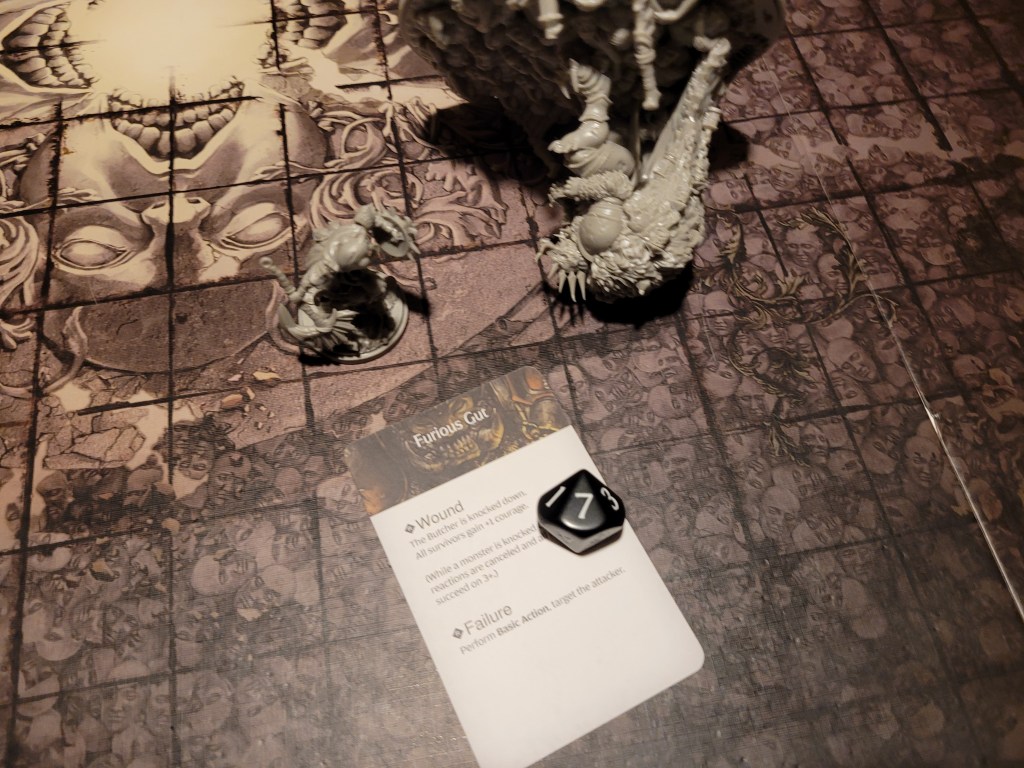
Up next was Mars, who struck true, knocking the monster down and triggered bold for each of my survivors – Calystea (+1STR), Mars (3 survival/insanity), Celestine (3 survival/insanity) and Ruby (+1STR-token). A sublime attack (of which I took no picture?)! Mars surged but only hit the Cleaver. Calystea took her time to carefully approach and pump her armor.

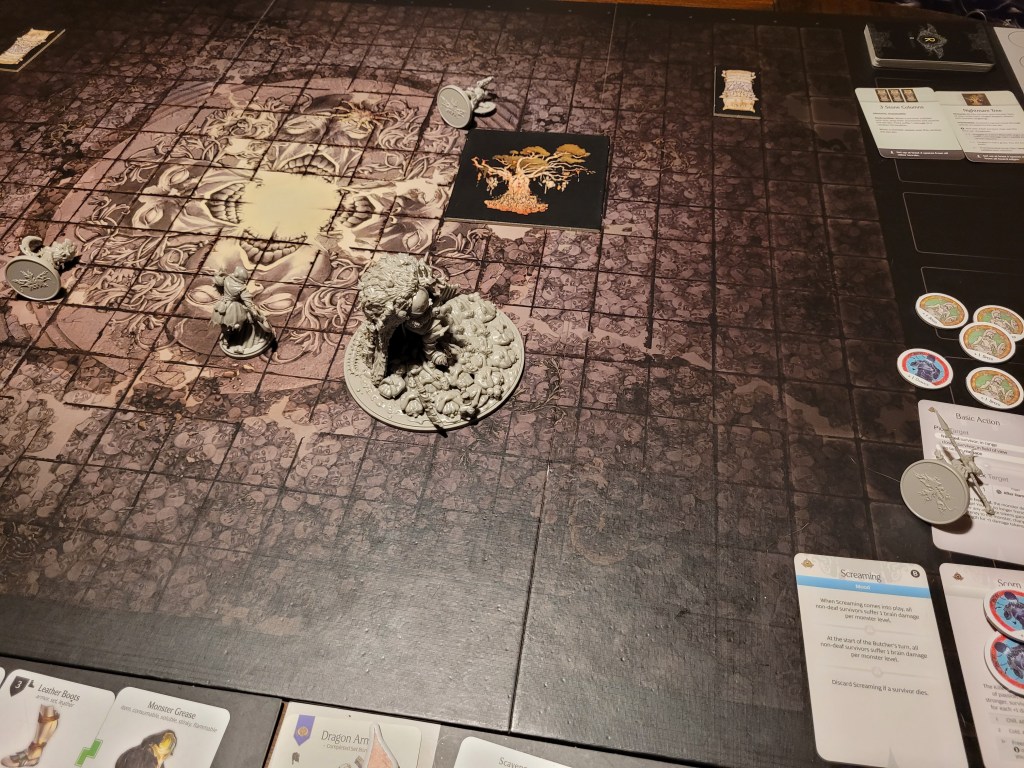
12 cards remaining, the monster got back up and discarded Screaming – a great choice for us and it drew Backhand instead for its opening move.
Calystea was the only one in the impact zone and, naturally, the monster hit her twice on a 7+.

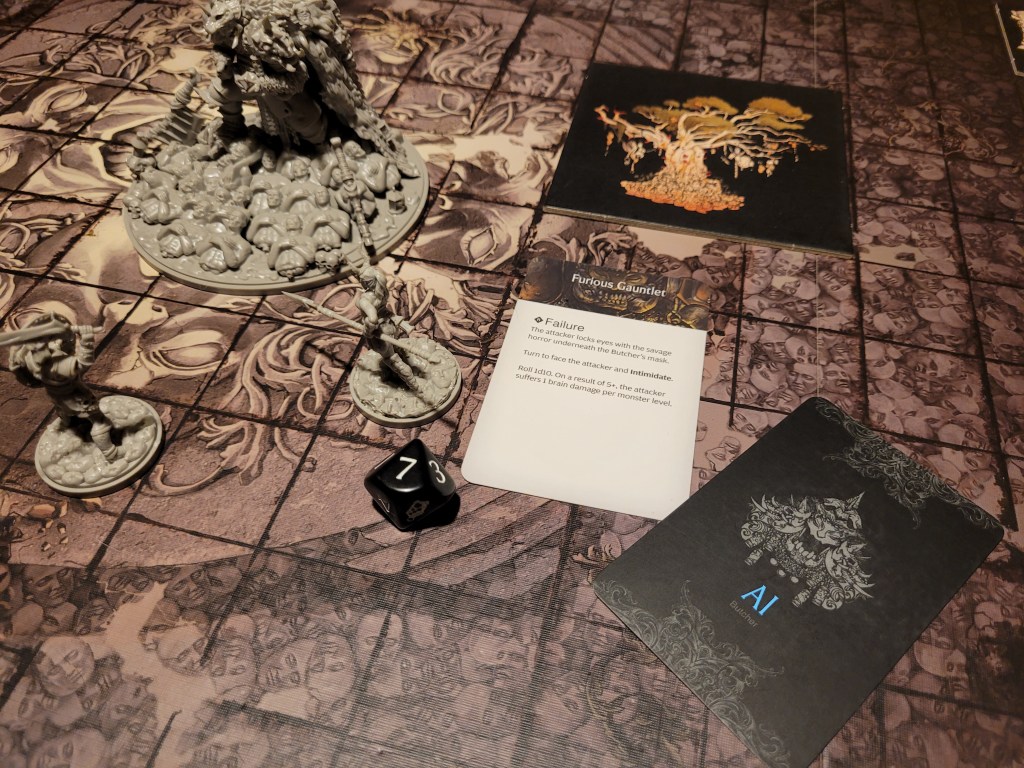
Ruby moved back into attack range and stabbed her lance forward undeterred, hitting twice. A 2 was still enough to wound (with the Lance’s 9STR as a base). And with her 3 courage she even ignored the Butcher’s roar on the reflex. And another wound was dealt against the gauntlet! Mars activated next and with his Frogdoggles he saw Lantern Frenzy on top of the deck – a card that I needed gone – so he attacked into the cleaver prepared to surge immediately afterwards to take this particularly dangerous card out of the game.


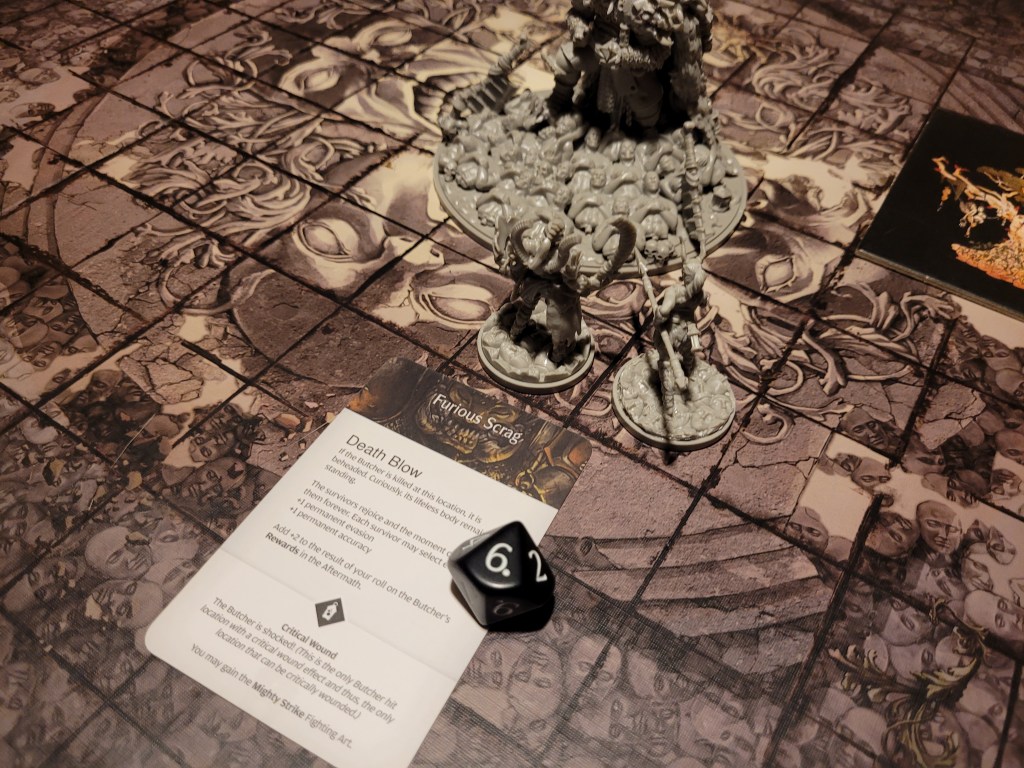
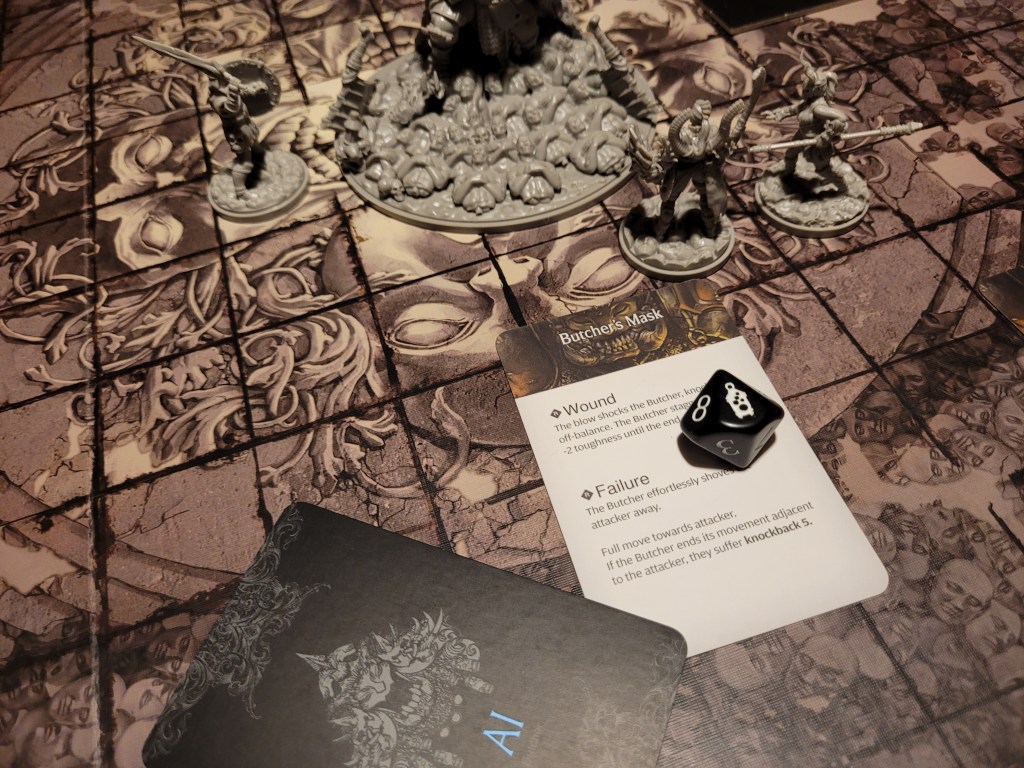
This small deck thinning out so fast was already a little terrifying. Still, Celestine jumped in again to attack. She got lucky and did not draw the trap. She swung for an impressive 24 against the Butcher’s Mask, which sadly meant nothing for her. The second hit came in for 23 as well.., by her rolling a 9 and avoiding the lost eye!
Calystea was helped up, but she just kept her distance for the time being, pumping her armor again instead of rushing in.
Only 7 cards remaining, the monster discarded Kick and played Wild Carve instead. Celestine was his target that time. It misses twice on 5+, landing 1 hit to the body, giving Celestine the chance to dodge the damage. She did take 1 hit to her body and a single bleed from the second part of the card though.

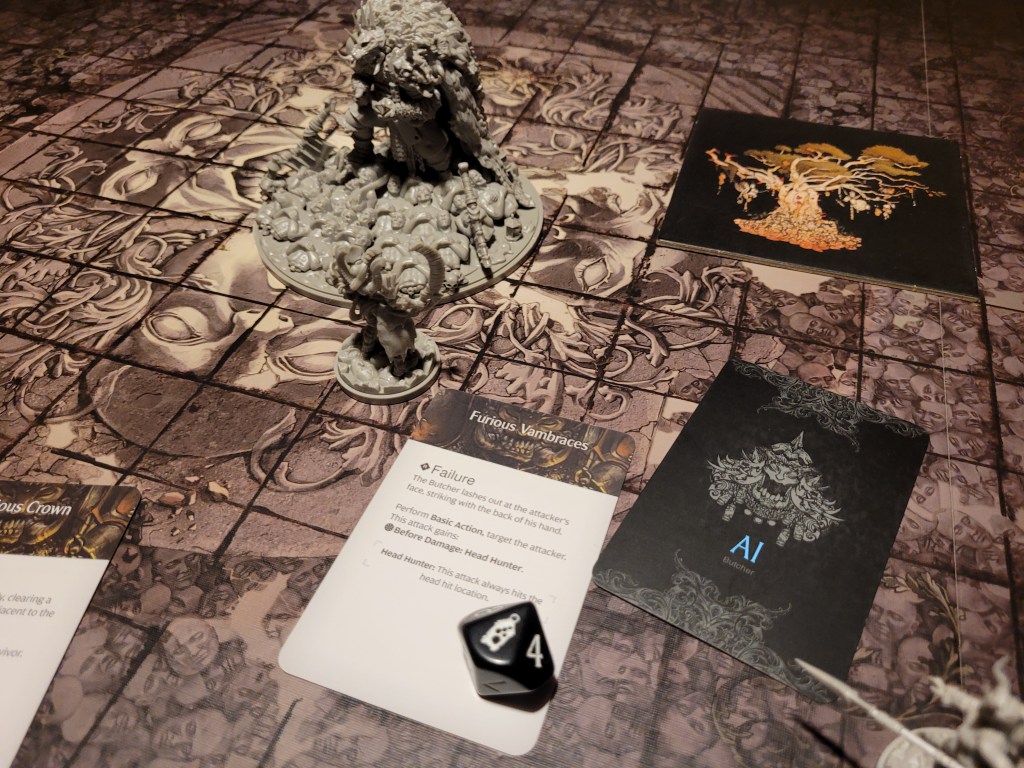
Back to the survivors! Mars activated and stepped away. The trap would undoubtedly come up soon and nobody in the group had any fur armor to mitigate its effects. Ruby dashed away as well and Celestine tried to stab the Butcher twice. She did not hit the trap though. Another great hit caused a wound, but the follow up failed – she was knocked down no matter the result and the monster moved over to Ruby.
No fear!
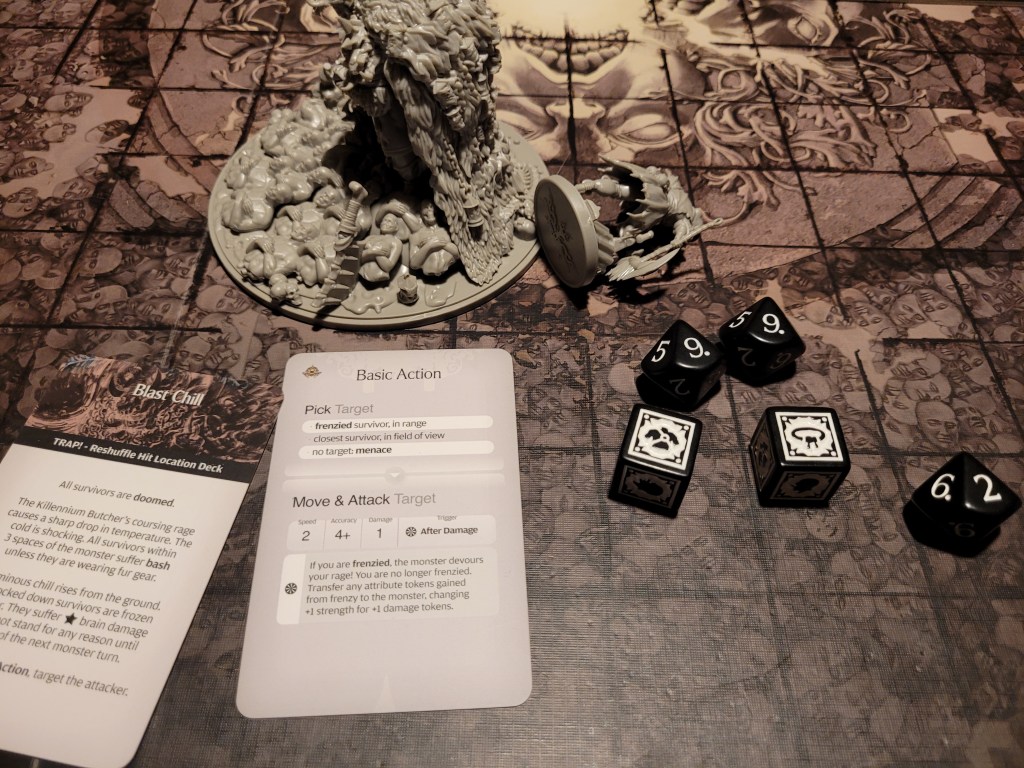
It echoed in our minds, the words Sir Hermes tried to live by. Ruby hit the monster and found the trap we had been so anxious about (every survivor within 3 spaces not wearing fur gear is knocked down, all knocked down survivors take monster level brain damage and a basic attack targeting the attacker). The basic only hit her once and with a 2 amongst the rolls, she even gained 1 armor in each hit location as well due to her Body Suit and Mage’s Hood gear combo!

Calystea saw a chance and ran in to attack as awell. She hit the monster thrice.., and found the trap immediately again on top! This frenzied both Celestine and Ruby!
6 cards remaining, the monster’s momentum would soon be picking up I feared and it drew Double Hack, going after Mars. Thankfully, as he was miles away, it didn’t reach him.
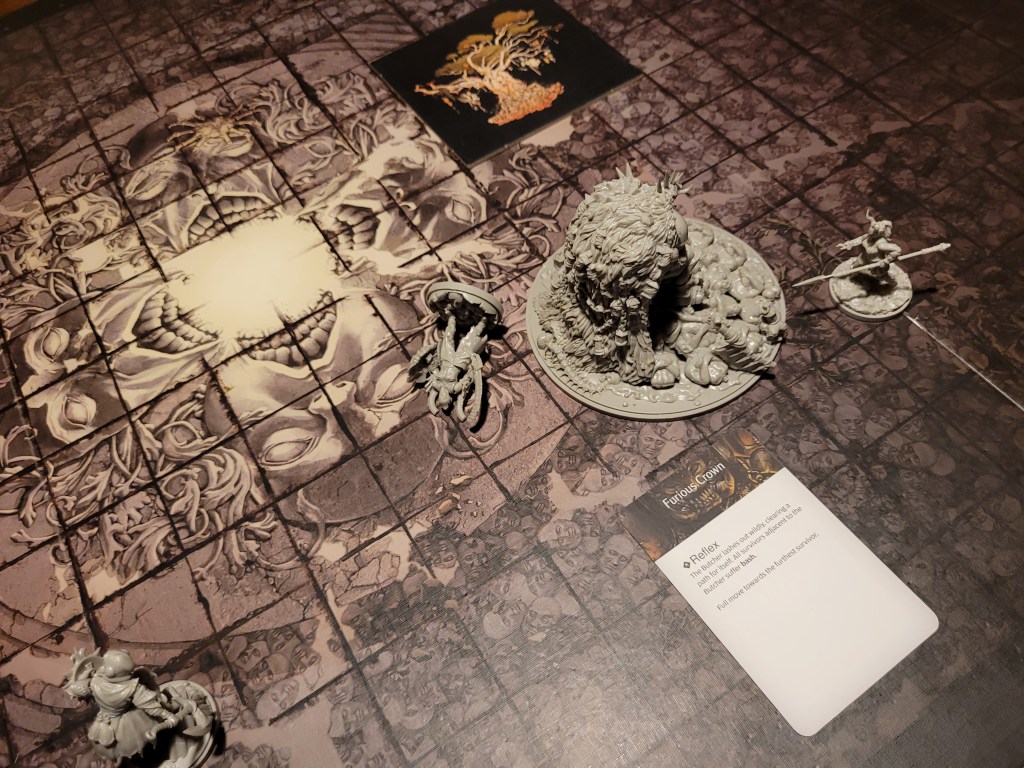
Mars was first to activate again, but he only repositioned. He was first a lot of the time mainly because of his goggles spying out good or bad targets, both for AI and HL. This round, Ruby made use of the information and ran to the perfect distance and attacked for 2 hits. The first wound knocked the Butcher over again, distributing more courage amongst the group, with the second hit also wounding shortly afterwards.
Calystea saw her chance and moved in to attack as well. The fist hit just plinked off the cleaver whilst the second failed to get passed the monster’s tough exterior. At least the third hit wounded. Content with just preparing for her next turn Celestine found a spot to leap towards the monster from.
3 cards remaining, the monster discarded Backhand and played Screaming. Just like that everyone had 2 frenzy tokens all of a sudden. We felt the rush – this was an opportunity to kill it. But we needed to be quick!
Of course the deck was thinning out again considerably as well.

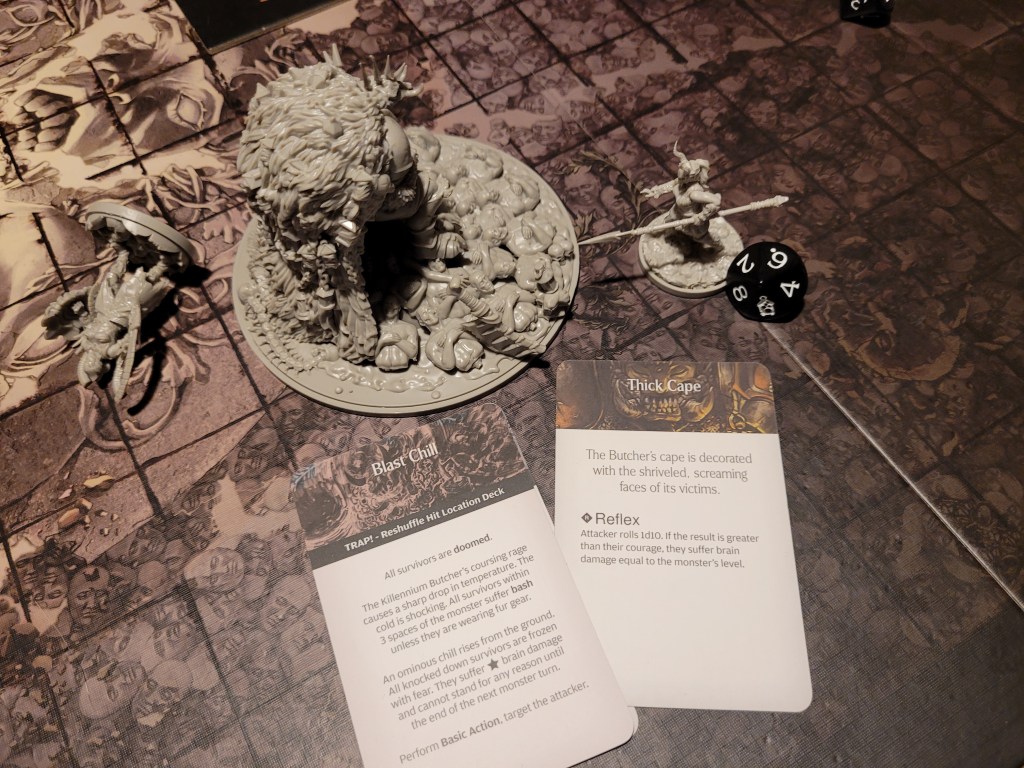
Mars activated and we saw the trap on top of the deck. There was no real option other then to tank it for us though. So Mars just moved around a bit more.
Ruby backed away from the Butcher and blocked as Calystea was chosen to attack. She managed to hit and trigger the trap as close to “in a controlled fashion” as possible and got knocked down and frenzied for it, but no matter who was picked, with the Screaming monster anybody would ramp it. Again it scored 2 hits on 7+. Its basic attack removes frenzy from the target and transfers all frenzy-related tokens onto it, this also meant progress on Scorn: -1ACC for each of us as the frost grew harsher.
Celestine jumped in trying to capitalize on the monster’s opening and it was the trap on top of the deck yet again!
We were in big trouble if this kept happening! 3 hits, at least the damage spread for her was kind.

2 cards remaining, suddenly the Butcher was up to +4SPD. Of course the Screaming continued, frenzying Calystea, Mars and Ruby. It drew Double Hack and ran at Ruby, who couldn’t run away in her frenzy – relishing the clash!
5 out of 7 attacks had hit her. She blocked 1 body hit and had to take the rest – a severe waist injury amongst it. Her reroll saved her from certain death, as she suffers a bruised tailbone instead, knocking her down, restricting her dash and dealing an extra bleed for good measure.

We needed to kill the monster asap! Scorn was up to -1ACC, -1 MOV and we only got either our move or act per turn!
Mars activated and saw the crit is on top! But he wasn’t able to do anything but move up!
Celestine was able to dash so she used it to run away and jump in with her set bonus – 2 hits! The first card was wounded! But wounding the scrag failed! She encouraged Ruby, who attacked for a single hit. One more wound was dealt but at a cost: everybody was knocked back!

Calystea then deflated her armor in a Hail Mary attempt to kill the butcher. 1 hit out of 4. And it wasn’t the trap! A 7 on the roll to wound! That was enough even with the deactivated axe! She did it! And we even gained 1 more courage as the monster died!
Edit: Well.., oops.
Right after I got done, I realized I could not have deflated Calystea’s armor as she wasn’t able to spend survival, so the fight would have continued into the next round.
I did a mock attack from the Butcher’s basic attack against her with the stats it had at the end, hitting her 6 times on 7+.. I guess I deserved that.. after using up her dried acanthus, the attack still dealt her 2 body severe injuries: a 6 and a 7.
So overall she ended up skipping the next hunt in an attempt to make up for the mistake a little at least.
Rewards!
I drew 1 basic resource from the scavenger kit – a monster hide. Mars (Backstabber FA) aged and Calystea decided to go Cleaver spec. Everybody gained their weapon proficiency for the fight. Additionally the survivors all gained another 2 courage, putting them real close to losing an eye already. We also gained 1 Killennium Cleaver, Hollow’s Light and 5 broken Lanterns! That’s almost 2 iron!
Oh KillyB…
You do get lured into a false sense of security when fighting this version of the monster. The fight always starts out real mellow but just one wrong card and he goes off, ramping and raging into oblivion.
It also reinforces just how small the Butcher HL deck actually is.
On the flipside – a critial wound with Wrath would have been 8 additional wounds at the end.
But at this point I’m just happy I didn’t lose the Lance of Longinus again immediately.
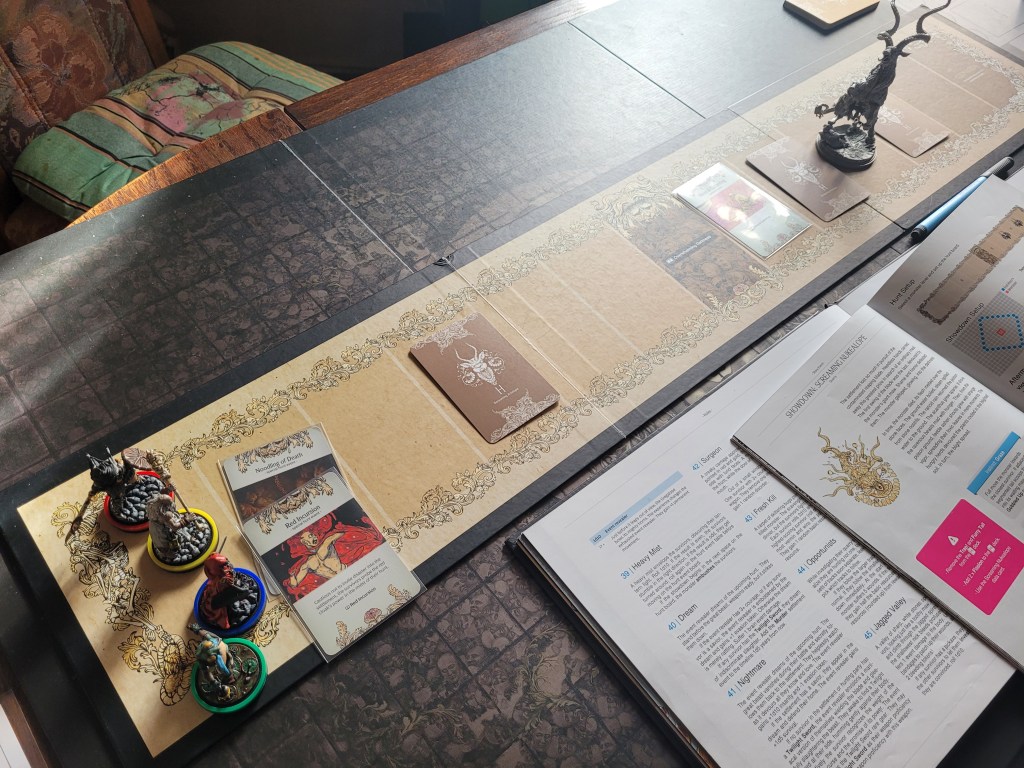
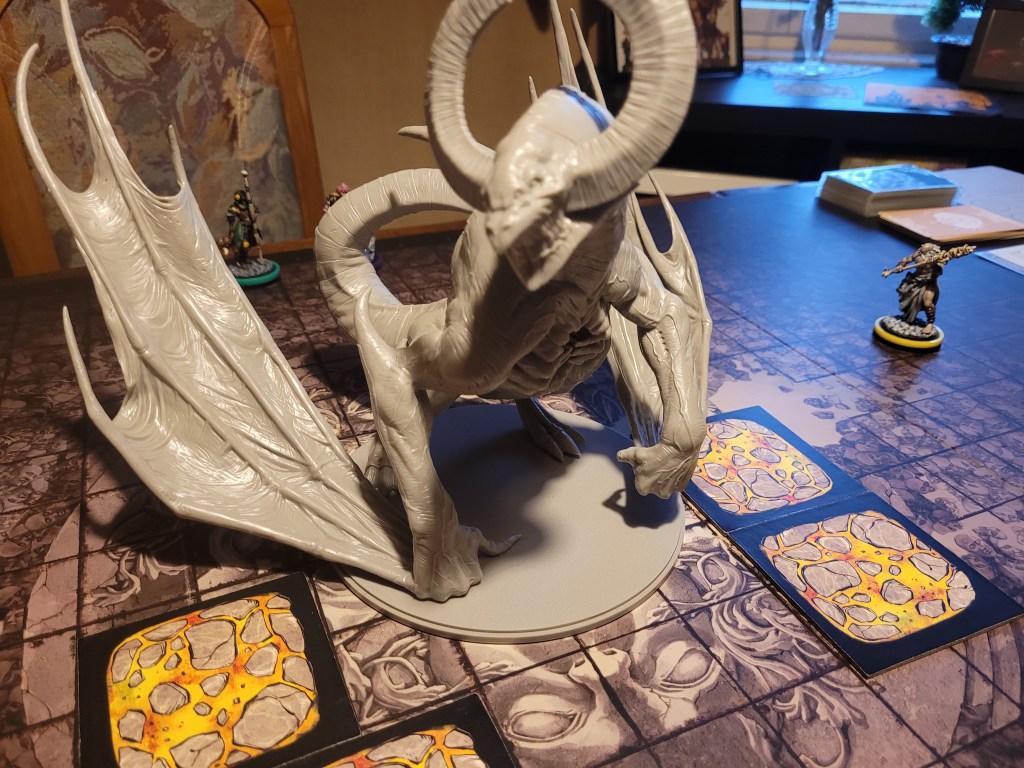
Next up: the re-match with the Black Knight!
After typing out the Screaming Antelope fight from last time and the Killennium Butcher from today and re-reading both a good couple of times, neither seemed to me nearly as tense as they felt whilst playing them.
And after a few more higher level fights in the books in general as well, I remain unsure if I am too afraid of the stronger monsters.., or if this is.. fine?
Damage-wise we can brutalize a lot of what the game throws at us with unga-bunga, in large parts due to Wrath being such an incredibly strong weapon to have and us starting to spring-board off what we already gained from it, but sometimes, well, you just die in seconds.
That is the nature of Kingdom Death: Monster, sure. But, I guess, writing the fights down makes me more self-conscious about them.
As always, thank you very much for your time, beware the angry cold-snap,
Amathul

Leave a comment