
As we have officially entered the year of the snake now and KD:M saw its first update/sale, we can continue on with the story of Bogstop. I do know now that I’ve been making the Frogdog ever so slightly harder on myself (because, yeah, I just kinda ignored that triangle in the set-up instructions, didn’t I?), but I can’t image it would have changed all that much in the grand scheme of things for this settlement or any other one.
Speaking of which, the People of the Stars I’ve been running alongside has made it in to year 12 and they are doing really well. I also had a chance to fight my first 2 Sunstalkers – yay!
Tyrant Lvl2 was a bit of a “lol get rekt” moment, as we got Quadstrike (TA) and just went to town on it. There is a rules discussion there – but me and my friend we looked at each other and with the mental image of one survivor shoving the Tyrant so it fell over and the others just kicking it until it gave up – we just had to do it. It likely cost us a good bunch of upgrades as well, but it was just too funny.
I’ve also made up my mind about my January sale order – so now its up to the EU warehouse to determine whether or not they find the time to send me stuff in the next 3 weeks.
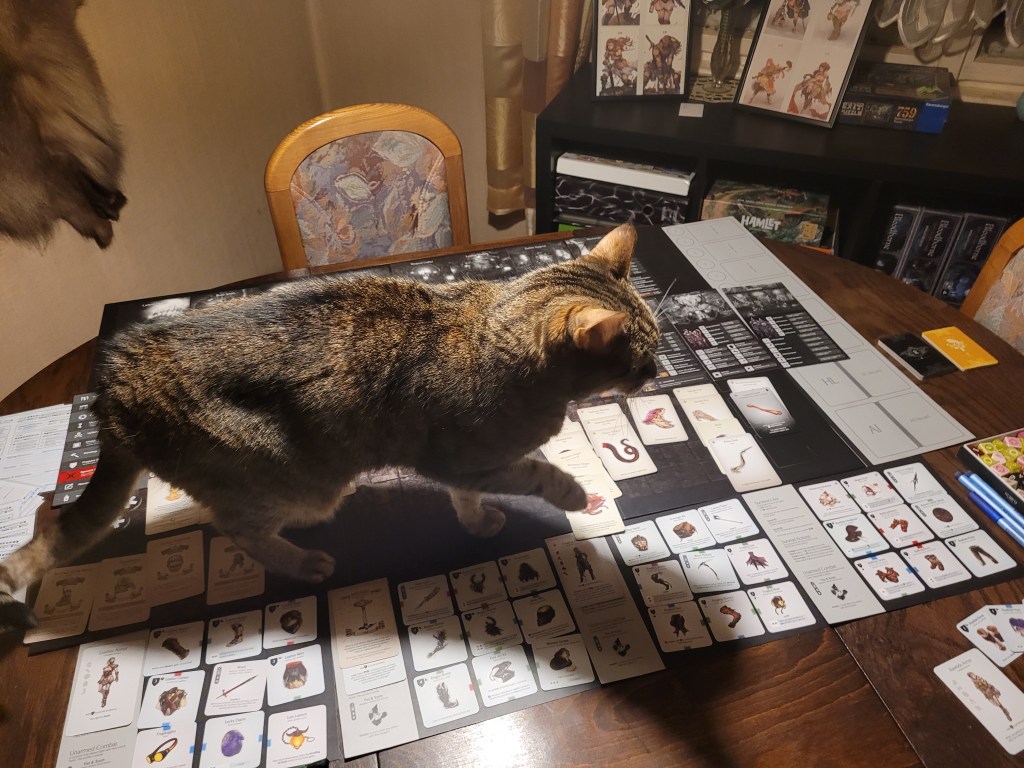
But enough about my other stuff – we need to get back to Bogstop! Whilst we wanted to have a triumphant and unblemished return to the settlement, we lost Glow during the last few moments of the fight. We did get a decent haul from the fight, at least – even the Feline Entity thought so.

But before could get to building new gear, we needed to get home first. So.., Settlement Event!
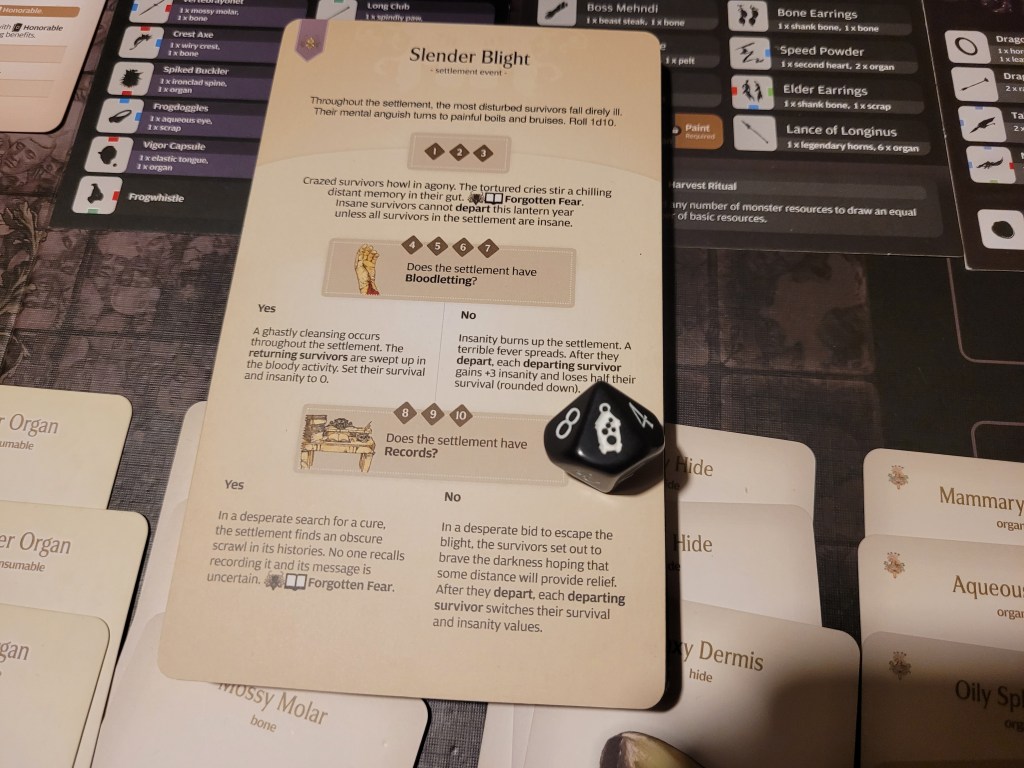
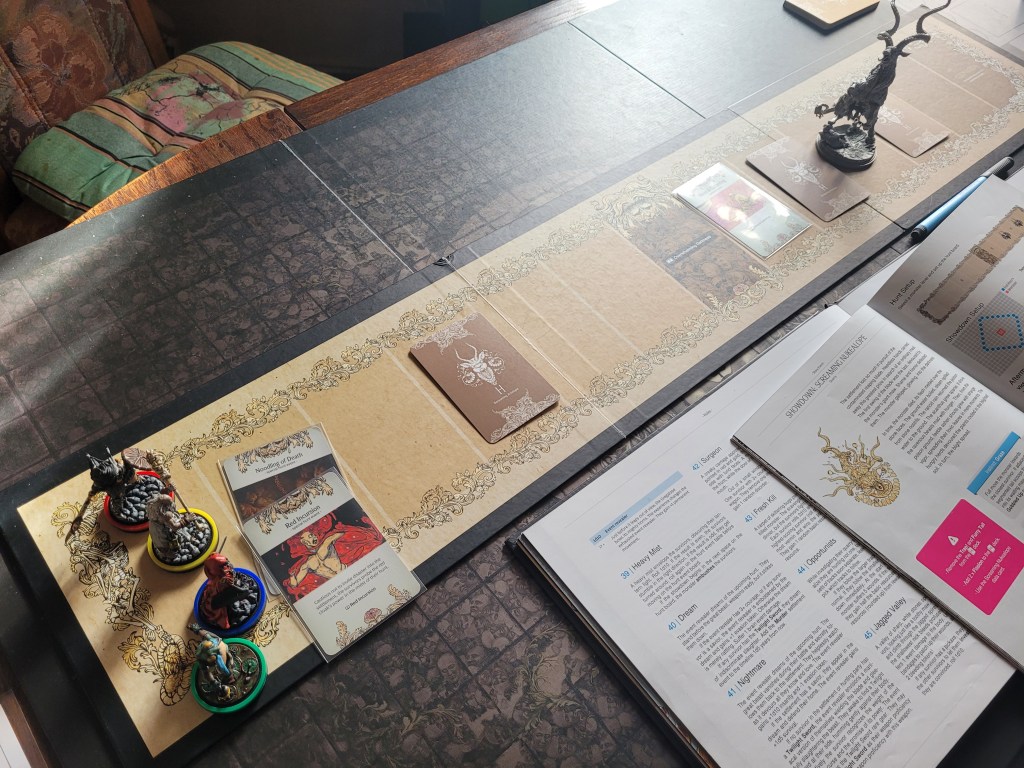
It’s Slender Blight.
Hrm. I wasn’t too happy with the draw, but the roll would determine how bad it actually was.
A lantern 10 – we did not have records, therefor our departing survivors would have to switch their insanity and survival after their departure for the fight. I couldn’t help but linger for a bit thinking about my options. Forgotten Fear wouldn’t have been too bad, I figured, as it would have given us another extra hunt I believe. In the end, I do hold off from spending a reroll and move on.
Arriving at the develop step, I noticed I was missing a few particular resources to build everything I wanted, like 1 Waxy Dermis, 1 Supple Nose, 1 Wiry Crest, 1 Ironclad Spine, 1 Gular Sac, at least 1 Prime Tusk and 2 or 3 more copper.
All in all that was quite the shopping list we were still left with to get.. Those frogdogs didn’t like giving up their resources easily, did they?
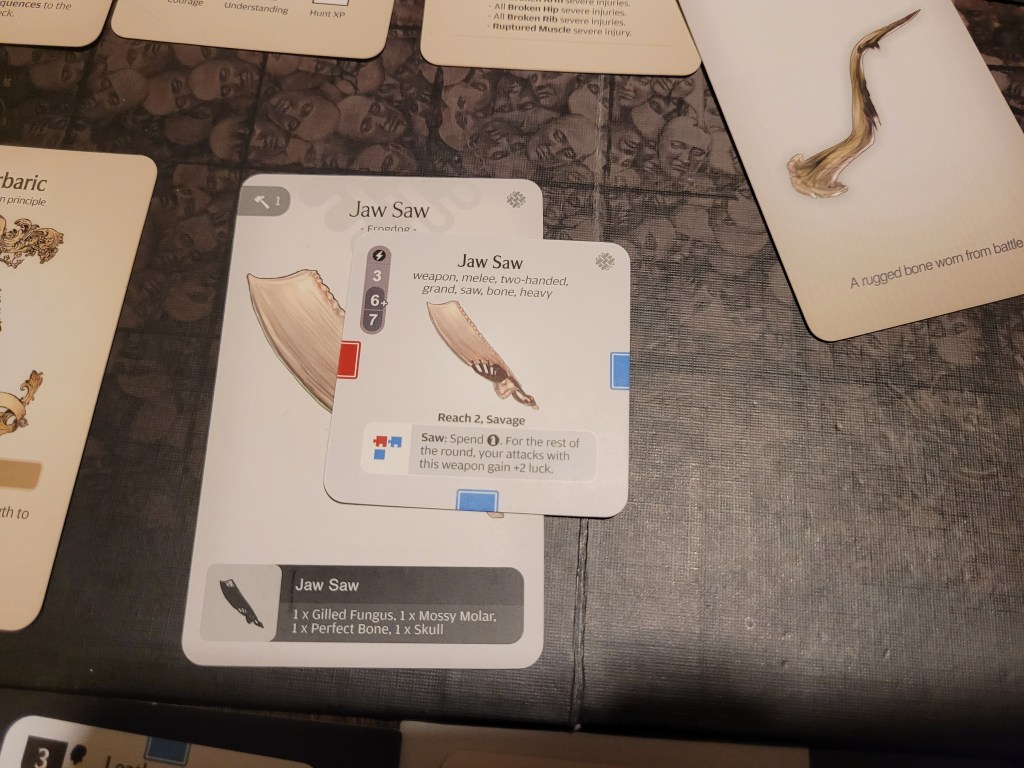
We also got the recipe for the Jaw Saw from the indomitable resource, which could be our start for a late grand weapon user. There was also the Bully Hammer, but building a 10+ ACC weapon without the set it heavily synergizes with, well, that just felt foolish. Also.., did I really need another weapon at this point?
I couldn’t help but think that the carbuncle would have been the best one to get, as a straight up iron resource.

Putting further considerations aside we started work on the set. We needed Leather to build it – so our first of 4 endeavors was spent getting the leatherworks going. With the stuff we had we were able to build 3 pieces of the set and after moving back and forth on it for a while, I ended up picking the gloves, breastplate and boots.

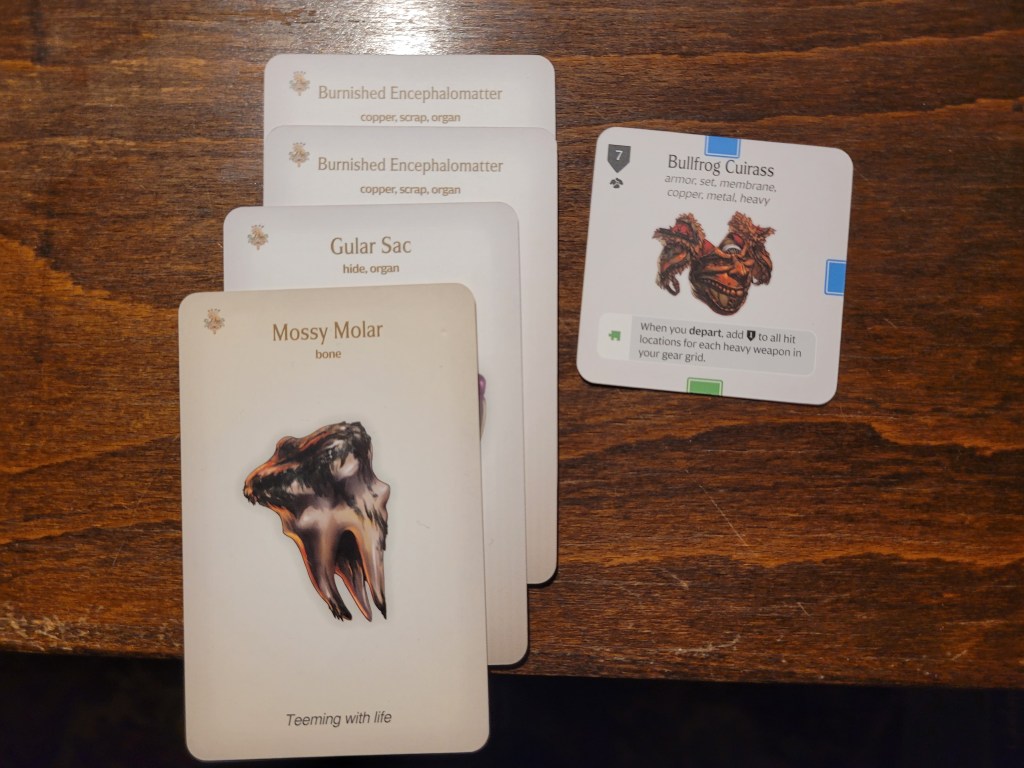
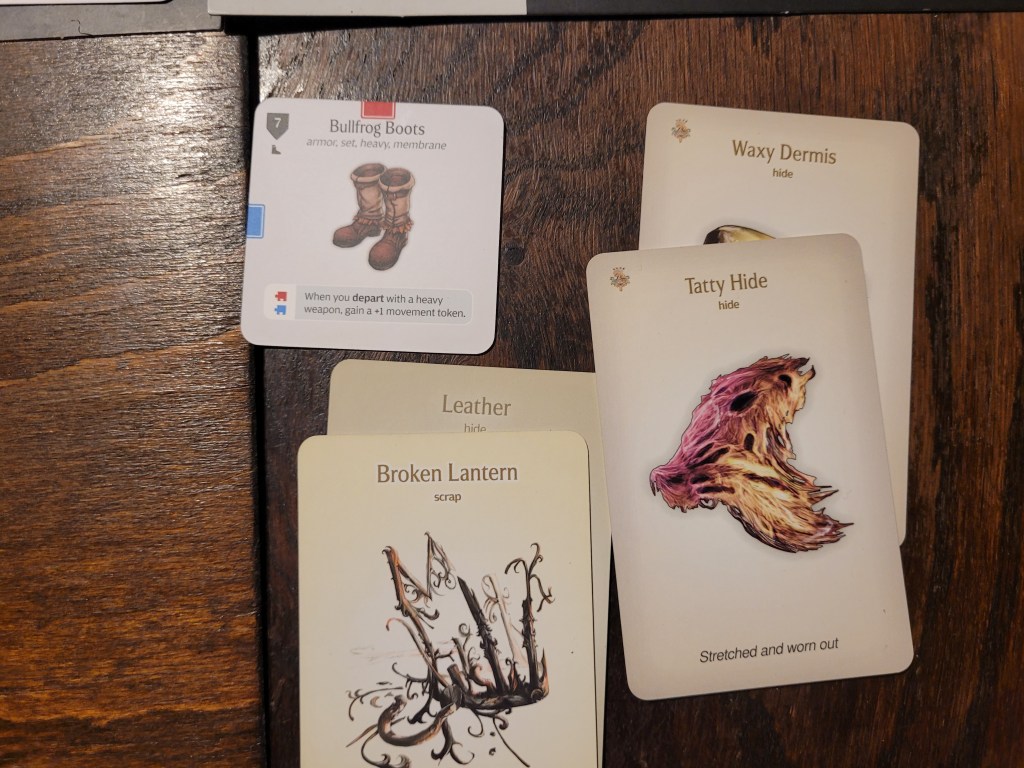
Left with one normal copper in storage and an Indomitable resource substituting as another, we were missing only one Waxy Dermis and a Gular Sac to finish the set, set to ignore the weapons for now.
It already felt obvious at that point that we would be tackling another Bullfrogdog in Lantern Year 20.
But for now we still needed to spend some more endeavors!
Our 2nd endeavor was used to set up a metamorphosis festival for next year. We managed to see 9 omen over the course of the campaign up until this point and with a pensioner in the settlement, maybe we could reactivate him.
This was also the moment when I realized I could have pursued bathing in the swamp more aggressively. I misread the event in a crucial spot. But that was something for the next Lantern Year.
Next up for us at the time: Glow’s final gift – the Love Juice made from her innards. And wow, we might need to get into juicing: a 9 and a 10.Seeing the rerolls left in the settlement I did not want to spend the endeavor on Face Painting and just went for it. And it clearly paid off – a 9 was twins.
The parents were Jerryn and Selen, so at least one of them could learn some swordsmanship. Boy Ghurt (Extra Sense FA) took up the sword and girl Emerald (Giant’s Blood FA) learned shield proficiency.
We spent our third endeavor on our Shrine again, and rolled a 9 which gave us 1 more armor for everyone.
And finally, one more endeavor, that meant one more innovate.
Bloodletting, Nightmare Training, Sacrifice and Pictograph – this choice felt both hard and easy at the same time. Whilst Pottery would have been the one I wanted to get the most, Nightmare Training appeared like the right one to pick from these four.

We had a boat-load of organs left as we prepared for the upcoming fight.
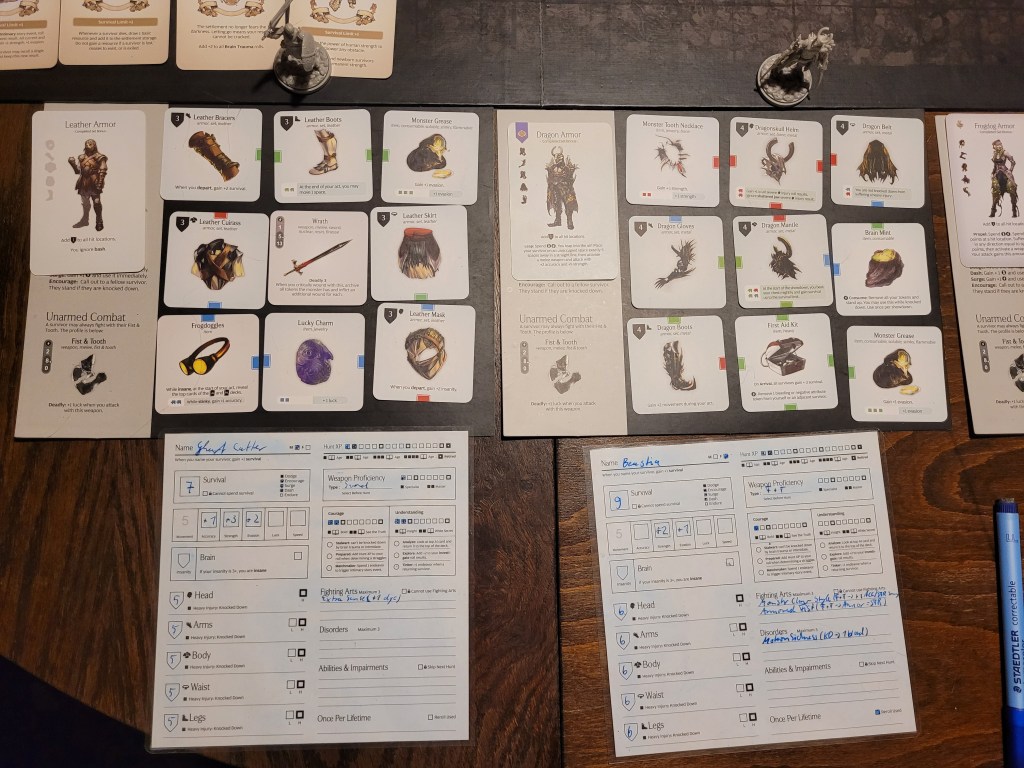
Ghurt (Wrath, leather set)
Beastia (F&T, dragon armor)
Calys (lantern glaive, frogdog set)
Celestine (bone club, bullfrogdog bits)
Beastia had a mean 9STR base with her F&T attacks due to Armored Fist (FA), whilst Celestine with 3 Bullfrogdog items was the overall tankiest member of the squad with 11 armor in 3 spots.
(Edit: I only noticed my mistake during the settlement phase of the next year: Celestine should have had 1 armor less at each hit location – luckily this did not have an impact on this fight.)
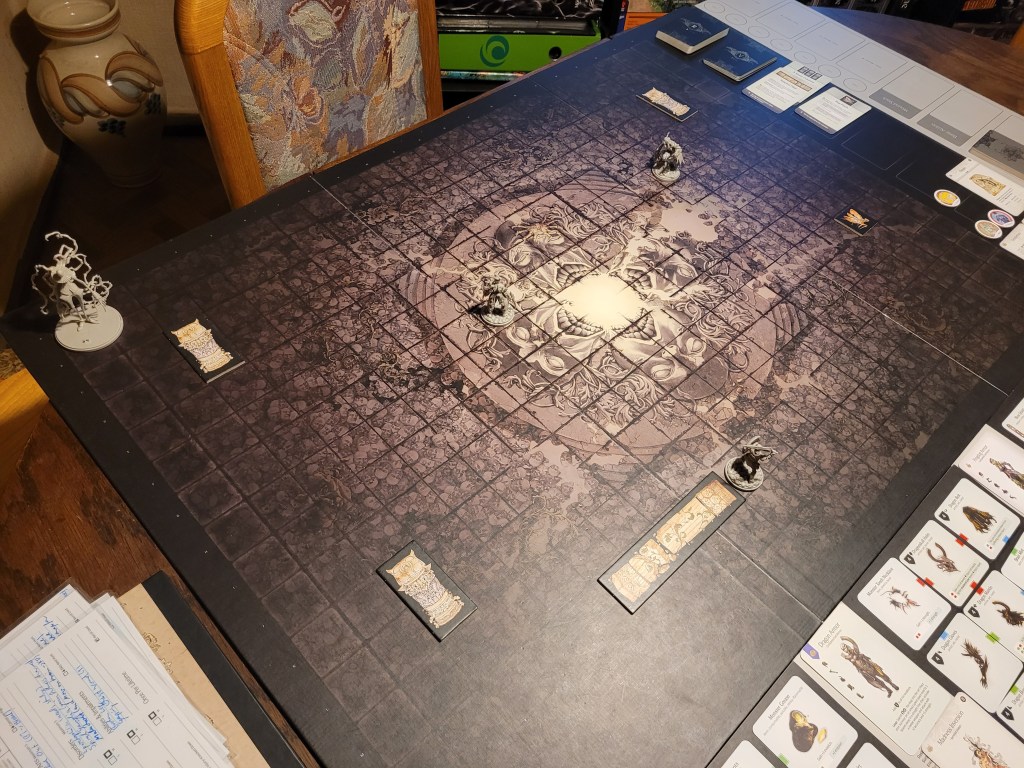
Pictures were taken with all arrival bonuses already applied.

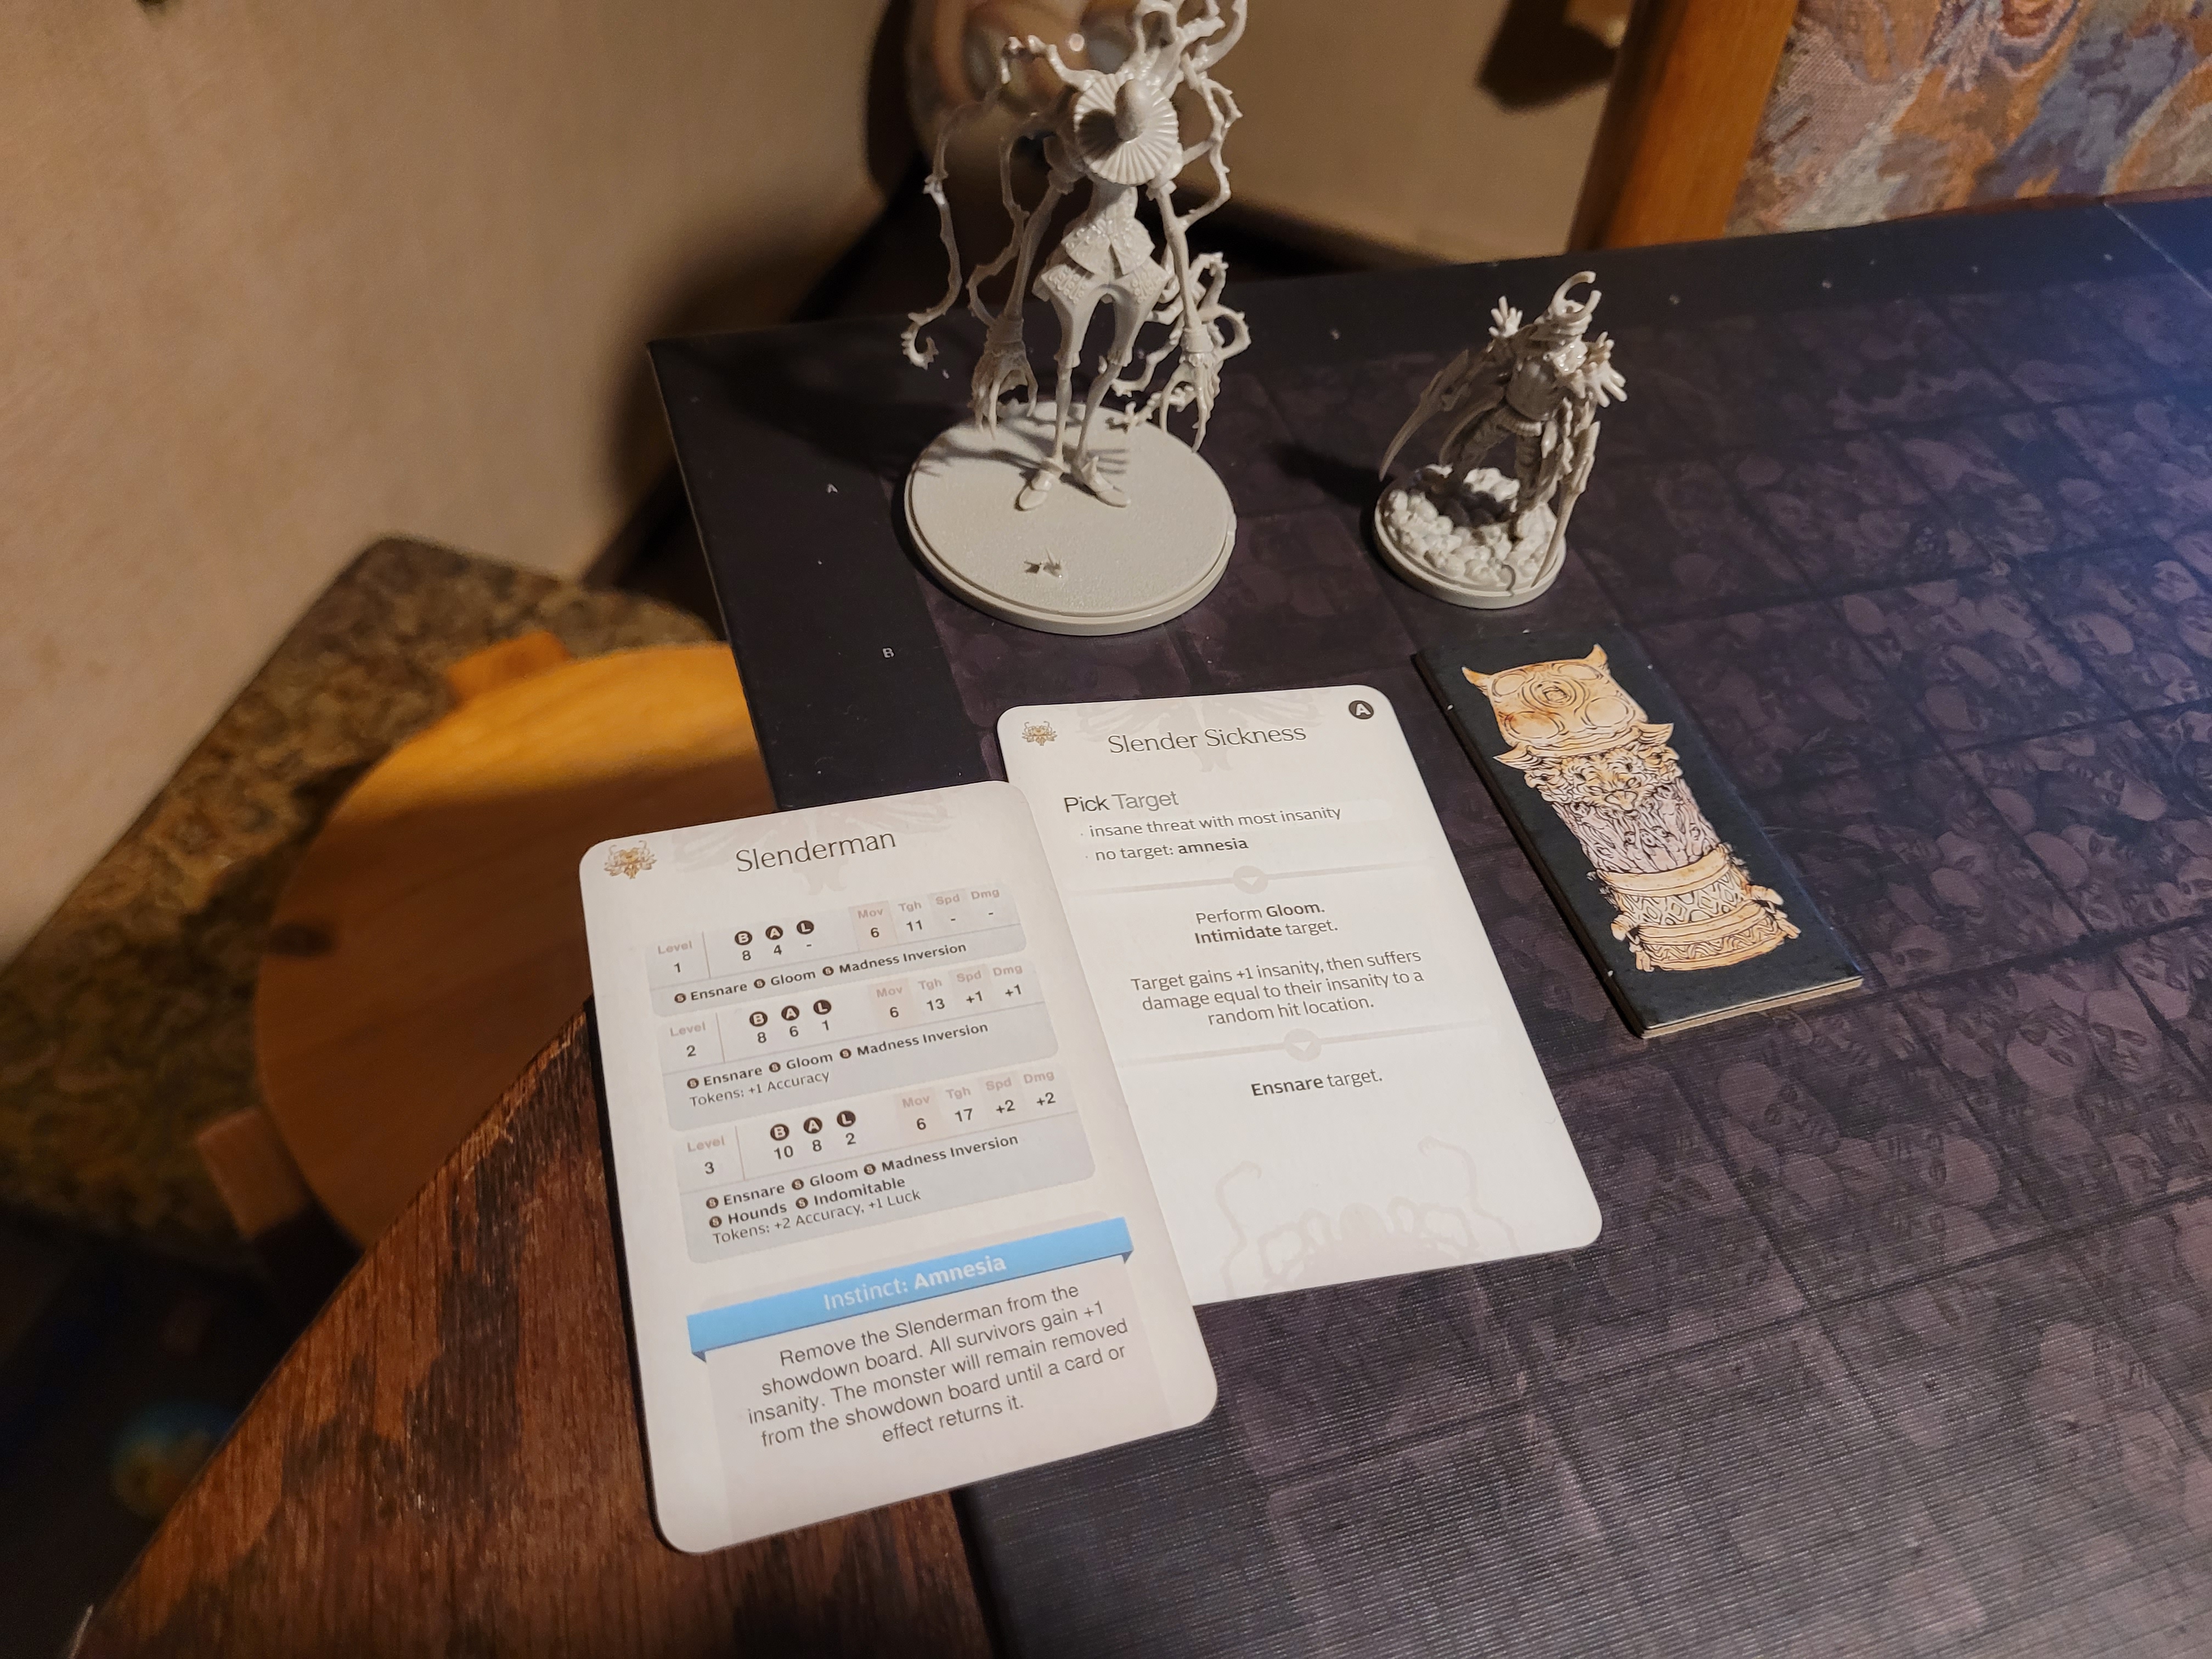
We did fight the Level 2 version of this nemesis monster.
I believe it relevant to mention this as I found the set-up instructions a bit strange. According to the introductory event, any Slenderman from Lantern Year 19 onwards should be a level 3 version of the monster.
But as you only fight your second Kingsman encounter in Lantern Year 19 it feels wrong to me to just skip the regular level 2 encounter with this nemesis. So, be warned that this is the, probably a bit easier, level 2 version of the monster.
(Maybe the game expects you to rando into an extra Slenderman fight at some point?)
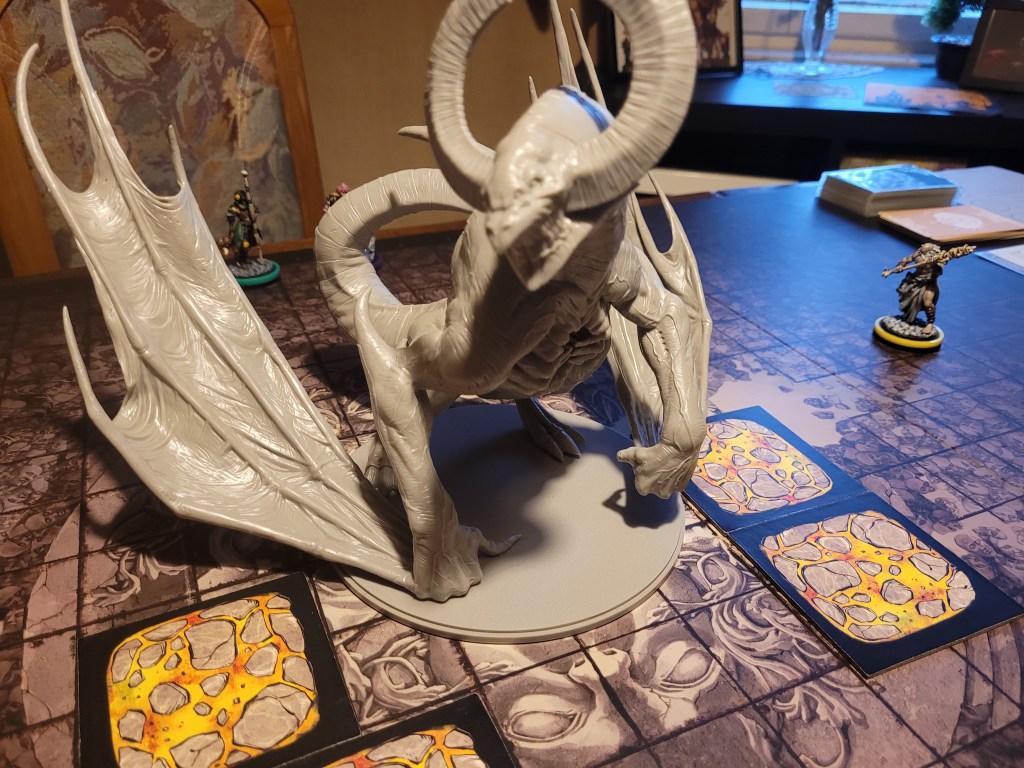
Slenderman level 2 does not feature any new traits, but scales mostly numerically instead. Aside from the typical +1DMG/SPD, it has a +1ACC-token, one of its 2 L AI cards in its deck and whenever Ensnare is resolved all survivors suffer a static -2 to their rolls.
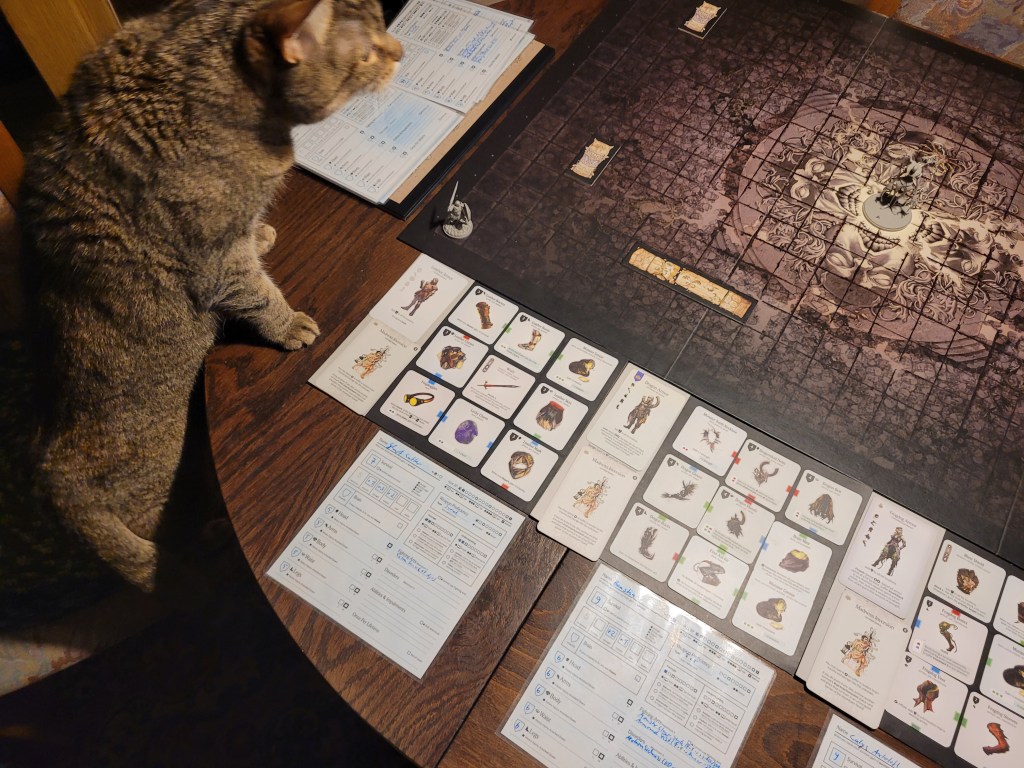
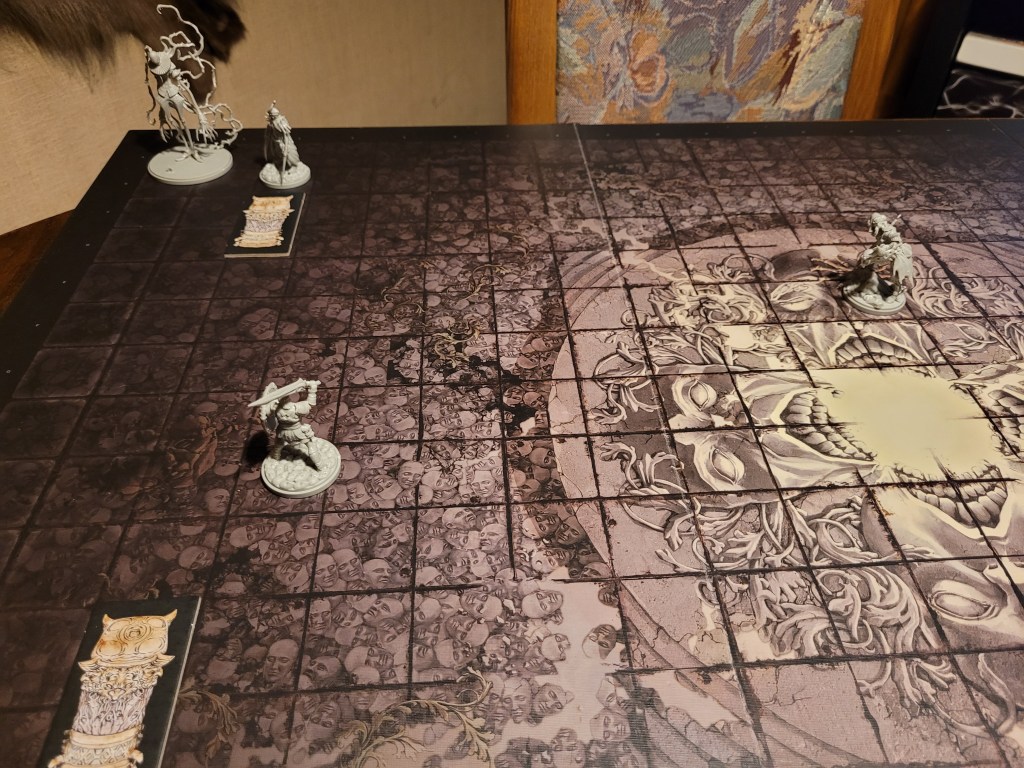
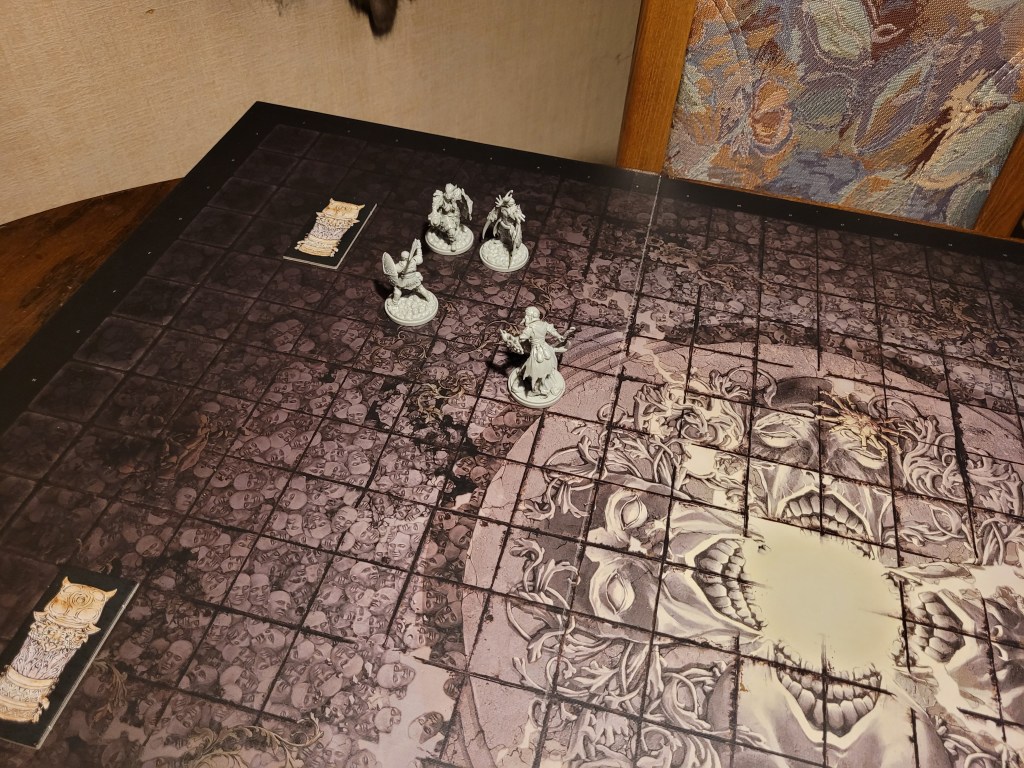
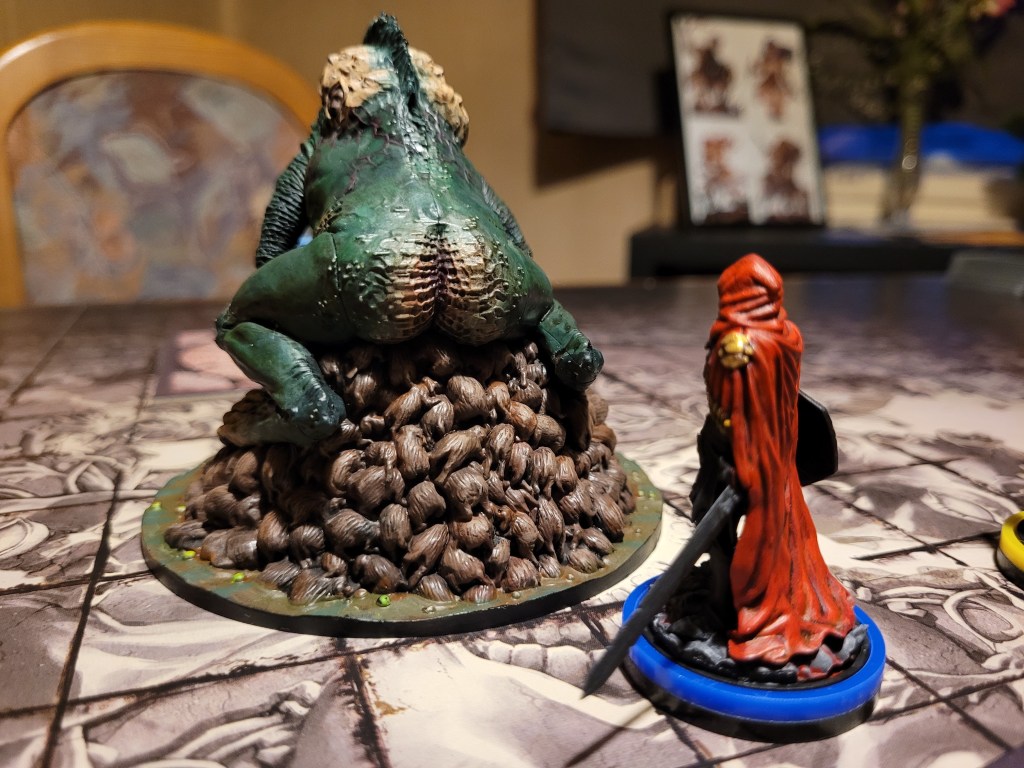
As with any Slenderman fight, starting first doesn’t do too much for us as we were sitting in the far corners of the board, but what choice was there, but rush towards the lanky pomegranate and unga-bunga the thing to bits.
In that sense, we had our game plan and began our turn by making a mad dash towards the center of the board. With the fairly large amounts of survival we had to work with, each survivor spent 1 to dash towards the monster, trying their best to regroup.
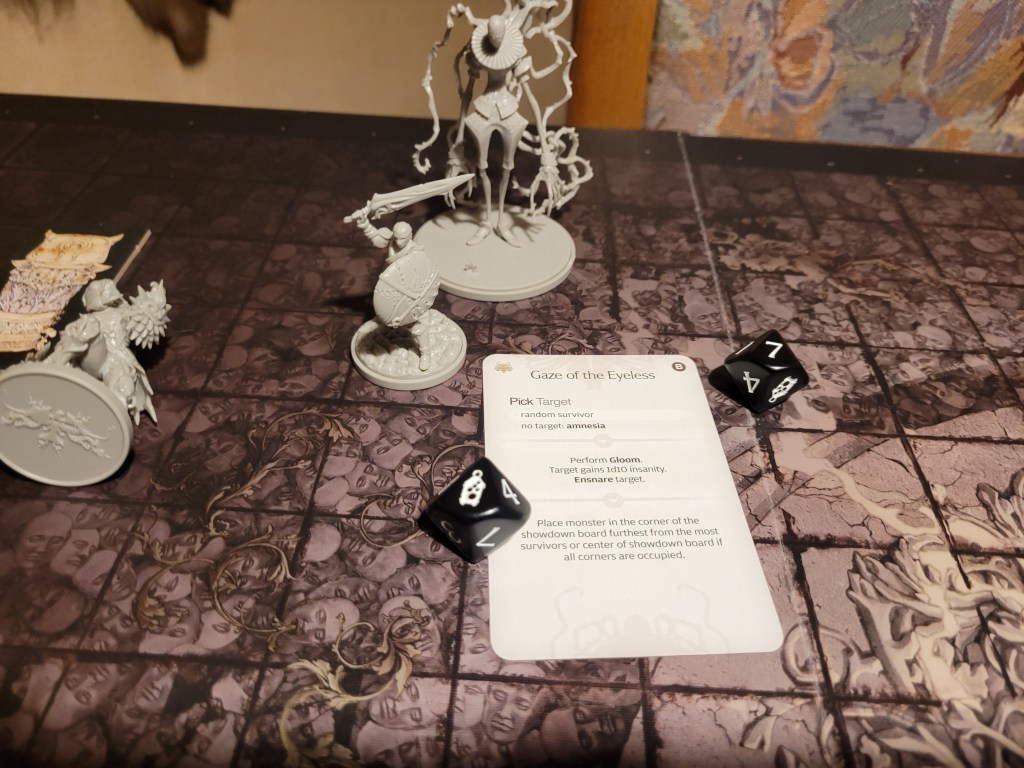
15 cards in the deck, the monster drew its first card: Gaze of the Eyeless. The random target was Celestine. She only gained 2 insanity from the attack but failed to roll decently (4+) so she was ensnared on a 2.
Curiously, counting out spaces for each of my survivors, it wasn’t Celestine’s corner that was furthest from the most survivors.

We began our turn with Celestine struggling in the Dark Place. She kept rolling badly – a 1. She suffered a seizure, gained Squeamish (D) and a bleed token as she remained stuck in the sheer endless depth.
With another dash – back towards the corner at that point, Beastia was able to jump at the monster with her armor’s ability. Jumping straight at its head and the Faceless Visage, she critically hit the thing on a 9 with F&T! Thanks to her Monster Claw Style (FA) her attack had savage and she inflicted 2 wounds at once!
Ghurt and Calys did their best to follow suit, but to nobody’s surprise, they were too slow.

13 cards remaining, the monster drew Slender Sickness. There were no insane survivors to target, so its instinct triggered instead, spreading 1 insanity to each survivor as it vanished (I do imagine a *plop* sound effect each time).
Silence reigned as if it had never been here to begin with.

Struggling, but able to free herself, Celestine emerged from the dark puddle the monster had left behind, with another bleed token and drenched in Dark Water – she rolled an 8.
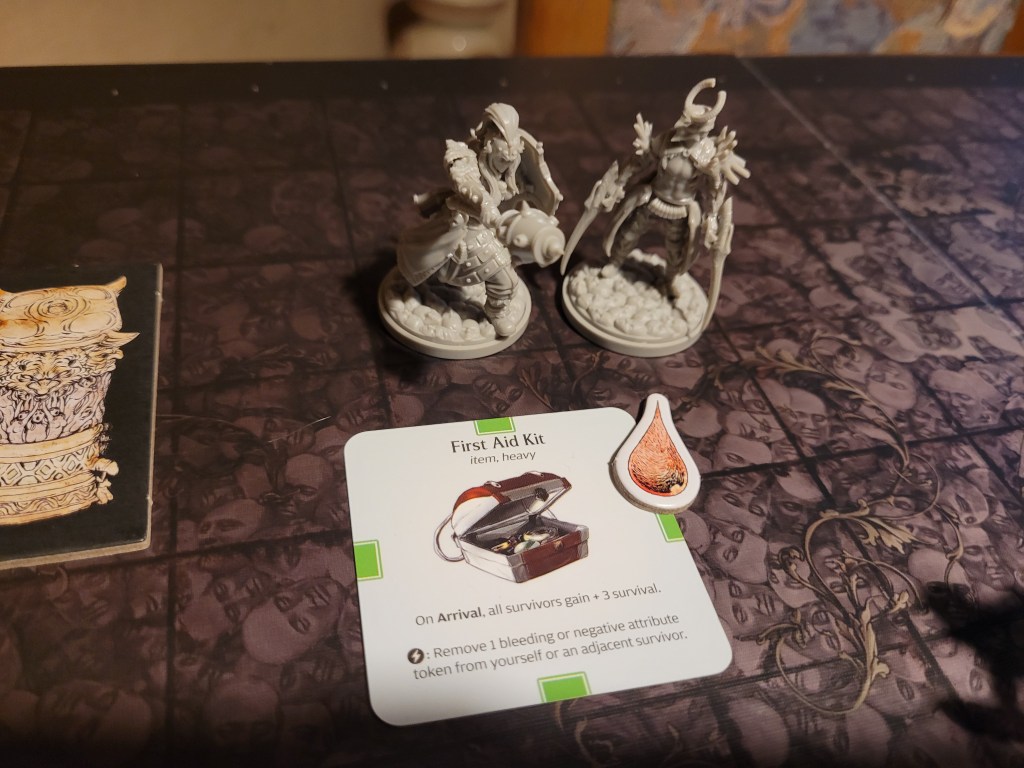
We did what we could to group up, Beastia used her activation for the turn to remove 1 of Celestine’s bleed tokens with her First Aid Kit.
And Calys pumped her armor up to 8 points as she approached.

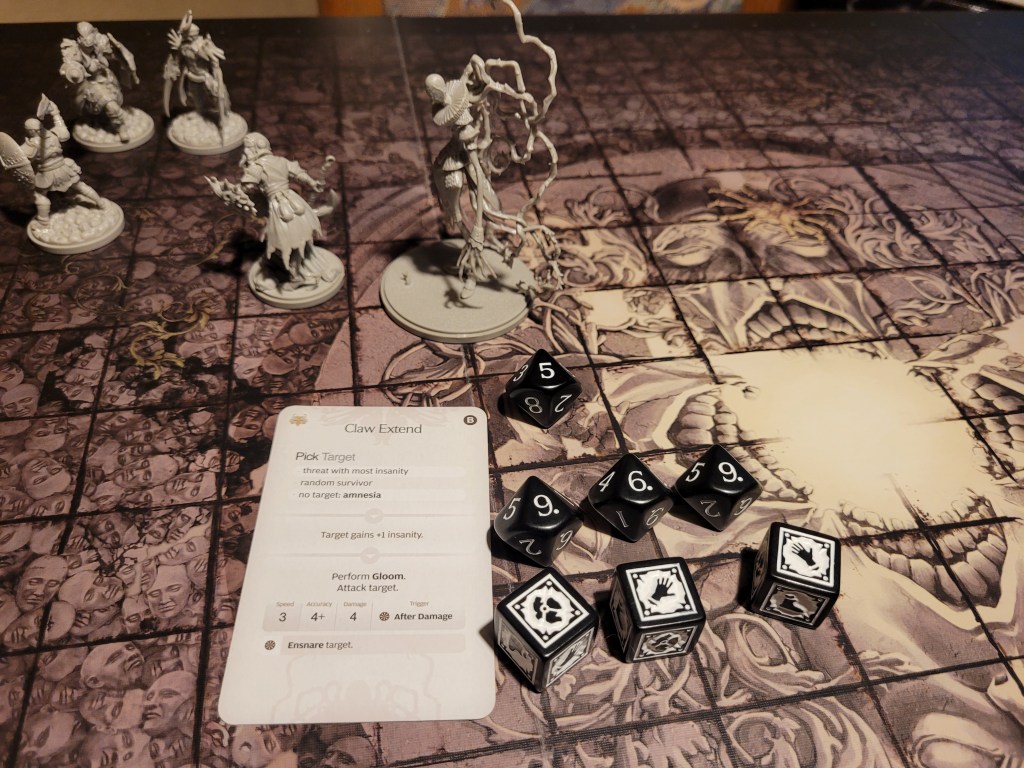
13 cards remaining, the monster drew Claw Extend. It picked Calys as she technically had the most insanity at 1 (together with a few other possible targets). She gained 1 more insanity as she was suddenly attacked from behind. She quickly surged in a block. Hitting on 6+, it managed 3 hits. Between the block and Extra Sense (FA), Calys spent the 2 survival and evaded all attacks to avoid being ensnared!
Blocking with the Blast Shield also gave her priority target for next turn.
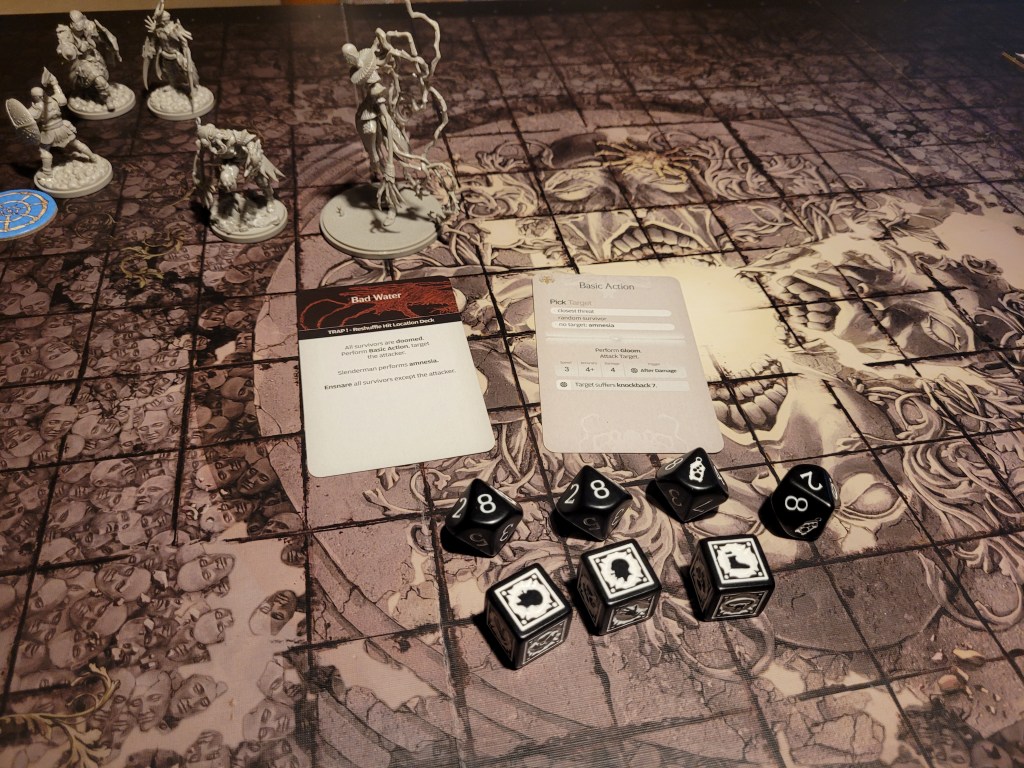
Calys did a quick heel turn to strike at the monster. She did hit it several times and triggered the trap. Again, she sufferd 3 hits on 6+, her leprosy protecting her from the worst of it, each hit only dealing 4 damage.
The monster vanished again, as did Celestine…
With little else to do, we waited for the monster to re-emerge.
13 cards in the deck, Long Arm Grasp was played. We knew that Calys was going to be the target. Only 1 hit this time and she dodged it, again to avoid being ensnared.

Celestine struggled against the submerged jungle and rolled a 7. She gained Chimeric Delusion (D) and another bleed as she appeared behind the monster, ready to dash in and attack! She hit twice. Hoping to not hit the critical hit on the impervious location – she did not want to get basic-d in return, she attacked the normal spot first and,, rolled a 10 – that’s a wound dealt and +1 courage for her as well!


Calys followed up with an attack with the Lantern Glaive, hitting twice on 6+. She didn’t draw the trap this time. She wounded the first hit location, and even managed to not get ensnared, before wounding on the 2nd one as well. The monster blipped away from her as she blinked though.

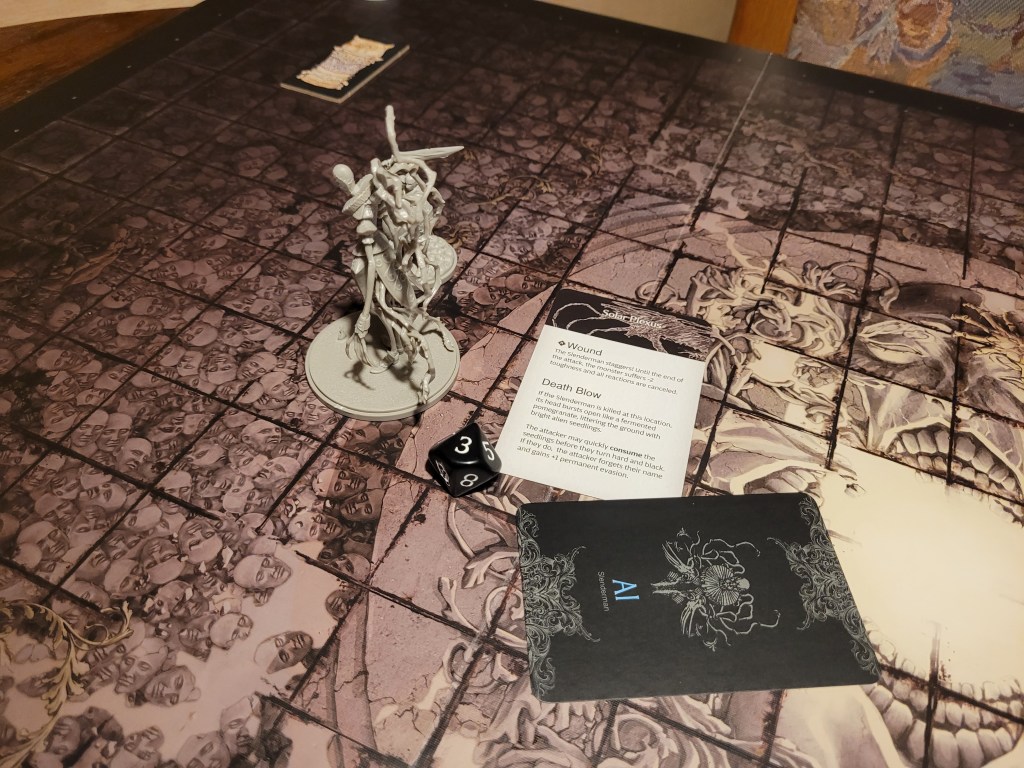
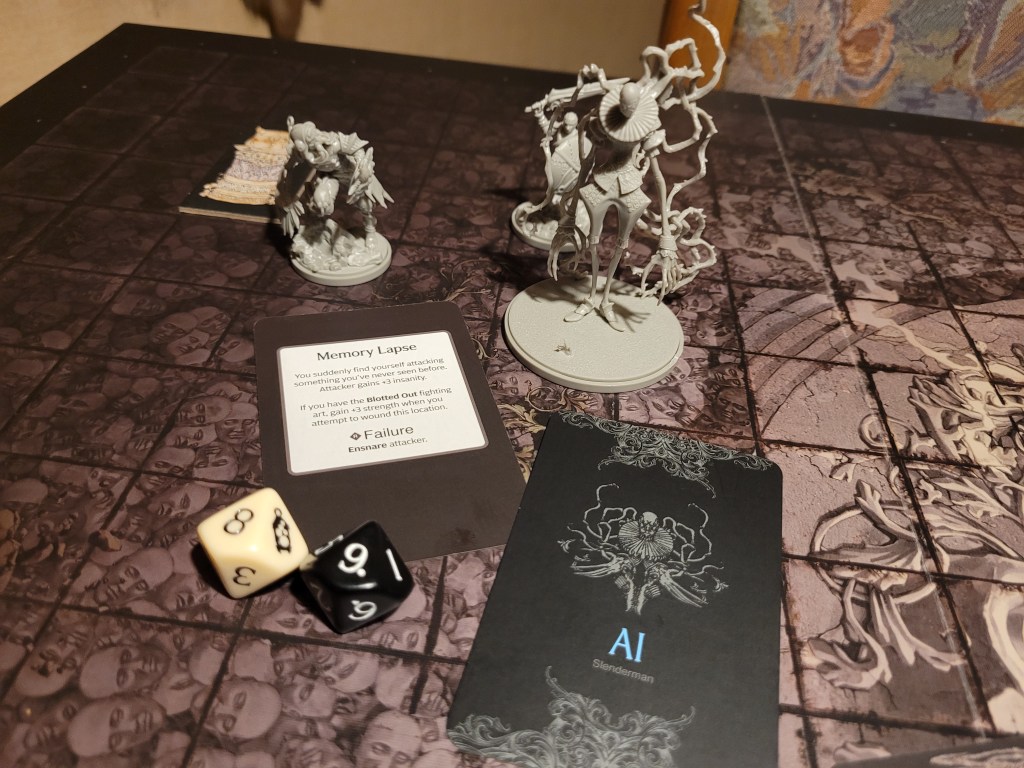
This was Ghurt’s first chance to attack and as the bearer of Wrath he had a bit of an obligation to fulfil. So, without fear, he ran in, hit the monster and had a Memory Lapse.
He did wound with our omega-sword, but couldn’t crit. Naturally he surged in an attempt to remedy this failure and he drew the death blow. He wounded easily (3 on 2+) again and dealt another normal wound.

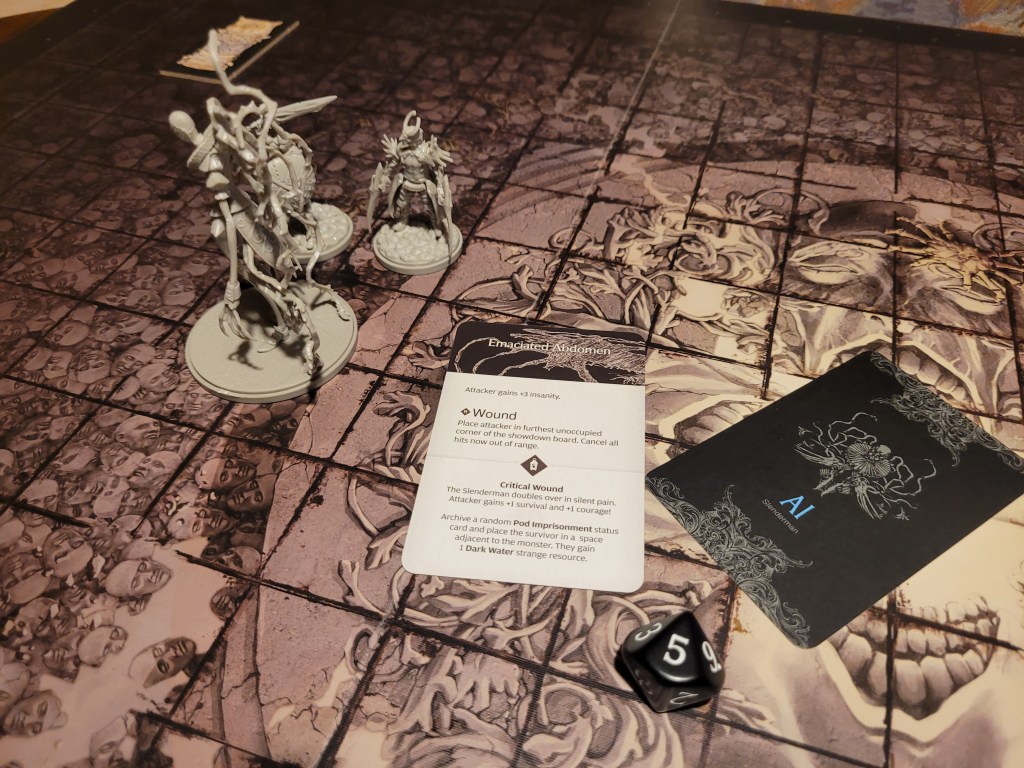
Beastia was still close enough to just about get into range to jump at the monster again, and so she did. One hit, she immediately gained 3 insanity before even attempting to deal damage. She did wound the creature but was sent to the furthest corner of the board for her audacity.

7 cards remaining, The tempo of the fight had shifted into the survivor’s favor. Tentacle Spasm was revealed targeting a random insane survivor. That could have been a few people at that point, so the monster rolled and it got Ghurt.
Considering his options, Ghurt surged into the flow of the AI card but he missed. As the card continued to resolve, he got hit twice on 6+ from the 6 incoming attacks. Ghurt also had Extra Sense (FA) so he too spent 2 survival to dodge both hits.

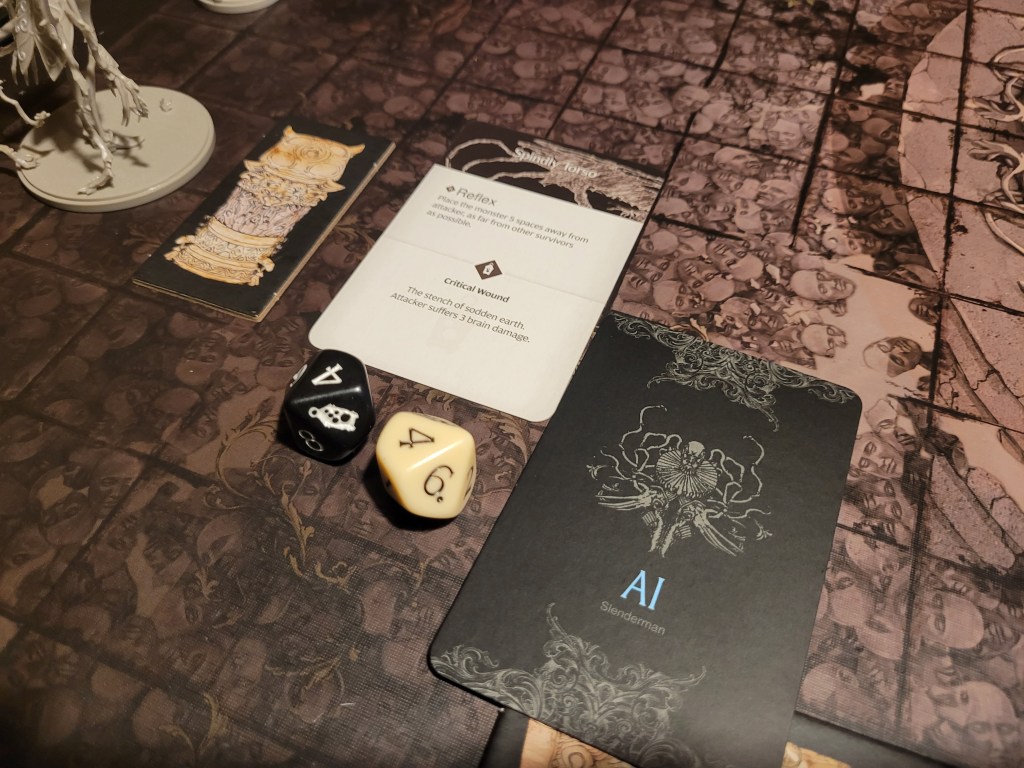
With his Frogdoggles active for the first time, Ghurt was able to see clearly for an instance and spotted an opportunity to attack again. Moving around the monster, he struck it from the blind spot, hitting the monster’s freezing hands. And he got the crit on an 8! As he took 3 brain damage from the crit effect, setting him back to 0, the Frogdoggles turned off again, but more importantly- he dealt a wound and the 1 extra as the +1ACC-token was removed.
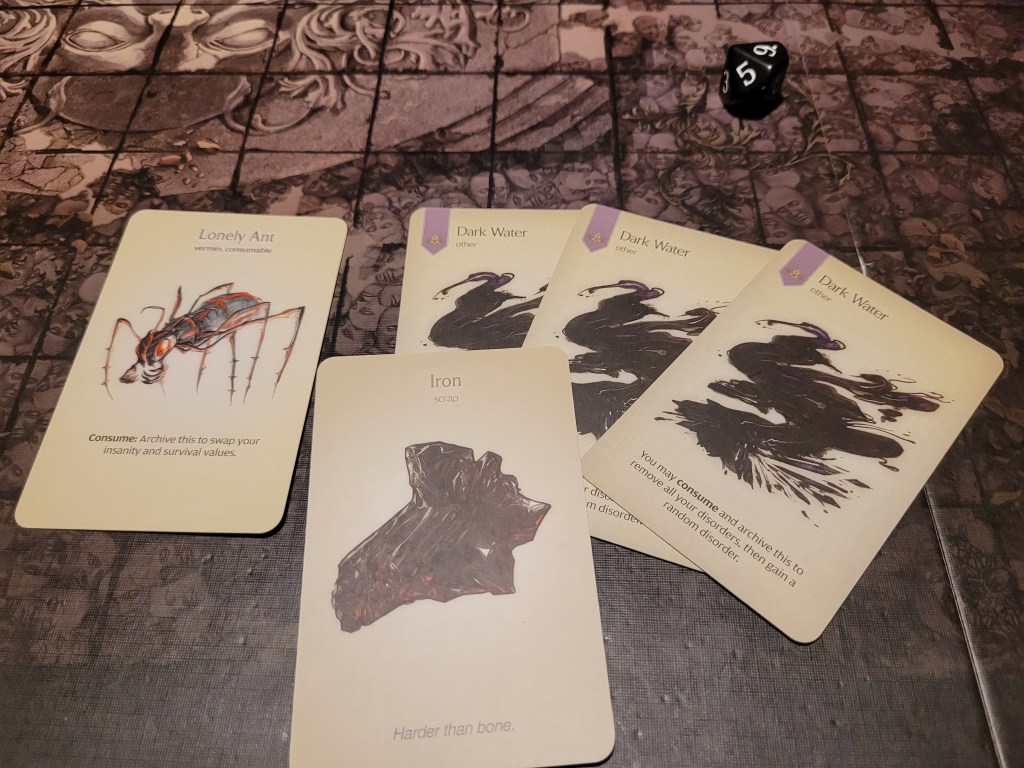
With the draw deck empty we knew all the monster’s possible attacks. Beastia took her chance to run to the Vermin Patch and claim a Lonely Ant for herself, before dashing closer still.
Calys also needed to dash to get into range, and despite some reservations that began creeping in because of a dwindling deck – no fear was proclaimed – she did it to attack! 4SPD – she rolled 2,8,8,8 – that’s 3 hits! The first attack immediately turned into a crit! This gained her a survival and removed the 3 insanity she had just gained! The second attack then hit for a ridiculous 28, wounding as well. Finally, on the third wound she had a seizure and fell over, now at 9 insanity as our turn once again ended.


2 cards remaining, Gaze of the Eyeless came up again. The monster stared down Ghurt. He gained a crisp 7(!) insanity – oh no. The ensnare roll afterwards.. a 10 though! The only result that had him remain on the board! The monster saw this and fled to the furthest reaches of the board.
It was still a terrible card for us though. The Slenderman was so far away, nobody would able to reach it any time soon. Not even Beastia with her 7 movement.

With no other options, all we could do was try and regroup, waiting for the monster to do something on its part.
2 cards remaining. Claw extend – a much better card for us. With 7 insanity, it chose Ghurt as its target. Hitting on 7+, the monster managed to score 3 hits! At 5 damage each, Ghurt had to take all 3 of them, carving away all his armor at the body, arms and waist before he was dropped into the pitch black ocean of the furthest shores – ensnared.

Ghurt struggled in the dark, rolling a 2 and gained 2 bleed.
With these two cards in the monster deck all we could do was hope to either hit the right card or kill it outright. If Gaze of the Eyeless remained in the deck we were in for a bad time.
Calys decided she would try her best and end this fight. She ultimately hit twice on 6+. Blinking once and the monster was suddenly further away from her. Calys’ mind began spinning as Beastia dashed into a position to jump from.
1 clean hit with Fist&Tooth was all we needed – and with Monster Claw Style (FA), Armored Fist (FA), the buff from the jump, the Monster Tooth Necklace and her own +2STR she had a base STR of 14! And she even hit the critical on a 9!
The monster was crippled, but thanks to savage it died outright!


I can’t wait to get exploded in the Lvl3 fight in Lantern Year 28.., or I guess any year should it random itself into my game.
As the survivors slowly began wondering why they were so exhausted from their short walk and some of them were suddenly bleeding, they still felt that their weapons rested more easily in their hands.
As for rewards we rolled a 4+2, this would be gaining us another singular Dark Water.
With 7 rerolls in the settlement at the time and 2 of them in the party (Ghurt and Celestine), I used 1 reroll (Ghurt), because, what can I say, I really wanted that iron. I roll a 9+2 altering our gained resources to 2 Dark Water and 1 iron for the year!
I also picked up 1 ??? with the help of our Scavenger Kit.
With that we could return home, to a settlement already in turmoil.
So, we beat him up again. This time Slendy gave us a peak at an annoying AI loop it could get stuck in on its last few AI cards left, but luckily we managed to avoid that by using excessive force!
I do like this fight for its theme quite a bit. When the monster just disappears it does give you that eerie feeling of something being just a bit off. Like the fight stops in its tracks and the survivors wonder for a moment what they are even doing here in the first place for it returns.
I’m sorry if I made it too easy on myself today (if that is even still relevant with Wrath in my line-up), but fighting a Lvl2 in this spot felt more appropriate than to go straight to Lvl3.
For now I will leave it at this point, I’m looking forward to fighting another Bullfrogdog next year … gotta build that set; and also to getting my order in… at any point during the month.
As always, thank you for your time, always check that the pomegranate isn’t moving before you pick it up,
Amathul

Leave a comment