
Now that I am back home, I have once again spent way too much money as this month’s sale has just happened but, toootally unrelated, I am looking forward to upgrading my storage solution for my core game at some point in September as well as receiving a bunch of new KD:M goodies to build, paint and play around with.
Of course, I am also still waiting on the Witches and Wanderers to get here but for some reason I have a good feeling about those deliveries not taking too long now. The Dark Treasury has been seeing some love recently with deliveries getting received all over the world. (And it would appear due to the delay in port W&W stuff might get slightly expedited in the EU/UK regions.)
So, with all that new content just around the corner we need to finish Azure Pond reasonably quickly (i.e. the next 2 weeks hopefully).
Today we will be dealing with Lantern Year 21 – the first Nemesis encounter and the first (if highly unlikely) chance to hard-lose the campaign.
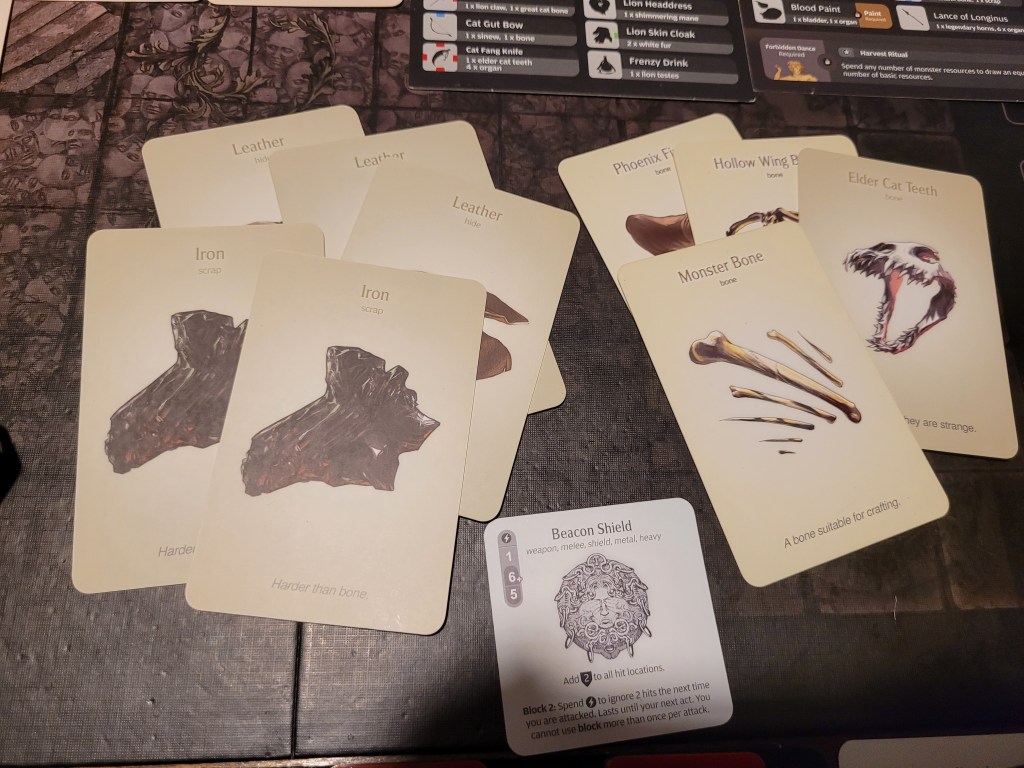
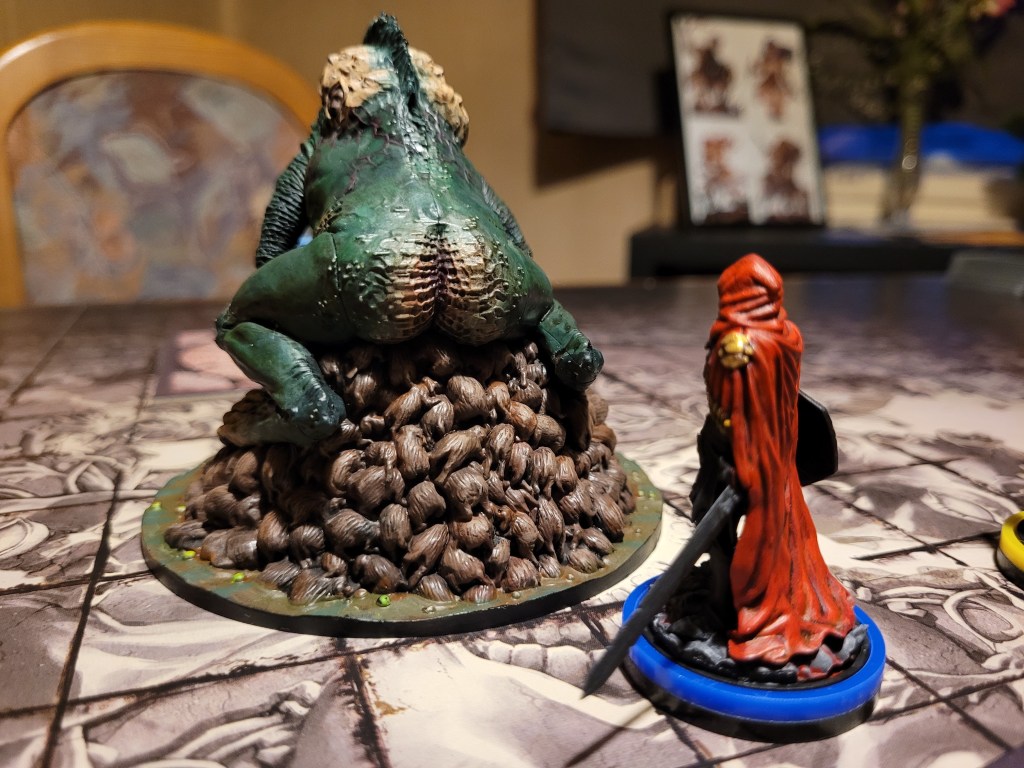
Excited for our arrival our beloved worm pet pooped out some more scrap and we noticed that we actually could make a 2nd Beacon Shield to help with the upcoming King’s Man fights from it. There was also the Wrought Longbow as an option to go for, but at this stage I didn’t think we needed that one in particular.
The 4 bow-party felt a little dead to me.
We also had a total of 8 endeavors to work with, due to 2 returning Tinkers, a death during the hunt and Cooking (I).
But, of course, we first needed to deal with this Lantern Year’s random settlement event!
And it was a Stranger in the Dark for us to welcome to the settlement. Oh! It’s Daniel!
I had rolled an 8 and we gained the Zero Presence (SFA) guy!

As we started the develop step. we began the phase by using Scrap Smelting (I) to make another Iron, then we converted 3 Leather from the freshly looted hide and piled up 4 bones from storage to finish another Beacon Shield.
Whilst this additional shield would mainly serve as an improved Round Leather Shield, it would also guarantee that we could freely attack any King’s Man, regardless of proximity, without having to worry about the trap.
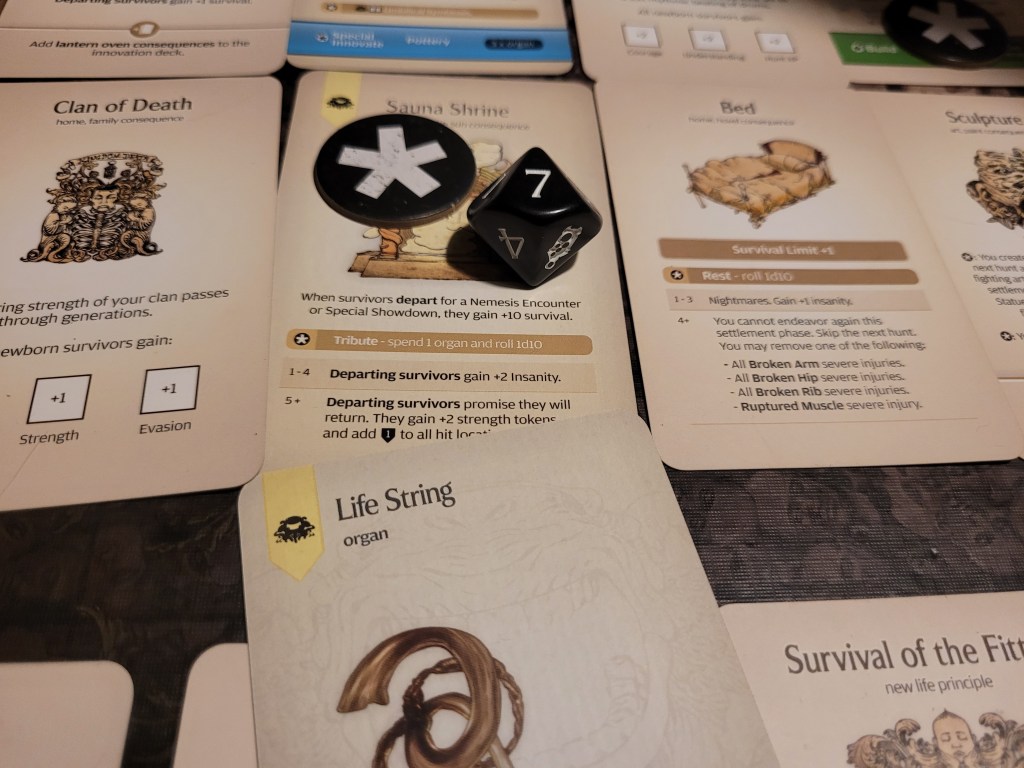
I had also decided that I was going to be using 1 Life String at the Sauna Shrine (I) each year from this point on – the strings were organs after all. And whilst we currently only had 3 more in storage, with 5 more endeavors to use, I decided we should be making babies this year. At least a “few”. But, well, we will be seeing about that in a moment.
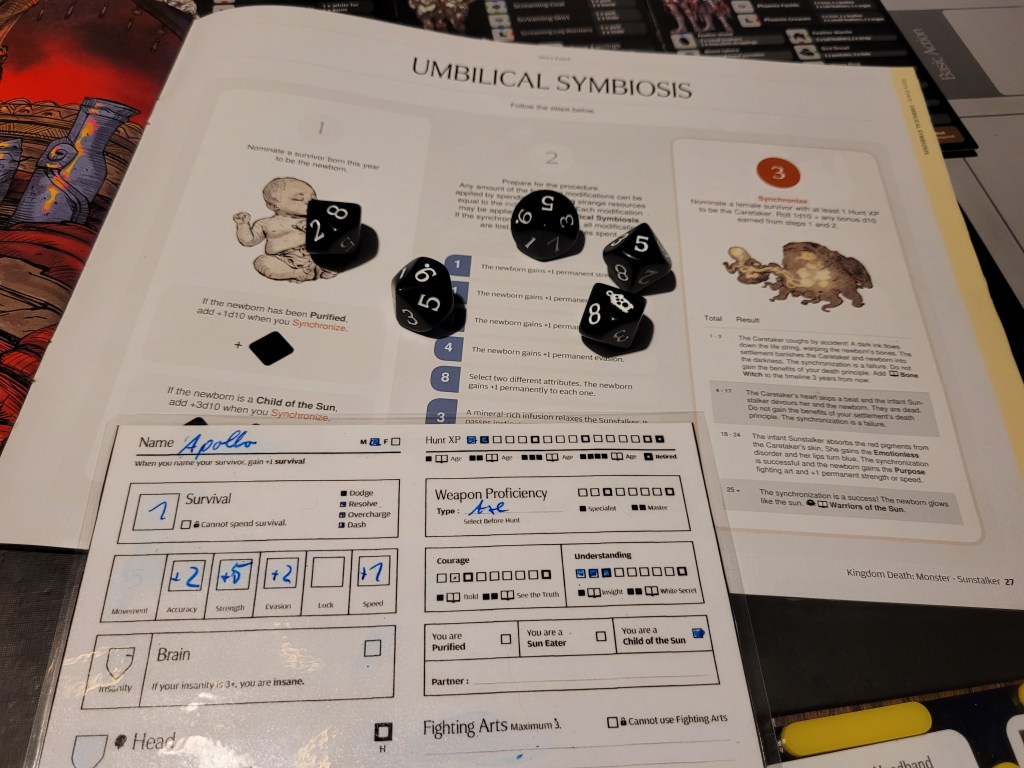
But before that, Muzashi was sent to undergo some quick Nightmare Training (I) first. The promised child got the 8+ for an additional Katana mastery point on his first and only roll as the Feline Entity claimed the space in the middle of the settlement.

Then we had Moon and Helios drink the Sacred Water. As our most recent pairing, they were both Sun Eaters (SFA) and we were set to witness the birth of a special child this year. (I did forget about this when I first planned out my Lantern Year.)
Apollo (+1ACC, +1 card whilst innovating) was born a Child of the Sun, and would instantly be purified (+1STR). I did already mention that we were short on Life Strings but I just had to try for a Warrior of the Sun.
I invested into +1STR/ACC, and with Fara chosen as the caretaker for this child as well, we set to roll the dice under the watchful gaze of the Feline Entity – the Umbilical Symbiosis was successful!
Refraction (regain survival when you spend survival) still sounded more useful to me, so I picked that one again. Sharp did not seem all that important for our high-STR survivors, but I did tend to ignore the “dodge unlimited amounts of time” effect.
But with all our endeavors spent in quick succession on this one chain of events, we left the rest of our resources in storage and prepared for the first nemesis encounter of the campaign.
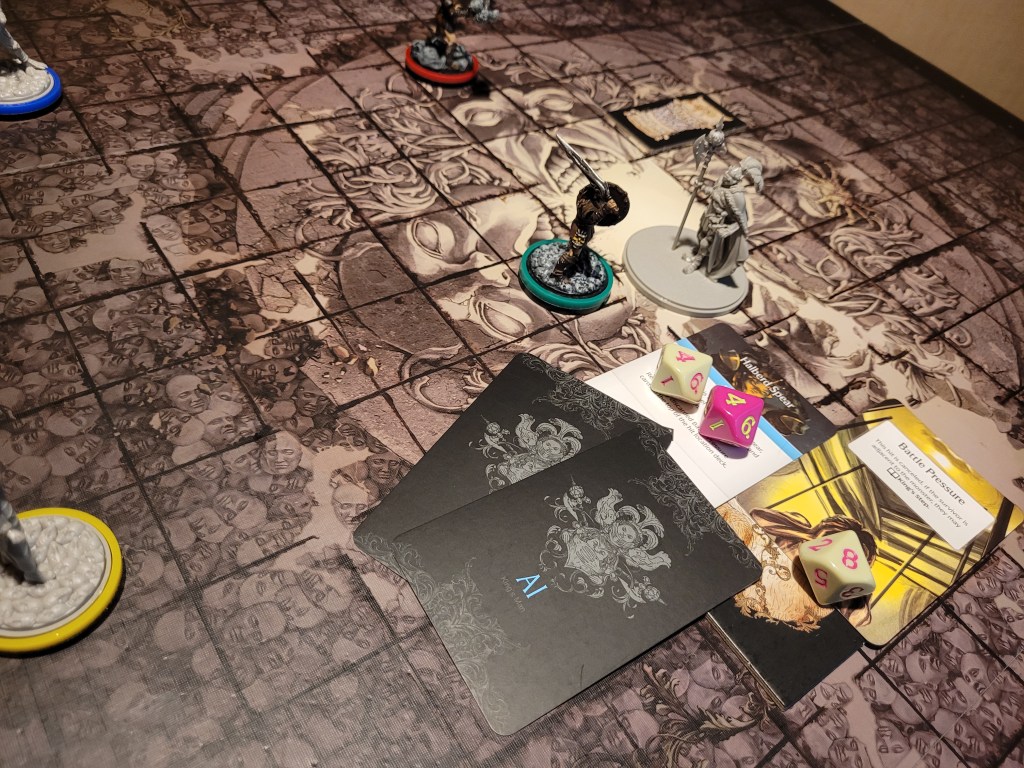
A King’s Man Lvl2 should not pose too much of a threat to us, but I was not going to take any chances at this stage either. To round out our gear I used the remaining Beast Steak we still had to make a new Lucky Charm for the Axe grid as I was setting up the survivors and their gear.
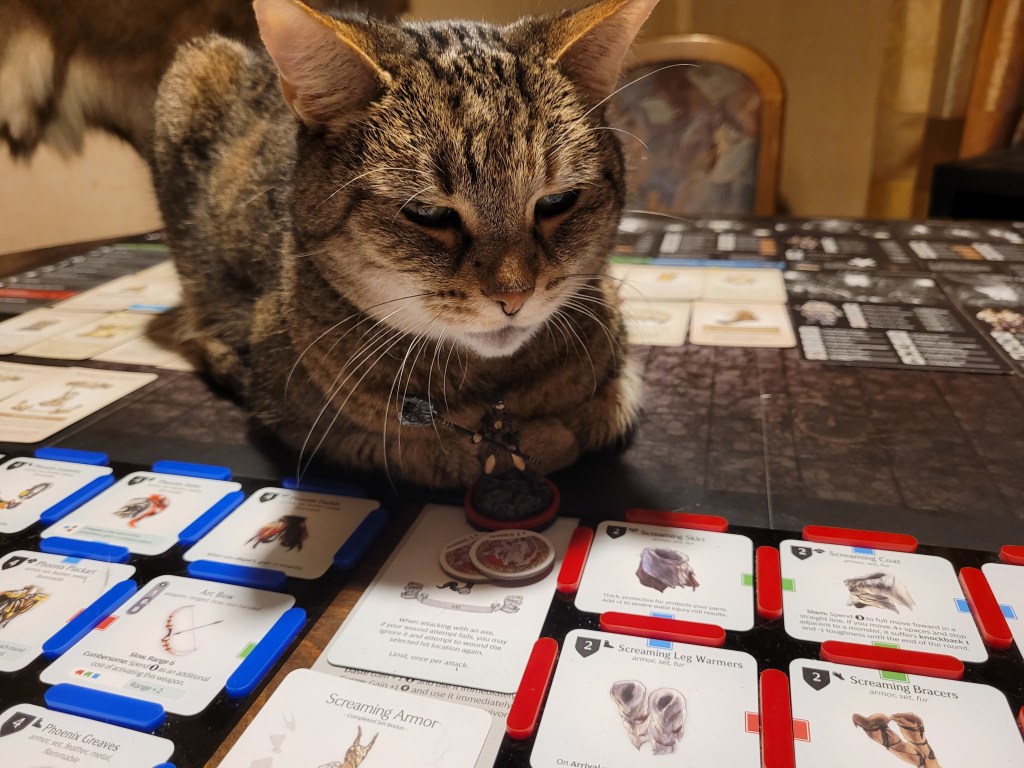
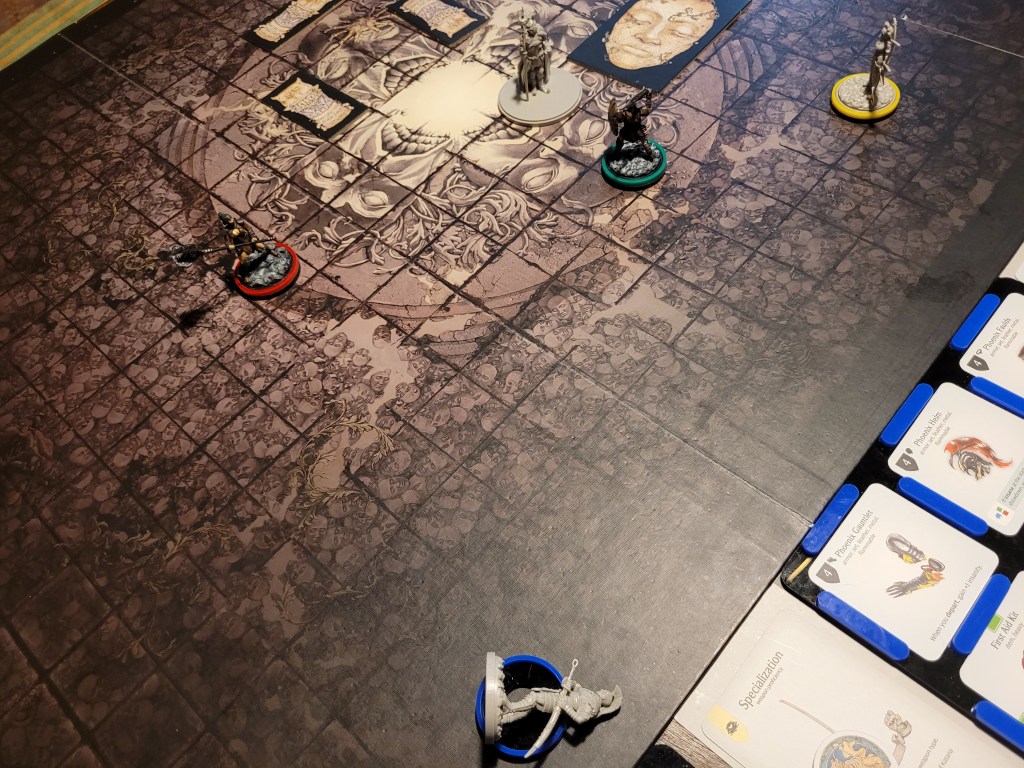
The Chosen Defenders:
Helios – green (Leather Armor, Lantern Sword)
Muzashi – blue (Phoenix Armor, Tachyon Nodachi)
Moon – red (Screaming Armor, Sonic Tomahawk)
Phoenicia – yellow (Rawhide Armor, Sunring Bow)


I swapped the Arc Bow for the Sunring Bow for this encounter in an attempt to deal a few direct wounds despite Battle Pressure on top of the monster deck, and I was hoping to make use of that whenever I could.
I also was quite set on not going to try to get King’s Step (SFA) from the fight. Whilst it is a useful Secret Fighting Art, Helios, Muzashi and Phoenicia should all be more than capable of dealing with the additional Hit Location cards without risking severe leg injuries from the King’s Step table.
So, as we prepared to defend our home, the Knowledge Worm (I) was still just being a goofy little guy, not doing anything with its power of.. let’s call it .. suggestion other than getting picked up and held for a bit (another 5).
I had (and have) no idea whether or not that was a good thing.
But Helios certainly didn’t care.
The King’s Man Lvl 2 is one of the more disliked (some might even say hated) encounters in KD:M and from what I can gather this stems largely from one single trait.
Overall it has the same +1DMG/SPD that you would expect, 6MOV and a high 15TGH to work with.
It also features a grand total of 6 traits on Lvl 2.
Out-Fighting simply gives the monster Reach 2 on all its attacks.
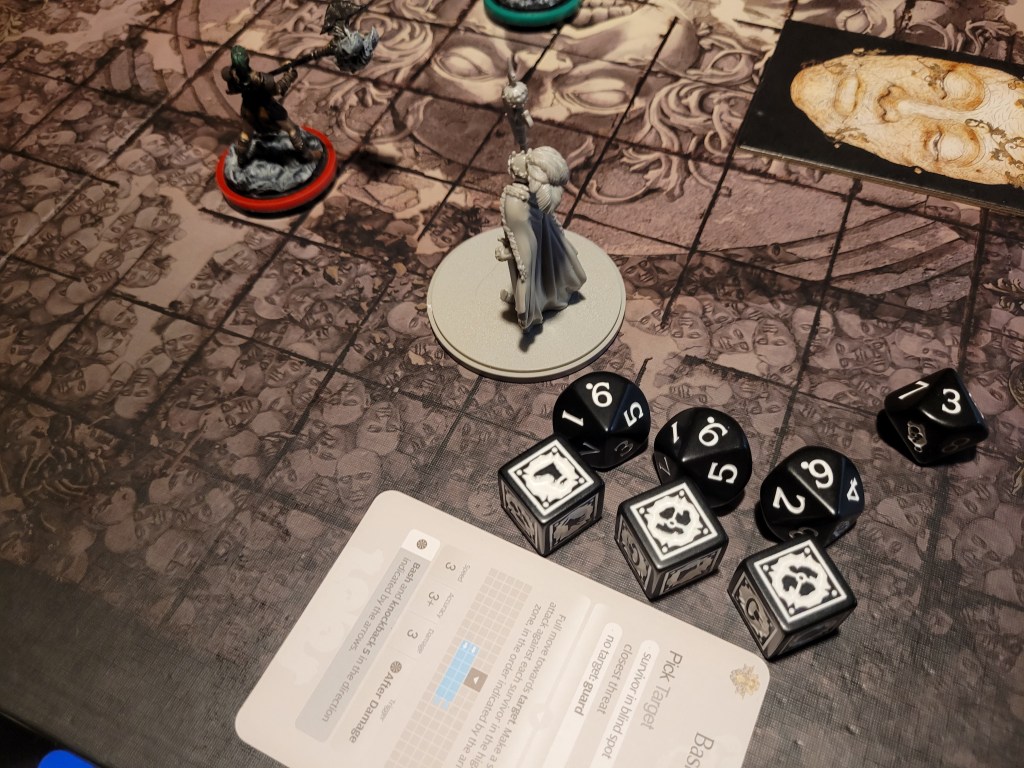
Weak Spot gives it a -4TGH debuff when attacked from its blind spot, somewhat normalizing the monster’s TGH.
King’s Combat is a Zeal-like effect, that triggers a basic attack at the end of each monster turn.
King’s Aura adds 3 Battle Pressure cards to the top of the Hit Location deck at the start of the monster’s turn and any time the deck is shuffled.
And Battle Tempo is given to each survivor and acts as a spot to collect tempo tokens on for the King’s Step event you can trigger via the Battle Pressure cards.
These 5 traits are present in every King’s Man fight. For Lvl2 it gets one more though:
Silent Hymn spreads -1MOV-tokens to each survivor at the start of the survivor round, and once they hit 0MOV they suffer a brain trauma and remove all tokens gained by this trait.
This slows down the fight a lot, and should the monster be able to put some distance between the survivors and itself, you can end up crawling after it for several rounds.
In general the King’s Man is just a slow fight, getting dragged out only further by its AI cards and traits. In combination with both the lack of positive rewards and the punishing events associated with this monster it is just generally regarded very negatively.
Whilst I don’t mind it too much as a monster, honestly King’s Man will need a glow-up with CoD. It has trouble getting picked over the current line of NN2 monsters and with Red Witches set up to be common place over the next month and a half, its looking bad for the ol’ fungus.
But back to the fight at hand.
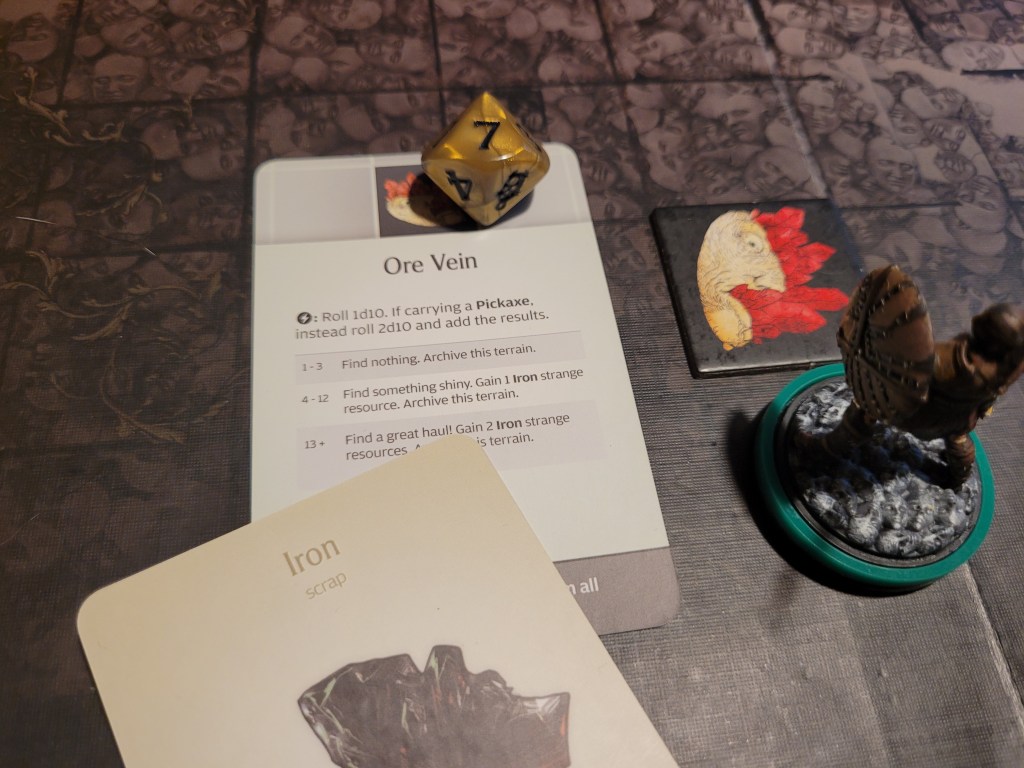
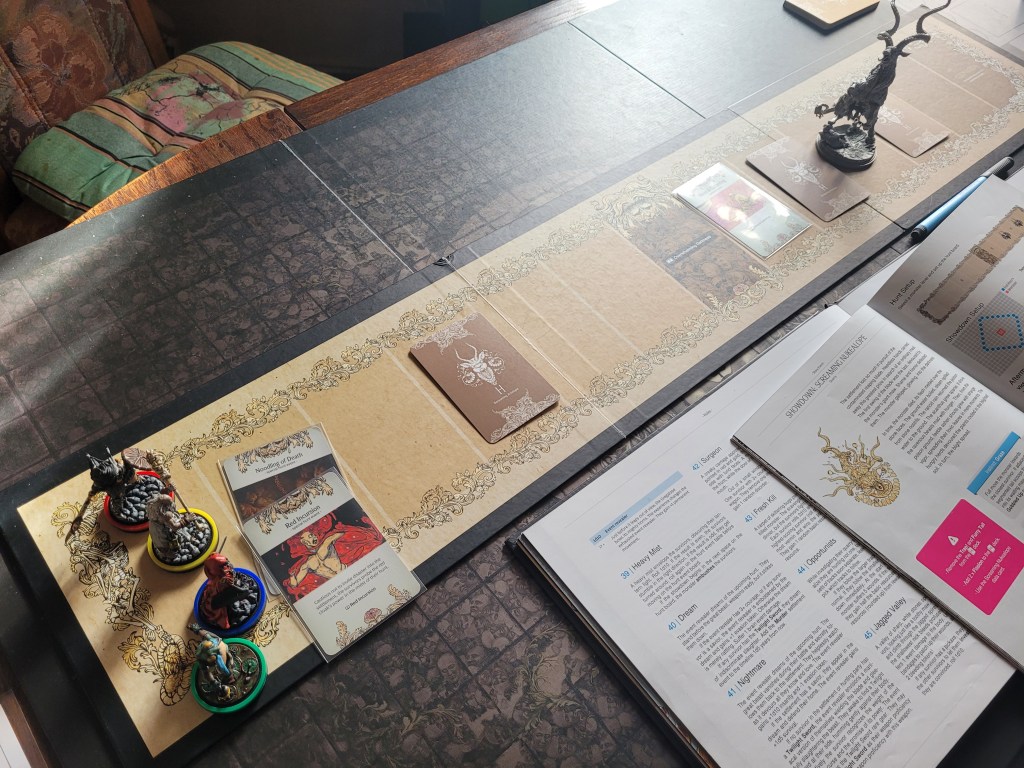
As for terrain I drew an Ore Vein and a Large Stone Face in addition to the set Small Stone Pillars.
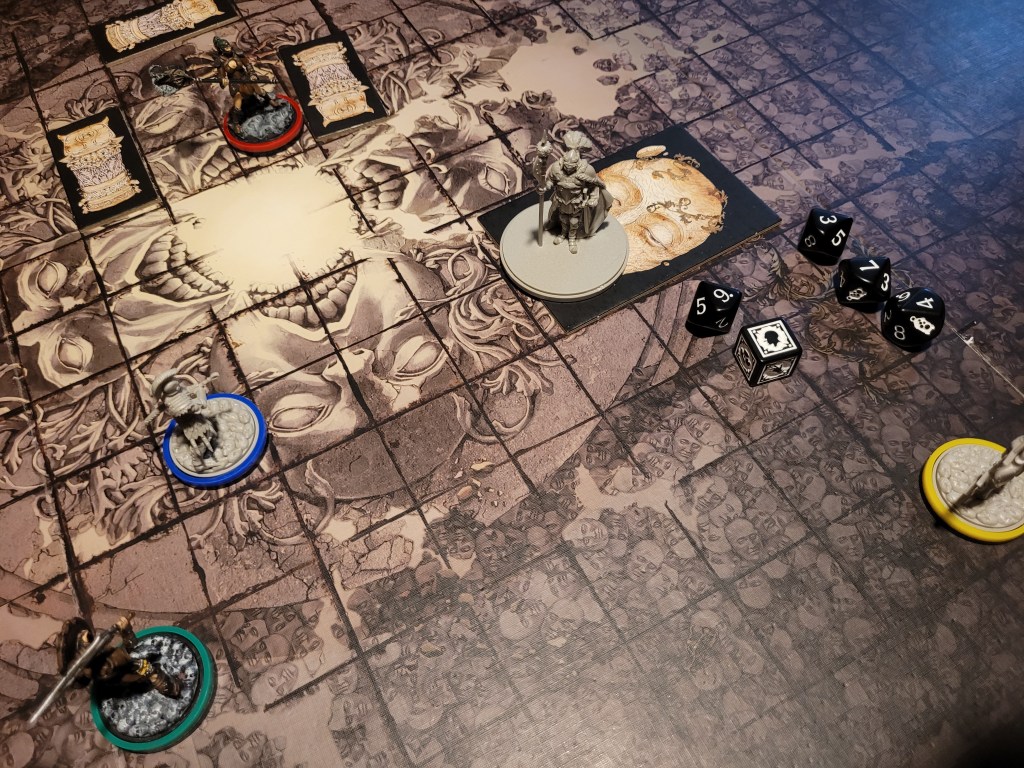
As with any nemesis encounter, the survivors got the chance to act first as the Silent Hymn rang out for the first time, sending shivers through our bones.
Helios spent his first turn by activating the Ore Vein right next to him (gaining him 1 Iron) before he moved up closer to the monster, getting ready to soak up some aggression.
Meanwhile Phoenicia took position on the Large Stone Face for the extra range.
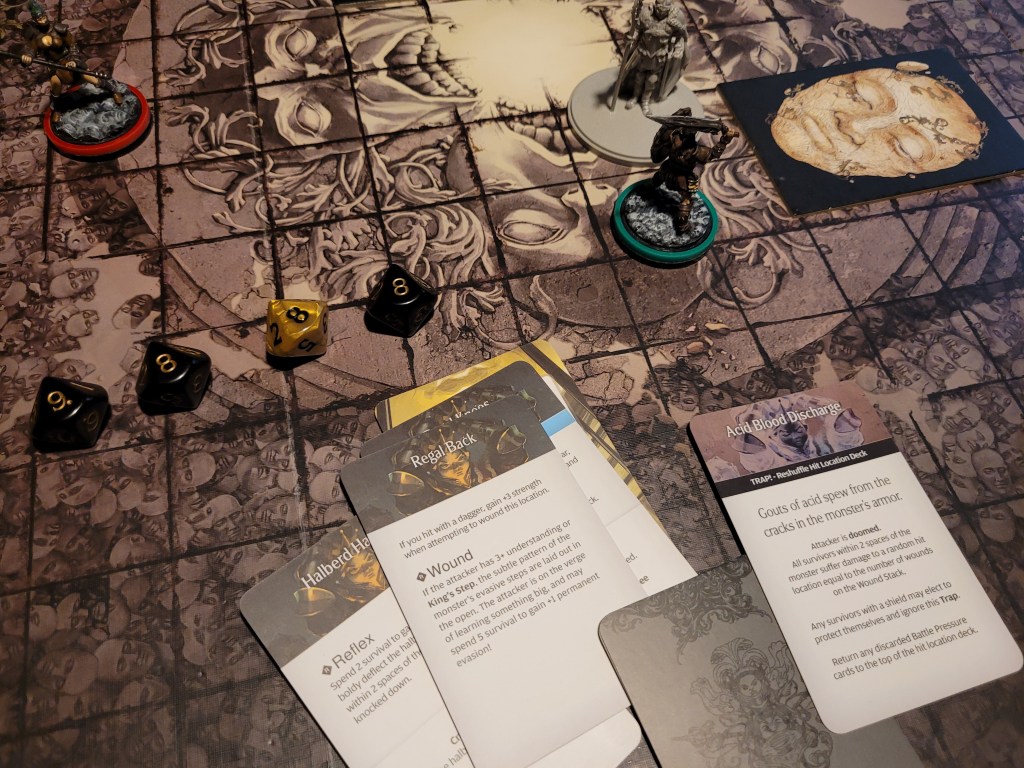
Moon, carrying the Sonic Tomahawk, dashed a few steps forward and Slammed into the monster from afar. 2 hits took out 2 Battle Pressure.
Finally, Muzashi walked up to the monster and swung the Tachyon Nodachi after using Overcharge. Dealing out crits on 9+, Muzashi almost cracked the Regal Faceplate, though it still wasn’t quite enough.

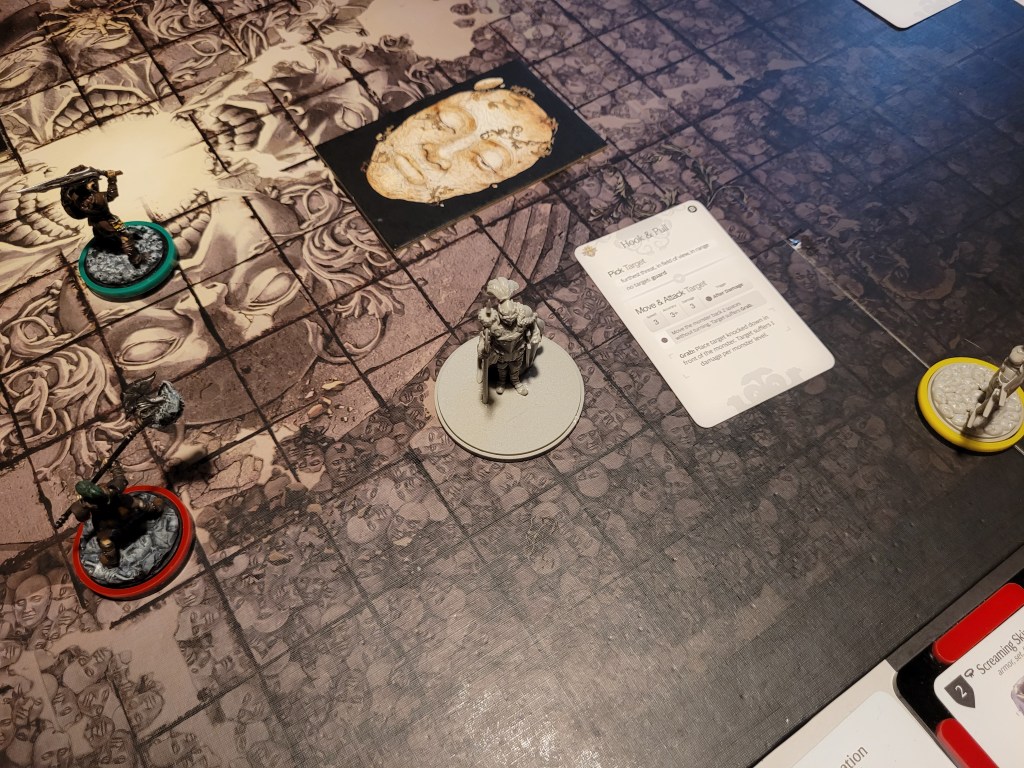
14 cards in the deck, Hook & Pull was an annoying one to get first. Furthest threat was Phoenicia on her Large Stone Face as she was just in range.
She dashed away to not get hit, and the monster followed blindly over the terrain.
King’s Combat triggered a basic attack which targeted Muzashi. On 6+ he was hit only once, which got turned into a brain damage by the Phoenix Plackart.


The survivors took their 2nd -1MOV-token and began their turn.
Phoenicia was just about in range still thanks to the God’s String, and she shot her bow. 2 hits took off 2 Battle Pressure, with no Perfect Hits for instant wounds instead in sight.
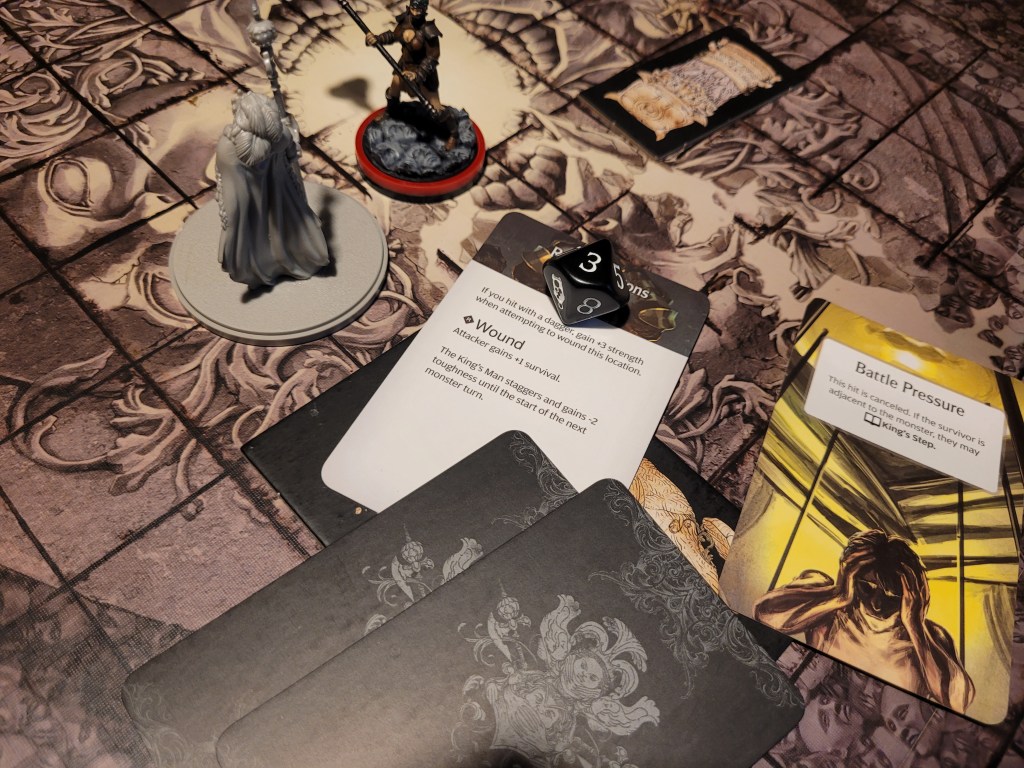
Muzashi boldly sliced the monster from the front after using both Embolden and Overcharge. 4 hits, and with none of us allowed to wear heavy armor, we were able to avoid the knockdown on some of the King’s Man’s most annoying hit location effects. With Battle Pressure returning to the top of the deck, Muzashi dealt 3 wounds, missing the first crit-able hit amidst all of that.
Helios didn’t care. He was exactly 4 spaces away (which he did still reach) and he attacked the monster. Hitting 4 times, he found a single wound, but not without being hit back.
He would only get hit on an 8+, amounting to 1 hit in total (to the head of all places) and got flung away.
Moon also wanted a piece of the monster and walked up to it, but both their attacks faultered.


10 cards left in the deck, Spear was the next card drawn and Muzashi would be the target again. 3 hits on 5+ found their mark, one of which to the body turned into 1 brain damage.
The follow-up basic also targeted him, and he dodged one of the 2 hits before he was flung away by the impact.


As the group slowed down even more, Phoenicia moved up 2 steps with dash and she shot the monster, again without Perfect Hits, just discarding Battle Pressure for the rest of the team.
Spending a survival to Overcharge, Moon saw a chance to Slam and attack. She only hit twice, but she did at least get the wound(s) secured hitting the Regal Sabatons(?).
This turn Helios also used Overcharge and attacked after dashing in closer. 3 hits, meant 3 wounds over 2 of them. The monster did back away and into Moon, knocking her away as a result of the attack though.

5 cards remaining. For a few moments I lived in fear that I might draw Coup de Grace as one of the last cards from the deck. But with a deep sigh of relief I flipped Cleave instead.
Still, Cleave was a Head Hunter attack (always hits the head hit location), which could be bad enough in its own right. On the other hand Helios had the best chance to avoid the hits as well. Still, he was hit twice, which forced forced him to make use of Extra Sense (FA) and dodge both.
The basic also targeted him, but missed completely due to his high EVA (8+).


My survivors got up and slowed down. Muzashi was the first to trigger his brain trauma. And its Flee. He was running like hell and lying down again.
Helios stepped up to the monster again and hit it 5 times, finding the trap in the progress of this sweeping attack.
All my survivors had shields, so they didn’t care about the damage from the trap in the slightest, but missing out on dealing damage of our own was unfortunate.
Finally Moon took a single step and used Block 2.
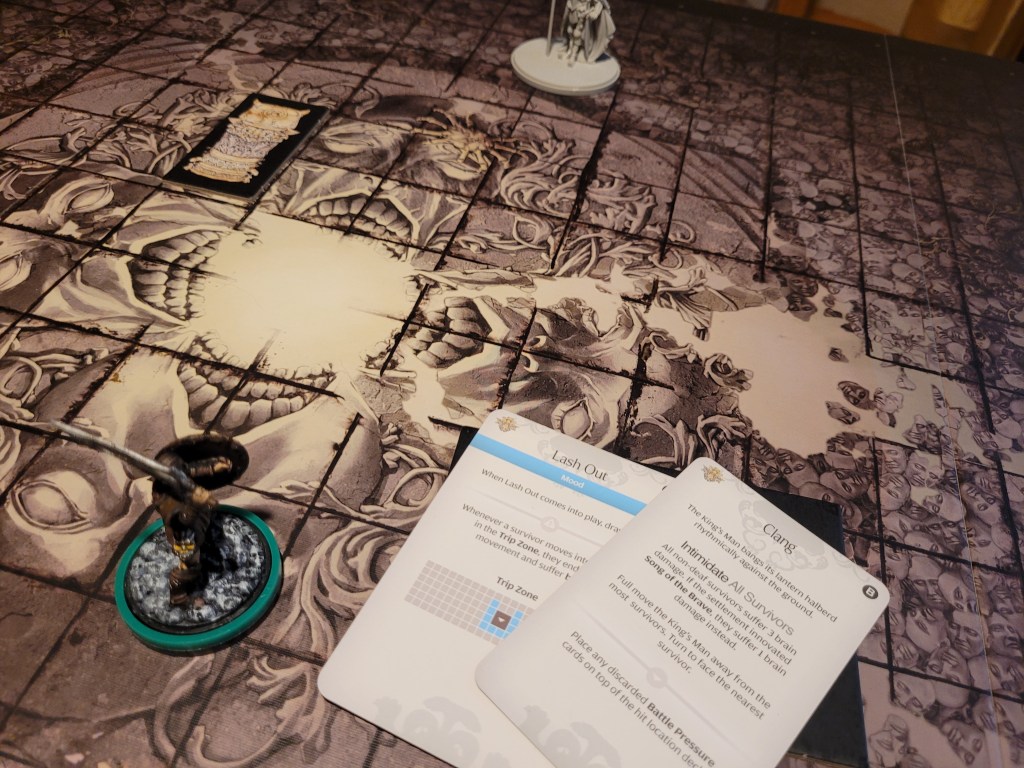
5 cards left in the deck. Lash Out was put into play, which would make attacking from the front and sides of the monster harder for .. uh .. Moon alone as the monster would trip anybody approaching aside from in the blind spot.
This did draw a second AI though, the last card in the deck was Clang. The King’s Man banged its Lantern Halberd onto the ground dealing a small amount of brain damage from the unheard sound before the monster backed off to surveil the fight afar.
With big strides the monster then came back towards us and attacked Helios. He dodged the single hit to his arms to not get flung away like the others and we were ready for the next round.
Both Moon (Honorable D) and Phoenicia (Aichmophobia D) triggered lunacy as their brain trauma from Silent Hymn and we were off into our turn proper.
Helios did not care, he stepped up with Embolden and Overcharge, and attacked (wearing full a full Leather Armor set he ignored Bash from Lash Out). Hitting on 3+ he only found 2 hits, wasting the survival as the Battle Pressure was too much for him!
Phoenicia spent the full package including a dash and she shot her bow again. It was only because of bow spec that she hit twice but she managed to get the double wound on the Halberd Spear.
As we got to Moon I realized due to Honorable (D) and Lash Out she was functionally useless for the rest of this fight as she would always get knocked over is she approached.
She moved in between the monster and Phoenicia and used Block 2 again.
2 (3) cards left. Hook & Pull. Well, that’s an annoying card to have left. The monster was going after Phoenicia again but she had the survival and range to dash out of the monster’s approach again. (Helios also dashed to step out of the way.)
The basic then pivoted to Moon, hitting her 3 times, between her Block 2 and a dodge, she managed to avoid all of it.
As our turn started, Helios was also afflicted with lunacy and he gained Honorable (D) as well.
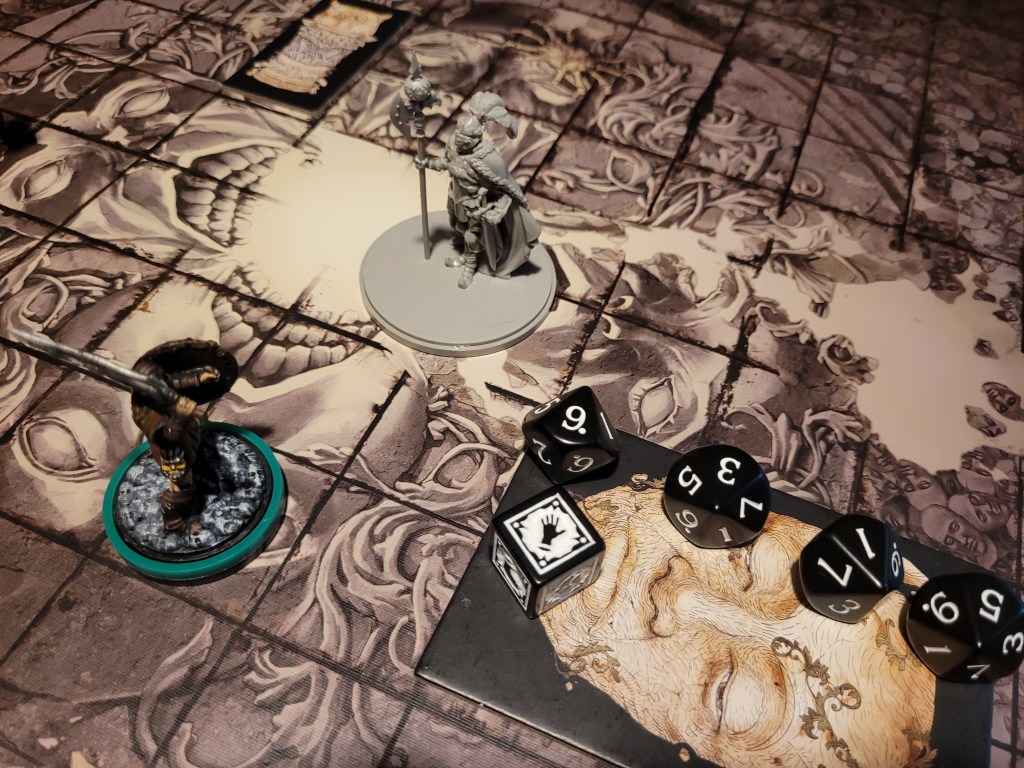
Moon scrambled to get out of the way, Muzashi stepped up and sliced the monster with his Tachyon Nodachi. 4 hits were enough for a single one to get trough. And it hit the death blow – one too early!
And for the best.
Phoenicia then shot her bow again and for once she did roll a Perfect Hit! All of a sudden the monster dropped dead before we even got to draw hit locations.


As for rewards we all earned 1 hunt xp, which managed to get Phoenicia (+1MOV) to age 3. And it would seem she learned something from this fight specifically.
Here’s an interesting rabbit hole I fell down into: whilst I was investigating what the online consensus would be on whether the Sunring Bow‘s auto-wound would give bow proficiency or not I found a curious detail about the “bow” in question. I hadn’t noticed that it doesn’t actually say Bow on the Sunring Bow.
I have played it as a bow ever since I first got it, so I will continue to view it as such – it’s most likely just a typo anyhow.
But the actual question still has no definite answer I could find.
I have played Spiked Buckler that it doesn’t give weapon proficiency in Bogstop, so I will use that as a frame of reference for the time being. This feels like one of those vibe-cases where you should just play however you think makes most sense to you and stay consistent thereafter.
This did mean that only the katana and sword managed to deal wounds, though.
And there was also 1 more dire implication, I had forgotten about it in the heat of the moment despite me being such a staunch defender of the event: King’s Curse!
Contrary to a lot of people I like this event – I think its flavorful – Phoenicia being the one to roll on it isn’t great, but at this stage, lets be honest, it doesn’t matter.
Naturally she got the piece that broke apart the bow’s affinities first.

Finally we also got to roll on the rewards table and got a 5+2 – a 7. 1 more Fighting Art for each participating survivor!
Phoenicia gained Defender (FA) – a way to encourage?! (But only when adjacent.) Moon got Purpose (FA). Muzashi learned Agility Fighter (FA) – so close to being useful. And Helios learned how to Tumble (FA) out of harm’s way.
There you go.
That was by far the easiest of the upcoming years, more a chore than a fight to be sure.
Whilst dealing damage should be much of an issue for any of the remaining fights, considering we were looking at 3 levl3 nemesis encounters back to back, I didn’t trust any of those fights to go smoothly.
And there definitely is a chance that any of the next 4 Lantern Years could be our last.
Especially the next one.
What can I say? I don’t like Butcher Lvl3.
For now I will return to my nightmare tree with the Feline Entity and the wait for SoD2, Fade and my Witches and Wanderes bundle continues until I start looking at Butcher Lvl3 to break up the monotony.
As always, thank you for your time, dance to the Silent Hymn! Dance till you’re dead!
Amathul

Leave a comment