Whilst Easter has come and gone for the year for, KD:M still awaits the Bunny-Witch and her blood-orgy-festival at the end of the month.
In turn, I have spent the last week by playing the game (losing a PotStars campaign specifically), waiting for both Screaming God fulfillment and the Forgepriest (sadly no further movement yet there either), DM-ing some Call of Cthulhu and going to the theater. Needless to say, it has been a busy couple of days, both for me and the Feline Entity.
And today we are going to face-off against the Pariah of all things.
At this stage I will just continue to stall the campaign after Lantern Year 17 – which is the Black Knight Lvl2 fight – to have the screaming goat get delivered first so I can incorporate the fight into the campaign properly. Or, well, hopefully that is, as we still don’t know in what Lantern Year it first is unlocked in.
But enough about the future, back to the ‘right now’!
***
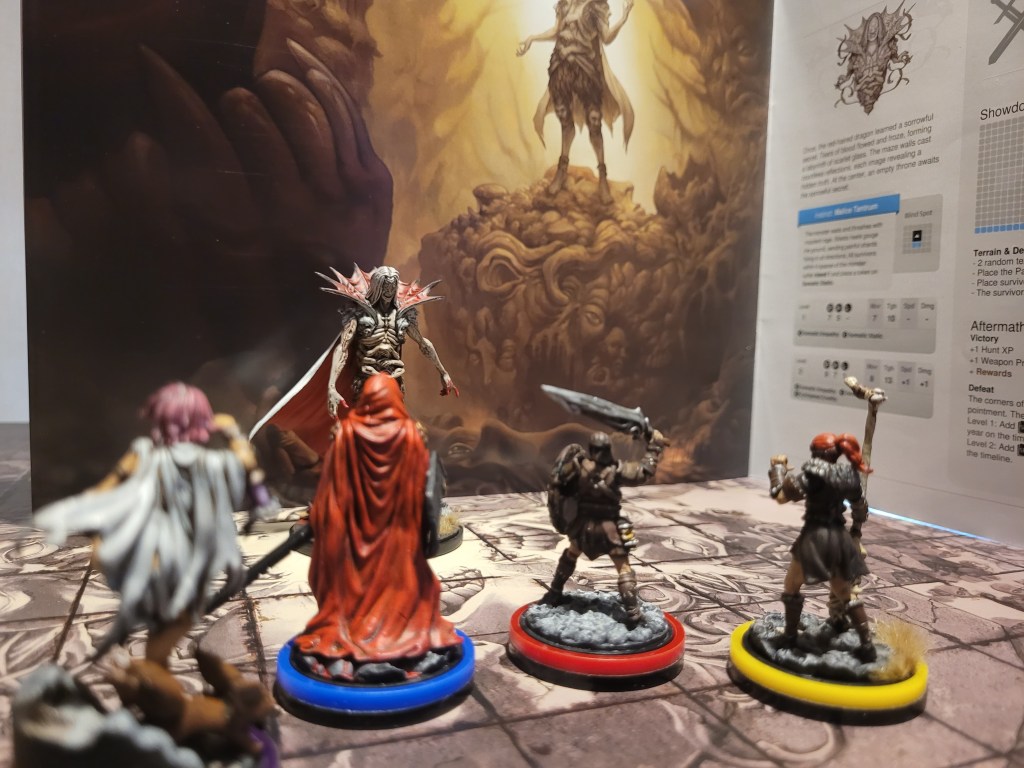
The Pariah is back in town with a murderous intent, stirring shit up, ready for its Level2 fight .. we are going to be fine, right?
Right???
Getting home turned out to be the first minor obstacle this Lantern Year and we only got 3 endeavors to work with as well, because 2 people suffered PTSD during the last hunt.
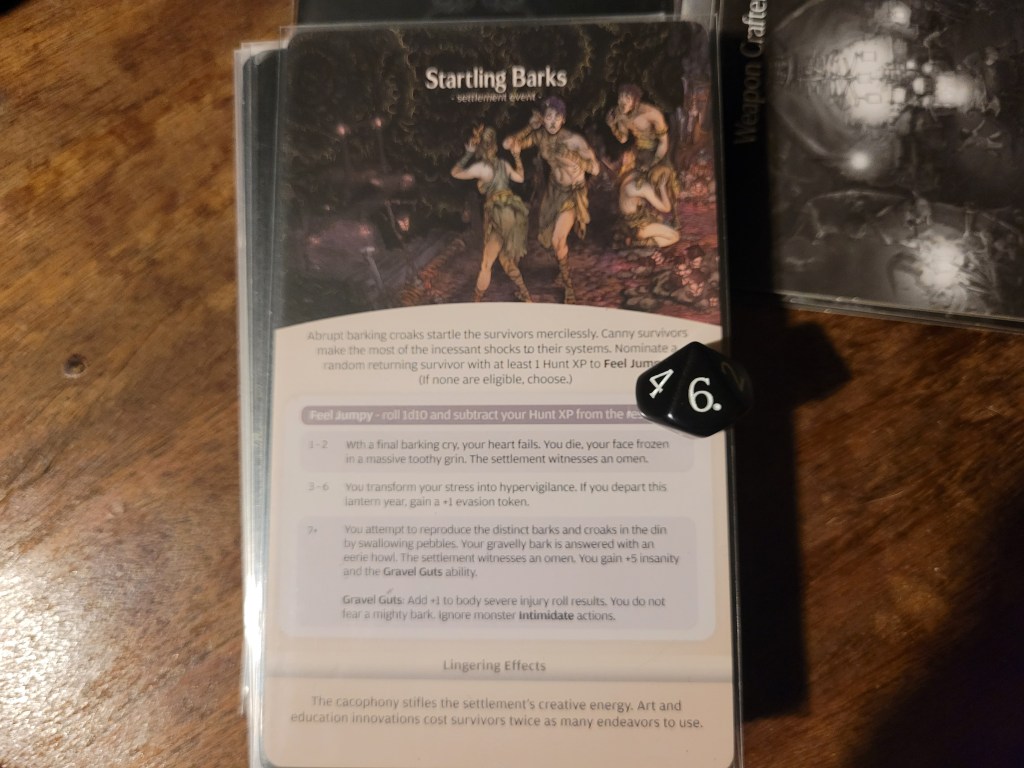
Startling Barks was drawn as our random event, Frogdos was randomly chosen and luckily he managed to roll a perfect Lantern 10 .. which then was turned into a 6 due to his 4 hunt xp. A +1EVA-token was nice, but more importantly he wasn’t dead.
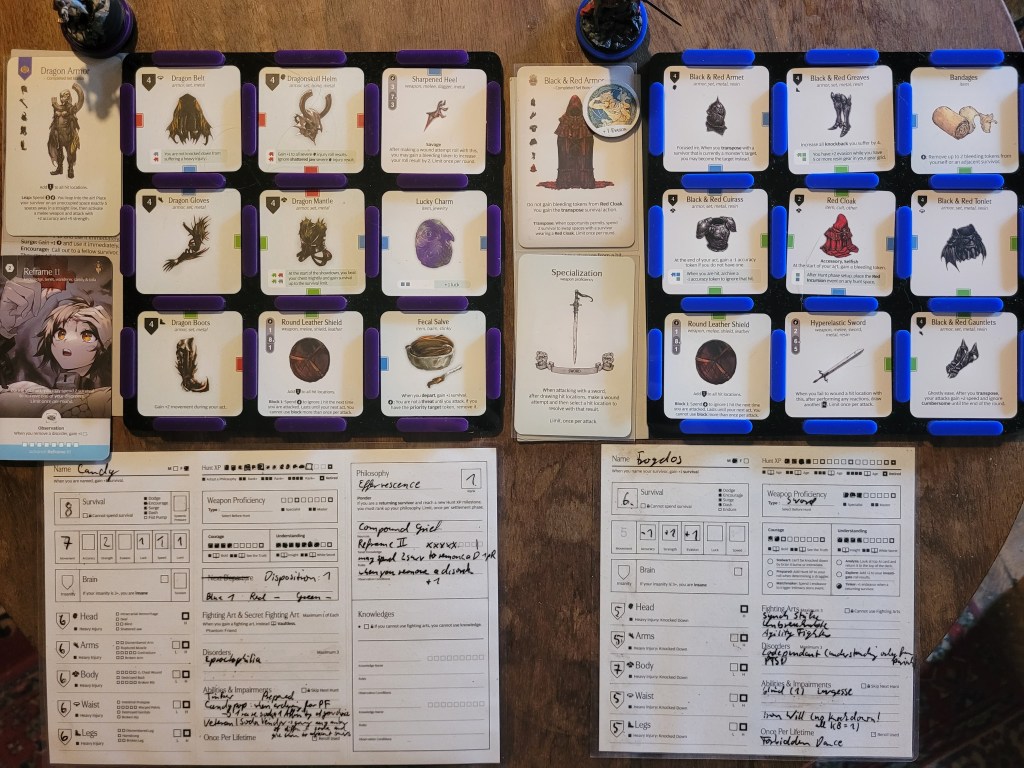
At this stage we were missing 2 pieces for the Black&Red Armor and 3 for the full Dragon Armor. So, with the huge pile of Dragon King resources we had managed to secure, I was keen to build as much from these 2 sets as possible. Not only would they boost our defenses by a considerable amount, but both represented extra DMG-potential as well.
The Dragon Armor seemed more important, so I tried to finish this set first.
This meant we would have to spend our first endeavor to make Leather. This also used up all 3 Iron we had.
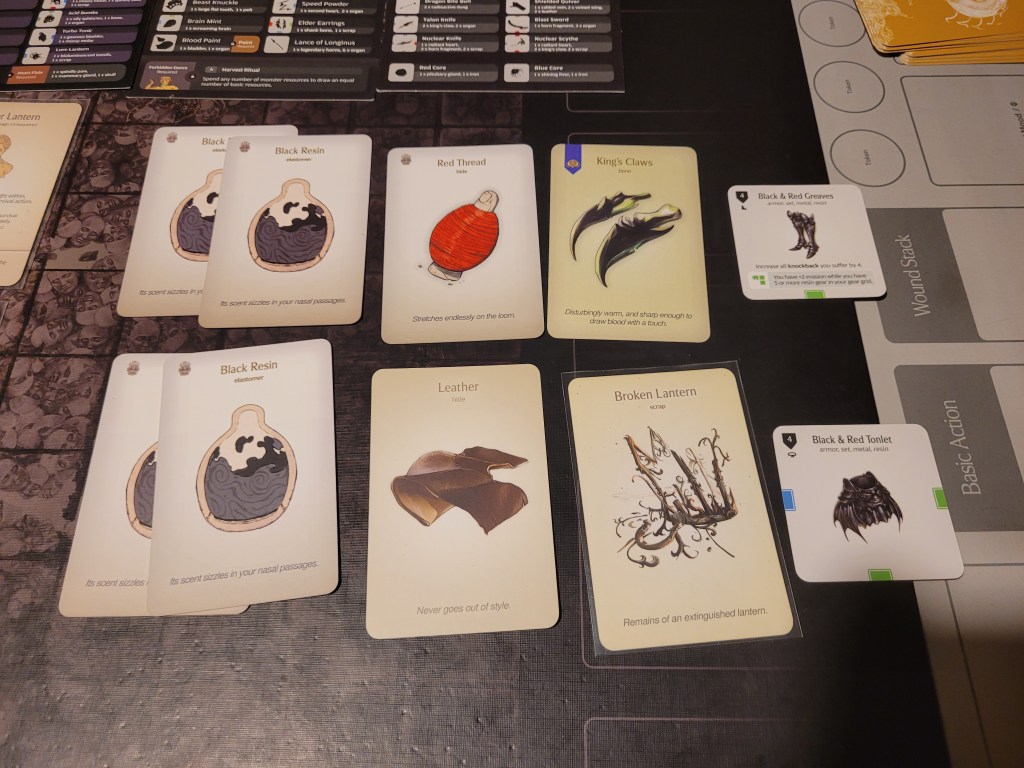
With endeavor number 2 I activated Blood Weaving (I) to build the missing Black & Red gear.
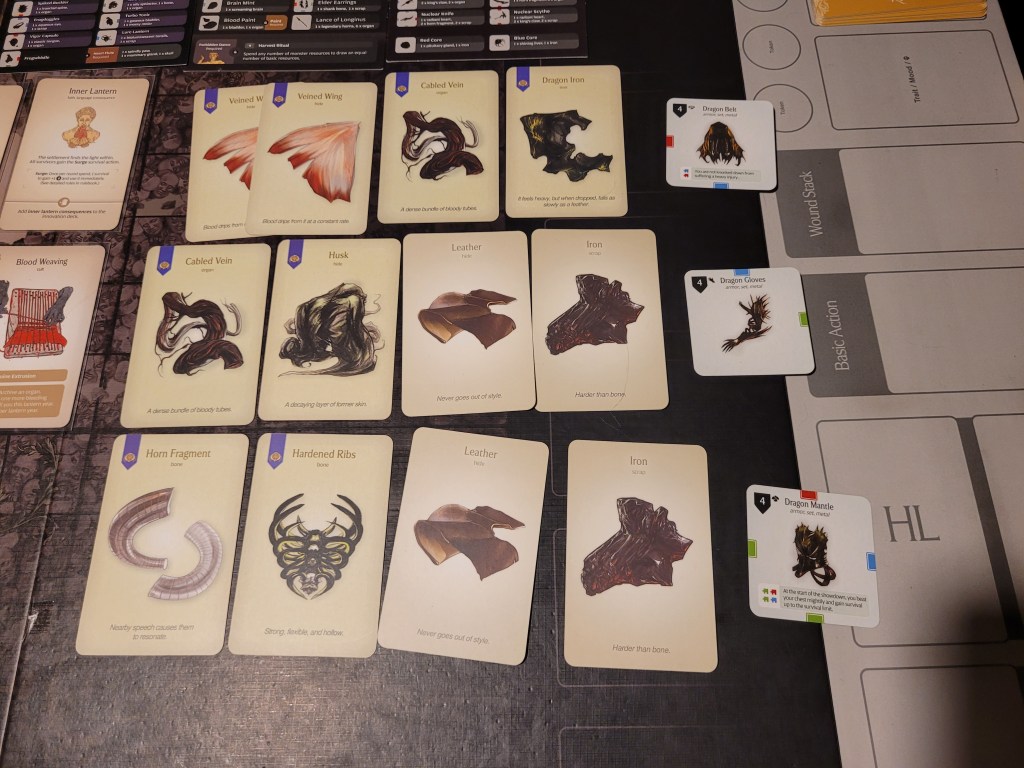
As mentioned before. both armor sets represent additional damage output on the right survivors. Dragon Armor especially is a very reliable +5STR/+2ACC on the set-bonus jump which will typically elevate a lot of weapons into the late game.
This did replace the Frogdog Armor set.., which felt awkward, to say the least, after how long I took to build that. Critically speaking, finishing the Frogdog Armor might be the thing that continues to haunt me this campaign. But hopefully we’ll be fine for now.
The Black & Red Armor set adds +2EVA to the wearing survivor, which represents +2STR for anybody with Agility Fighter (FA) and a sword or dagger.
I also noticed during all of this that we were only 1 scrap and 1 Iron short from building a functional Nuclear Scythe (with a Red Power Core).
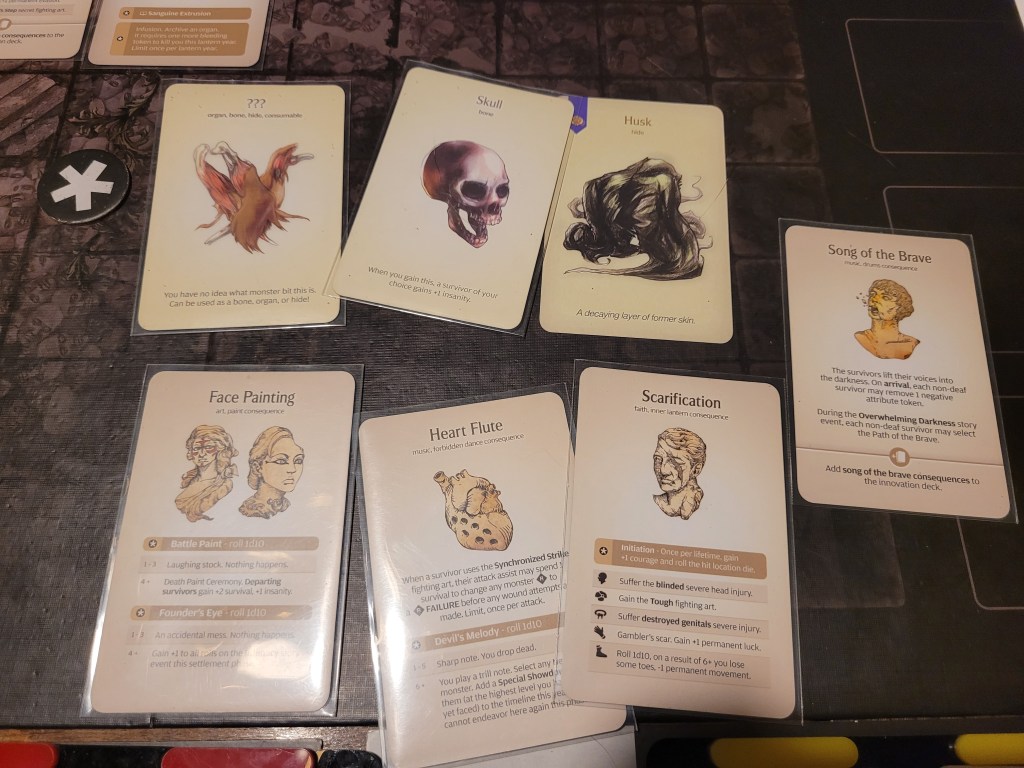
The final endeavor was then spent to innovate, because that’s just what I do .. and we got to pick up Song of the Brave!
(over Face Painting, Scarification and Heart Flute)
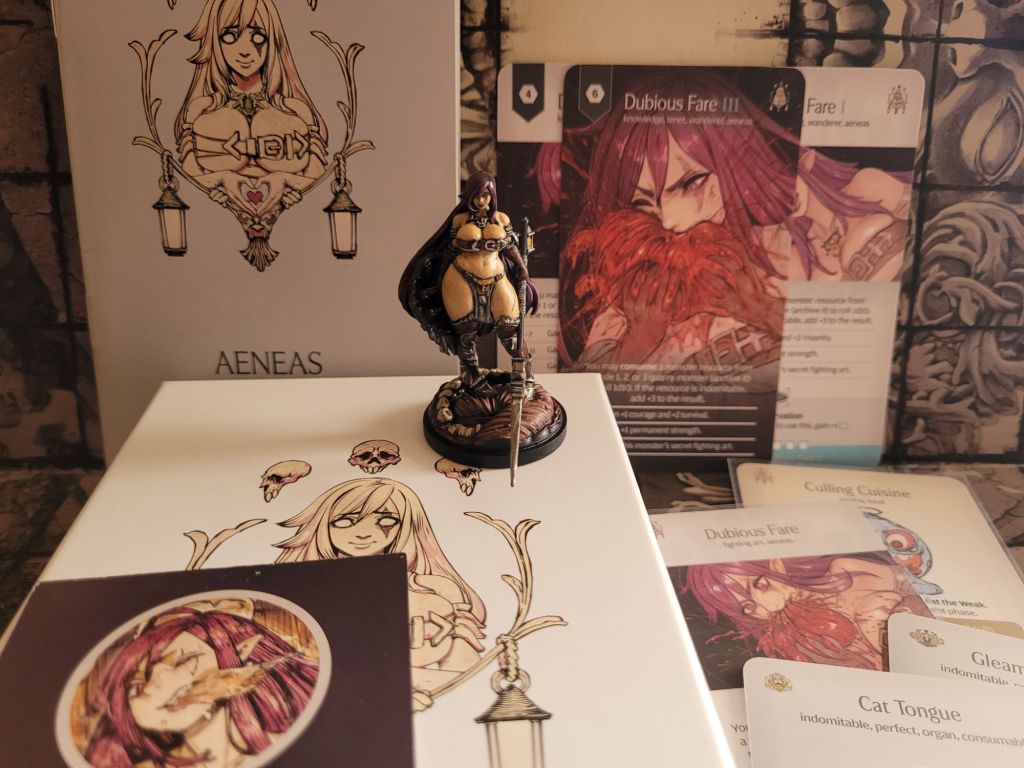
At this point I was almost ready to face off against the Fiend, however, throughout this Lantern Year I have been constantly trying to consider if I should turn 1 of the high value organs I still had in storage into a Sword Scab or Fecal Salve (for Candy).
Being able to take Candy along, whilst it would put her in harms way, she would surely help us a lot in defeating the Pariah.
And I ultimately ended up using the Radiant Heart to make a Fecal Salve for Candy. I felt like we would be definitely going to hunt at least 1 more Dragon King sooner or later (and, honestly, I wasn’t that interested in the Nuclear Scythe at the moment to begin with).
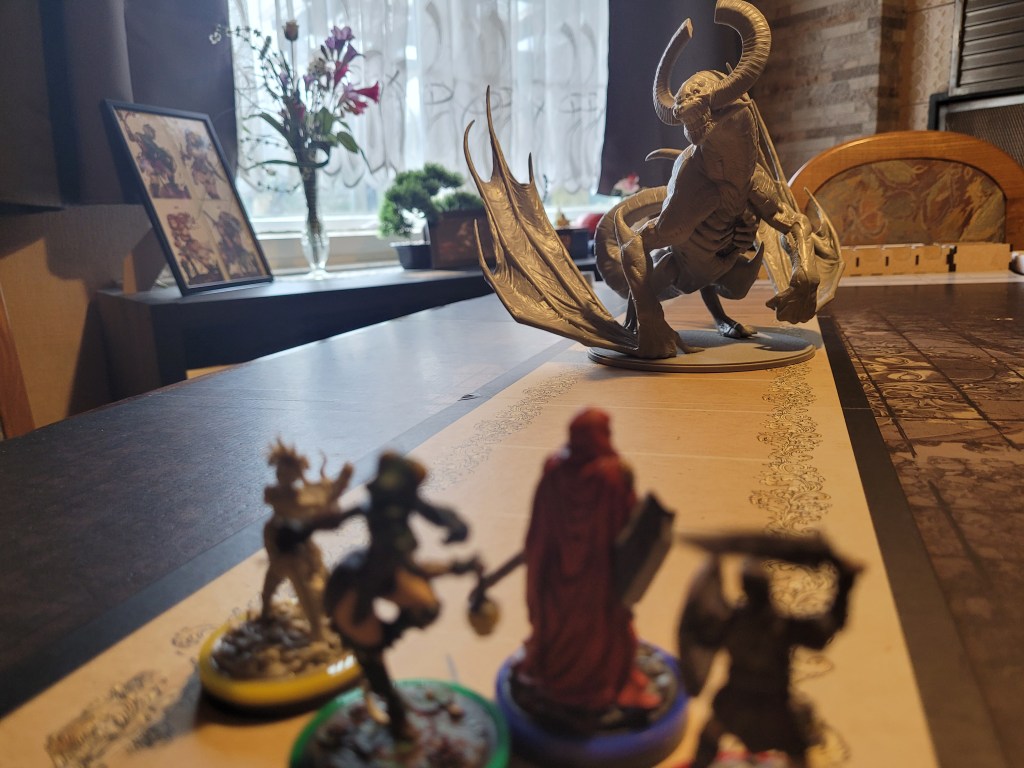
And that was all we that we could do before the Pariah started dancing around the settlement, covered in strange viscera and looking for playmates.
The Chosen Defenders:
Candy – purple (Dragon Armor, Sharpened Heel)
Frogdos – blue (Black&Red Armor, Hyperelastic Sword)
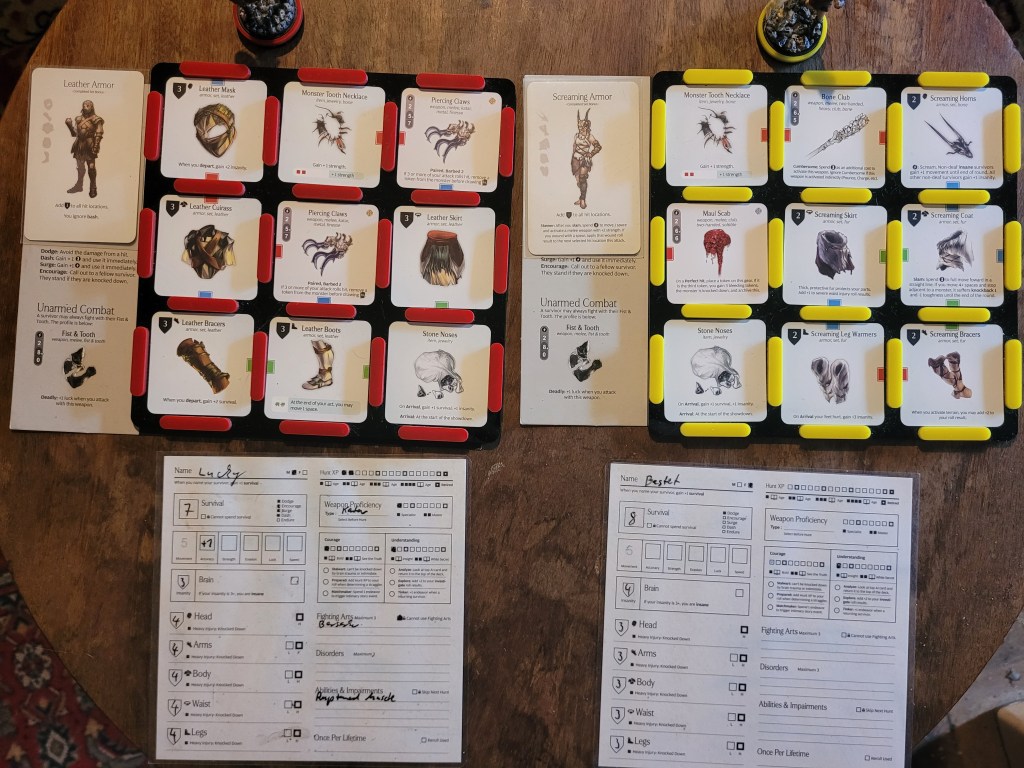
Lucky – red (Leather Armor, Piercing Claws)
Bastet – yellow (Screaming Armor, Bone Club, Maul Scab)
I was quick to decide to bring both Candy and Frogdos to this fight as it felt like the encounter we wanted/needed to win the most.
I did also consider both the Man Mask as well as the God Mask for their abilities, but our insanity levels were pretty low in general and it felt like a pointless risk for not much upside.
As for the monster:
For its Level2 the Pariah gains the typical +1SPD/DMG and a third trait.
Stats-wise it has 8MOV and 13TGH, which we should be fine against with the new tools we were bringing to this fight, and it has a relatively thick 16 card deck, including 1L.
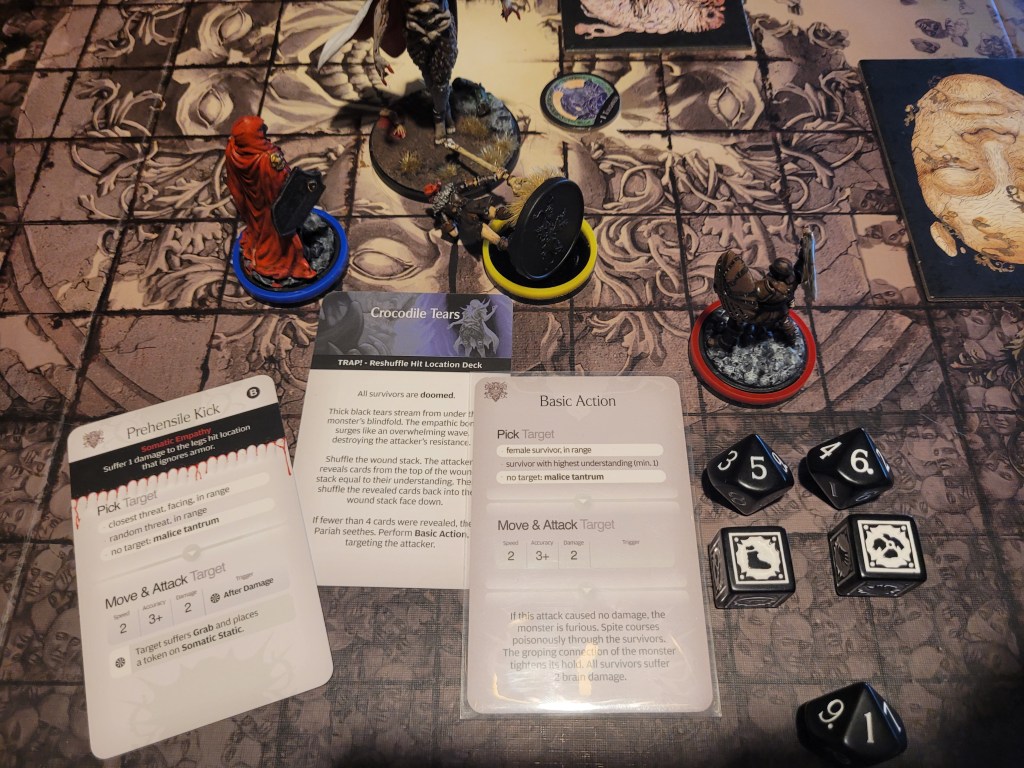
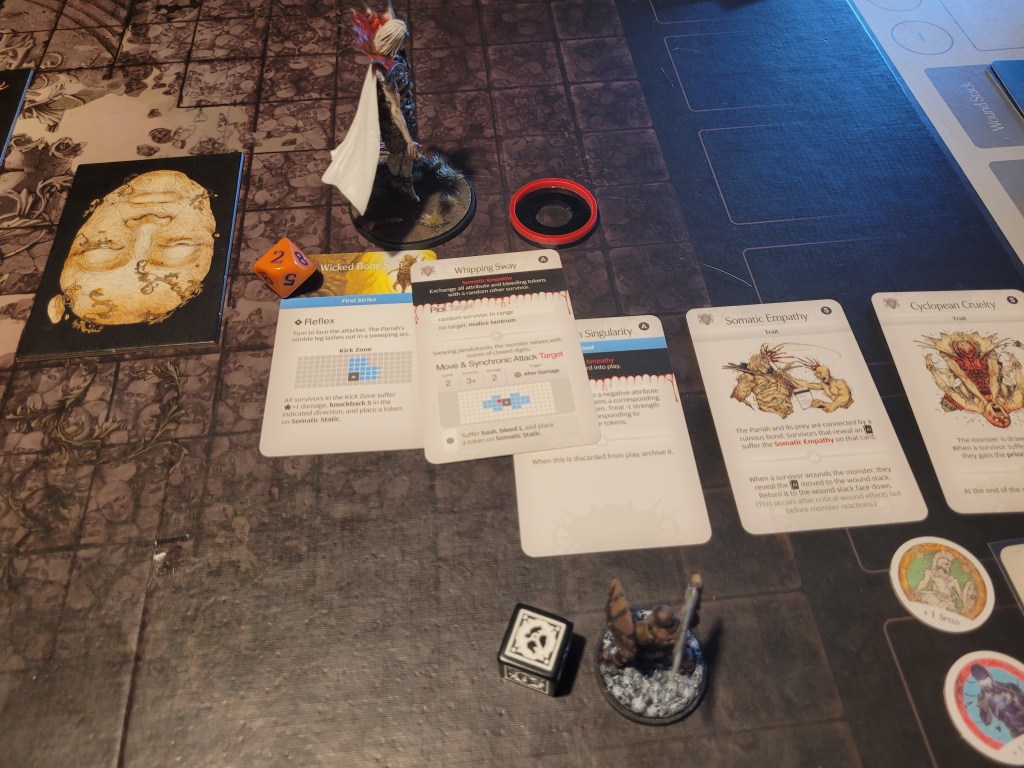
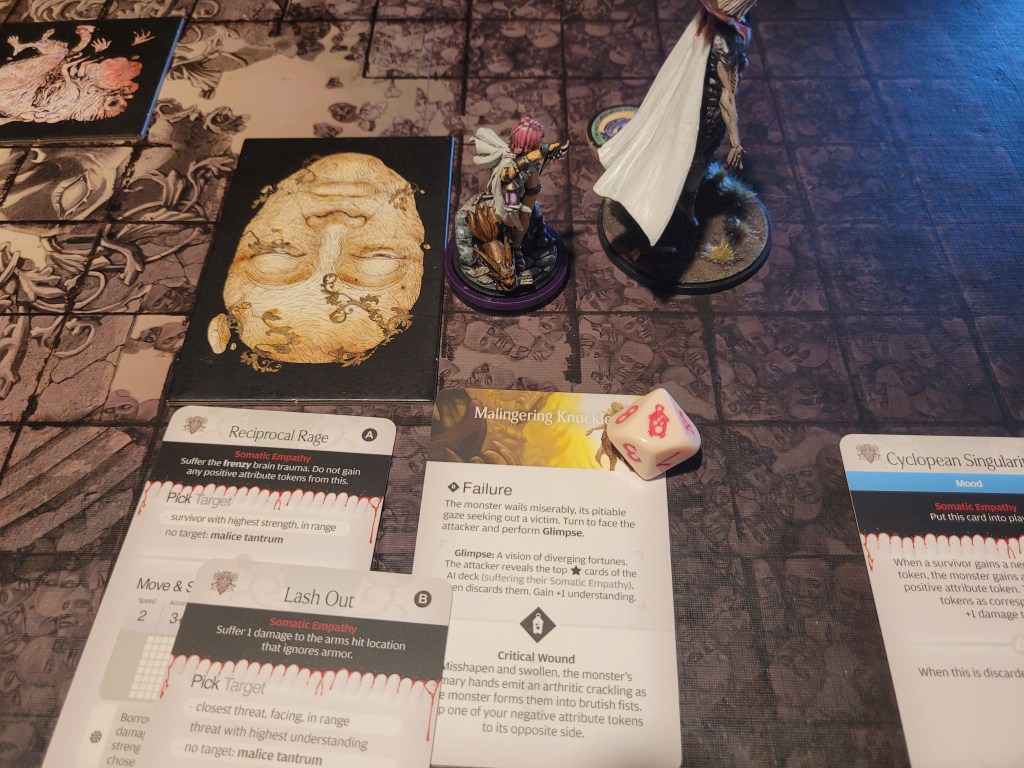
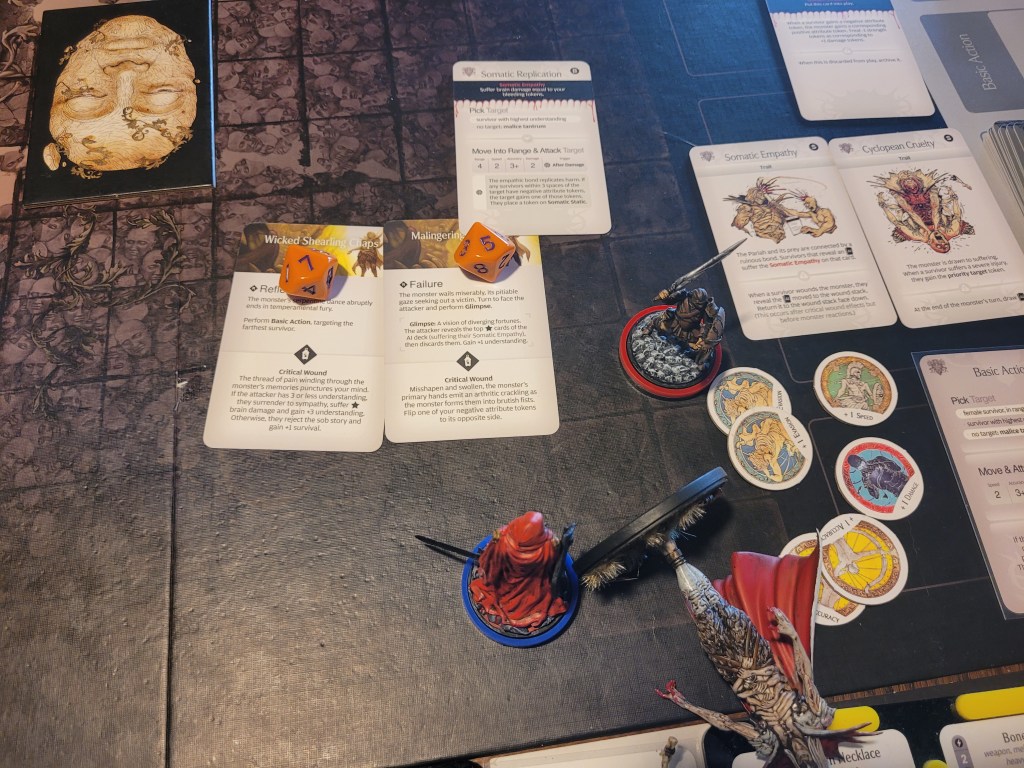
Besides Somatic Empathy and Somatic Static, the monster now also features the Cyclopean Cruelty trait. This means that any survivor who suffers a severe injury during the fight also gains the Priority Target token, furthermore this trait also allows the monster to draw a 2nd card per turn. This means it is going to pile on and double up time and time again!
Finally, before the fight could start, Candy gained a disorder from her Neurosis (Binge Eating D).
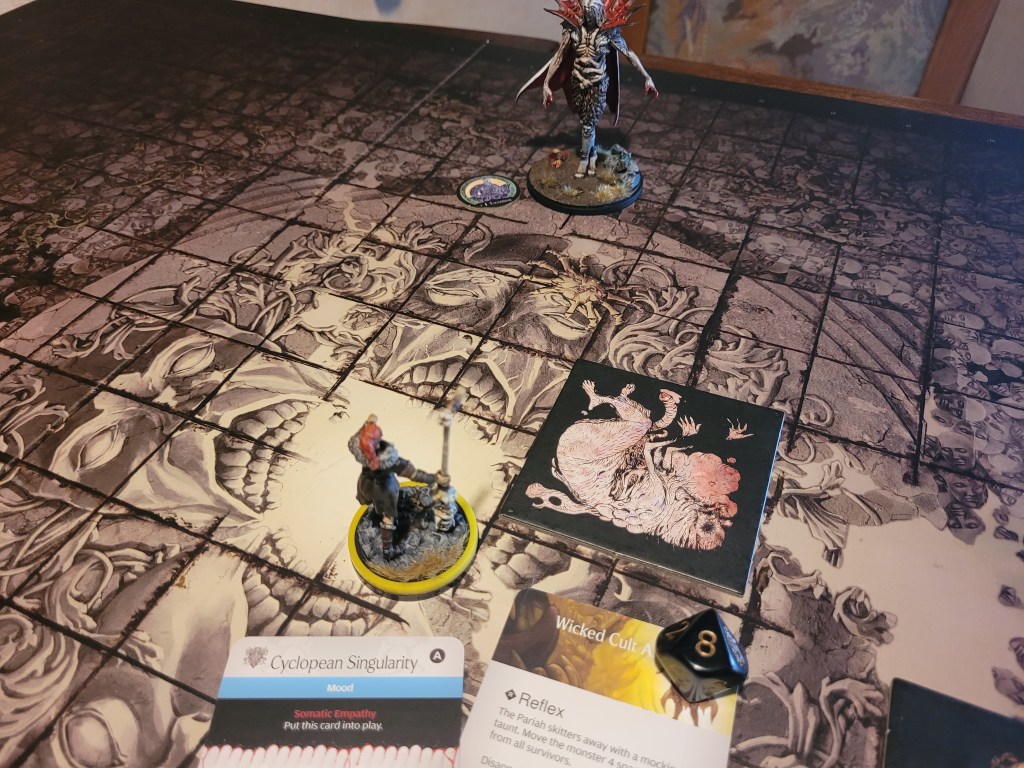
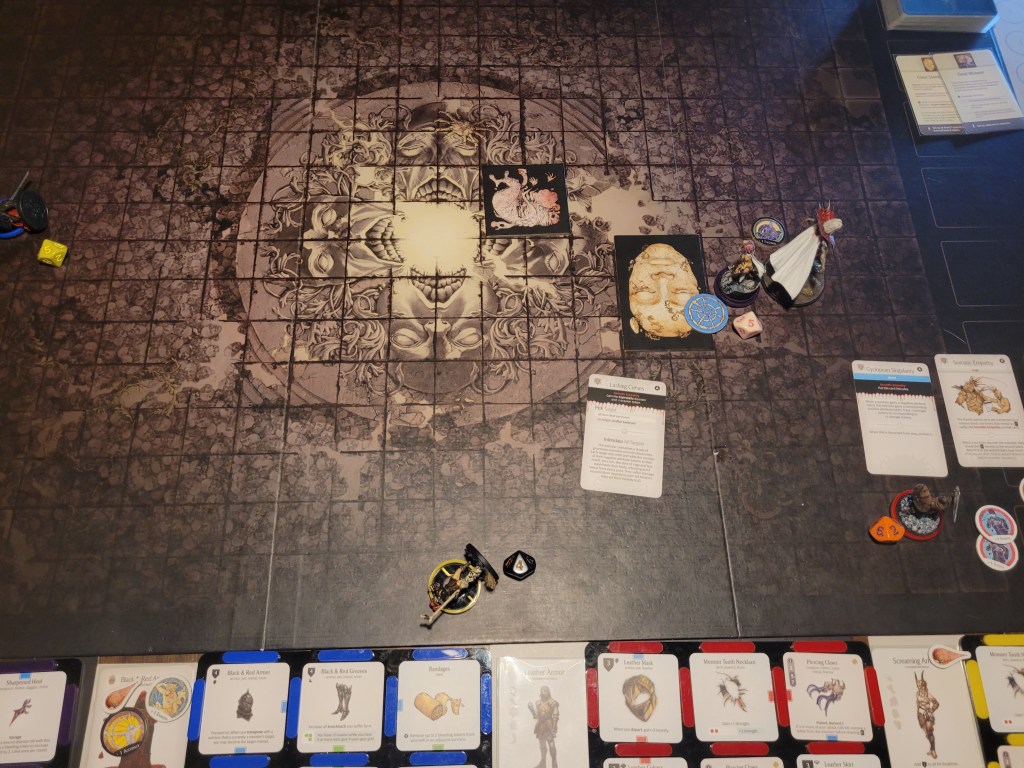
16 cards in the deck and a Dead Monster on the field – the monster had me already wondering: did it actually want to help us out here, or did it just want to eat the rarest resources it could find right in front of us?
Set up to unga-bunga forwards, we got to go first.
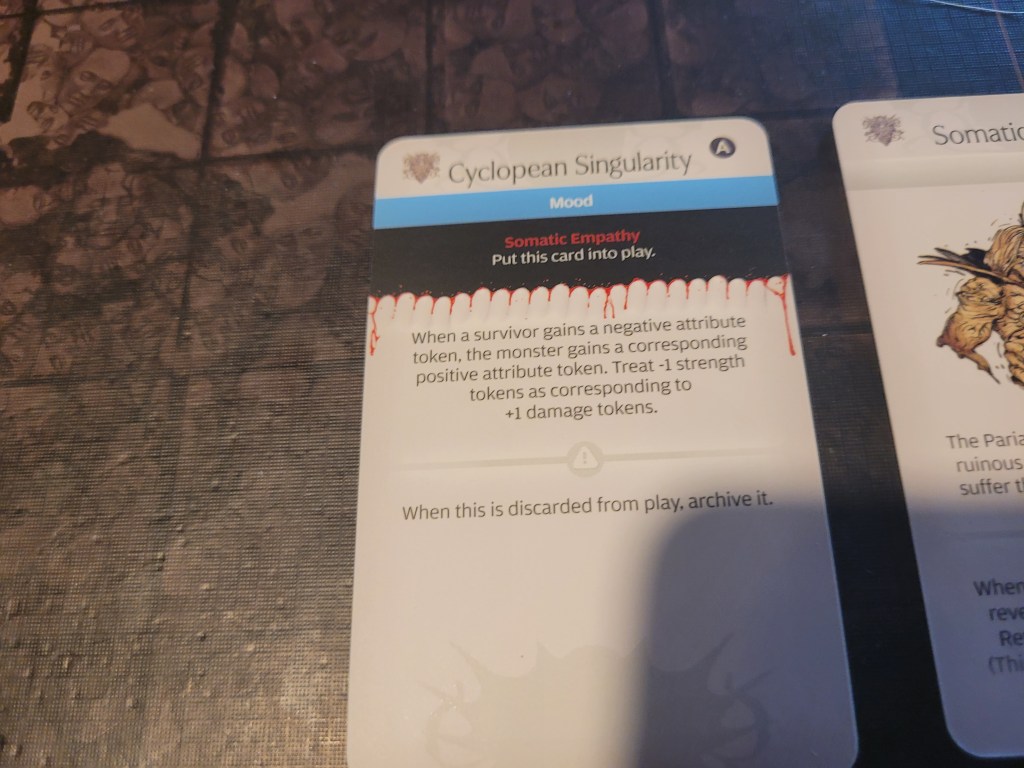
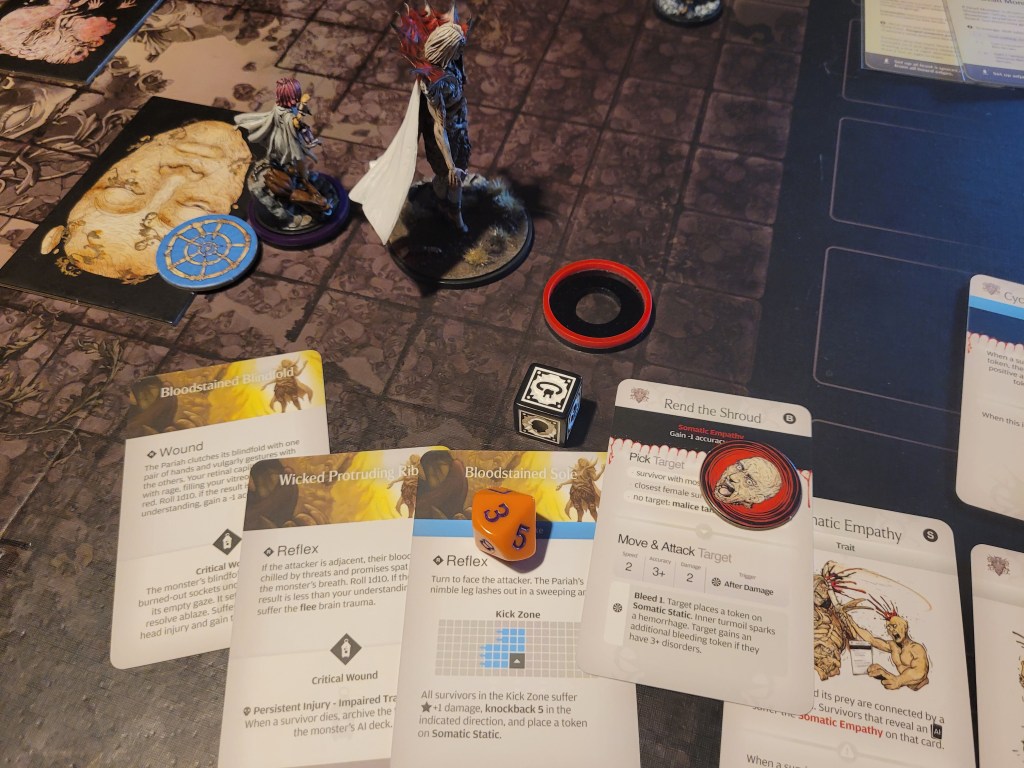
Bastet was the one to start us off with a dash and a Slam into the monster. She used the Maul Scab for its additional STR, and she wounded once, taking 1DMG to her legs from Somatic Empathy. Blow for blow, we had achieved first blood. She did decide to go ahead and surge as well, dealing one of the worst possible wounds to get early: putting Cyckopean Singularity into play via the Somatic Empathy effect.
This mood will give the Pariah a positive token for every negative one we get – with the Black & Red Armor in the party the monster would definitely be stacking ACC after that.

Candy was next in line to activate. She spent 2 survival to remove Binge Eating (D) and dashed towards the monster because she was the only one who could still reach the Pariah. She jumped in by using Leap from the armor set, significantly increasing her odds of dealing damage.
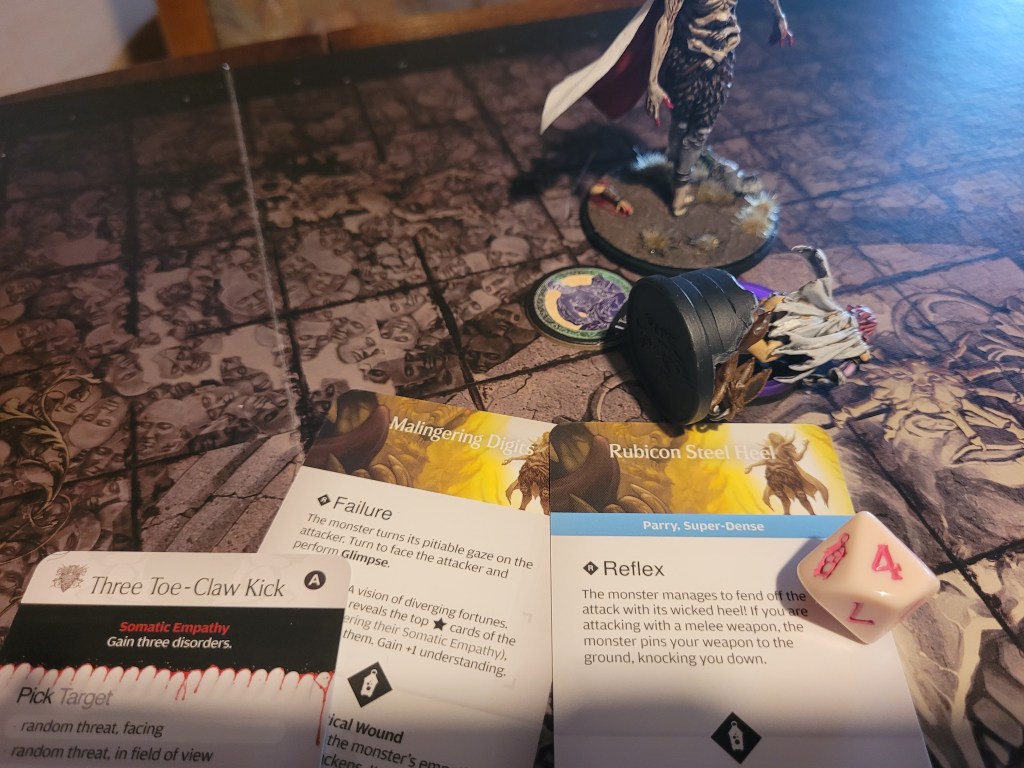
2 hits – the first wound filled up her disorders by gaining her 3 (Prey, Destined and Maladroit), whilst the second wound .. never happened as she was parried!
At this distance, Frogdos (blocking and gaining a -1ACC token) and Lucky could only move up towards the fight.
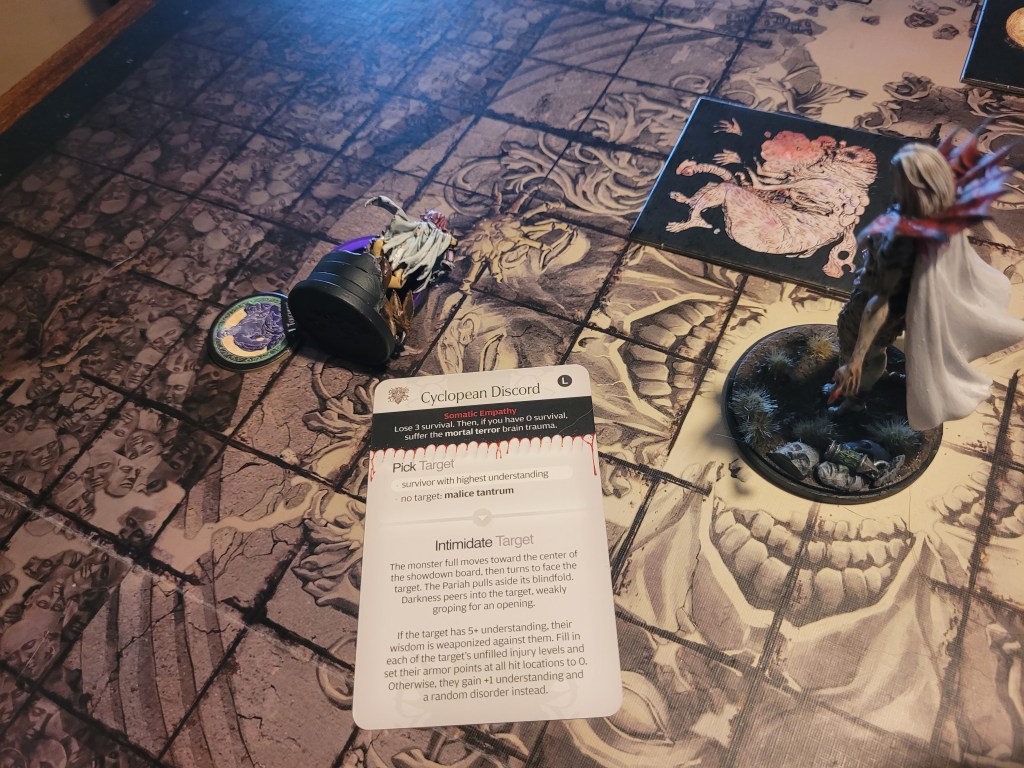
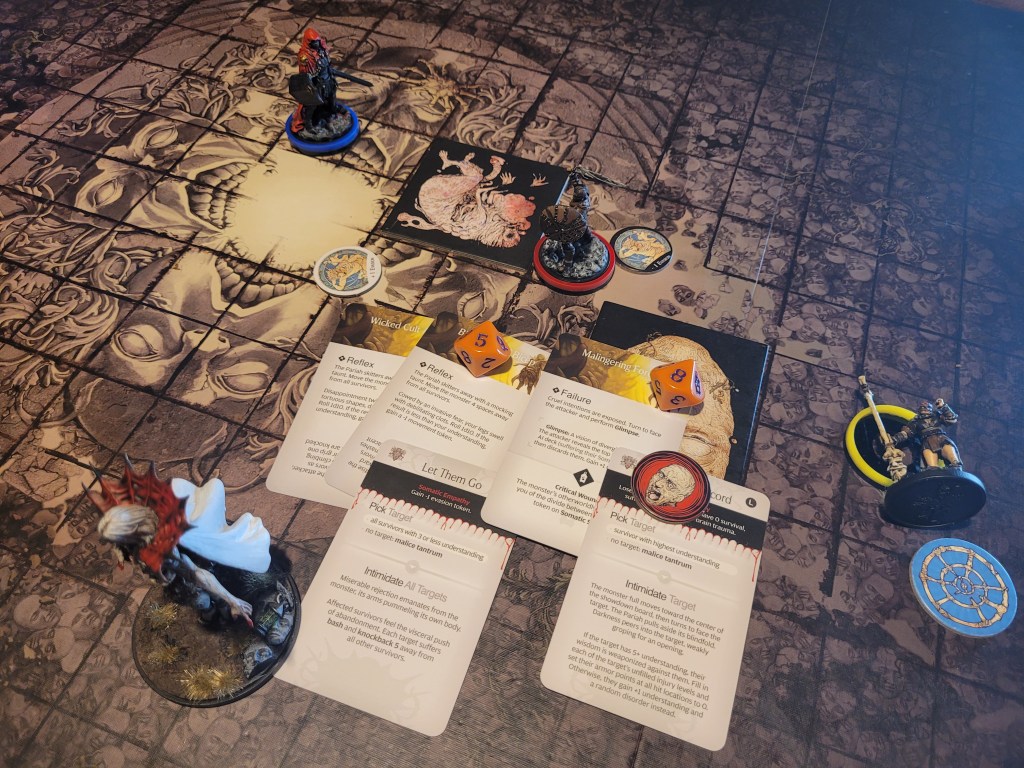
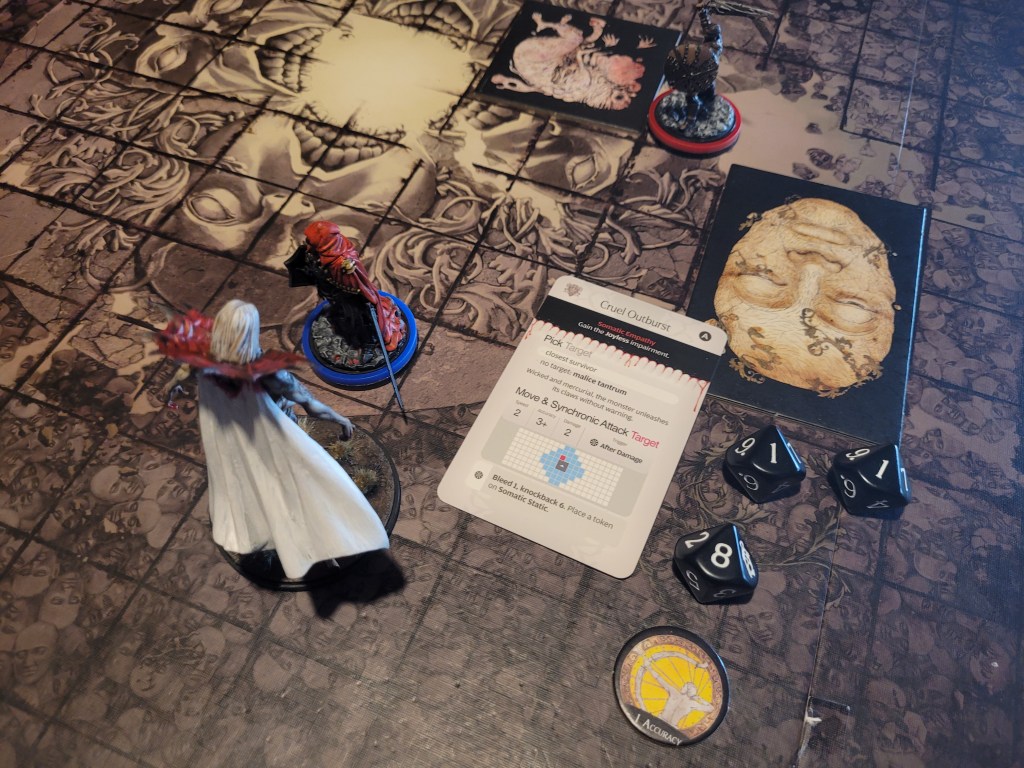
13 (14), the monster began giggling maniacally as it drew its legendary AI card: Cyclopean Discord. Stepping over Candy and shoving Bastet away it revealed its burnt out eyes to Candy .. who had 8 understanding and suffered, oh no.., the full effect!?
She took maximum damage to each spot removing all armor and filling in all injury boxes! She’d been the most tanky member of our party as well!
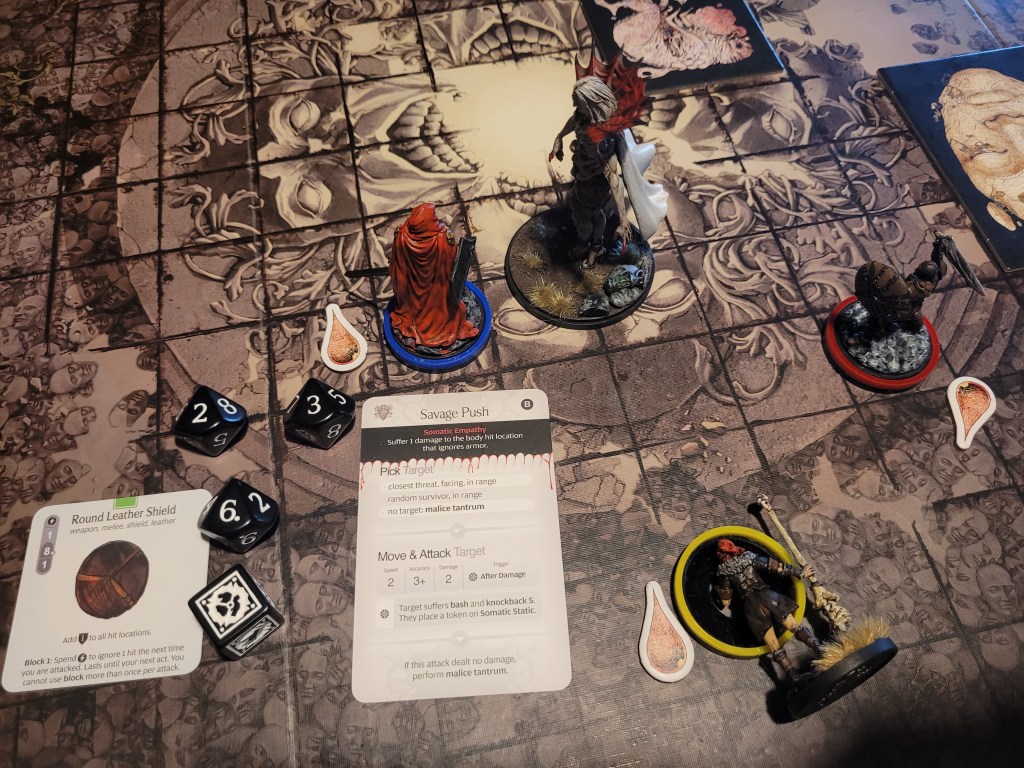
The second card was Savage Push, which randomly targeted Frogdos.
He did block the single incoming hit and the monster threw a Malice Tantrum. This spread bleed amongst the close by survivors, but also Somatic Static tokens!
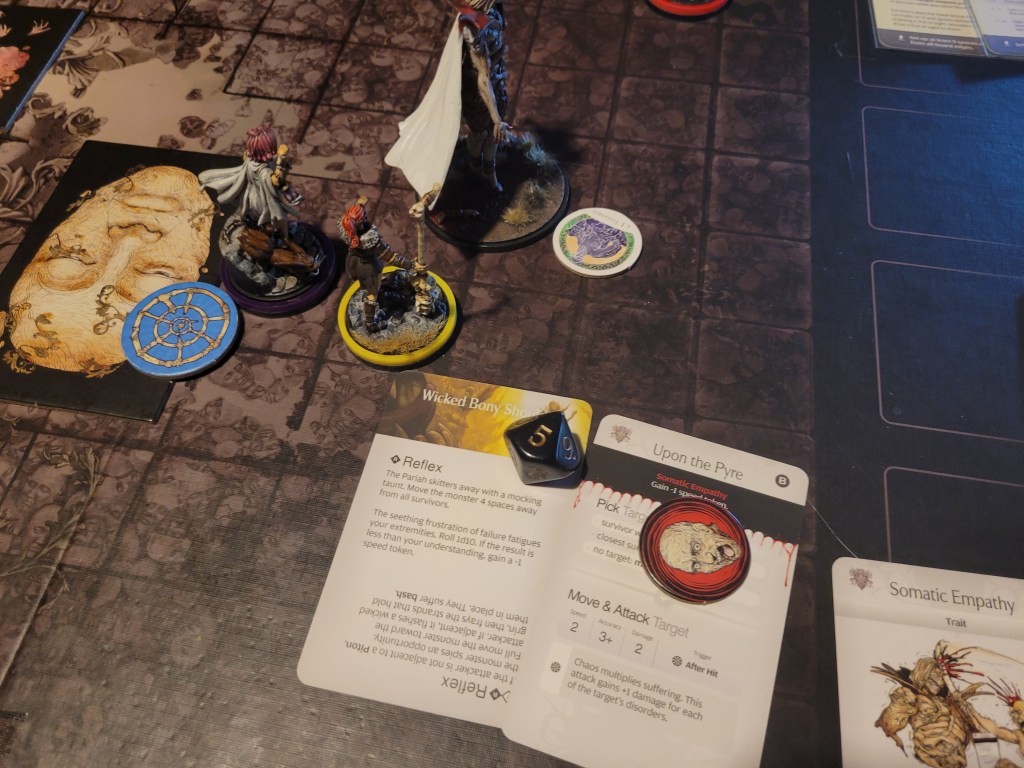
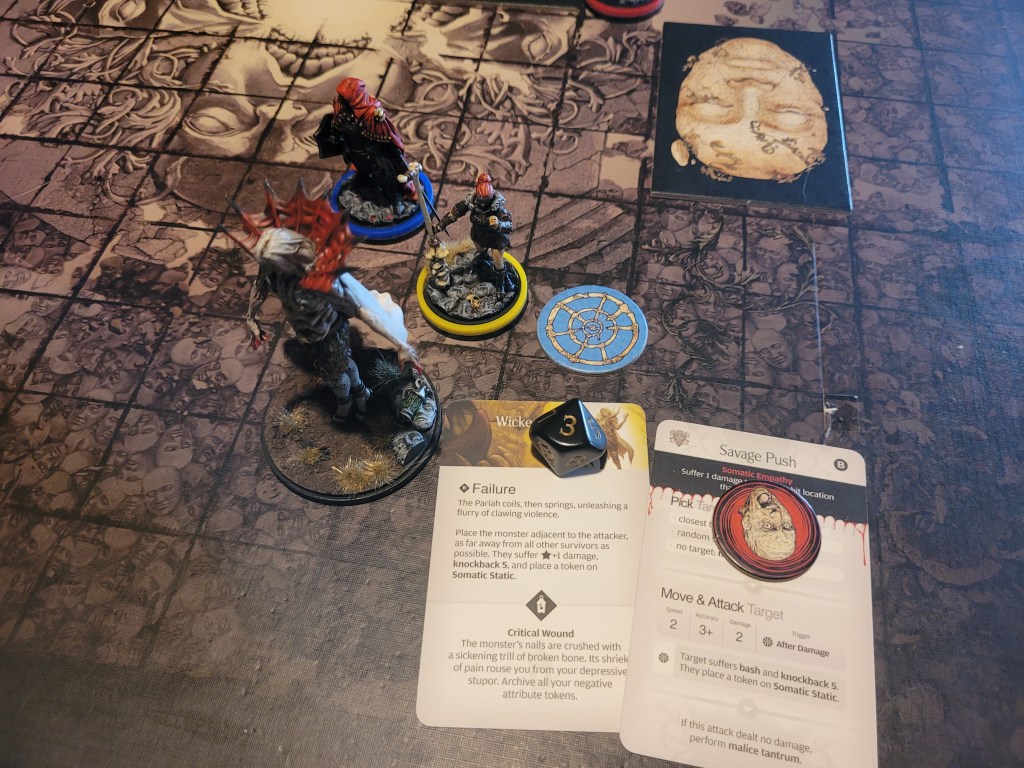
With our turn starting we encouraged Bastet, who dashed to the perfect distance to Slam back into the monster again .. and she hit the trap!
With only 1 understanding she flipped 1 card from the wound stack and fell over from leg damage before the Pariah started hitting her with a basic.
Frogdos took the chance to circle around the monster and attack into a fresh deck. The first wound failed on 2+ and he suffered a glimpse that would give him joyless. Luckily he had the Somatic Static token to discard and retain his ability to surge! His sword’s effect also triggered on the failure and he was presented with a 2nd chance to wound. This time he succeeded but gained Anhedonia (D) from it. This made him permanently sane and turned off all his abilities so he got flung away by the capricious monster!
(For once I did not forget about Iron Will and then this happens.)
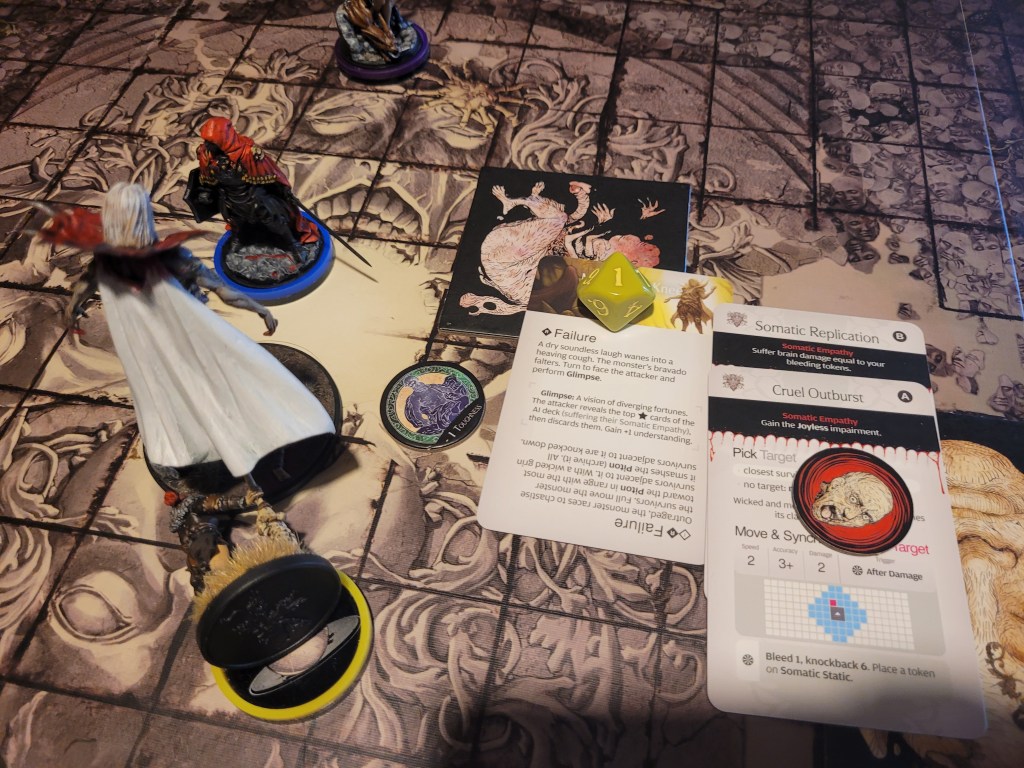
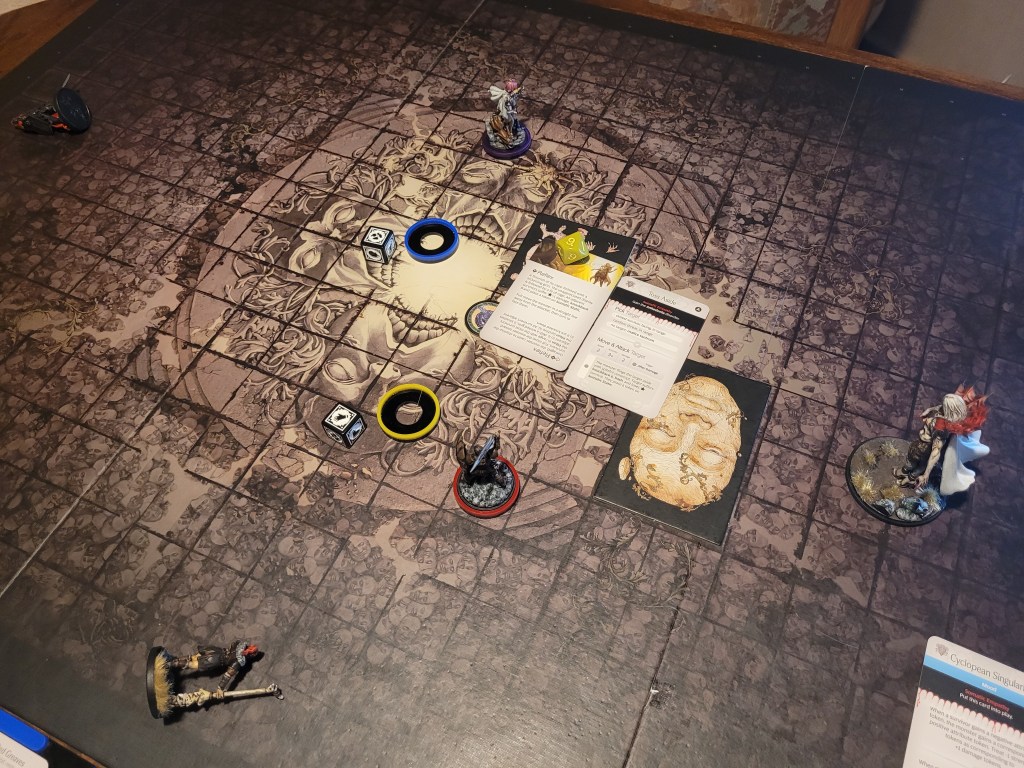
With the monster repositioned beyond the Giant Stone Face, Lucky was still close enough to dash and move in, hoping to hit at least three times so he could remove the +1ACC from the monster! And whilst he just about managed to get the hits in (begone +1ACC!) – he was kicked away, preventing 2 further potential wounds. Somatic Empathy then also switched all of Lucky’s tokens with Candy who effectively only gained 1 bleed from this.
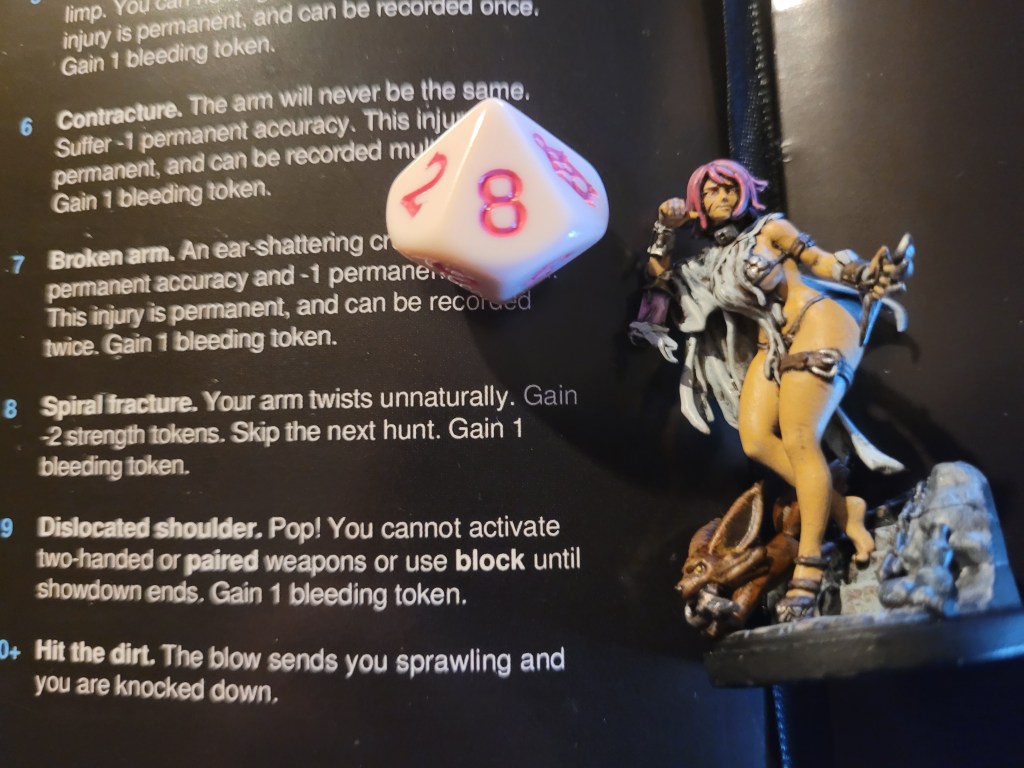
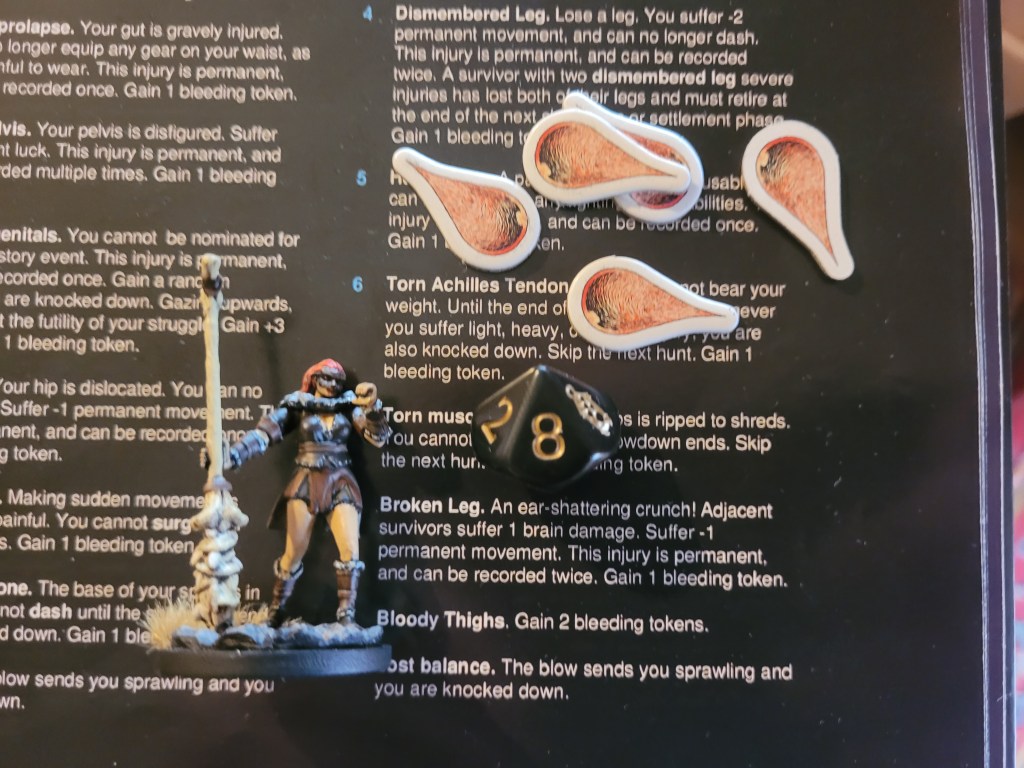
Finally Candy dashed towards the monster ready to Leap into the small gap between the Pariah and the terrain piece. 1 single perfect hit was landed, which turned out to be a crit. The crit itself did nothing for her, besides dealing 2 wounds, before Candy was first frenzied and then forced to suffer a severe arm injury – Spiral Fracture?! That’s terrible! That’s +2DMG for the Pariah! And priority target on Candy as well!
9 (10) cards left, I felt like we were moving at a decent pace, but the sudden increase in extra DMG was definitely scary.
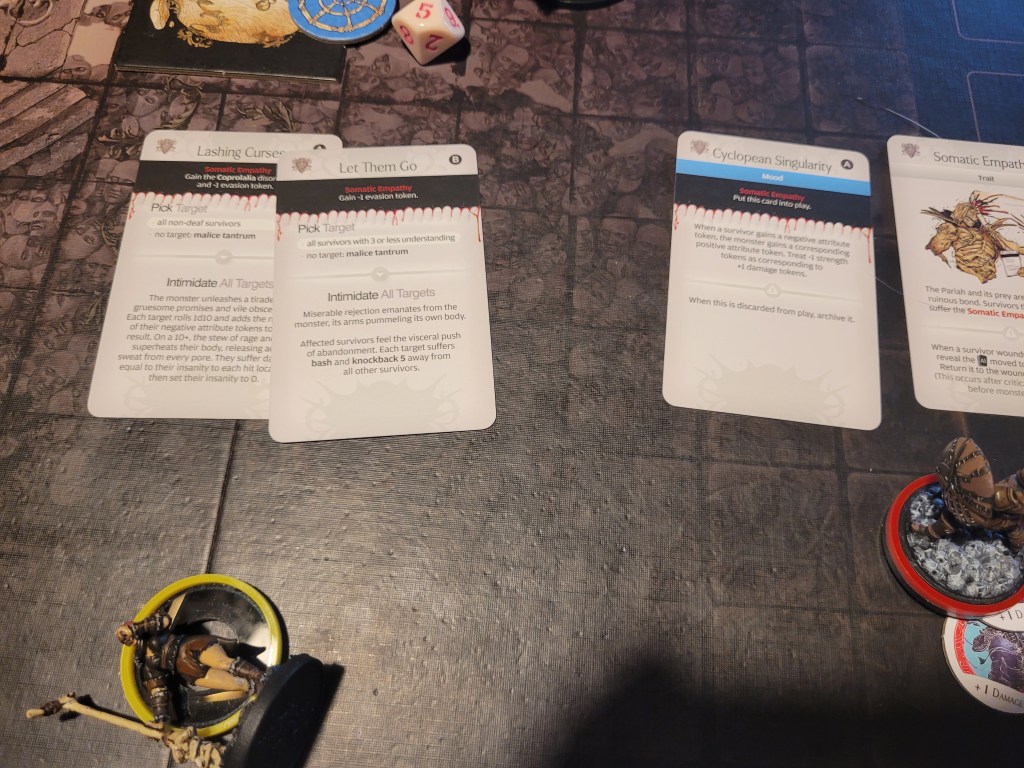
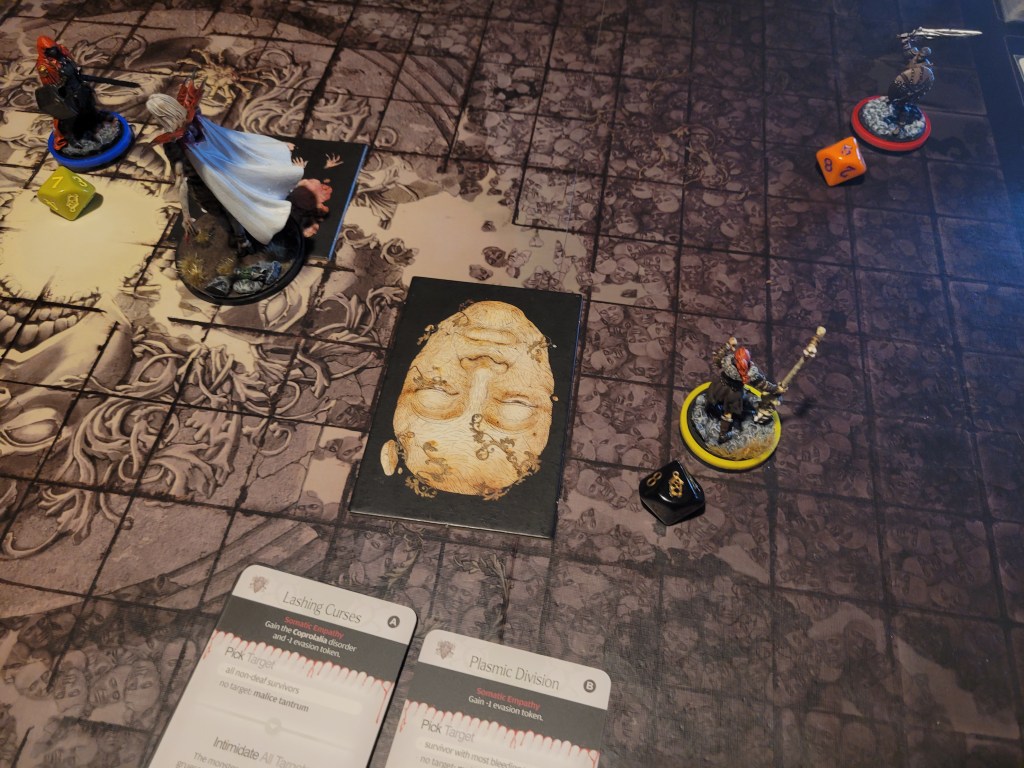
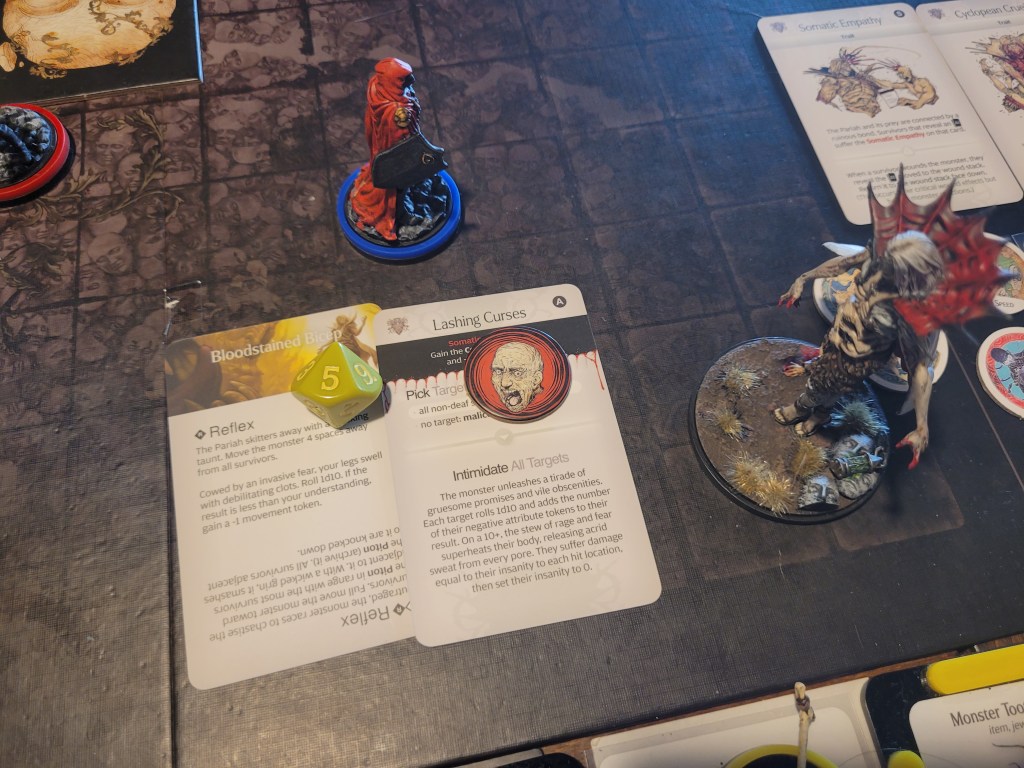
The monster started its turn by yelling Lashing Curses at all of us. Fortunately nobody seemed to care too much and we shrugged off the Pariah’s feeble attempt at discord.
Of course, it wasn’t done manipulating us just yet. It yelled: Let them go! And both Bastet and Lucky fled a few steps from this second outburst.
With our turn starting the survivors all got up, ready to fight back!
Bastet and Lucky dashed closer to the Fiend, with Lucky attacking first. 3 hits to lower the monster’s DMG! On 4+ that should be manageable – so he swung and .. missed all 4.
Surge! 3 hits – 2 of them perfect! But there just had to be another kick amongst the reactions, cutting the attack short anyhow .. katar spec would have helped so much right there! Still, one of the +1DMG-tokens had been removed and a wound had been dealt as well.
Bastet was up next and the flowchart was in full effect again:
“Am I close enough to Slam? If yes: then Slam. If not: move into range to Slam.”
She dealt a single wound and her Somatic Static token prevented the SPD loss.
At this point Candy activated the Giant Stone Face and full moved away from the Pariah, hoping she’d be able to goad it into following her and missing at least 1 AI card entirely. Her suffering Frenzy was pretty terrible at a time like this. With no armor and no chance to spend survival she was in dire straits. She passed Frogdos on his way back towards the fight.
Finally, Bastet surged, but the failed wound ended up being a huge survival drain on both her and Lucky so they wouldn’t get grabbed.
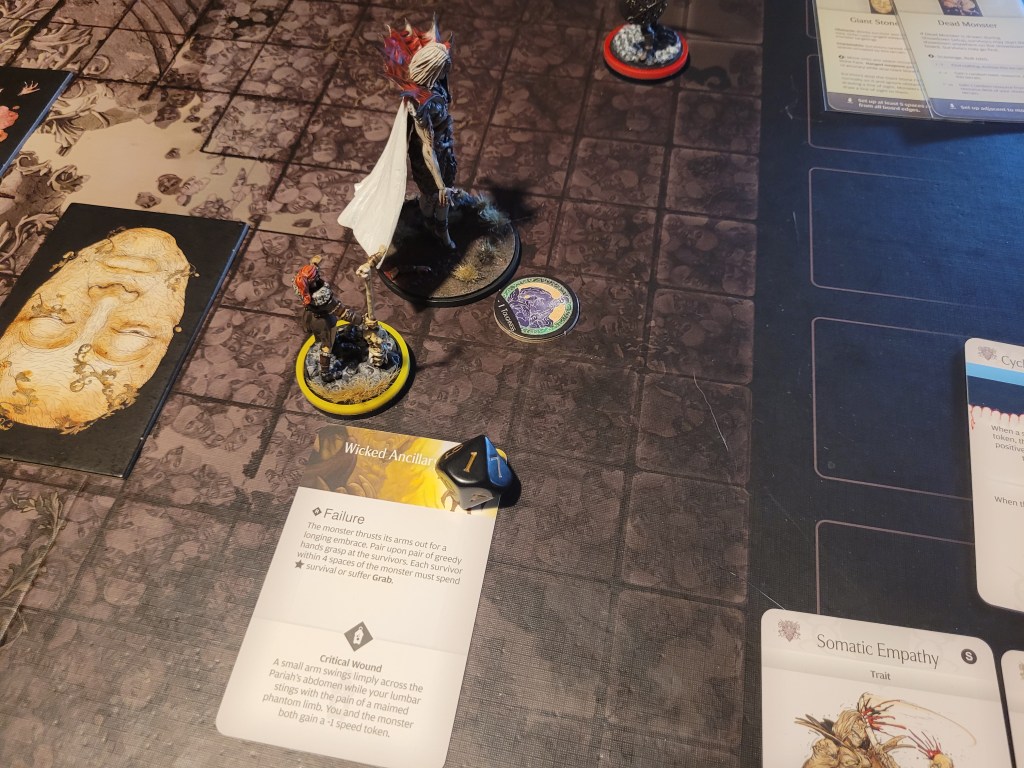
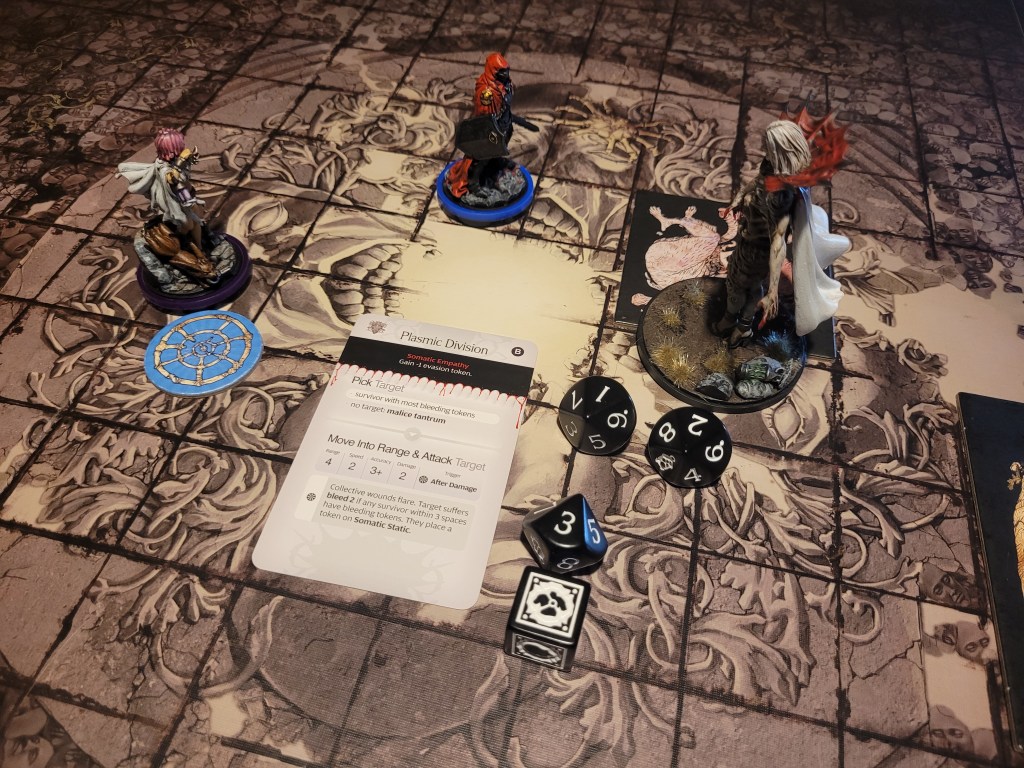
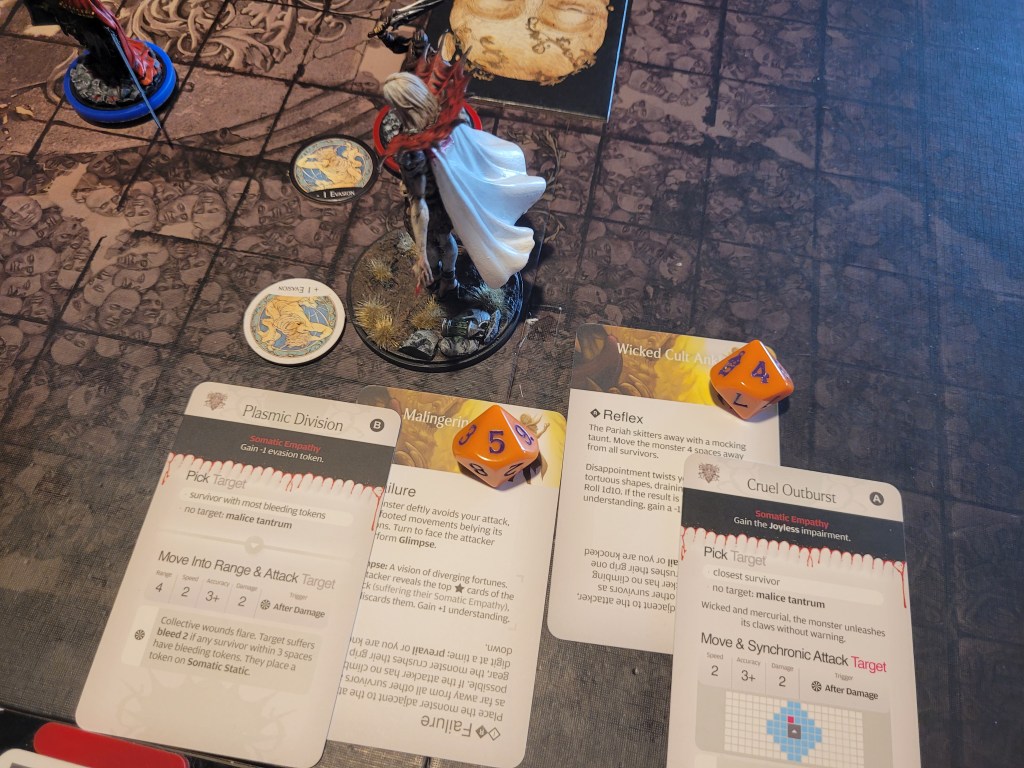
7 (8) cards left – the final unknown card in the monster’s deck was Plasmic Division. It just had to be a ranged attack.
The Pariah followed Candy and it had to be toying with me at this point. On 3+ only one of the attack rolls hit her. Which would likely still be enough to kill her. She was hit in the chest and unable to dodge because of her frenzy she was doomed. 2 bleed on the after damage trigger, together with the severe injury (4), there was nothing we could do. Candy bled out. A tragic end to her story.
The second card, Lashing Curses felt like a good draw to me until it actually affected Bastet! She cooked herself with her 4 insanity, dealing 2 more severe injuries to herself! Whilst she took no tokens, she was looking a lot worse for wear after that.

But even after such a rough monster turn, there was nothing left but to press on! There was only a little less than half the deck left.
Lucky moved in first, hitting 3 times, wounding twice. He prevented the L card’s effect with his token (to not die) before he applied +1EVA to the monster, unfortunately.
Frogdos attempted an attack as well but unsurprisingly, he failed to hit.
Bastet, desperate but not dead .. was still ready to Slam in, dealing 1 more wound! The follow-up surge was no surprise to the monster as she hit the trap again. Which meant she also died to bleed from the initial reveal of Somatic Empathy effects.
Another rough line of events – but at least the Hit Location deck had been reset for us. Hopefully it would be enough for Lucky and Frodgos to push through!
4 (5) cards remaining. The monster had a Cruel Outburst at Frogdos. And it was rolling terribly! Two 1s! Only hitting him once, the Black & Red Armor negated the damage (for better or for worse).
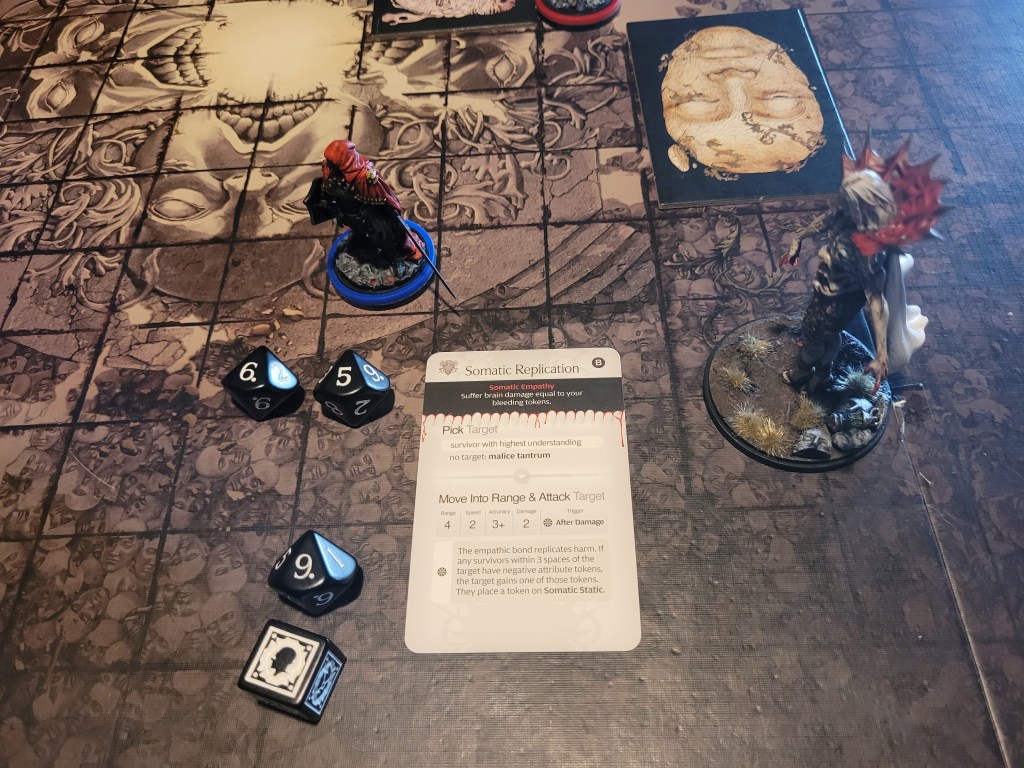
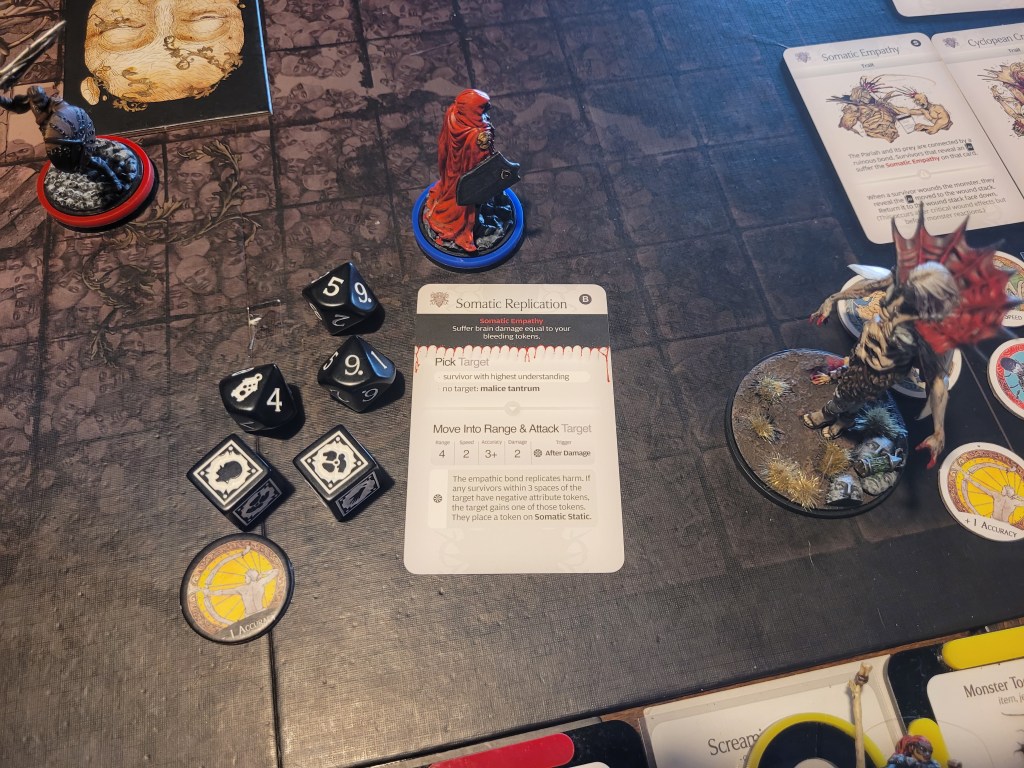
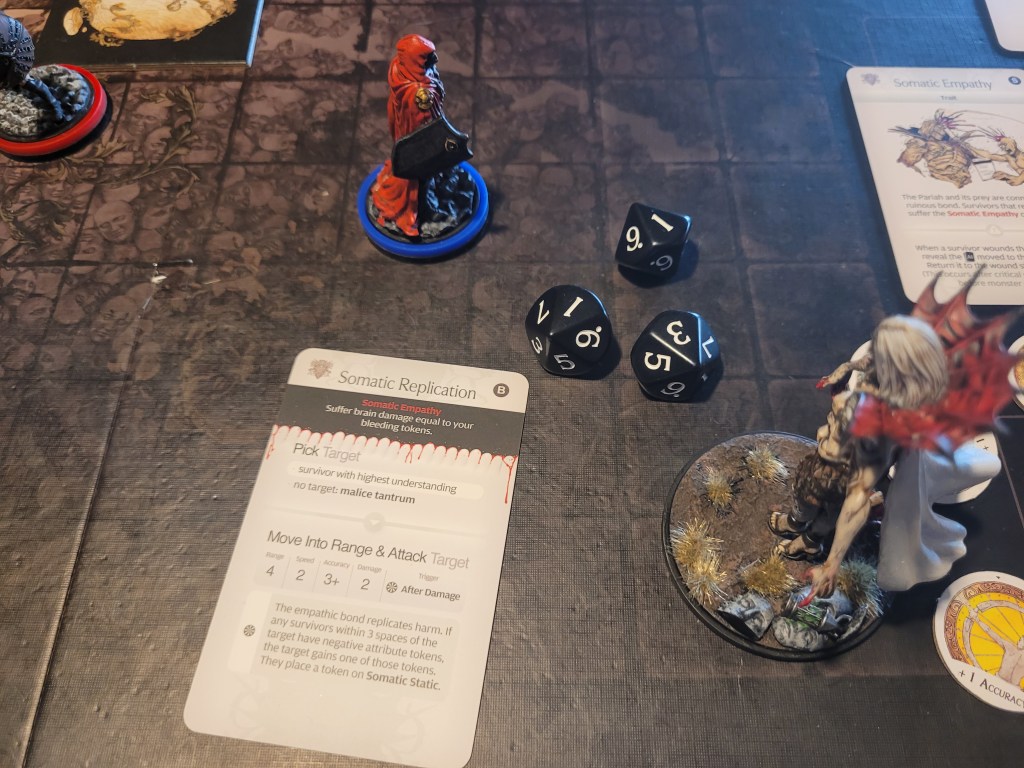
Somatic Replication was the final card drawn, hitting on 7+, Frogdos was fine, having been left largely untouched so far, despite taking 3 damage to the face just then.
Back to our turn, Lucky was now only hitting on 5+, and despite all the effort he put in, he couldn’t remove the token. He still managed to deal 2 wounds, applying another +1EVA to the monster whilst turning joyless himself.
Finally Frogdos dashed after the Pariah to deal 1 more wound, negating another EVA gain. A lucky break as he was barely able to hit the monster at this stage (only on 8+). Of course the effect of his chest armor triggered, giving him a -1ACC.token and the monster a +1ACC token due to its mood in play.
1 (2) cards remaining – the final card left in the deck was Somatic Replication, which was going to target Frogdos. He was hit twice, with the Black & Red Armor preventing 1 hit, I figured he might as well negate the other one with a dodge as well.
The 2nd card, surprise surprise, had it perform Somatic Replication again, this time missing all 3 shots (7+).
Frogdos attempted to attack first, but miserably failed the 8+ to hit check.
Still “only” on 6+ Lucky took the opportunity and he found exactly 2 more hits – with +2STR from barbed, he finished the fight, dealing the wounds without remorse to the pitiful creature!
Howling with rage and self-pity the monster fled into the darkness!
The Pariah had been repelled from our settlement!
At least for now!
The poor thing had been shoved into a corner and bullied! How could I do this to the poor thing!?
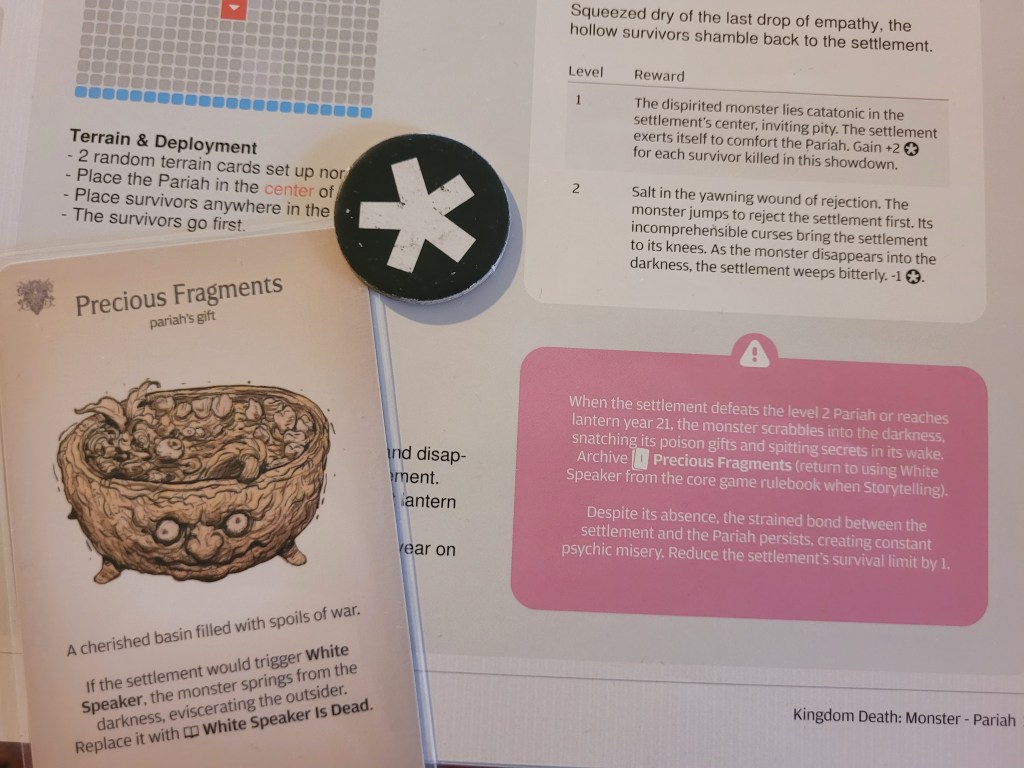
As for rewards: we gained 1 hunt xp, which aged no-one, 1 weapon proficiency and .. we lost a point of Survival Limit, 1 endeavor and the ability to make Scab weapons.
The taste of victory!
Of course we did also prevent the Settlement Event from going into effect, which is the real prize “earned”. It nasty.

Overall, having Candy die is tragic (but not entirely unexpected), especially so close to her fourth milestone. Her getting hit by the legendary AI and also getting frenzied shortly after was just an unfortunate line of events all around.
Maybe the Feline Entity’s absence played a roll in this?
Anyways, whilst Candy did deal decent damage with the Dragon Armor and her dagger, the weapon MVPs for the fight were the Piercing Claws by far, removing those tokens was essential for our victory, especially with the Mood hitting the table so incredibly early. Not to mention that they also dealt reliable damage as well.
Black & Red Armor also performed rather nicely, especially due to the extra EVA (4 in total) on Frogdos.
***
In regards to Candy overall, I feel like a did a bad job at showcasing her unfortunately. Whilst she certainly managed to show off some of her inherent power as well as how good the gear she comes with is, she has a much larger utility component yet to explore.
Due to her ability Candypop, she also really wants to partake in quarry hunts and feed the first resources she gains during a fight to Cola for the extra permanent colored affinity as well as the “free” drink.
There is also her fourth philosophy milestone, we did not get to, which is quite the “wrap up” to her story.
..
Oh well, maybe next time.
***
I did not expect we’d win this fight, but I certainly was hoping for the best. And it payed off, if at a cost.
Now we only need to keep this mentality going for Black Knight Lvl2.., Red Witches Lvl2.., the first Lvl3 Quarry monsters.., the Watcher.. and the Screaming God.
But before I start spiraling because my survivors feel so weak without the +3STR they all could have as base stats, I am going to leave it at that for now.
Let’s hope that the screaming goat gets ready to be sent out soon to backers and pre-orders (and we finally find out which LY it arrives in), oh, and the same thing goes for my Forgepriest as well!
As always, thank you very much for your time, may your Pariah fights never include Cyclopean Singularity,
Amathul

Leave a comment