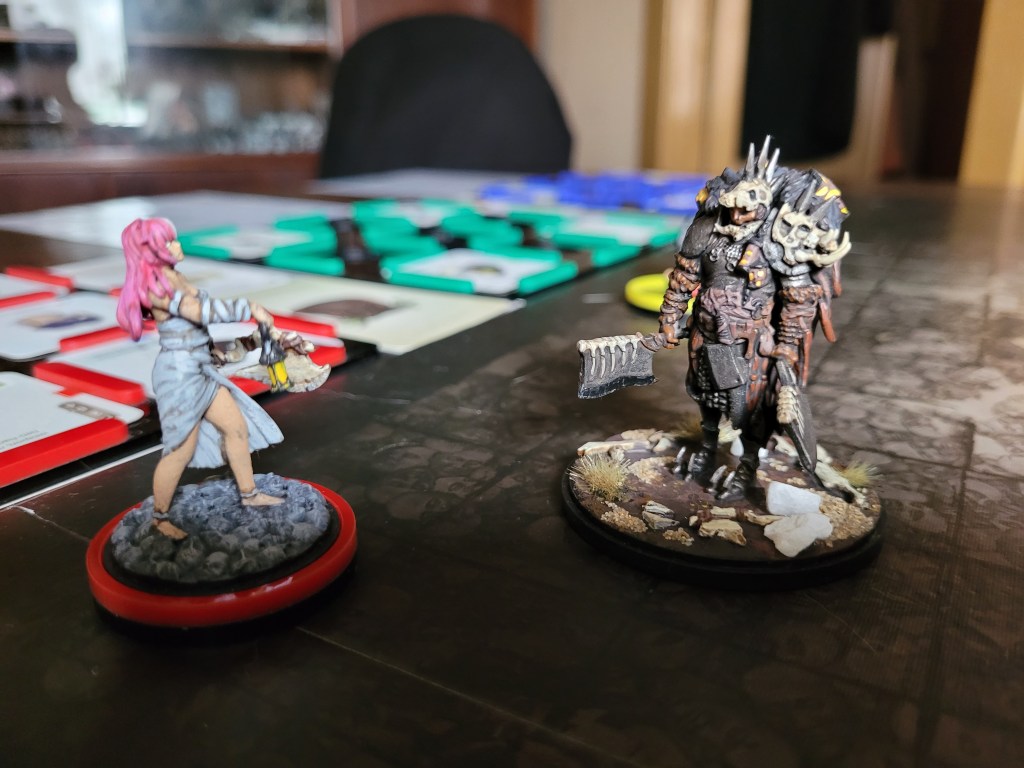
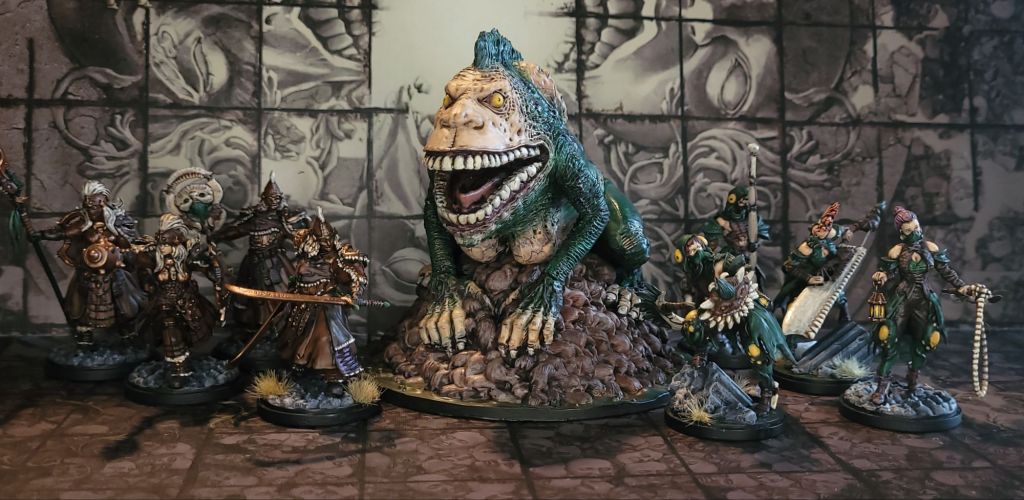
Between me finally getting that Frogdog write-up done last week and the next sale already close at hand, today we are headed back to the Gormpital for a bit. For there is a frothing madman at the gates and a he wants to flay off a couple of faces for his collection of lanterns .. and I think we should put a stop to that.
***
The return trip back to the settlement had been easy enough and I spent a good while thinking about what I could do with what we had looted from our last Gorm. Overall, we did have a bunch of resources to work with, unfortunately not a lot of those were bones.
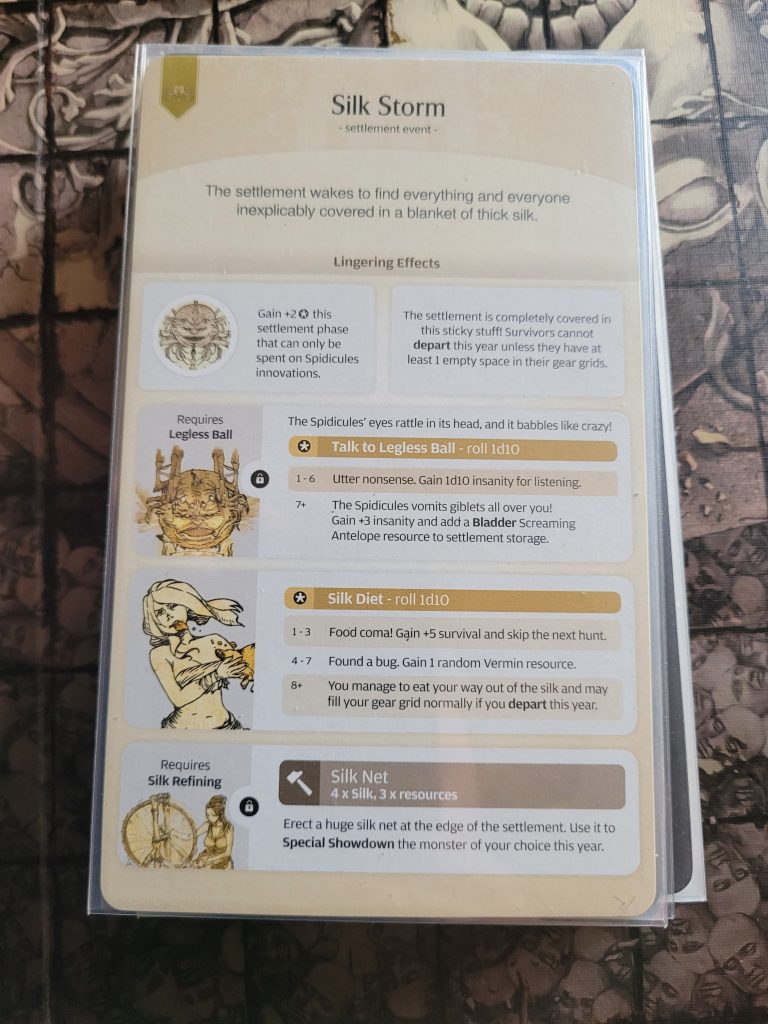
After collecting our 5 endeavors for the Lantern Year (4 returning survivors and Cooking I) I was as prepared as I would ever be to draw the random settlement event for the Lantern Year:
Silk Storm!
As everything had gotten clogged up with Silk around the settlement, survivors would only get 8 gear slots to work with this Lantern Year. At this stage of the game, that really shouldn’t cause too many issues. The 2 extra endeavors for spooder innovations would have been nice to have later on but I’m not going to lament killing another Gorm after I had just managed to get a Pure Bulb.
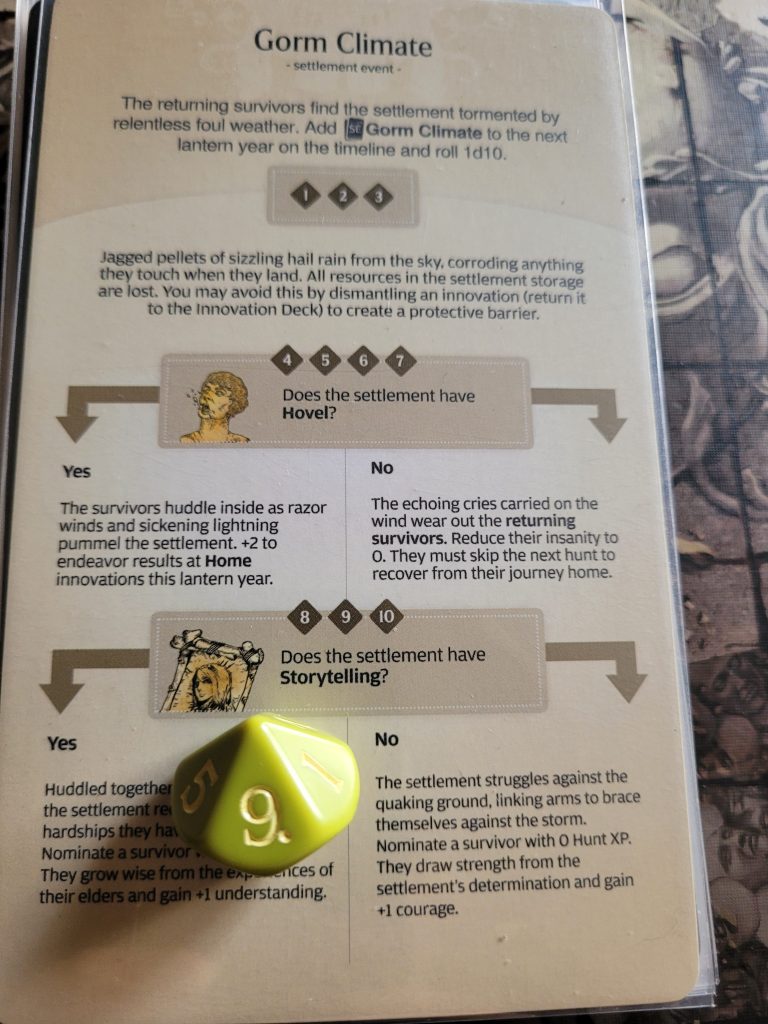
And then there’s the Gorm Climate as well: a 9.
Mrs Gorm gained her 2nd courage and that unfortunately also meant that we would be getting a feast instead of the normal table for the scheduled Hands of Heat story event next Lantern Year as I missed my last chance to dismantle our Lantern Oven (I).
With Aeneas eventually arriving as well and my intention being to chose Barbaric principle later down the line, we were well and truly set up to get a ton of feasts this campaign.
Who needs resources to build stuff anyway?
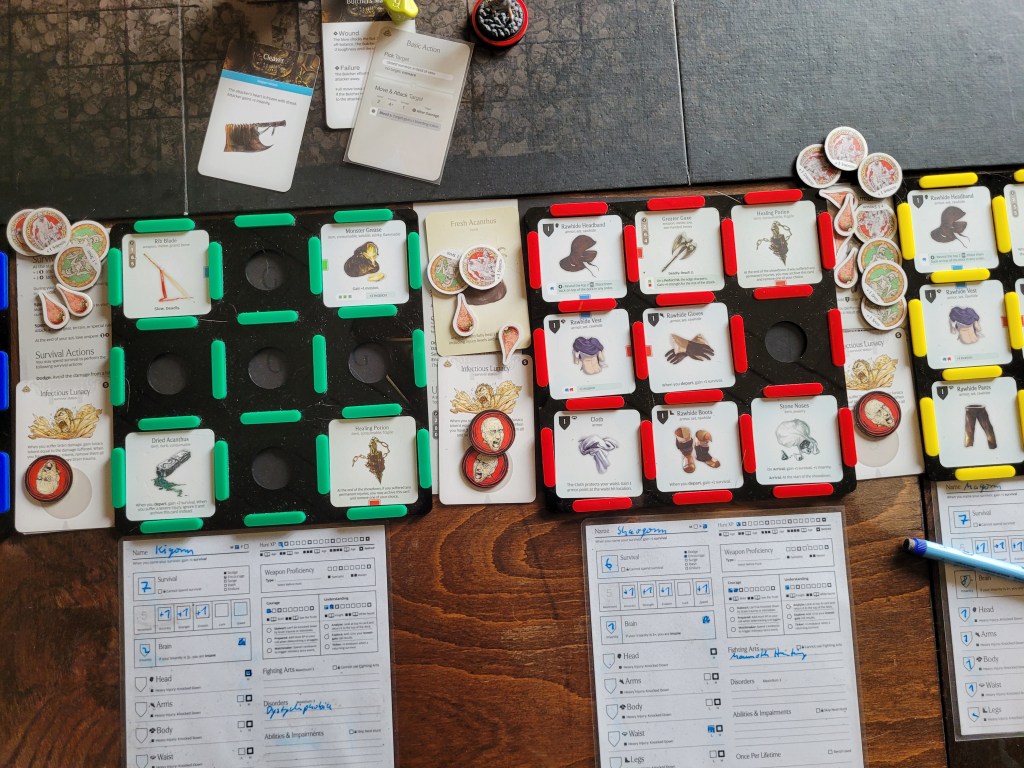
Moving on to the develop step I first looked up the crafting costs of the Riot Mace and .. lo and behold .. we could indeed build the powerful weapon thanks to the Stout Kidney I had saved from the hunt before!
We did, however, only have a single bone to work with this Lantern Year and I really felt a pull towards either innovating or building a regualar Gaxe as well.
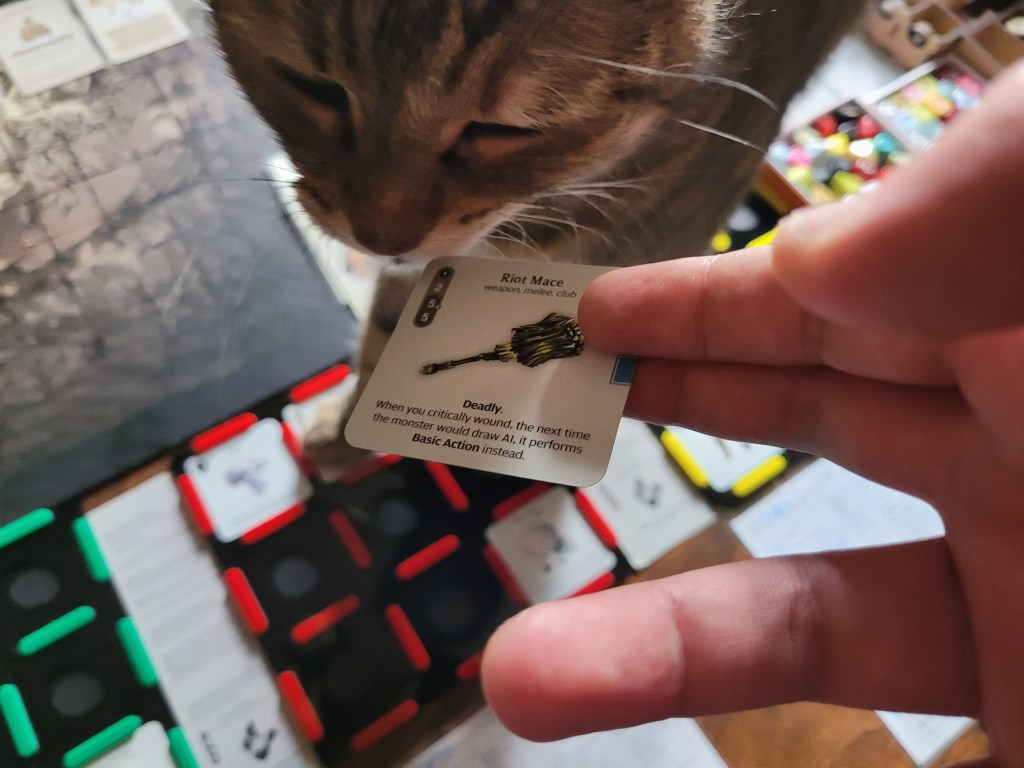
Of course not building the Riot Mace would have just been plain foolish – its a 5STR club with deadly and a really powerful ability so nothing else we in theory had access to at this point really could ever compare to that.
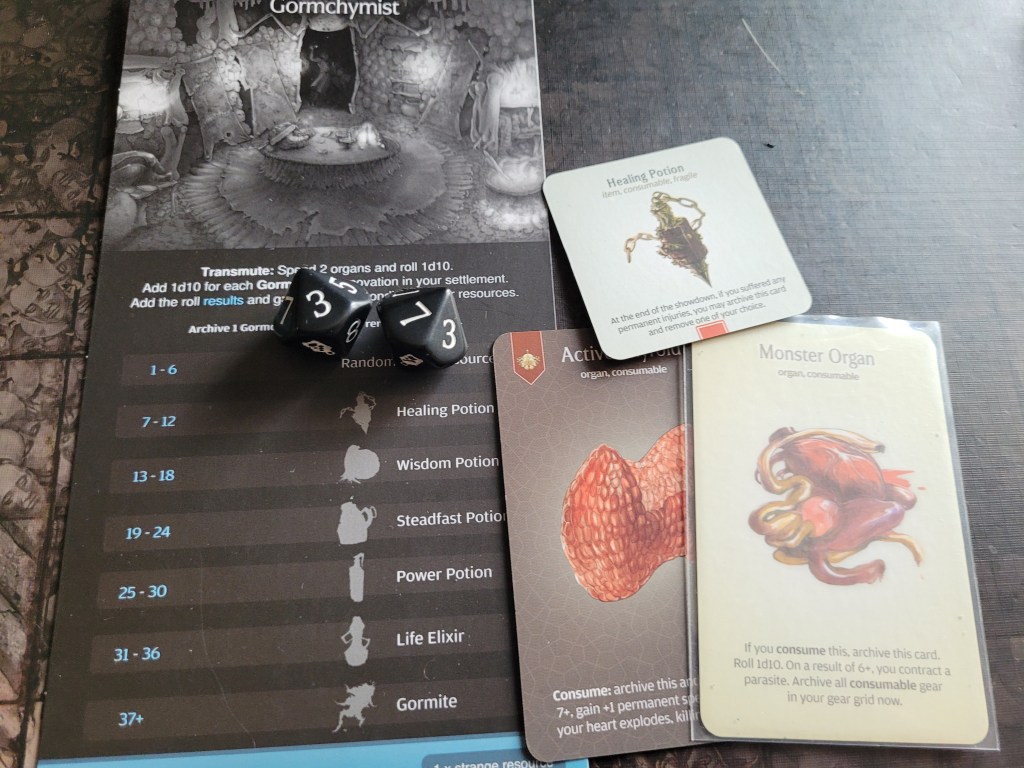
Still, that Gormchymist was looking mighty interesting ..
So, first things first, whilst I might be undervaluing the Pulse Lantern at this point (I have used it before and I know it is good at what it does) I did want to have the chance of getting another bone from the Gorm.
So I spent the organs and rolled 2 dice – a 10 was another Healing Potion, which wasn’t either of what I’d wanted from this table but – to be honest – I didn’t mind having.
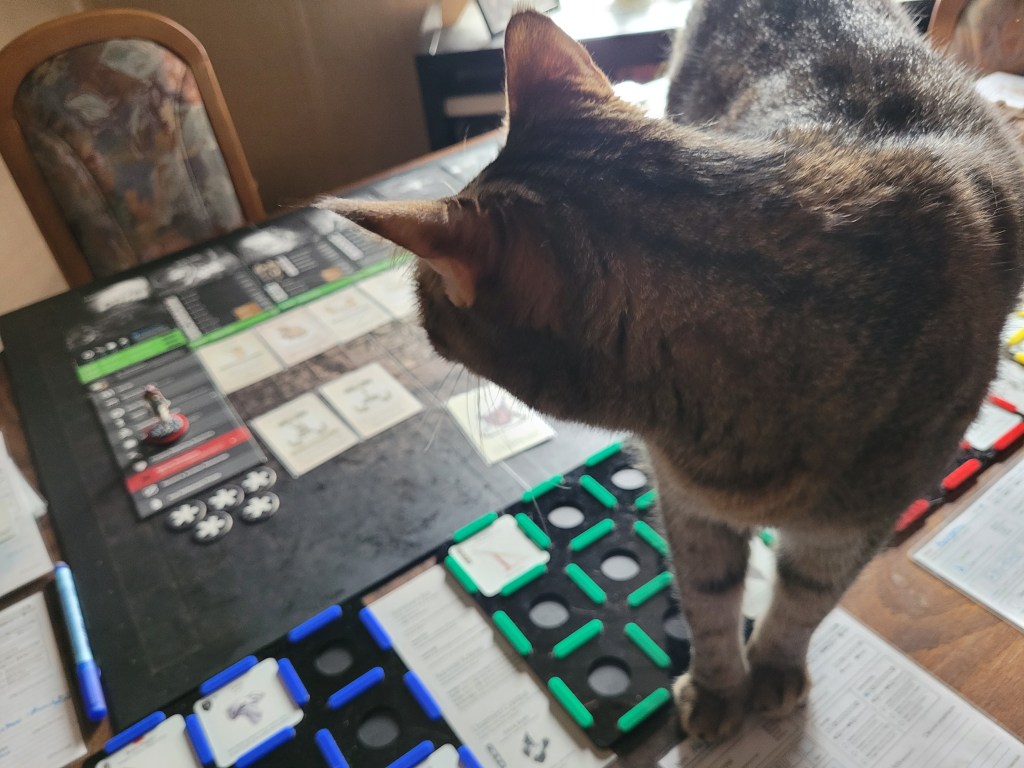
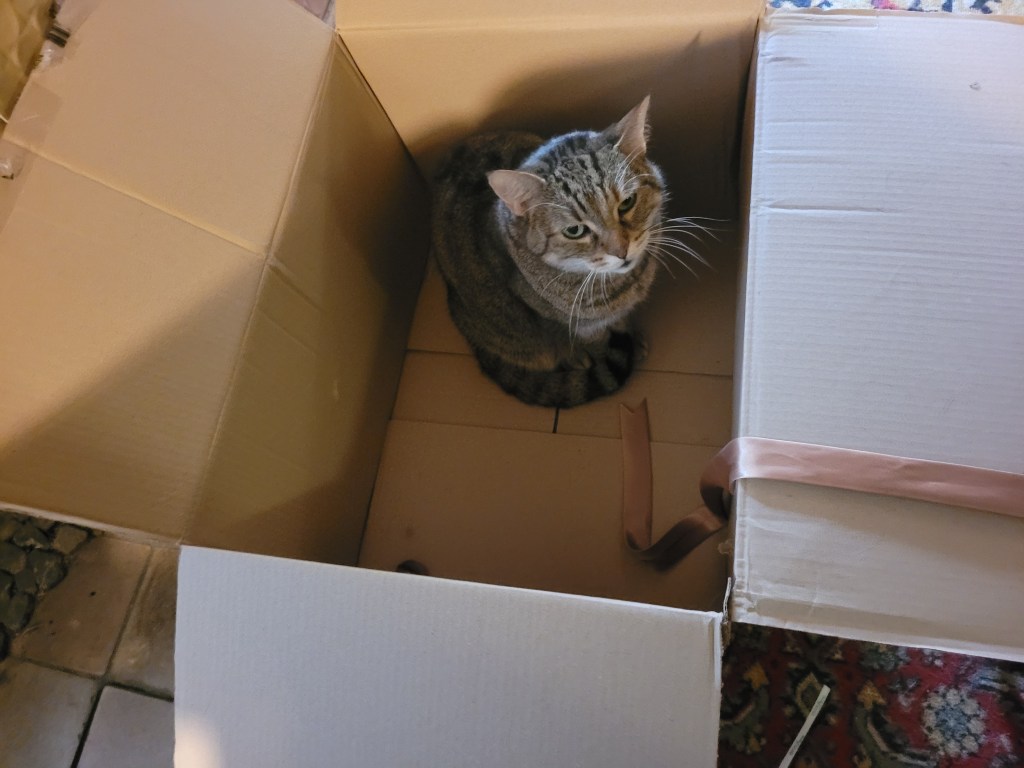
At this point the Feline Entity showed up and watched me first build the Riot Mace and then attempted to claim it as her own!
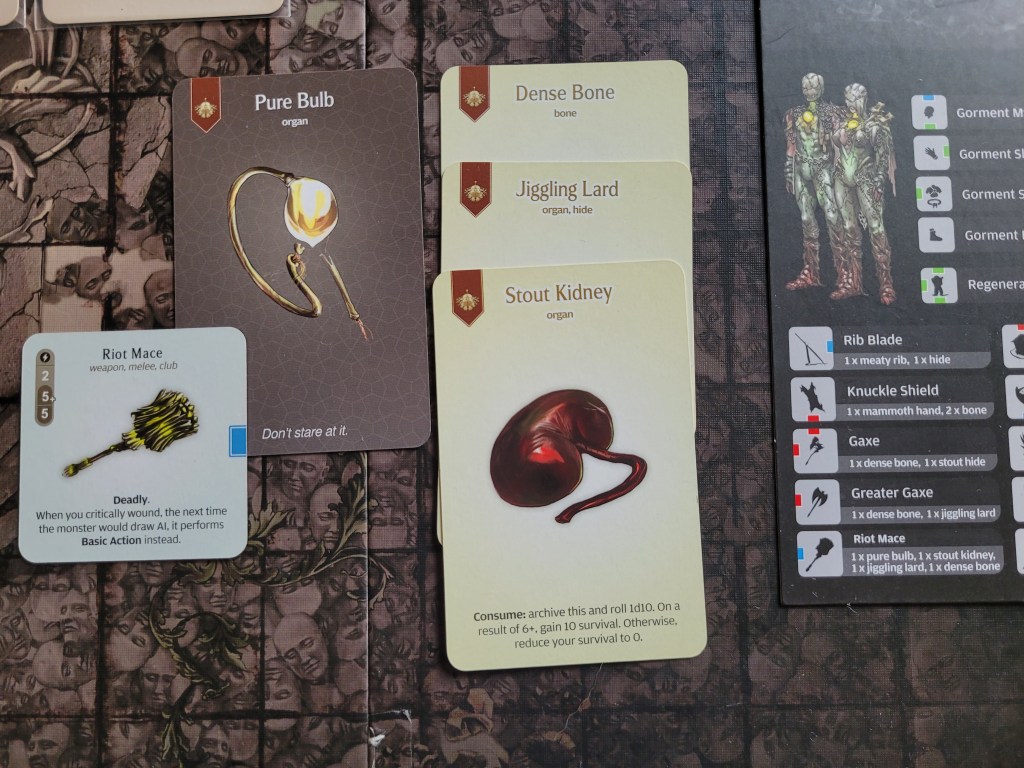
As for what else we could do with our remaining resources:
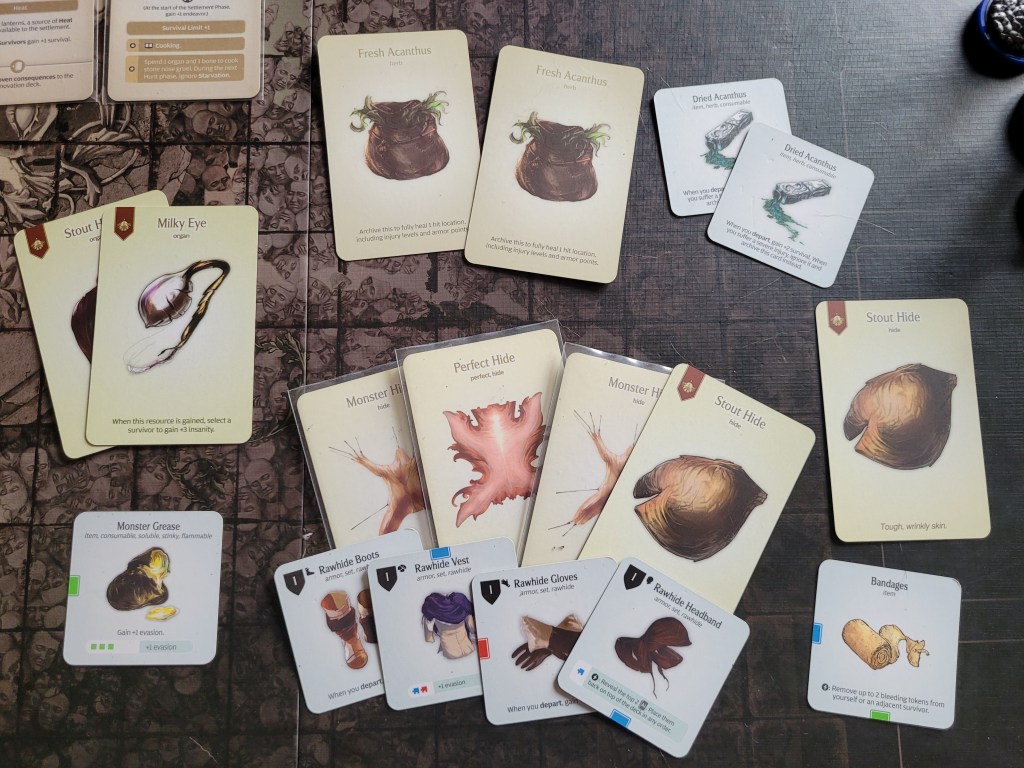
I didn’t exactly want to build a 2nd Rawhide Armor set, and typically I wouldn’t as I’d rather push towards the Node 1 armor or Leather, but neither the Gorm nor Spooder particularly lend themselves to armor making early on.
Thus, with a deep sigh, I built 4 more rawhide pieces and 1 set of Bandages from the hide I currently had in the settlement.
Two more organs were then used to make a Monster Grease and with all that we should be set up to win this nemesis encounter as much as we could possibly get.
It did hurt my soul a little to spend the Stout Hide like I did .. but if we lost against the Butcher today, it would be gone anyways .. which did make me feel just a little bit better about using them.
As far as resources were concerned, there was still a Love Juice for Gormley and Mrs Gorm to partake in and, well, no time like the present.
A 4 & a 6 was a regular baby, the boy Gormde.
And then.. well.., we also still had 5 endeavors left and Kigorm was sent to augur once more.
#1 – a 2 – a Broken Lantern was spent and he got +1 understanding for himself
#2 – an 8 – babies! A 5 and a 4 meant that Mrs Gorm had another beautiful girl: Gormnina
#3 – a 7 – +1 survival for Kigorm
#4 – a 9 – more babies! A 7 and an 8 lead to a boy called Prigorm
#5 – a 6 – another +1 survival
With 14 population in total we were just 1 off of our society principle!
The Chosen Defenders:
Gormst – blue (Bone Dagger, Bandages)
Kigorm – green (Rib Blade, Monster Grease)
Shaogorm – red (rawhide bits, Greater Gaxe)
Magorm – yellow (Rawhide Armor, Riot Mace)
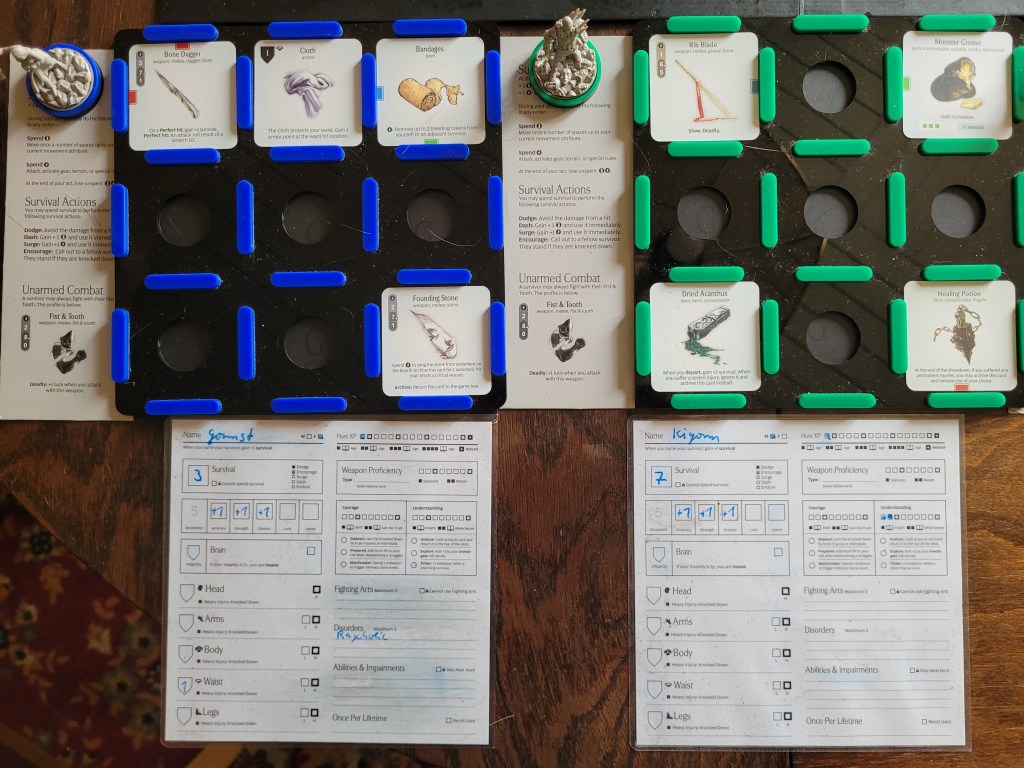
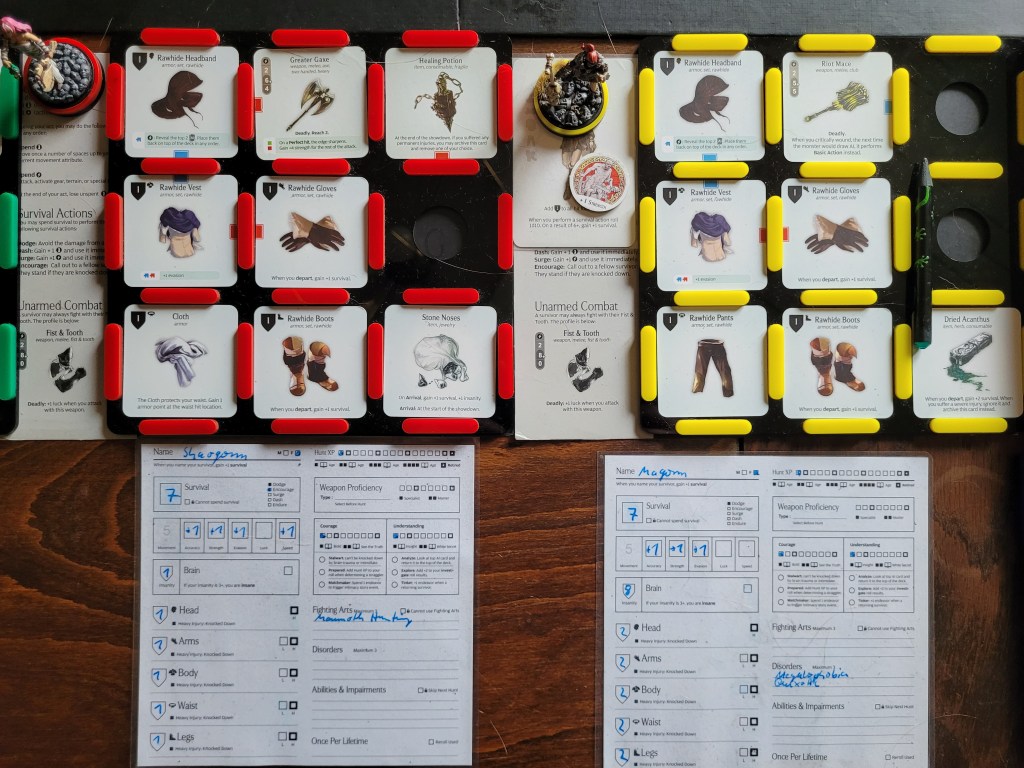
Just outside the settlement, between a bunch of crumbling Stone Pillars and budding Acanthus Plants, the survivors halted the Butcher’s approach.
At Lvl1 the Butcher – one of KD:M’s most famous monsters – has 12 AI cards, split into 7B and 5A cards. It also has 9TGH and a fairly low 5MOV.
It features 4 traits, most prominent of which being Berserker, which has it draw an additional AI card per turn.
Fast Target will have it shuffle its Hit Location deck at the start of each monster turn, which is actually mostly helpful as that deck is fairly small. It’s only 15 cards!
Dreaded Trophies will power up the Butcher for every survivor it managed to kill during the showdown.
And finally, Infectious Lunacy is a survivor status that will stack tokens when they suffer brain damage and at 3 tokens it will cause them to frenzy.
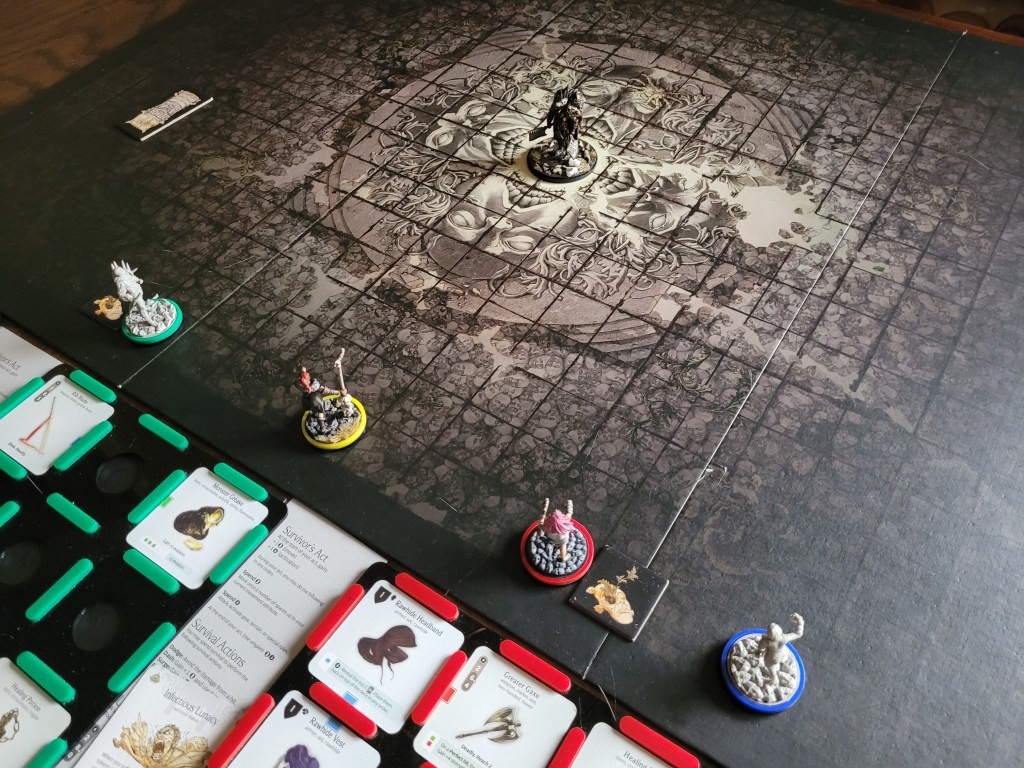
Without Paint (I) and thus, without the dash survival action available to the survivors only Shaogorm would be able to reach the Butcher in our opening turn and leave her stranded as the prime target for the monster.
I did not think that this was a particularly great approach at the time, and instead I figured we should try to collect the acanthus close to us as we waited for the Butcher to make it’s way over to us.
Shaogorm rolled a beautiful Lantern 10 to take the herb, whilst Kigorm just ate it right away.
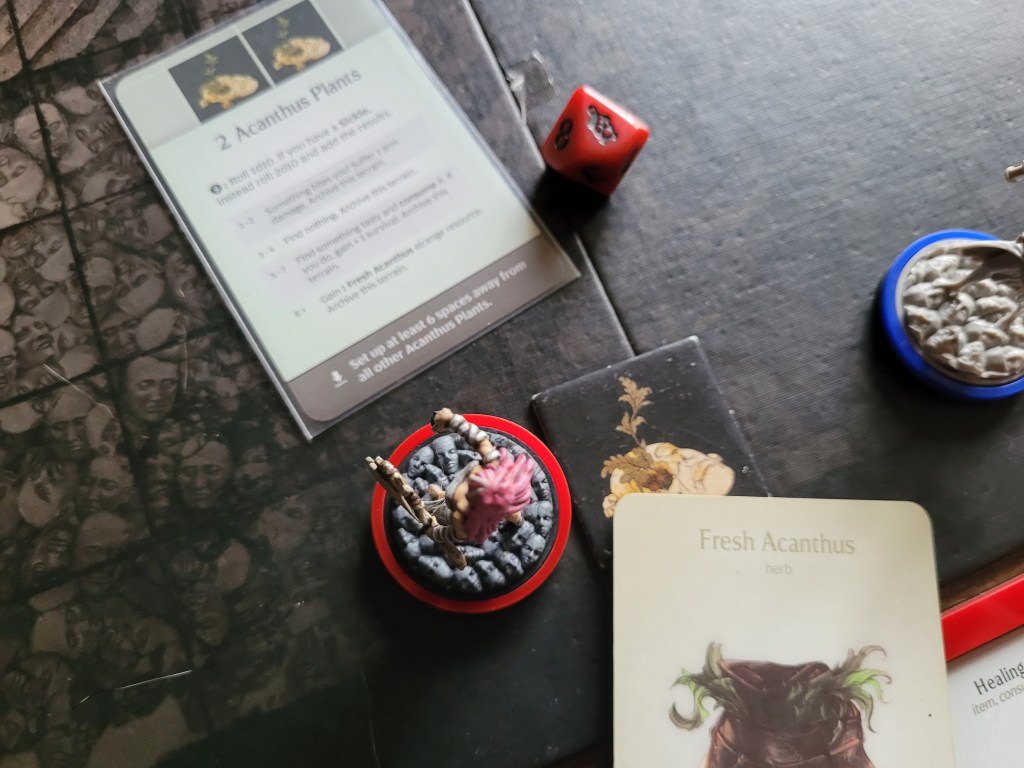
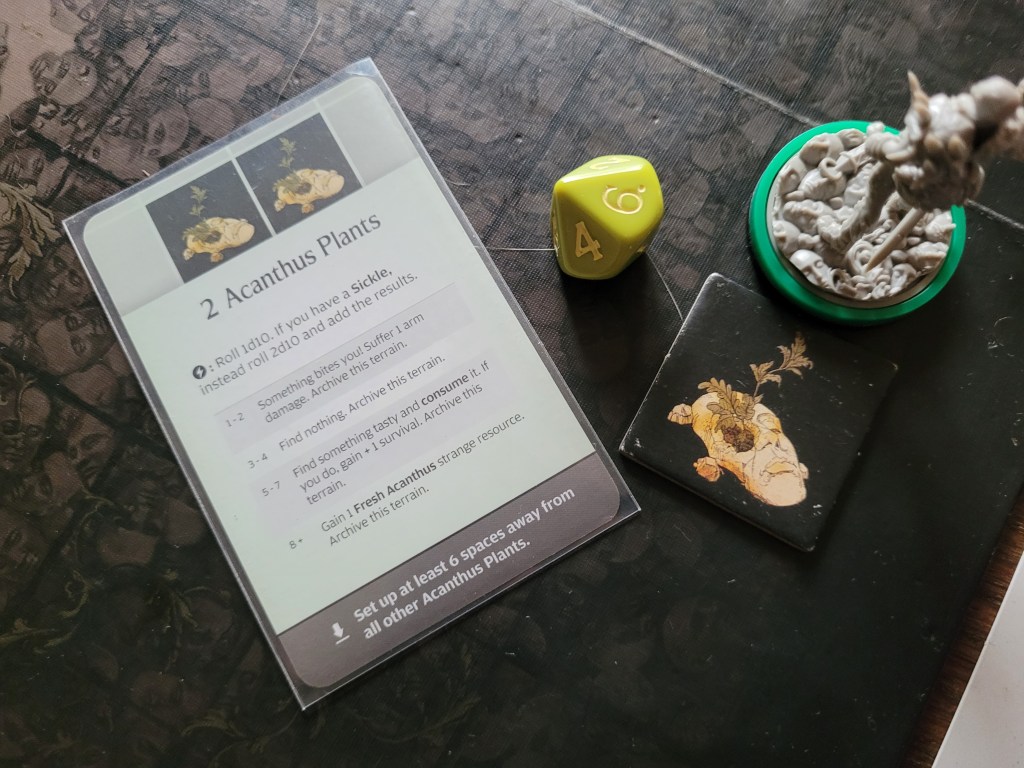
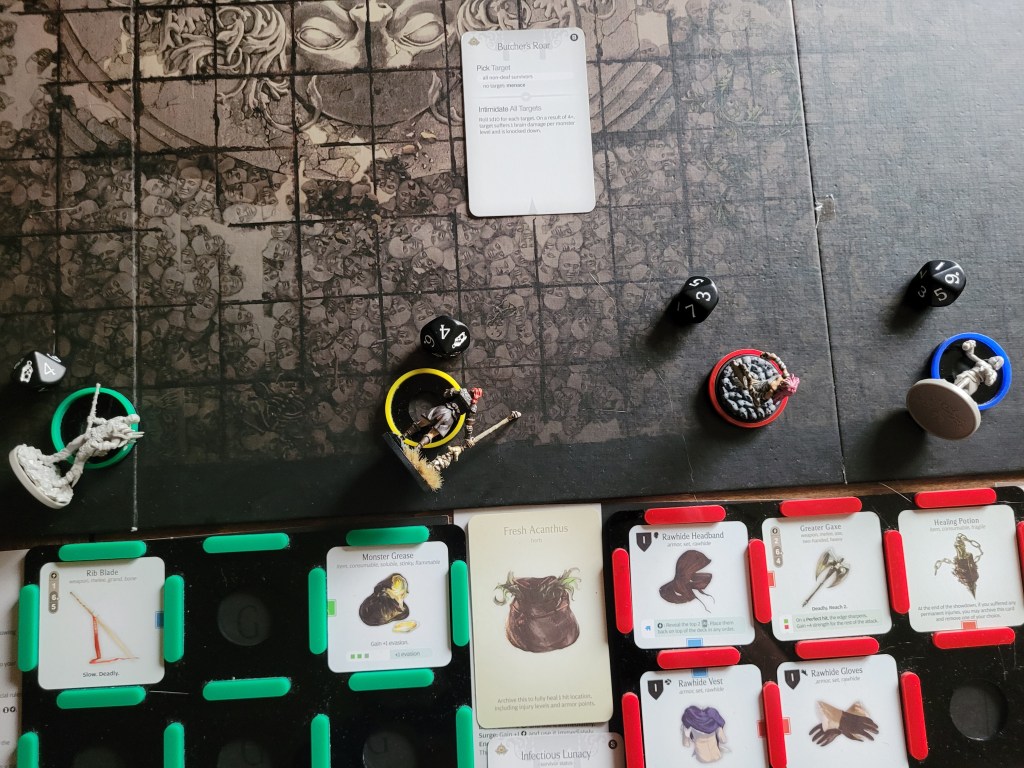
12 cards remaining, after shuffling the Hit Location deck at the start of the monster turn, the Burcher drew its first AI card: Butcher’s Roar.
Shaogorm was the only one to remain standing as the other 3 were knocked prone and already a third on their way to getting frenzied. What a terrible start for us!
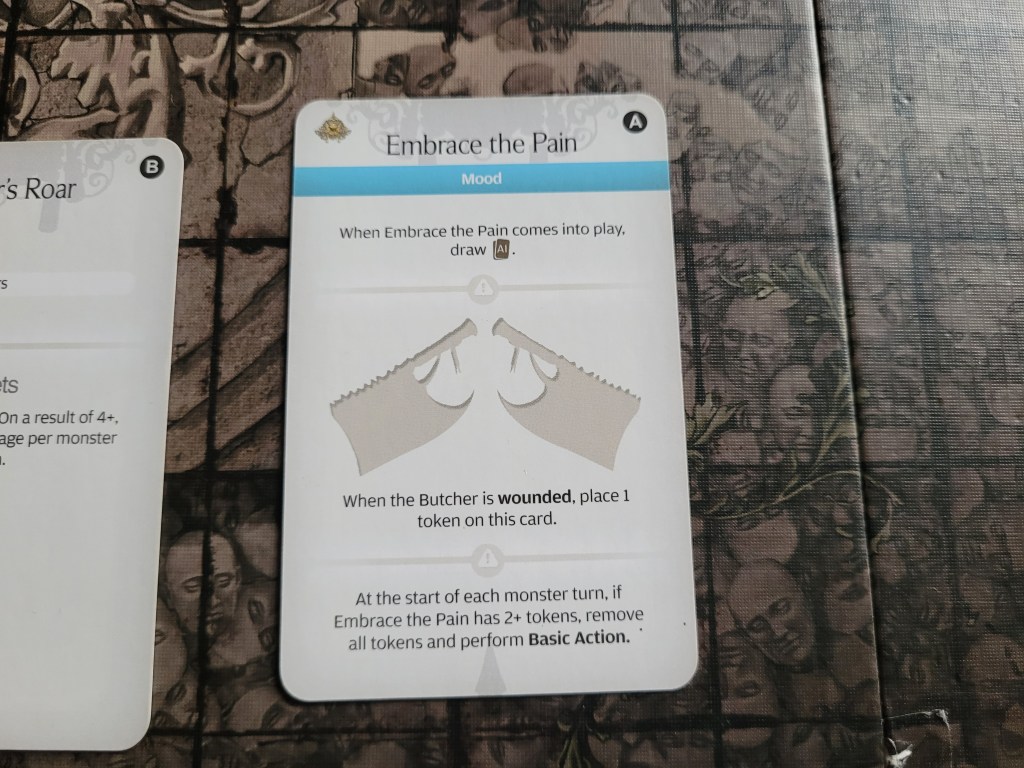
As the 2nd card for the turn the mood Embrace the Pain entered play. Not only was the Butcher prompted to draw another AI card from this, but it
would also gather it’s own tokens for getting wounded from this point on. Yikes!
Every 2 tokens triggering an extra basic attack during the monster turn was not a lot of room for us to work with either! At least it discards all tokens at once, so it’s going to only every be 1 extra attack.
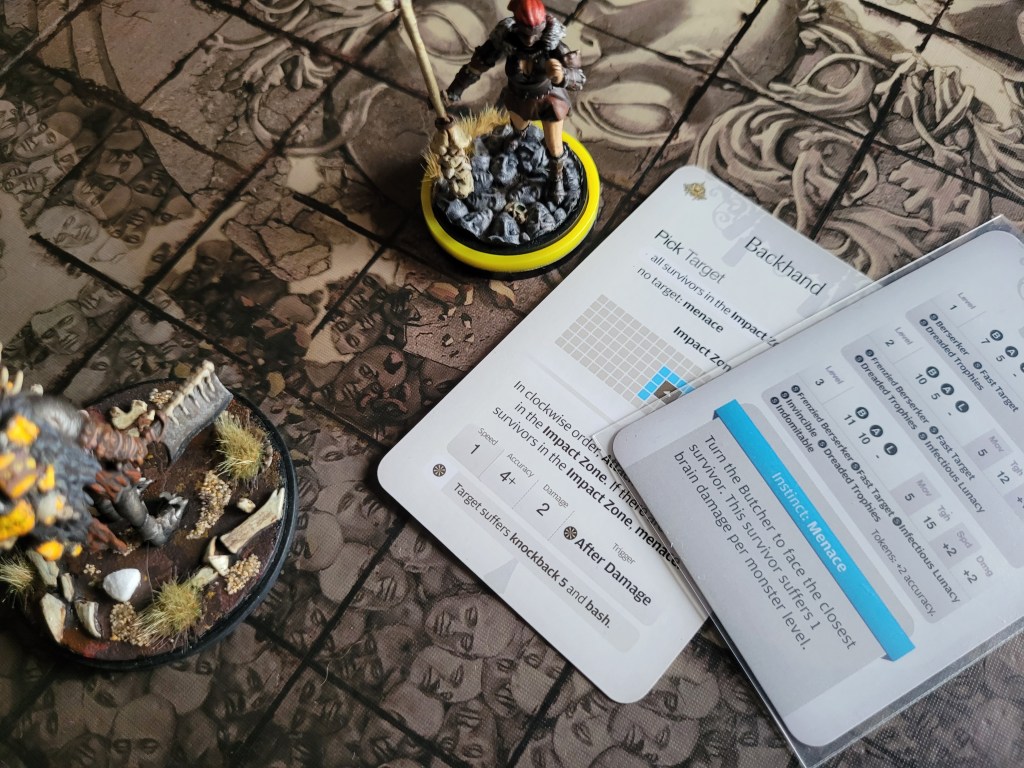
For its third action it didn’t move again! That’s even worse! Backhand found no targets and it used Menace, it’s Instinct, instead. This dealt 1 more brain damage to Magorm.
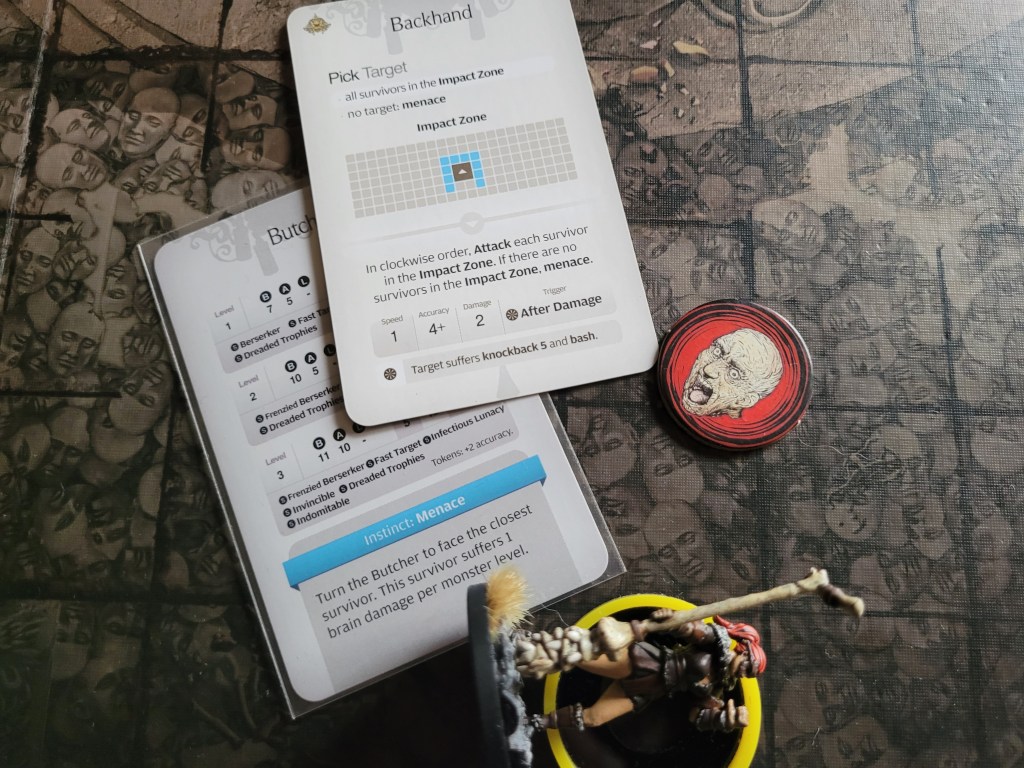
As the monster had not moved even a single step, we were no closer to being able to attack it!
Shaogorm, the only threat left, moved one more step away from the Butcher and I just ended the turn at that point hoping it would find something that targeted her.
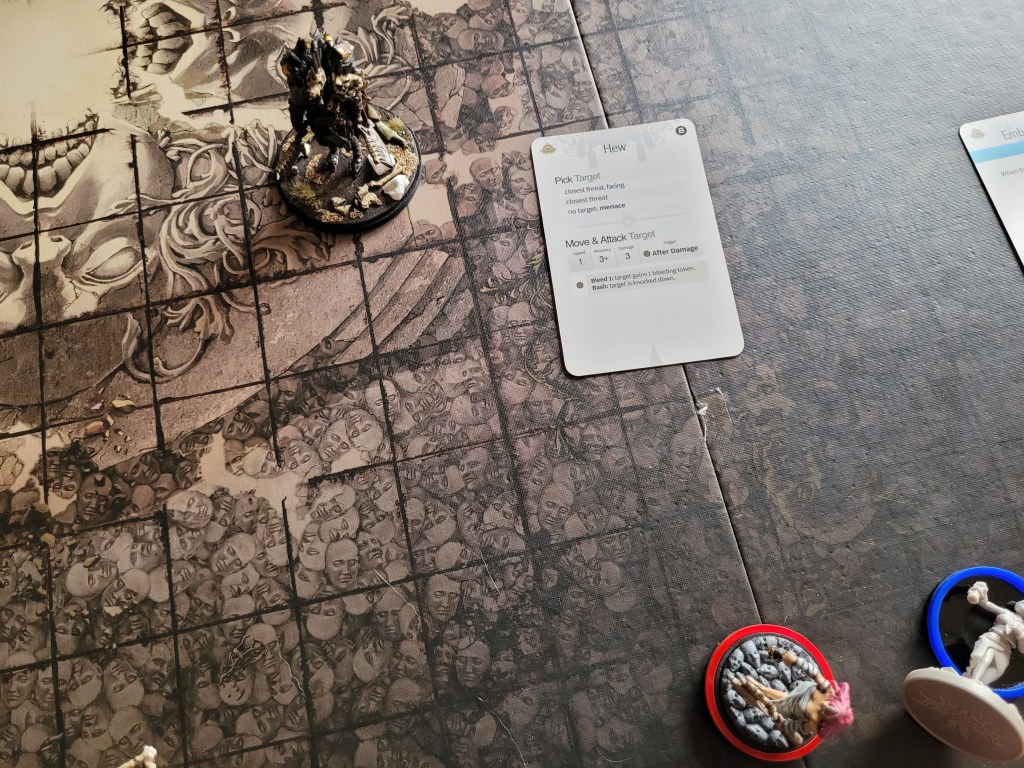
11 (12) cards left, this time Hew was the first card, and the Butcher started making its way towards Shaogorm. Finally!
Obviously it didn’t reach her.
The 2nd card was Hack, the Butcher approached further and just fell short, which gave me the picture I used in the header.
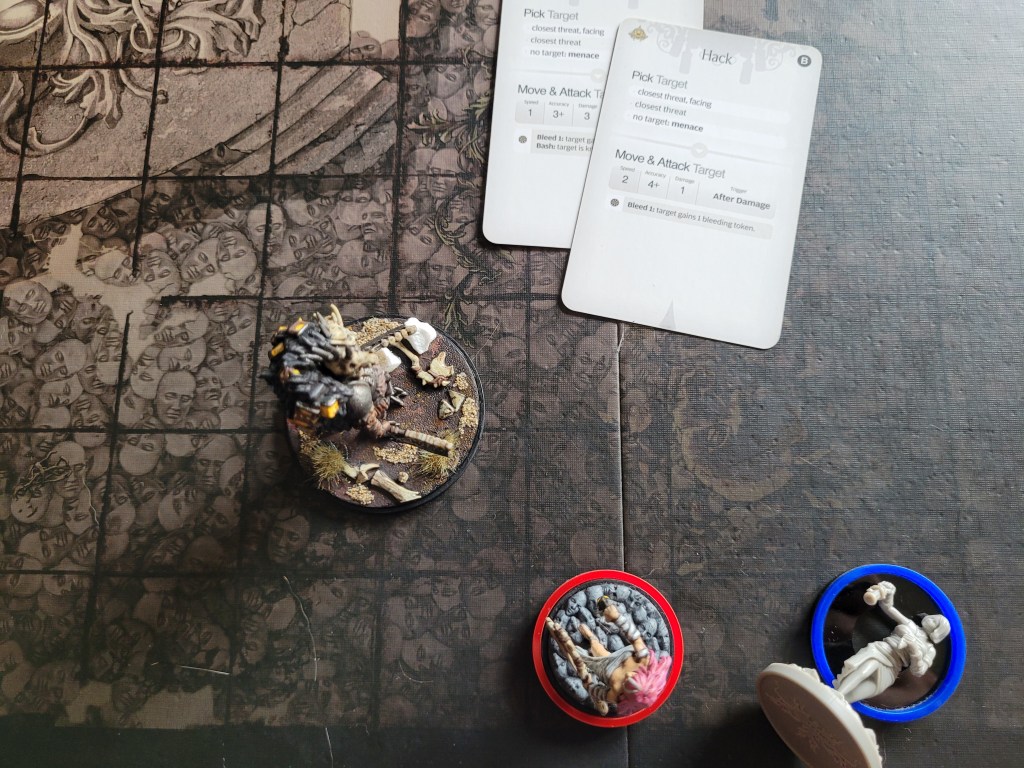
Finally in a position to attack, Shaogorm took the chance to go on the offensive for once, but she almost faltered, only getting 1 hit in! The wound was easy still, even though the Butcher had +2TGH for this particular hit location.
Unfortunately, Magorm followed this up by drawing the trap!
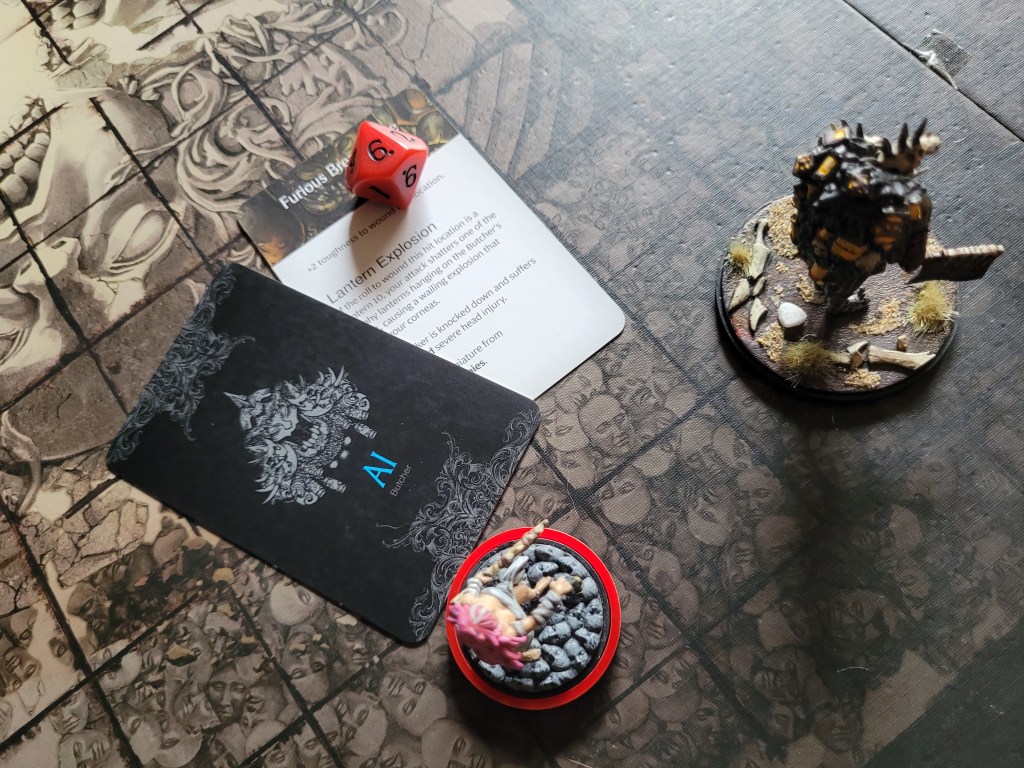
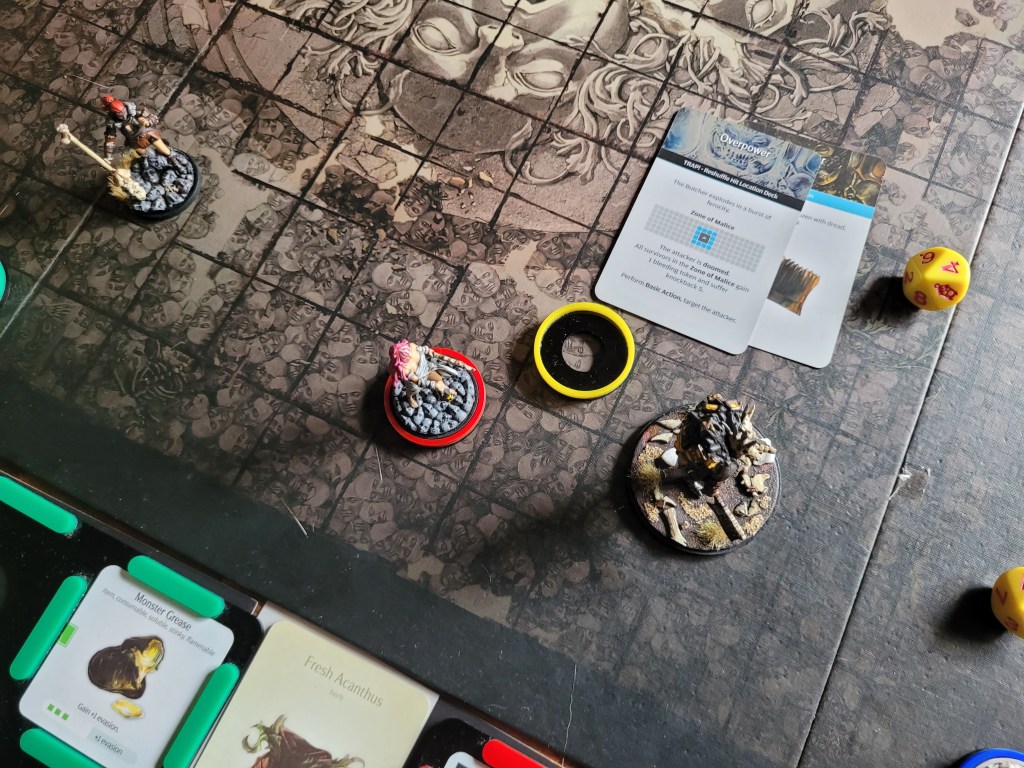
She was slapped away and basiced in response.
Kigorm thought about not attacking to not trigger the additional attack from the mood, but I swung anyway. And he did wound.. somewhat unfortunately.
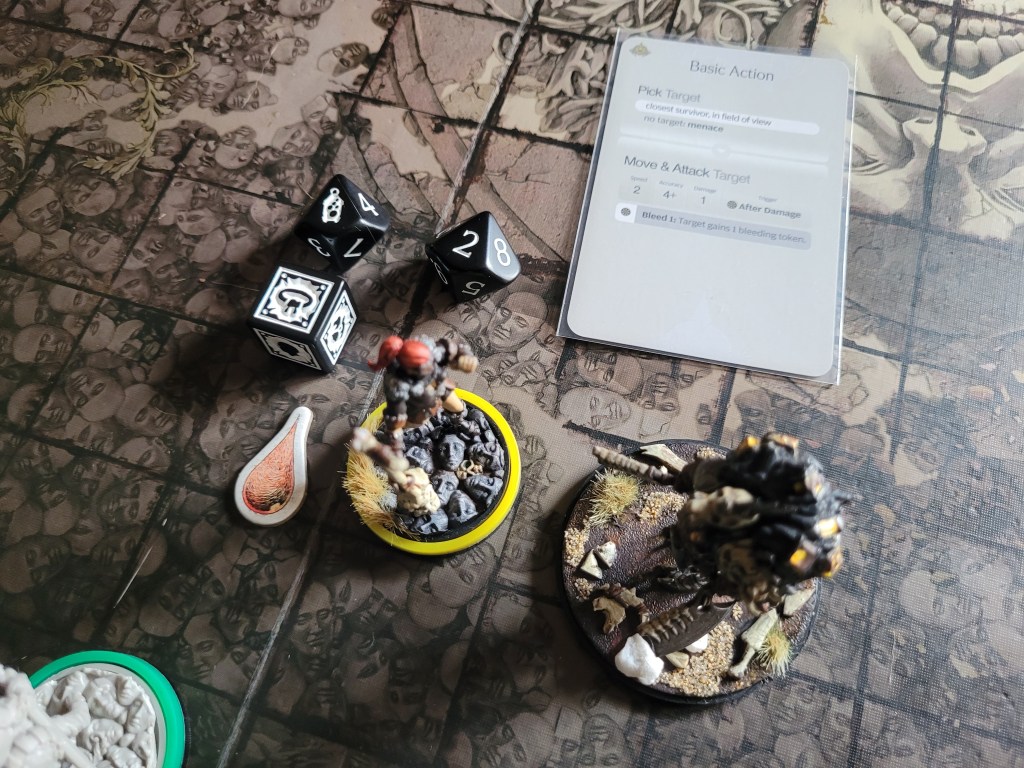
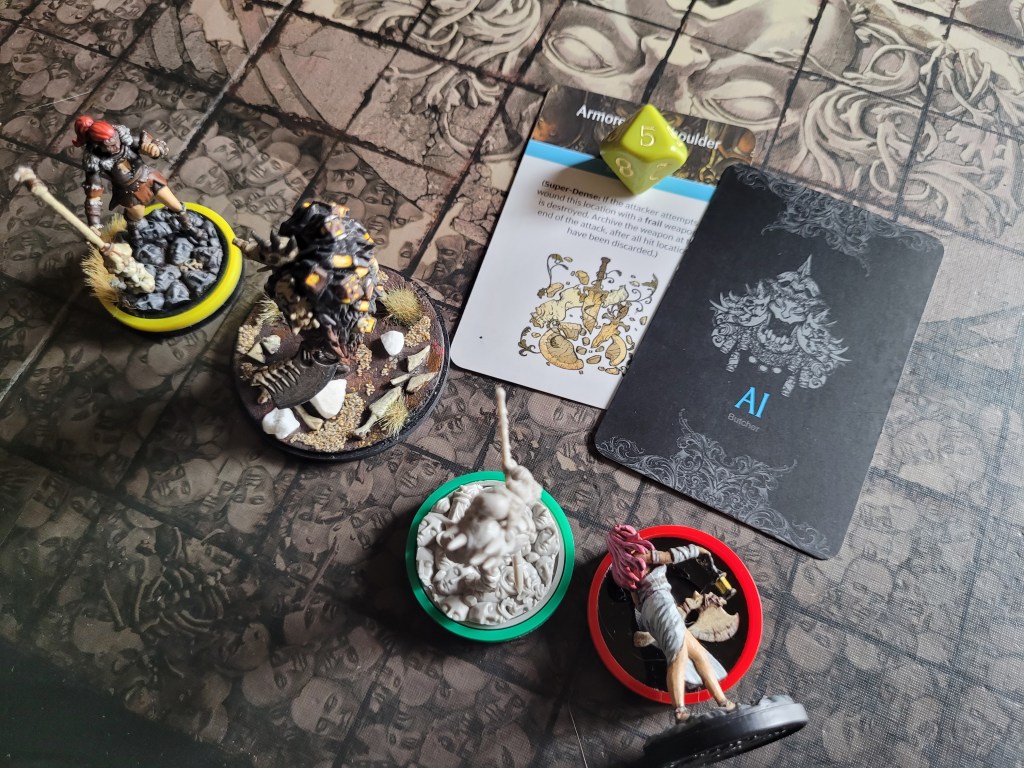
9 (10) cards remaining, the Butcher shuffled his hit locations again before the first cleaver descended on my team: the additional basic action. On 6+ it only hit Magorm once and whilst I considered dodging the strike, the chance to get hit for 2 bleed later on had me hold off for the moment.
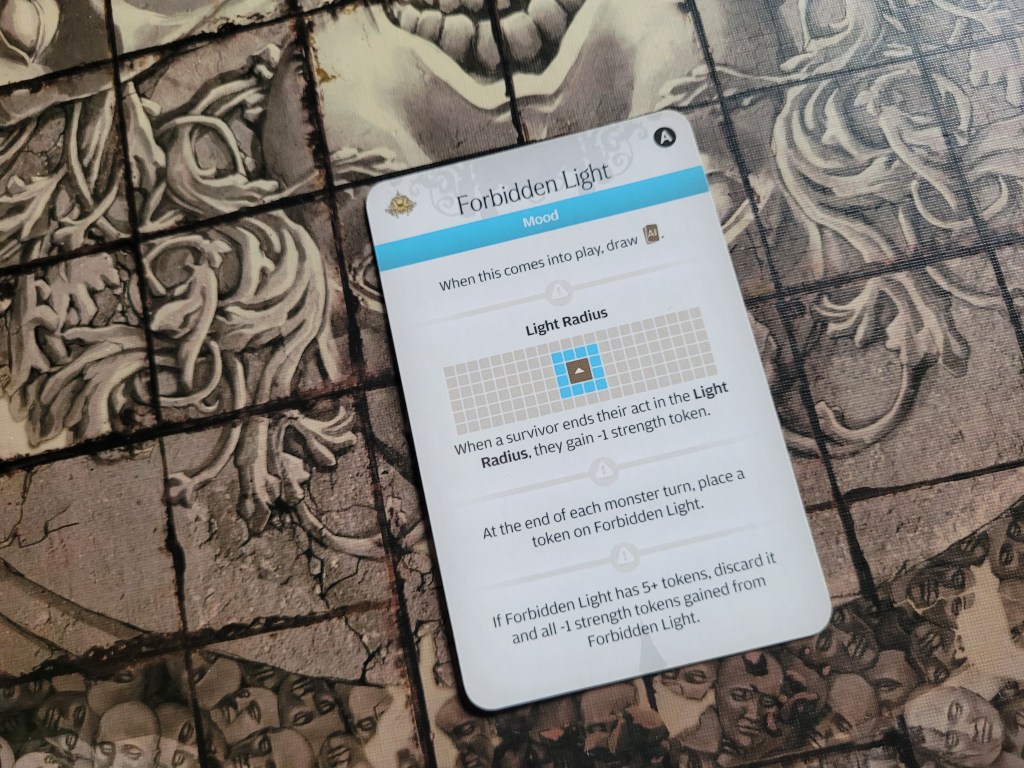
The first AI entering play was another mood: Forbidden Light… this would sap the STR from my survivors for a little while if they ever ended their act adjacent to the Butcher. It would also draw an extra AI card.. *sighs*
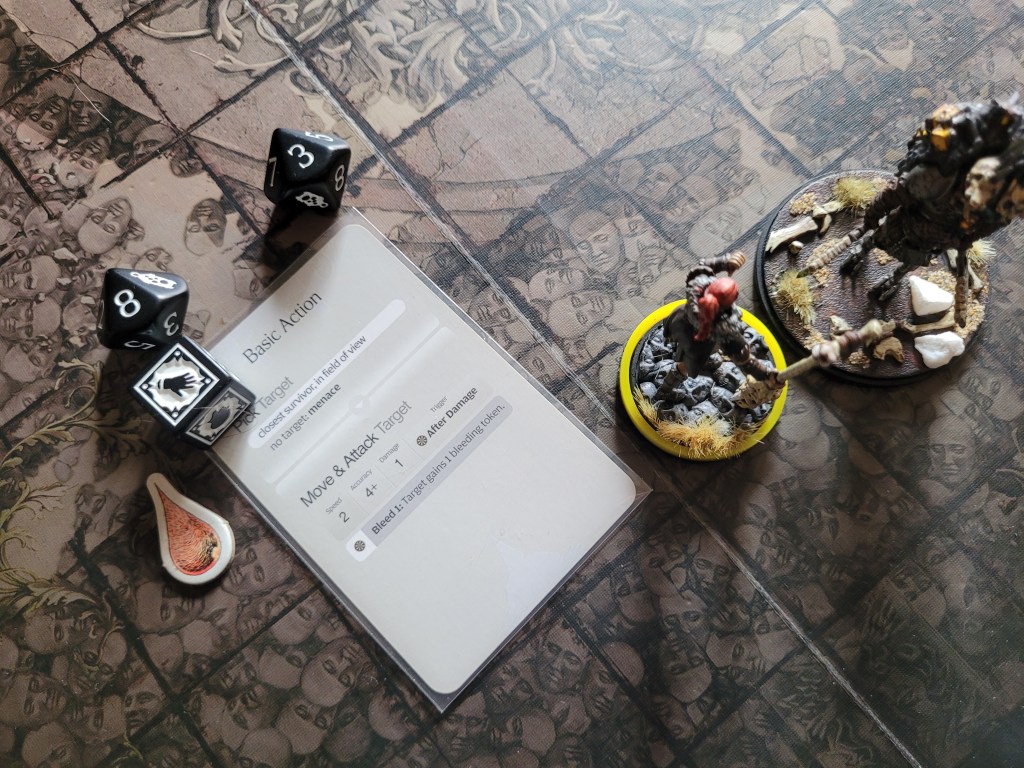
Double Hack came up as the extra card drawn .. and holding the dodge had already paid off! On 6+ Magorm was again only hit once, which was the perfect amount to avoid it entirely! And probably also the only way how she survived this.
That was already a little too close for comfort with the bleeding tokens as we still had 1 more card coming up!
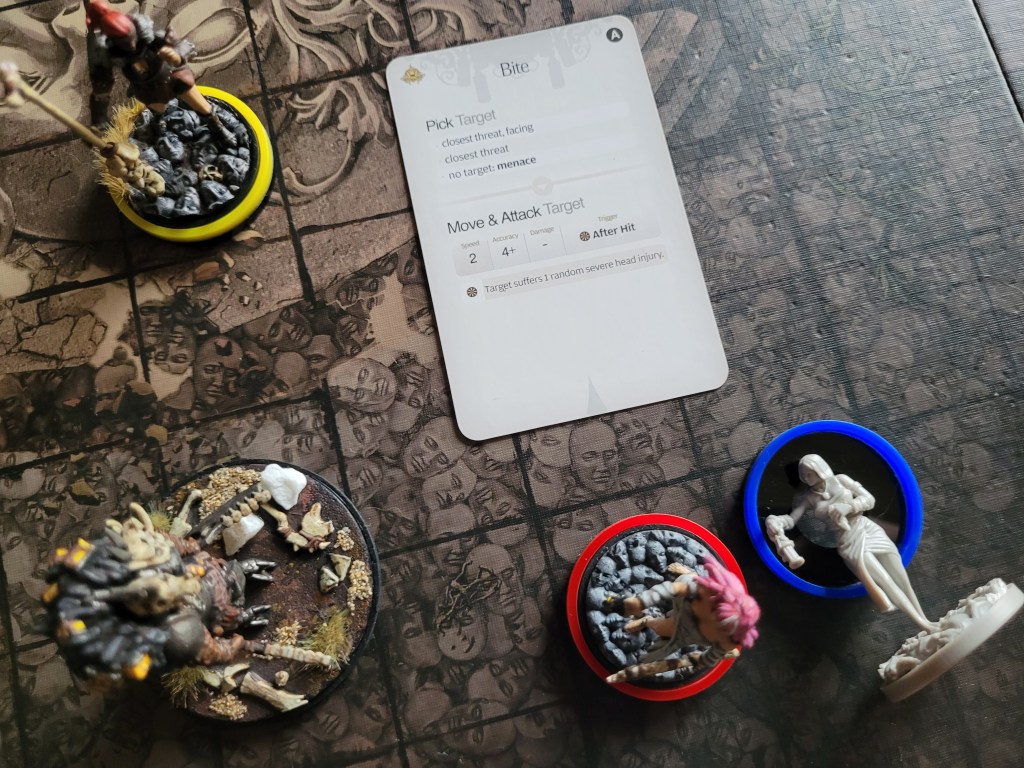
The 2nd actual card was Bite – hitting once, the effect of taking a severe head injury was luckily prevented by Magorm’s Dried Acanthus.
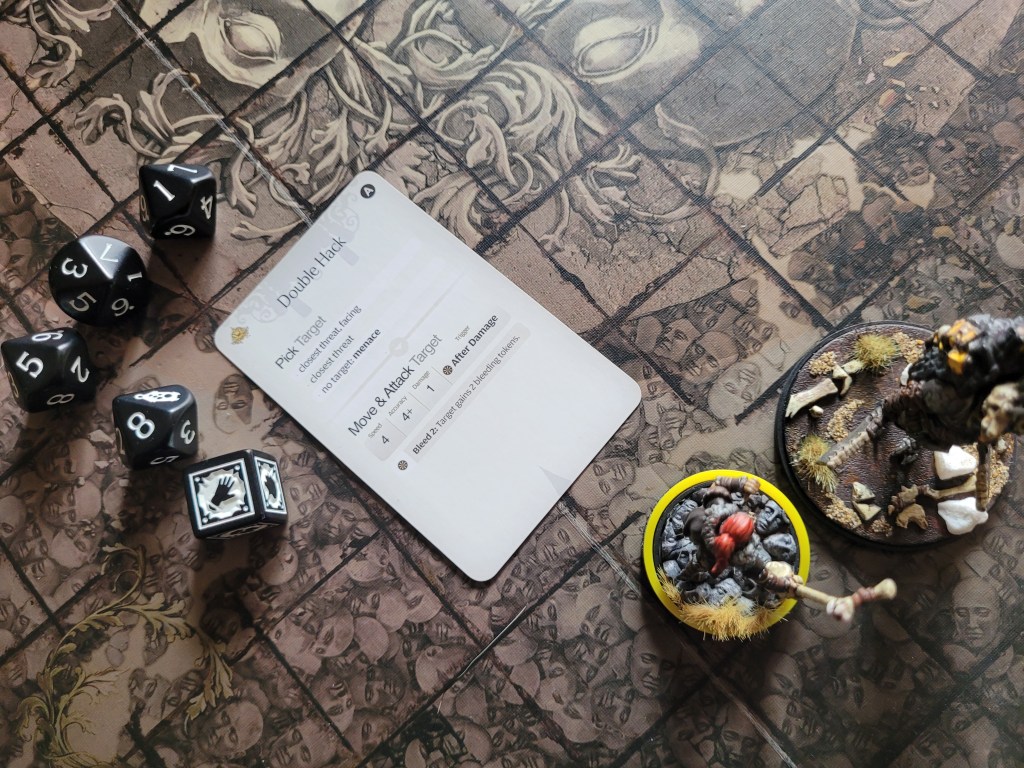
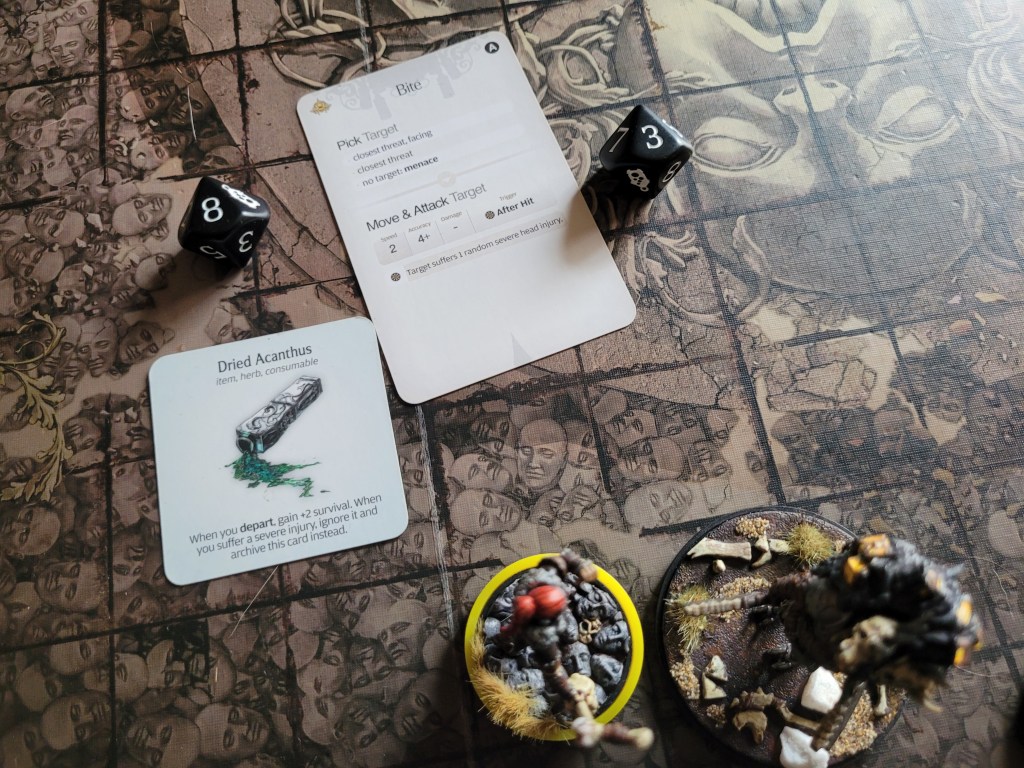
Back to our turn, Magorm did not want to back off without at least trying to do some damage first. Admittedly, this was really reckless at this point. Magorm was sitting at 3 bleed and if she drew the trap she was dead to rights. I really should not have attacked here.
Fortunately, even though she hit the Butcher twice the trap was not one of them, and with one strike bouncing off a cleaver things turned out fine. Overall, she managed to deal 1 wound still before she backed off to get bandaged by Gormst.
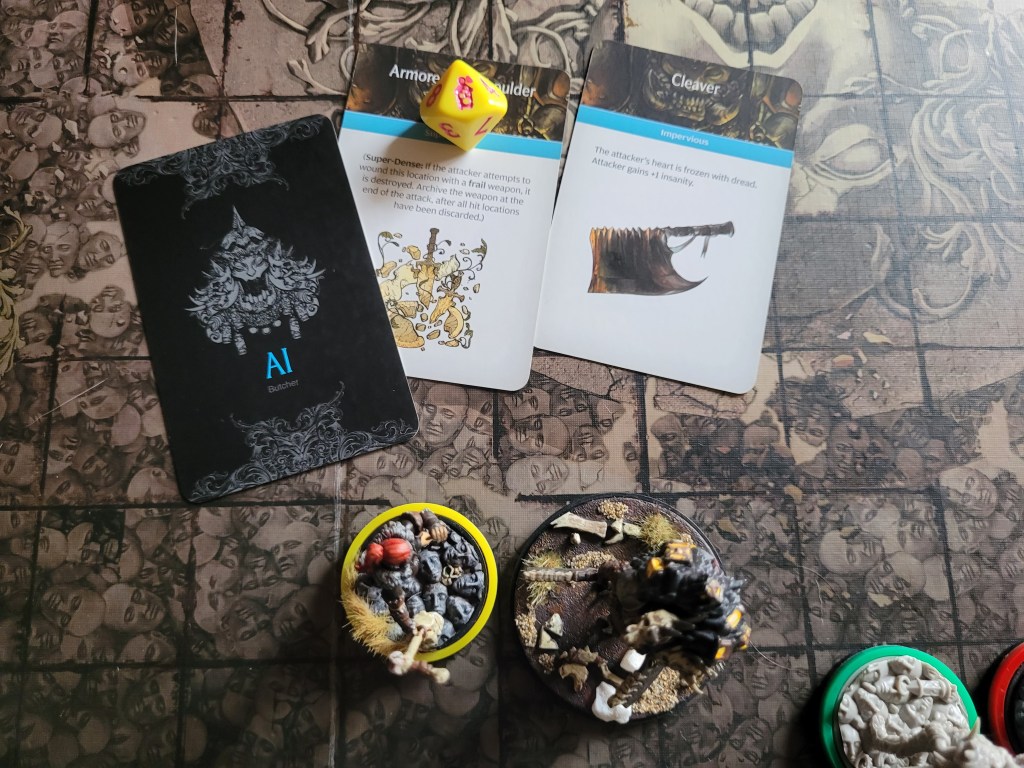
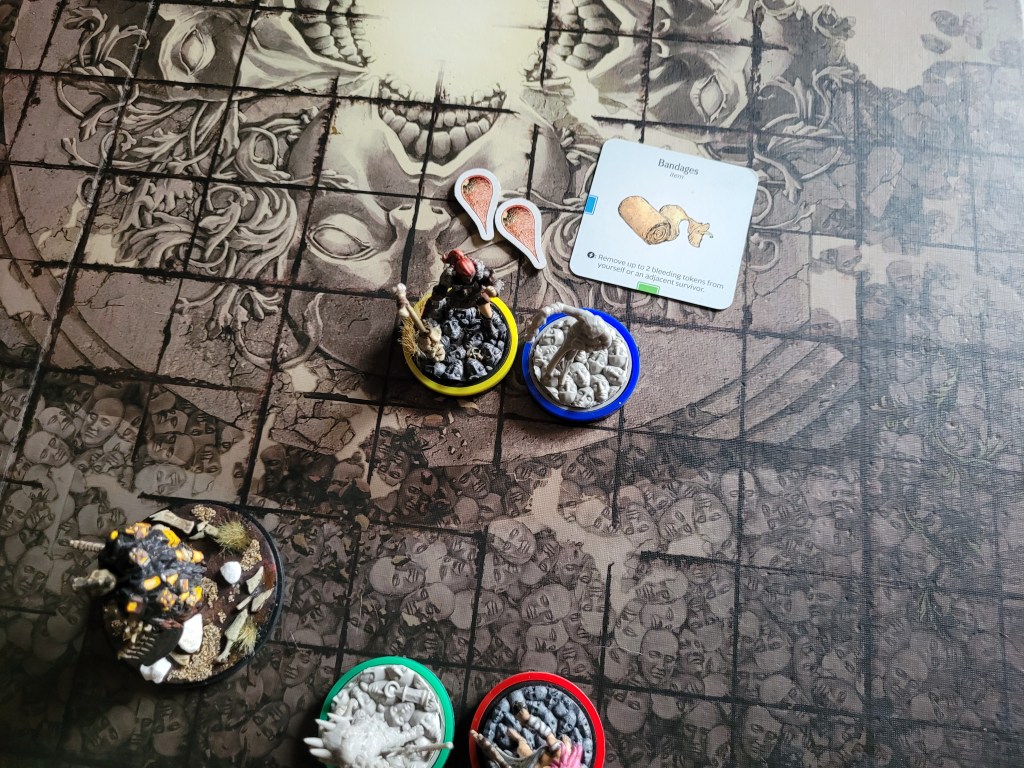
After that both Shaogorm and Kigorm whiffed their attacks in their entirety. Whilst no further damage was dealt, at least we were not getting hit with an extra basic action next round.
At this point the fight had been dragging on long enough for the Feline Entity to show up again as well!
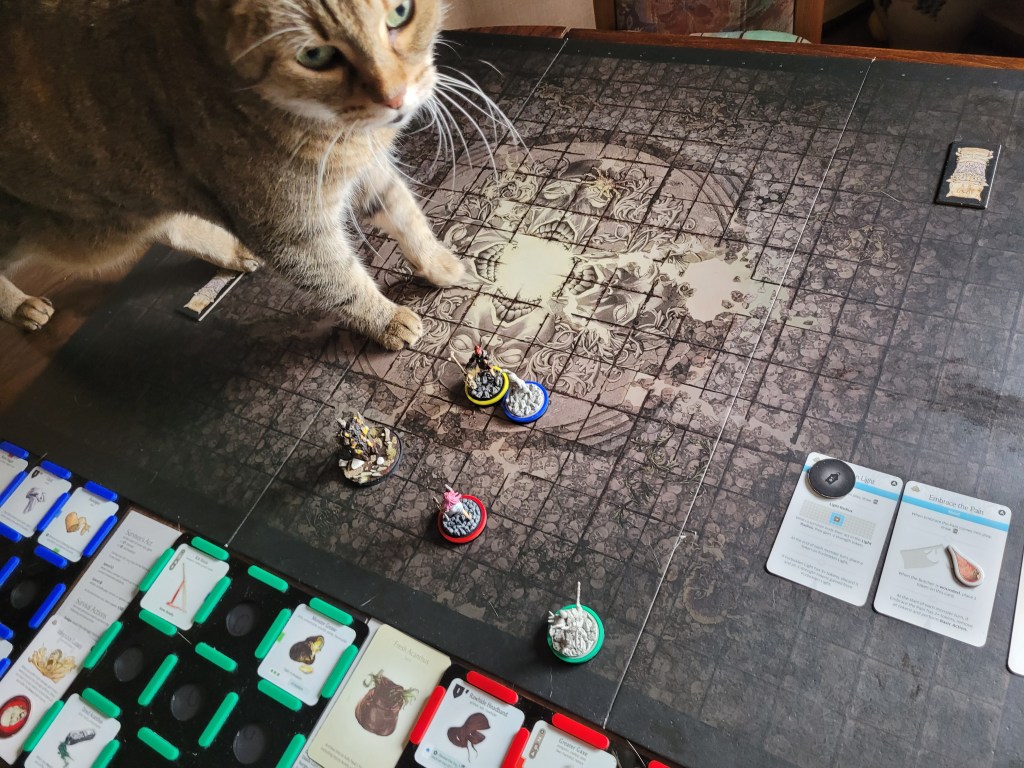
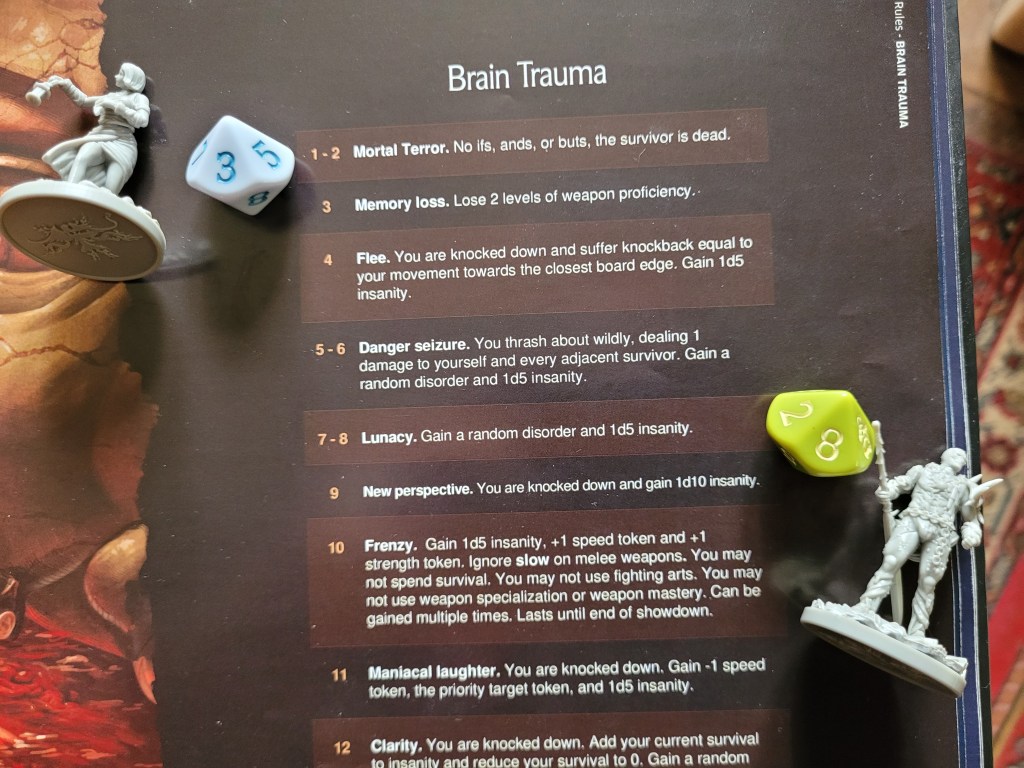
7 (9) cards remaining, and the Butcher started Screaming. It just had all the moods to put into play! This did frenzy Magorm and caused brain traumas for both Gormst (Memory Loss) and Kigorm (Lunacy – Dystychiphobia D).
The 2nd card for the turn was Double Hack. The Butcher turned around and started attacking Shaogorm. Getting hit twice (also on 6+), she dodged one hit whilst she still could.
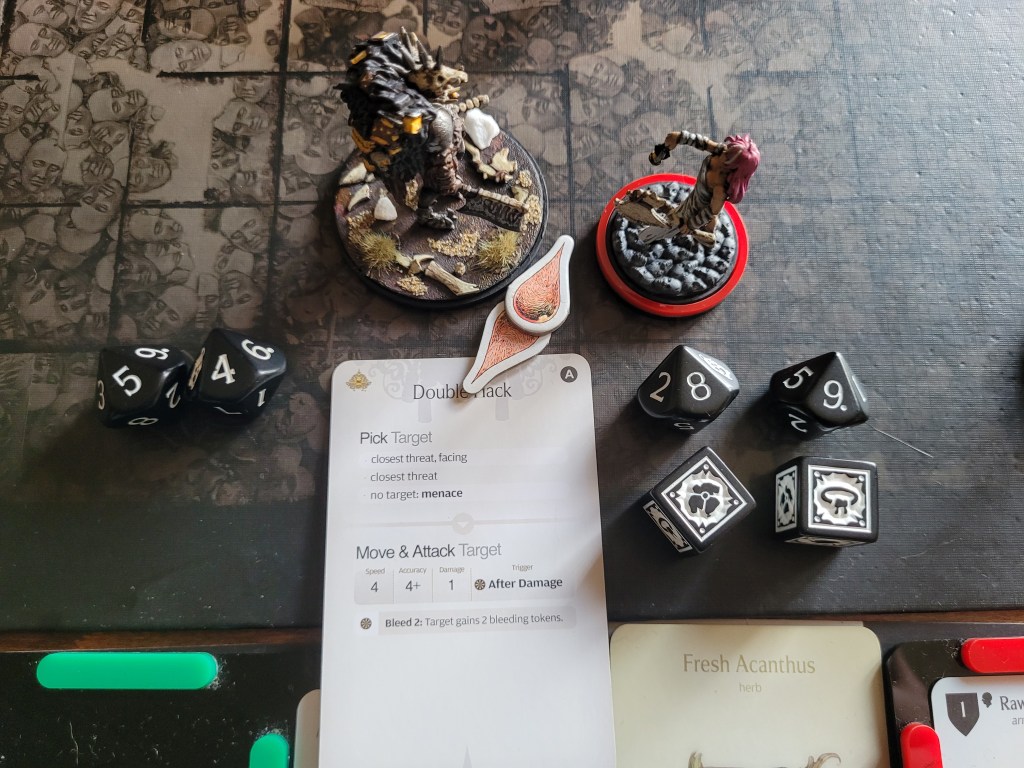
Taking a step backwards to not get bled as easily, Shaogorm swung her Greater Gaxe and the monster was knocked down by a clean hit to the Furious Gut. Courage spread throughout the group as I got ahead of myself and forgot to take a picture of our triumph before Kigorm moved up ready to lay into the Butcher on the floor.
A 4 was just good enough for him to hit the monster for a change but he only found the trap!? As Kigorm went to the ground after a hit to his face, he got his STR reduced for good measure as well by being too close to the Butcher.
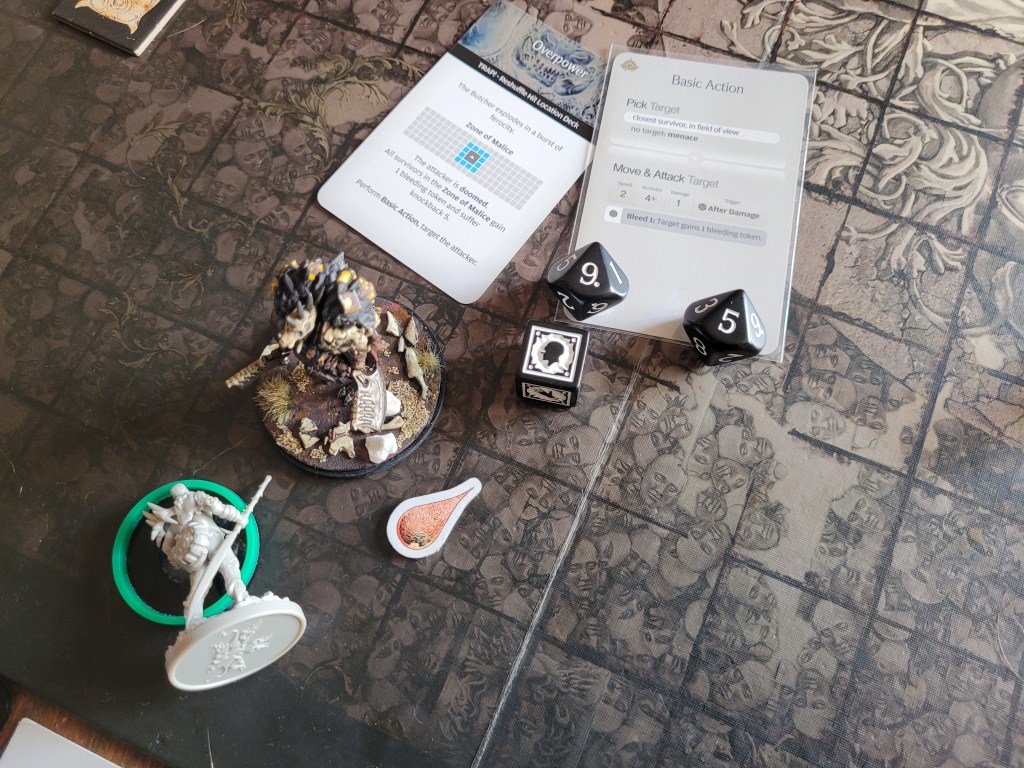
With that the rest of the team was too far away again, so the only thing left to do for me was to have a look at the top 2 AI cards to know what was headed our way.
Lastly, I bandaged Shaogorm with Gormst.
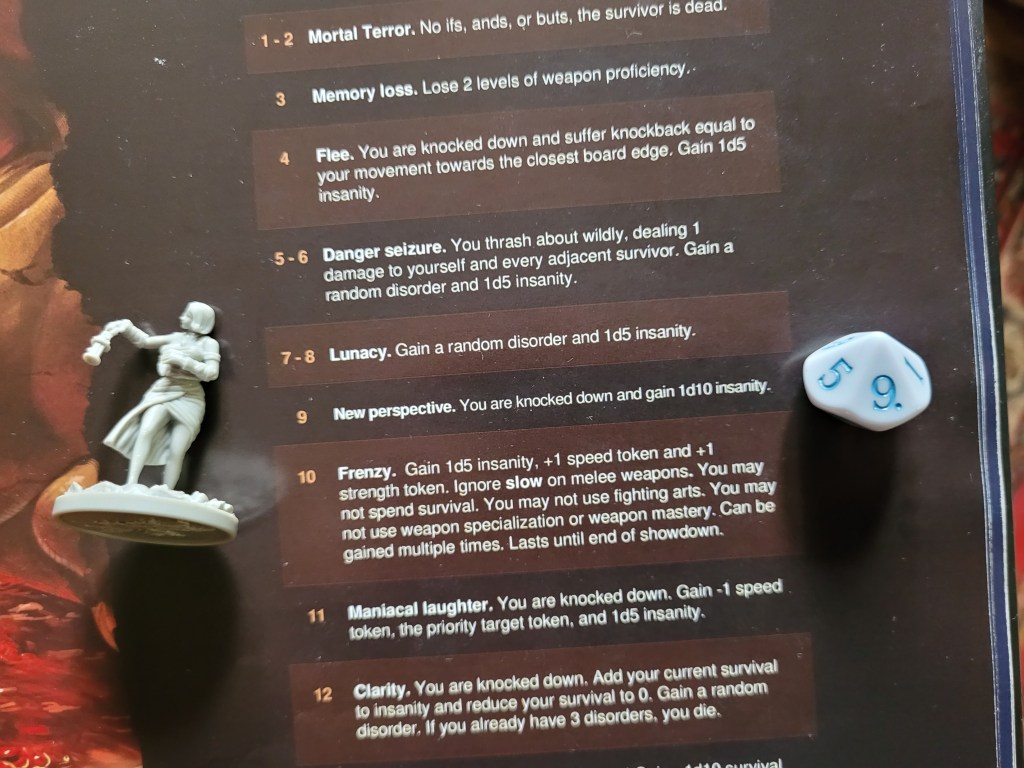
6 (9) cards remaining, the Butcher continued Screaming. This frenzied both Gormst, after knocking her down via Brain Trauma (New Perspective), and Kigorm.
Then the free basic action targeted Kigorm right in front of the Butcher but it missed twice thanks to some permanent EVA and the Monster Grease!
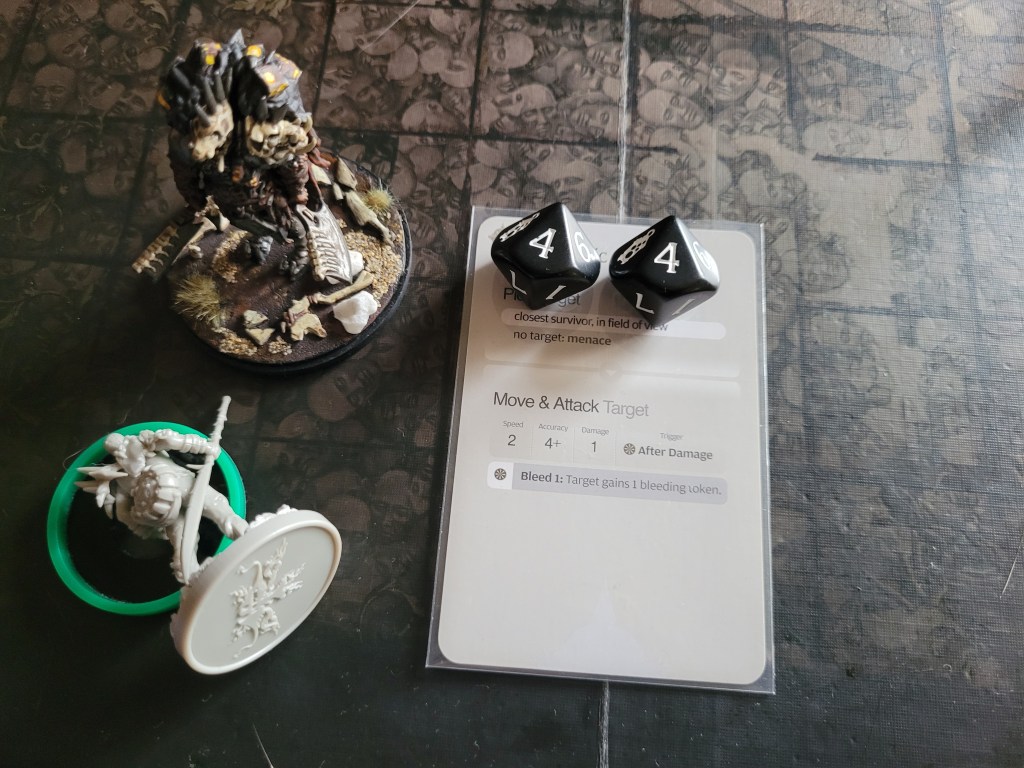
The first actual card for the turn was a repeat of Bite, targeting Shaogorm but, thankfully, not reaching her!
The 2nd card, Backhand, once again did not find a target and the Butcher instead turned to Magorm to Menace her. This kept Shaogorm just barely unfrenzied for this turn.. which, of course, wasn’t going to last.
We desperately needed to get this Butcher killed at this point, between repeating Bites and bleed slowly but surely stacking up stuff was only getting more and more dangerous from here on out as we’d be attacking with more and more SPD! But my survivors did not seem to feel the same urgency as I did … case and point, Shaogorm only hit the monster once, wounding on a 9.
Even the Feline Entity had started to wonder what was taking me this long as she came to investigate yet again.
Magorm also only found a single hit despite her being up to 3SPD, and whilst the wound came easy enough on 2+, the Butcher bellowed at her in return and she frenzied yet again.
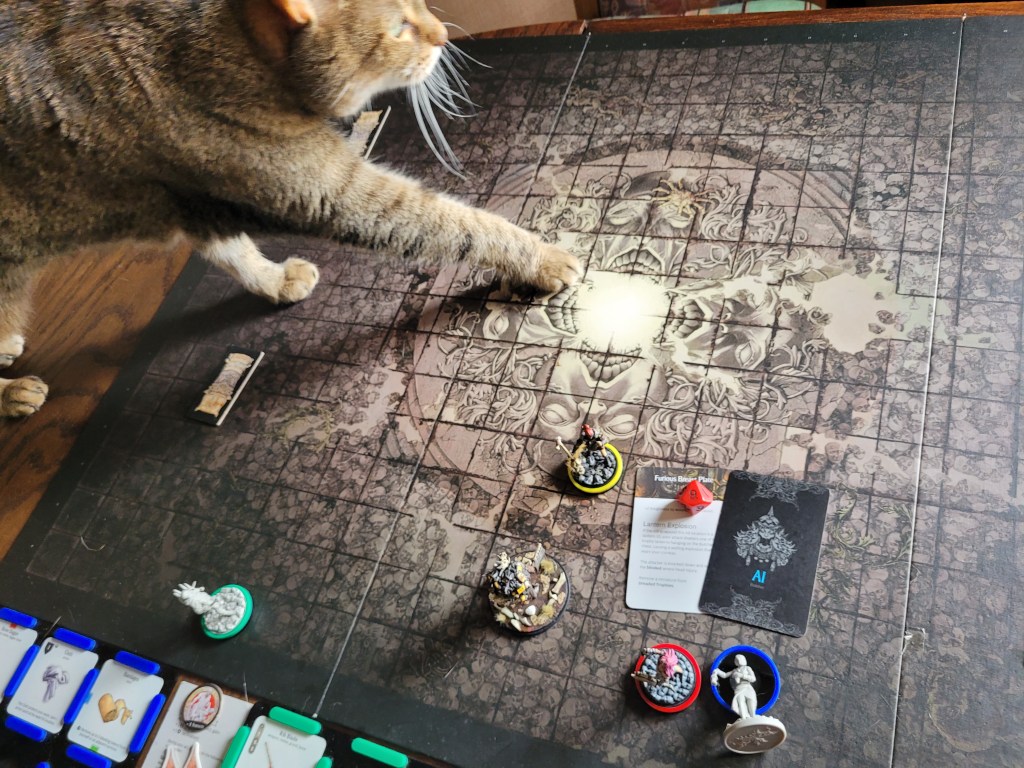
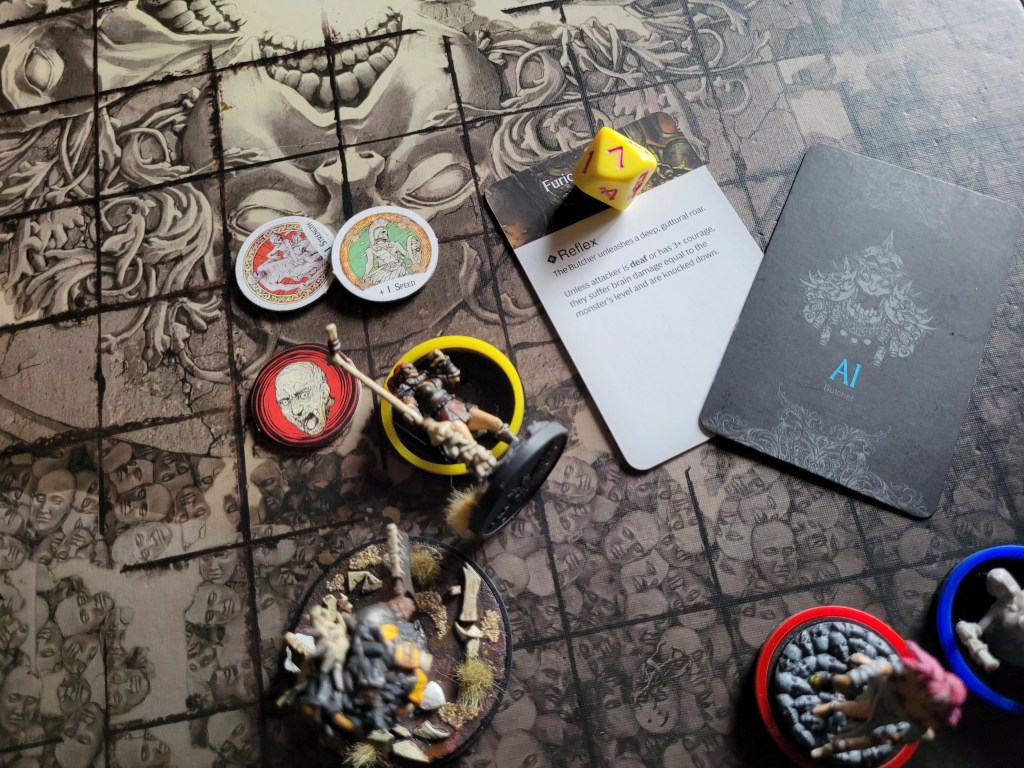
Finally Kigorm stepped up to the monster – and he did actually seem to share my opinion for once, as he hit the Butcher twice in the back and wounded twice as well ! And whilst he was flung away in the aftermath of successfully wounding, we had finally gotten some extra hits in despite the extra basic already being triggered!
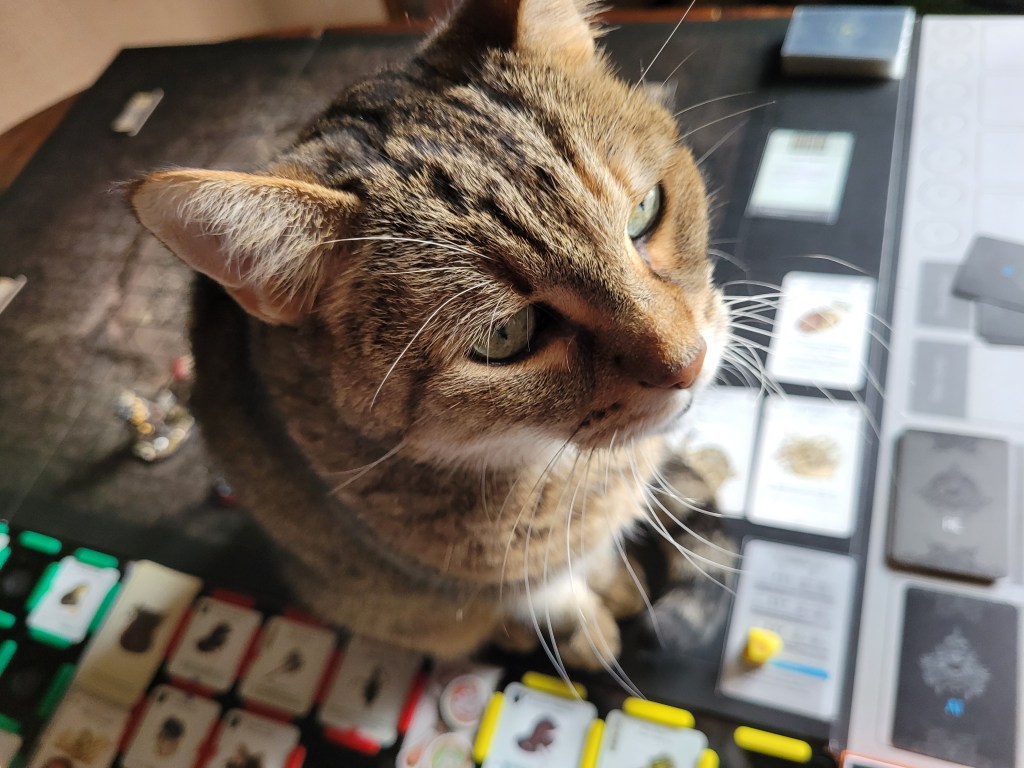
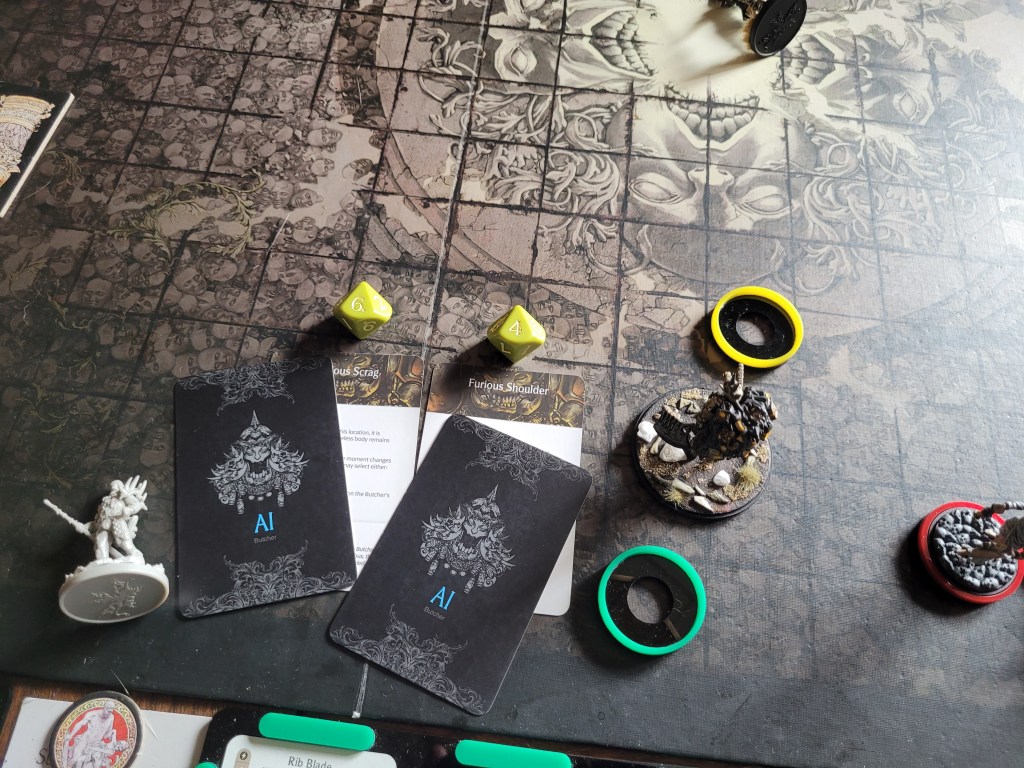
2 (5) cards remaining, the Butcher continued its Screaming, which finally frenzied Shaogorm.
Shaogorm was also the target of the basic, which she was barely clipped by taking 1DMG to her body.
1st card, Bite – of course that was still in the deck. But the Butcher missed on an impressively low roll!
2nd card: Double Hack! 3 hits, the DMG spread helped Shaogorm quite a bit, the worst of what she had sustained being merely a light injury to the waist. She is up to 3 bleed as well, however.
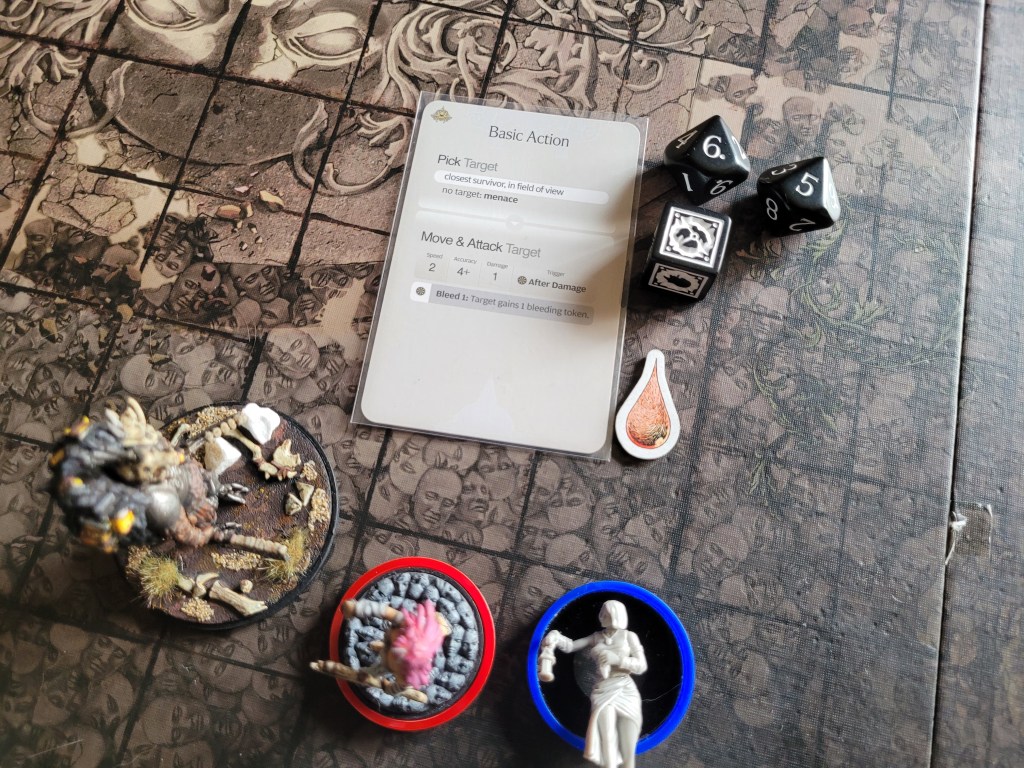
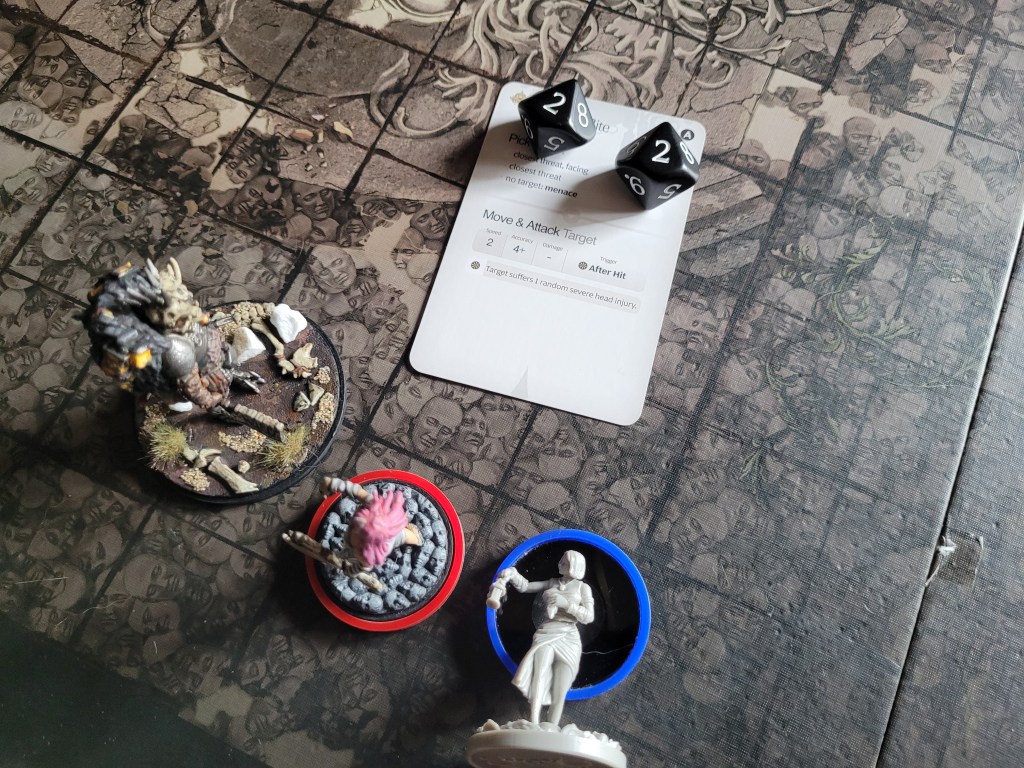
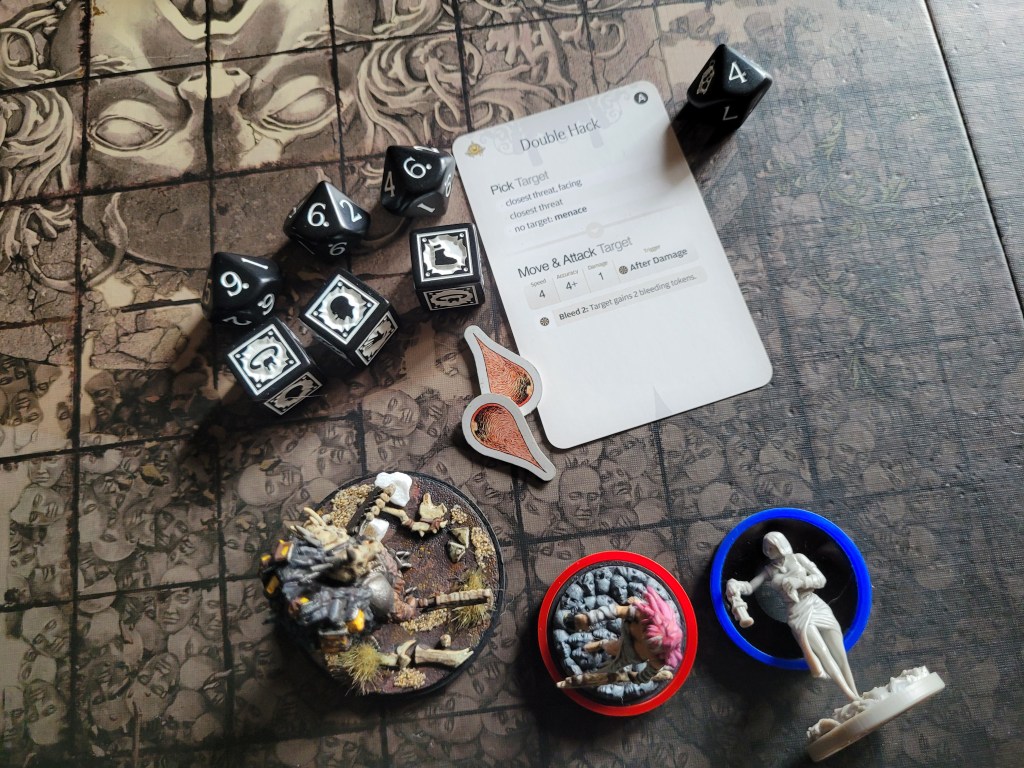
As the survivors got back up, Gormst first used the Bandages on Shaogorm to stop some of the bleeding before she bravely ran away.
Shaogorm instead saw a chance to finish this fight and as she managed to get 3 good hits in for a change .. she was stopped by the dreaded insta-trap!
Magorm didn’t see much of a point in further stalling out the fight, so she ran up to the monster, and even with 4SPD she still only found 2 hits on 4+ to hit! With one hit negated by the cleaver, the other wound was dealt easily enough on 2+ again, but it did knock her and Shaogorm down.
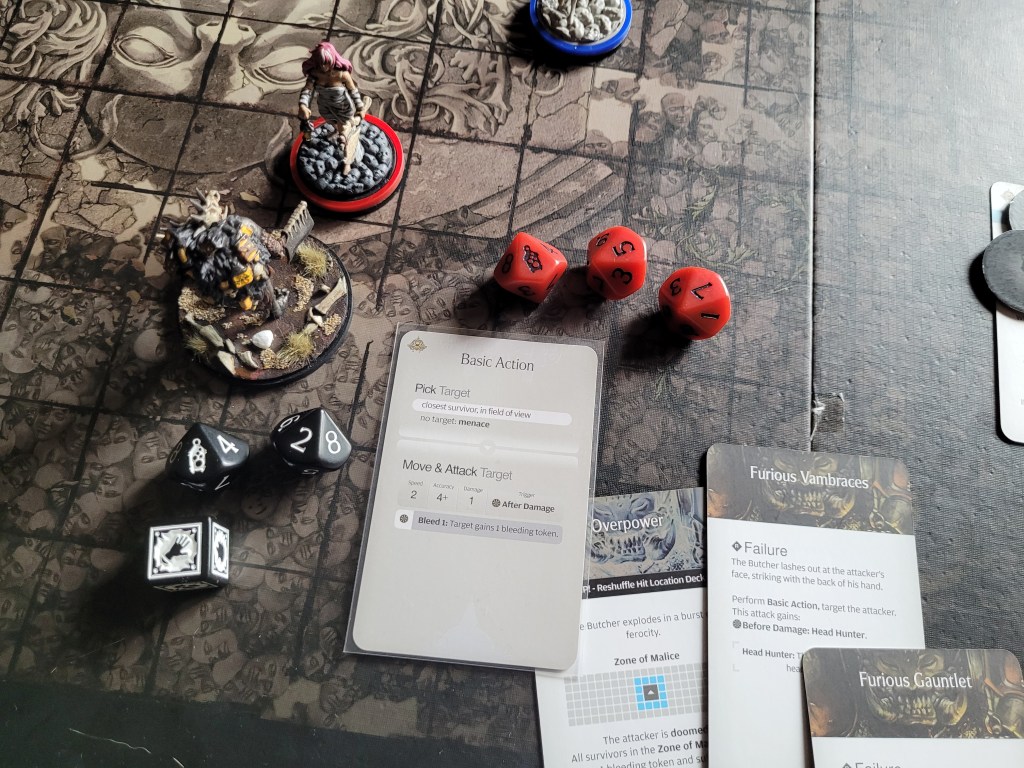
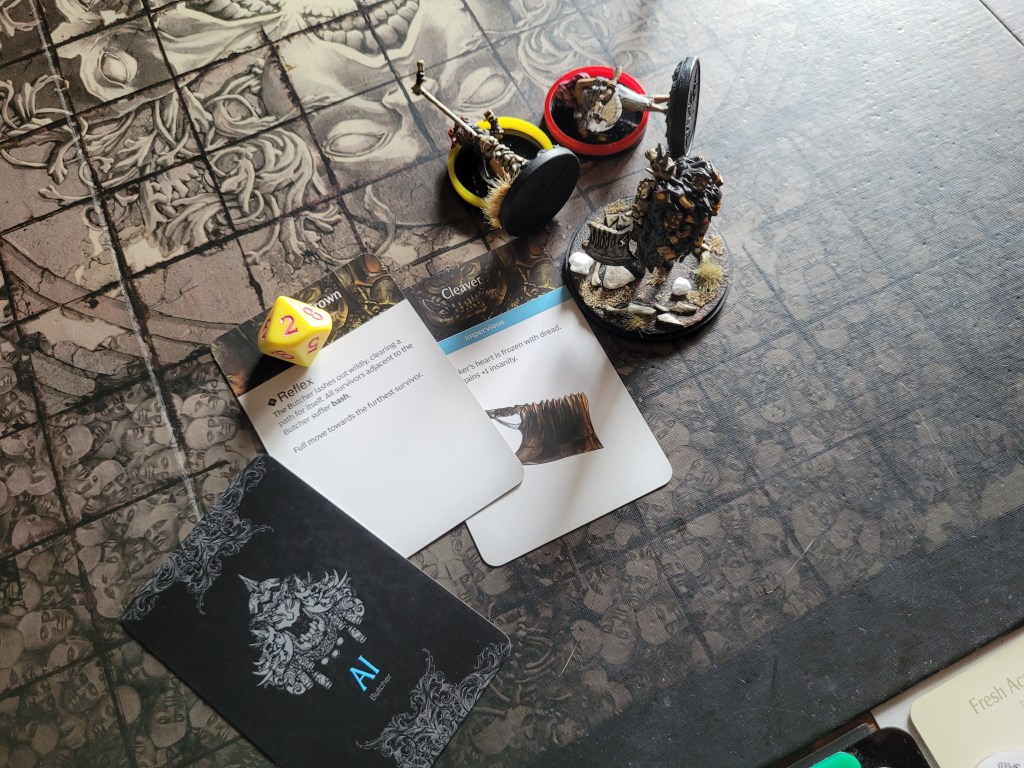
Kigorm was too far away to strike, yet again.
1 (4) cards remaining. The Butcher was, of course, still Screaming, which triggered a third instance of frenzy for Magorm. She was livid!
Not getting hit with the basic action for a change was nice but it did remind me that there was still 1 card left in the deck: and it was: Double Hack!
Phew! That could have been Bite!
Closest threat facing was Gormst and she got cut straight across the chest!
The 2nd AI for the turn was .. surprise .. Double Hack! Gormst was hit twice more, both aiming for her legs (sweep the leg!) knocking her down with 4 bleed tokens!
Finally, this fight had been dragging on for long enough to have Forbidden Light get discarded!
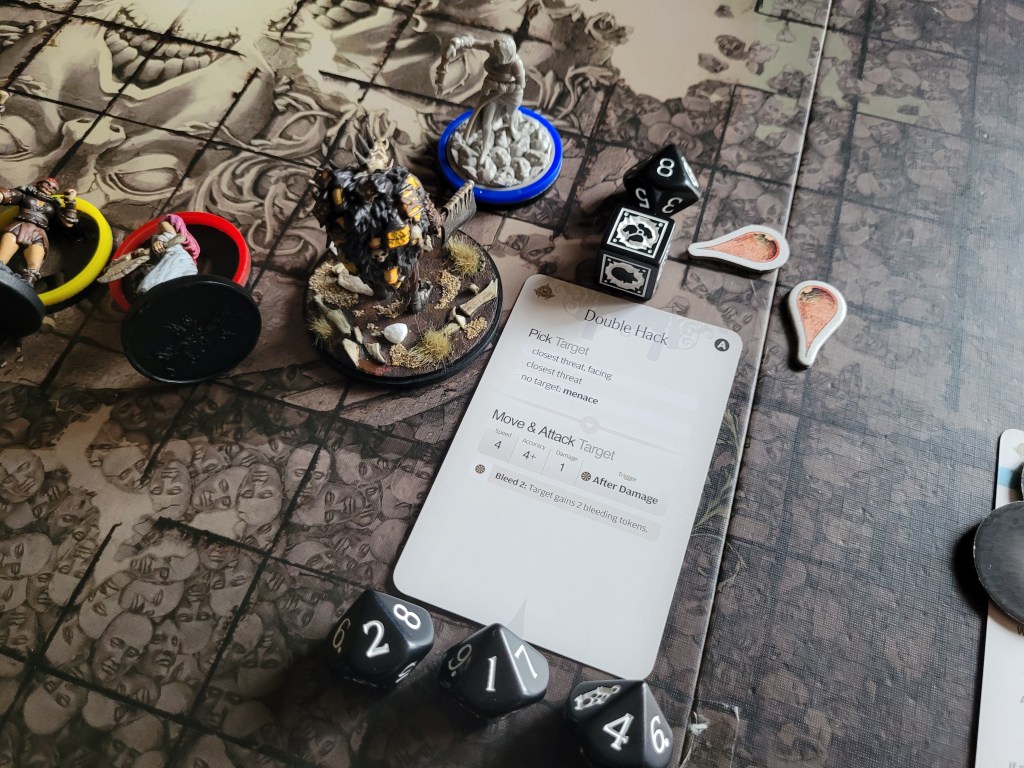
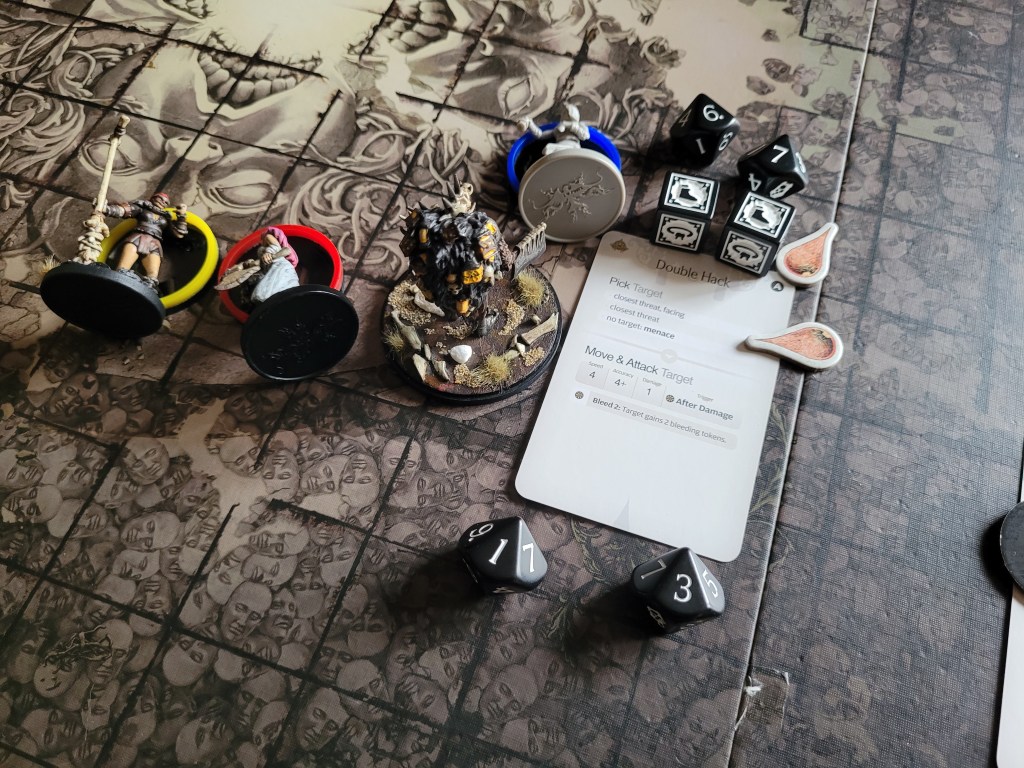
Shaogorm took a step away from the Butcher and swung her Greater Gaxe – this fight needed to end right then and there! .. But she failed to even hit with any of her three 5+ to hit swings!?
Magorm was ready to step up next. She was getting just as angry as the Butcher was and and at 5SPD she found the trap .. of course.
This did kill Gormst with the initial bleed + knockback! With Screaming suddenly discarded as well the monster’s HP pool was slowly increasing again!?
The basic follow up put Magorm to 3 bleed and stuff wasn’t looking great, especially as our Bandages had just died and she would likely get hit by several basic attacks in a row next round!
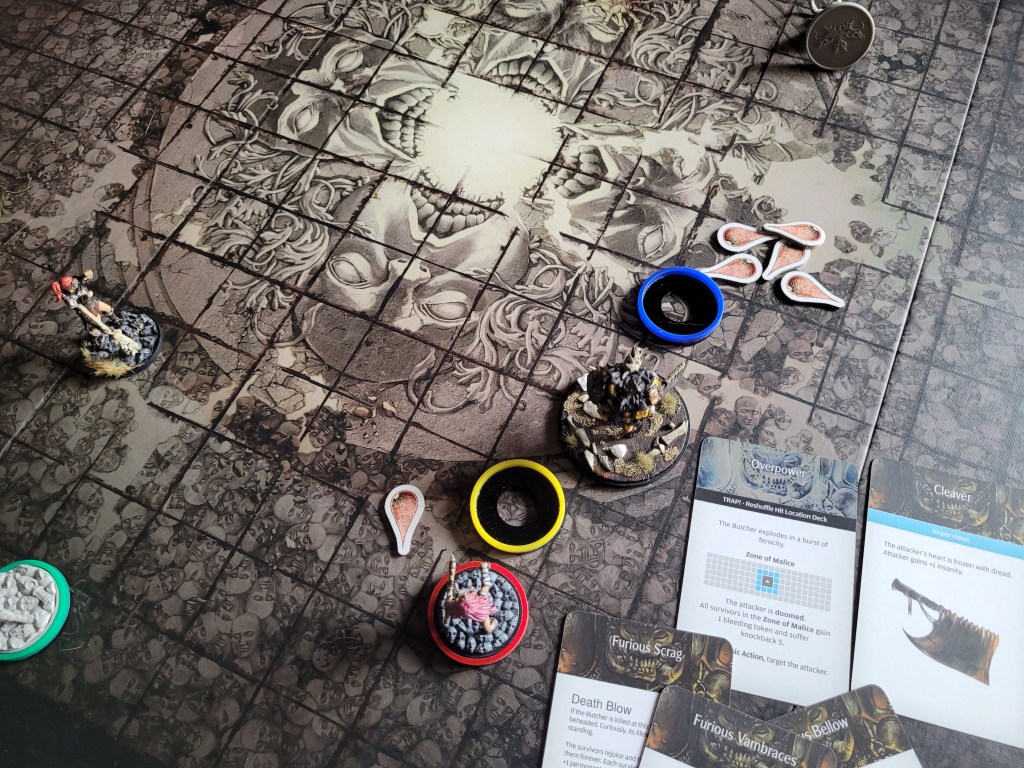
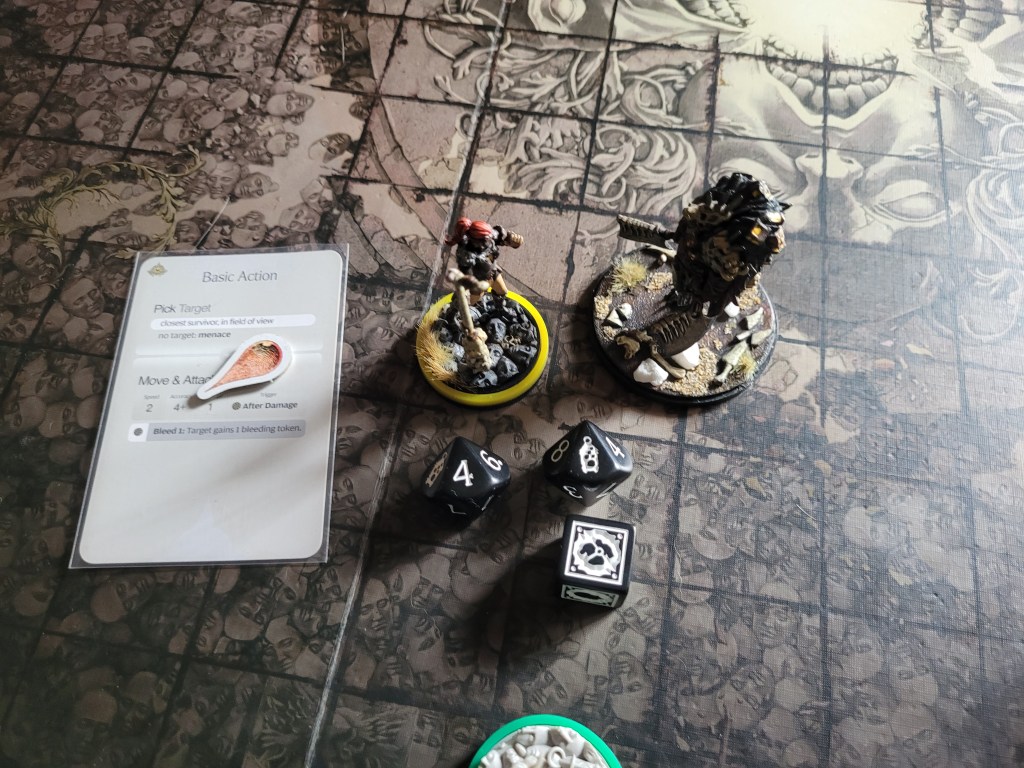
With 3 cards in its AI deck again, Kigorm rushed up to the monster, in a desperate bid to try and deal some more damage.
With unseen efficiency, the Rib Blade connected with the monster twice and wounded twice! Even with Gormst dead, we felt that we could still push through!
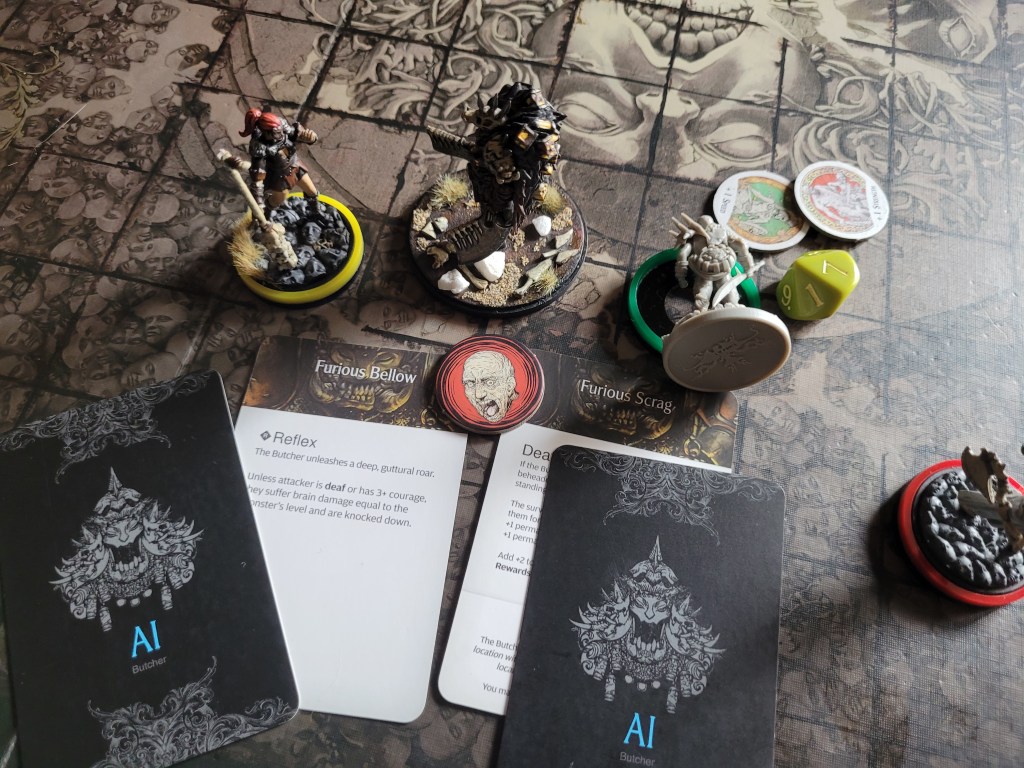
1 (2) cards remaining.. first we had to deal with an additional basic action against Magorm.
On 6+, the Butcher failed to hit her outright!
The 1st card drawn and last card in the deck: Screaming! That was probably the best possible draw we could have hoped for. Nobody frenzied from the bellowing monster this time!
One more basic attack hit Magorm – a hit to the face left her as 4 bleed.
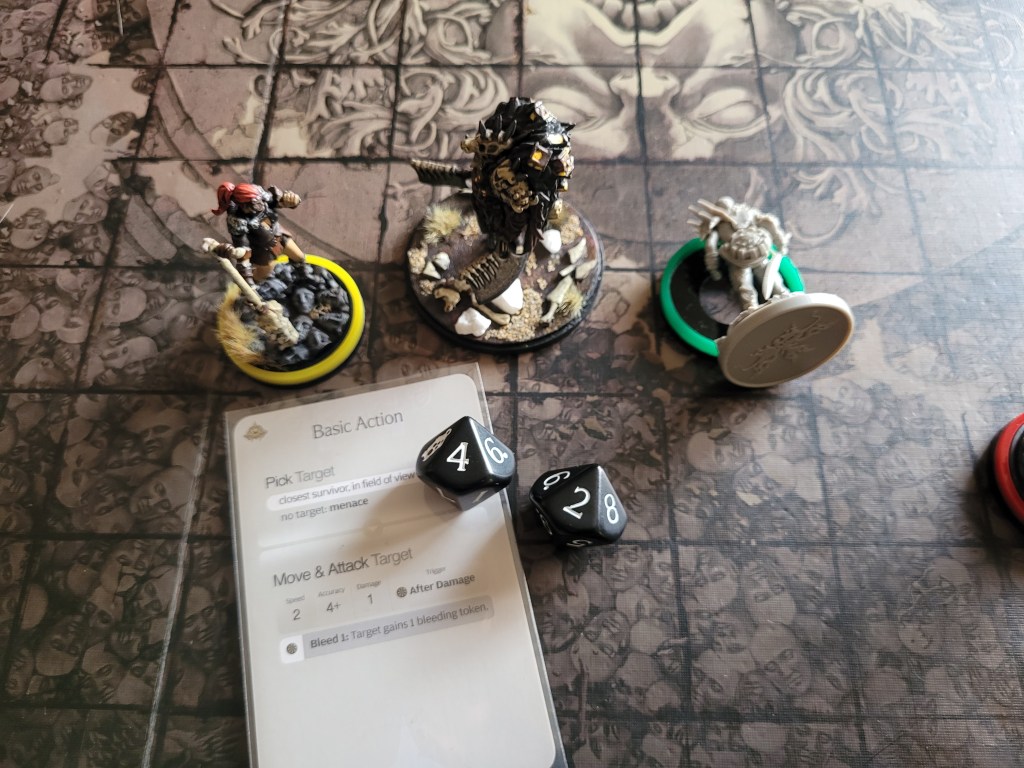
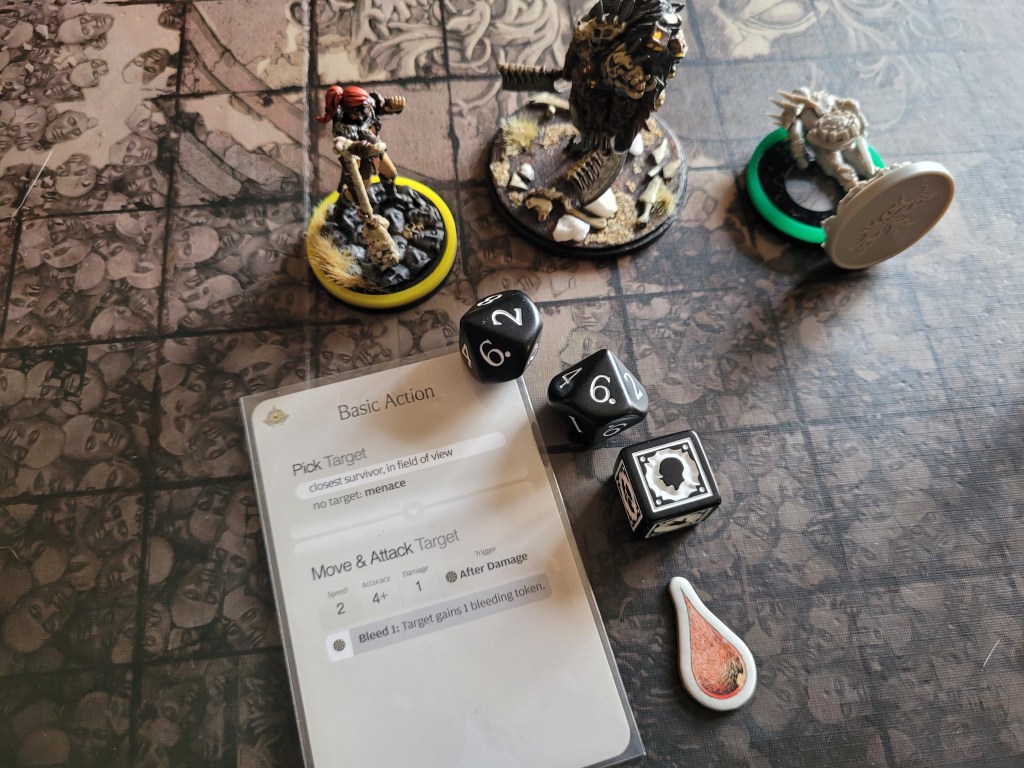
As Kigorm got back to his feet, Magorm just backed off to not get killed by a stray reaction or the trap.
Kigorm was chosen to attack first – and he hit the monster twice!
He killed it with a strike straight to the Butcher’s Mask!
Oof!
Well, we managed to survive!
All 3 remaining survivors aged up from this ordeal. Shaogorm (+1ACC) took up the way of the axe, Magorm (Ethereal Pact FA) found herself on the Path of the Bonk (club) and Kigorm (Thermoregulator FA – during the hunt: spend or lose survival – gain +2 survival) started his exploration of grand weaponry.
As for rewards.. I rolled a Lantern 10!
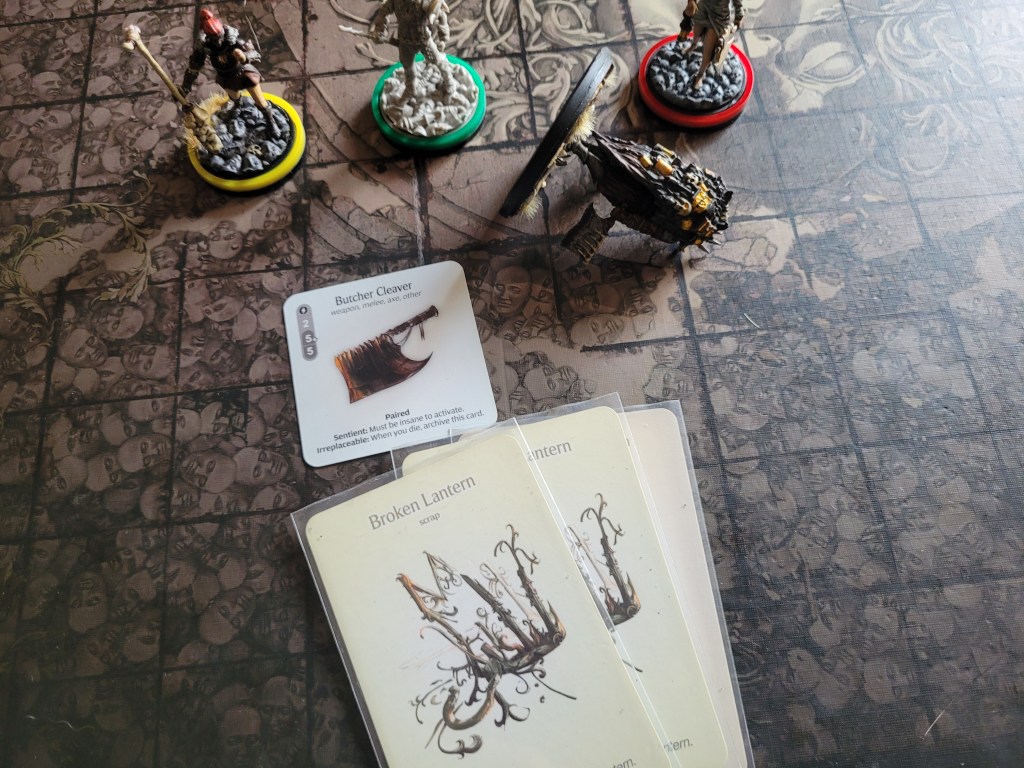
Not that it mattered overly much. This amounted to a Butcher’s Cleaver, 3 Broken Lanterns and a piece of raging flesh that we left to shrivel up as we had no dismembered injuries amongst those alive.
***
This was one of the longest Butcher Lvl1 fights I’ve had in a while – that took me almost 3 hours!
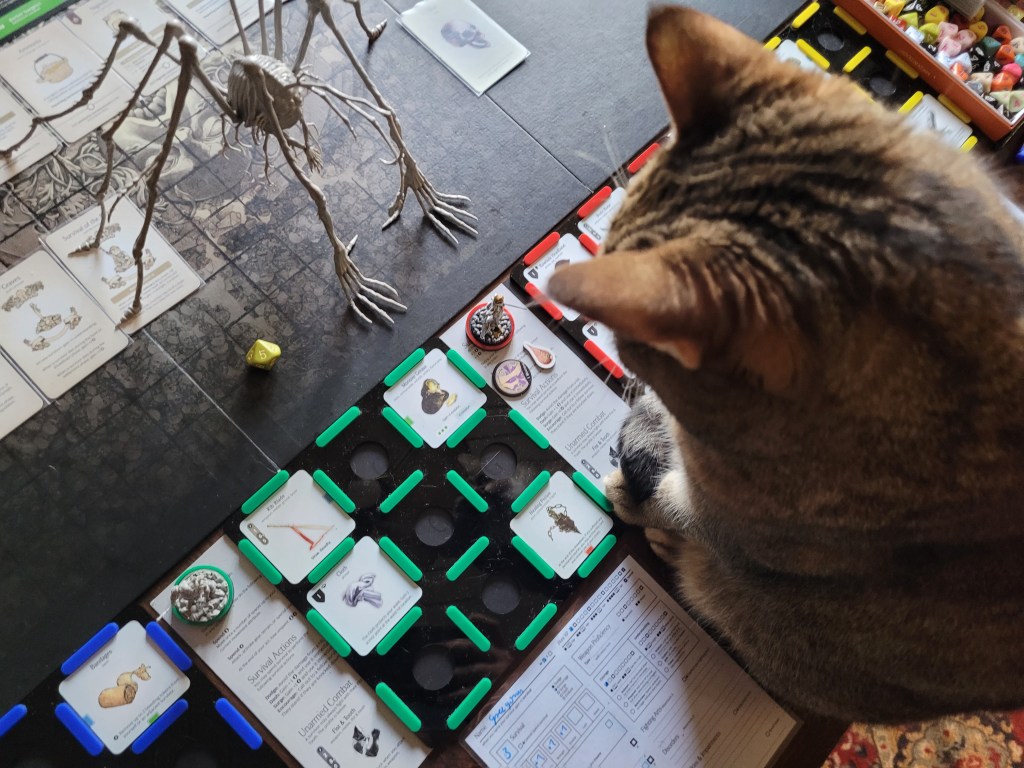
Considering the Feline Entity checks on me and the survivors typically once per Lantern Year, she must have been confused about what was taking me so long as well.
But we did it! We won!
Of course we didn’t actually protect any resources from getting smashed to bits besides a Broken Lantern but I think both the extra rawhide pieces as well as the Bandages helped us stay alive quite well.
But, I will say, that I have already started to think of the Gorm’s armor as a bit of a trap in the early game a while ago anyways. At least unless you get buried in early Stout Hide drops. And whilst I would still like to put it together, it does feel more like a mid-game armor to me, with the body/waist piece costing 3 Stout Hide alone.
As for next time .. now that we are past the first Butcher, we are going Spidicules hunting! I want that silk armor! And maybe another interesting weapon or 2.
But we are done for today, I would say.
I’ll be back for the 2nd half of the GenCon sale around the middle of the week – keeping my fingers crossed that we might actually get to see the release of the still missing plastic.
This should also be the death high sale, so keep an eye out if you enjoy those particular resin pieces. Maybe we’ll get another monster sculpt this year. Flower Knight Janitor, Screaming Secretary or maybe one of the silent monsters as an English teacher .. like the Hand or a King’s Man. Slenderman hall monitor .. or something? But these are just my own random ideas I had just now.
As always, thank you very much for your time, the Butcher be screaming.
Amathul


Leave a Reply