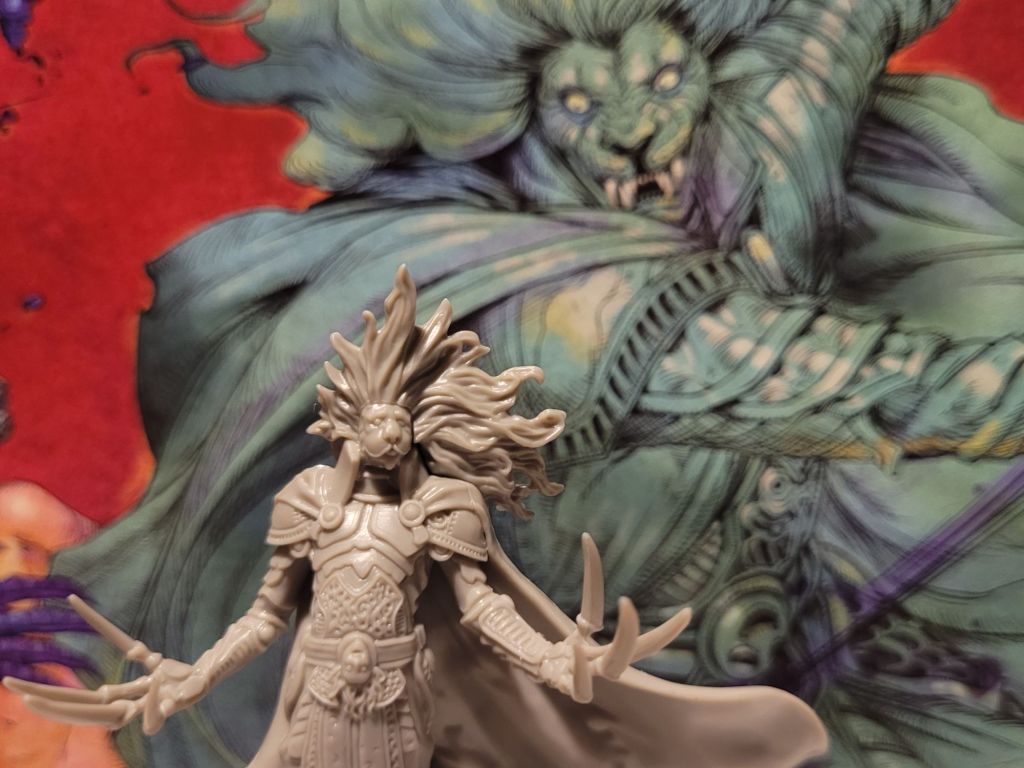
Before I write anything else, just so we are on the same page for this nemesis encounter – if you are reading any of what’s about to come and think to yourself “that’s not how it’s played” or “that’s not what I would have done” then those thoughts are perfectly valid.
I have not played with the Lion Knight before .. at all .. and I have not seen this showdown be played before .. at all .. and this Lantern Year turned out to be particularly janky with how things resolved.
Whilst I intended to go over my thoughts mostly after the fight, I thought I should at least acknowledge this first. There are also a couple of things I think I understand better now that I had to write about it to this length.
But, with this being yet another Lantern Year with A LOT going on – even giving us the chance for a weird tripple feature – there are a lot of things to discuss!
Yes!
I could have resolved 3 showdowns in this Lantern Year in total if I’d so desired!
I will be keeping it at 2 fights this time though, as one Special Showdown felt like more than enough and I had already decided that I wanted to re-attempt the Screaming God Vignette for the week before Black Friday 2026 – this time with the proper figures – so we will be skipping Chasing Oblivion for the Gormpital.
That being said, spoilers(?), I will be playing this Lantern Year’s Lion Knight as a Special Showdown during the designated spot on the time-line, so whilst the event will seemingly try to hurry me along to do it immediately .. without hurrying me along like Slenderman would have, we’ll enjoy Aeneas’ feast before that, so Feline Entity willing!
But, as always, we still needed to get back home first.
As the previous hunting party reached the safety of the settlement I cleared off a bunch of marked injury squares before Aeneas offered us her … third (?) .. parasitic leg for usage as well.
The survivors then gained 5 endeavors (3 returning survivors, 17 population and Cooking I) before I turned my attention to the 5 events happening this Lantern Year.
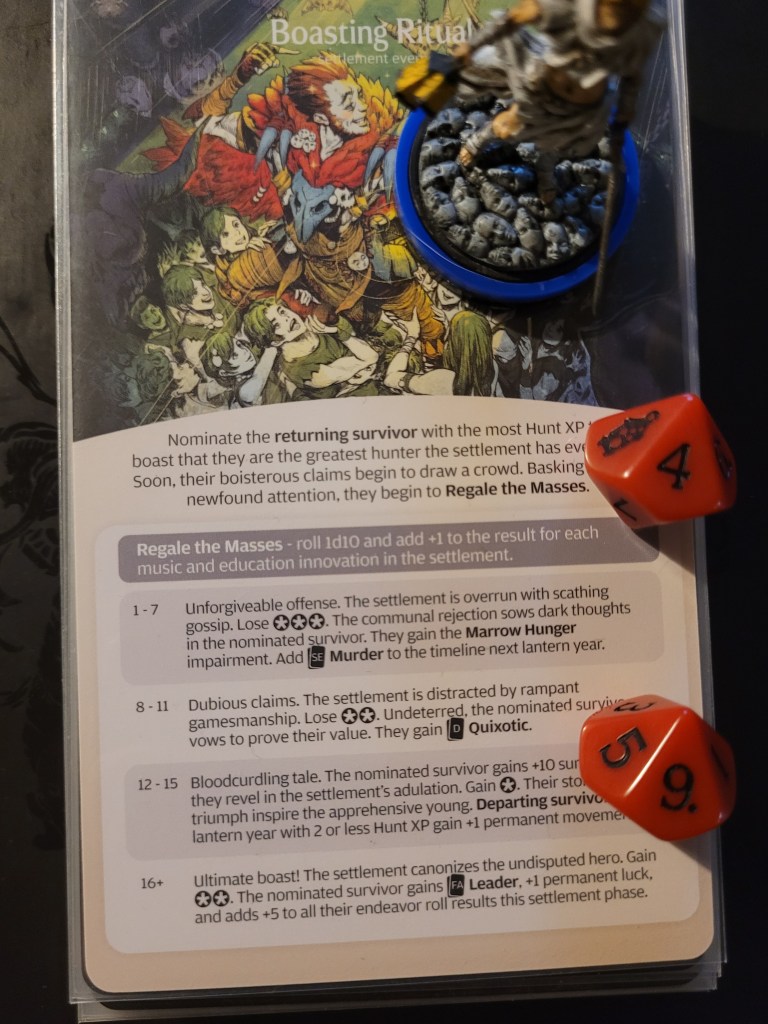
First up, as always, the random event: a Boasting Ritual commenced.
This one could have ended badly for Gormward, still he started telling a tall tale of how he defeated the spooder of his last hunt basically by his lonesome.
With a somewhat poor +3 to his roll he at least had a small chance of hitting a good result – but he rolled a 1 .. that was bad enough for me to spend a reroll on! Because of this, Gormnina rushed to his side (spending her reroll) further praising him for what an incredible fighter and leader he was: the second roll came up as a 6, which turned into a 9 with the bonus and whilst we did still lose 2 endeavors, Gormward gained Quixotic (D) opposed to us having to add Murder to next Lantern Year.
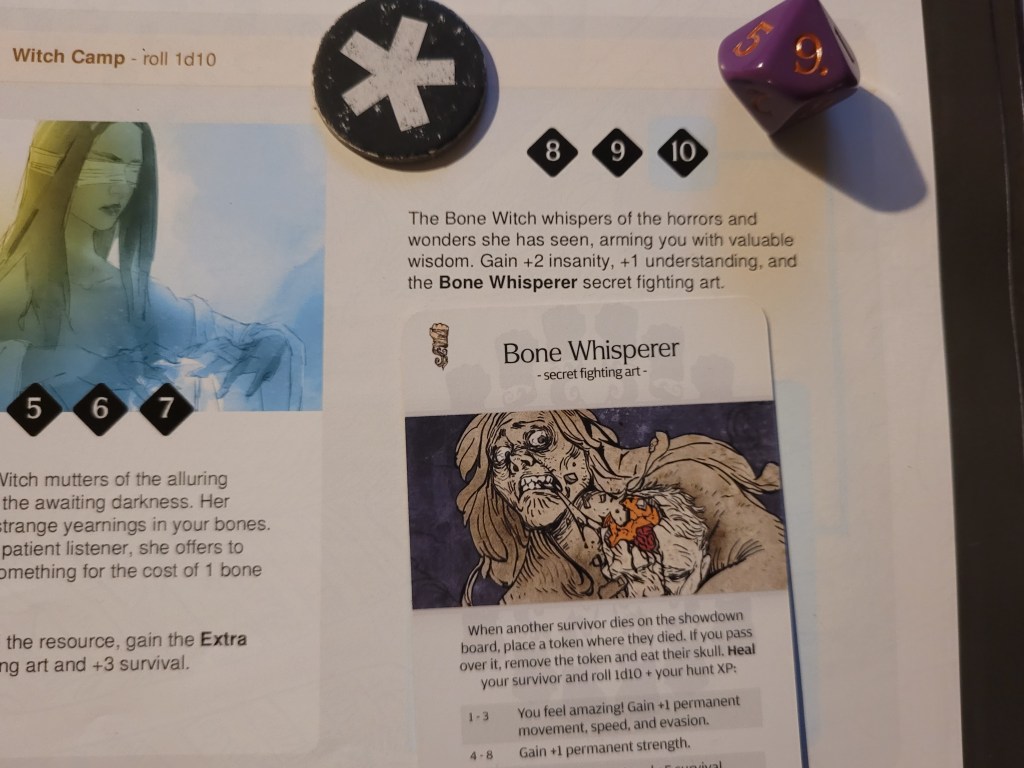
Next in line was the Bone Witch – young Gorm, bulb glowing and all, had returned for a visit, somehow still alive!
As the most insane returning survivor Aeneas had to endeavor here and I do tend to do these right away, so she rolled a 9 and gained the Bone Whisperer Secret Fighting Art.
In other words: she could now eat even more stuff!
This did give her 3 systemic pressure as well because of being an arc survivor though.
As the hustle and bustle of the settlement was starting to take over, a masked stranger was heard yelling Places, Everyone! as the lion statue in the middle of town suddenly began moving!
This event forces us to immediately pick our 4 departing survivors for a special showdown later during this Lantern Year. I chose Gormco, Greegorm, Shaogorm & Magorm to take the stage. As the most insane of these 4, Shaogorm started dancing wildly, believing herself to be Immortal (D).
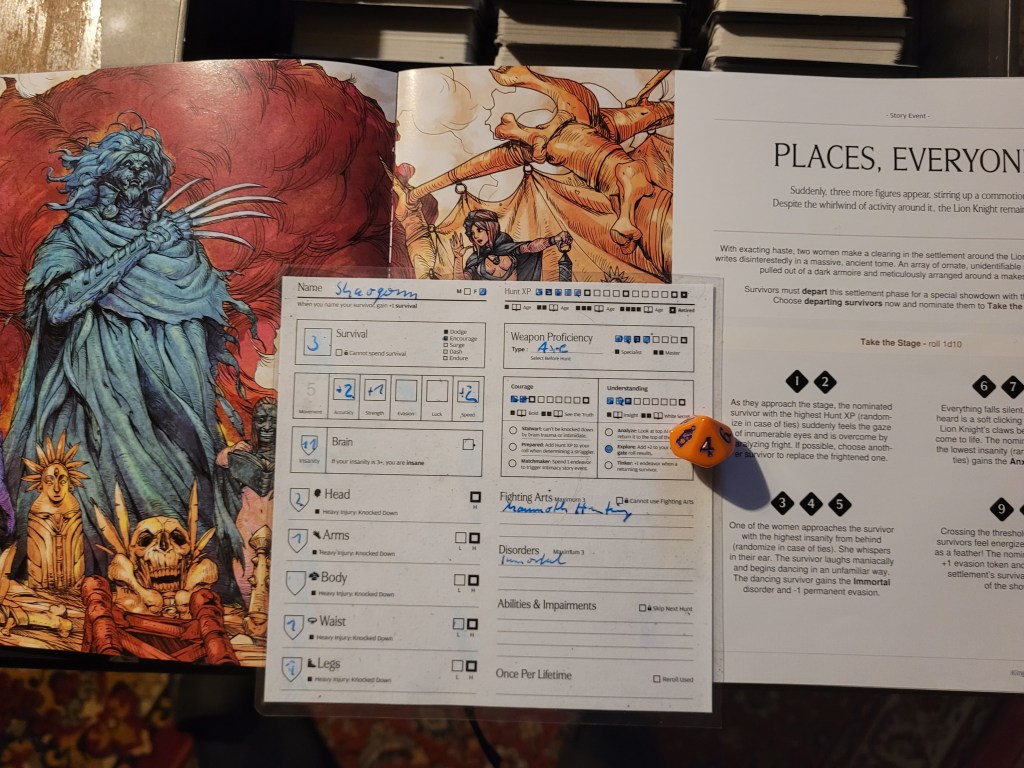
I had so many questions due to this event, but looking back at it, maybe I was just overthinking things way too much?
The way Places, Everyone! is presented I felt like it should interrupt your settlement phase and force you to fight the Lion Knight immediately much like the 1.6 version of Slenderman’s Forgotten Fear could as well – but you are simply instructed to fight it in a Special Showdown this Lantern Year.
This will still cause problems in a minute so I wanted to mention all this at some point.
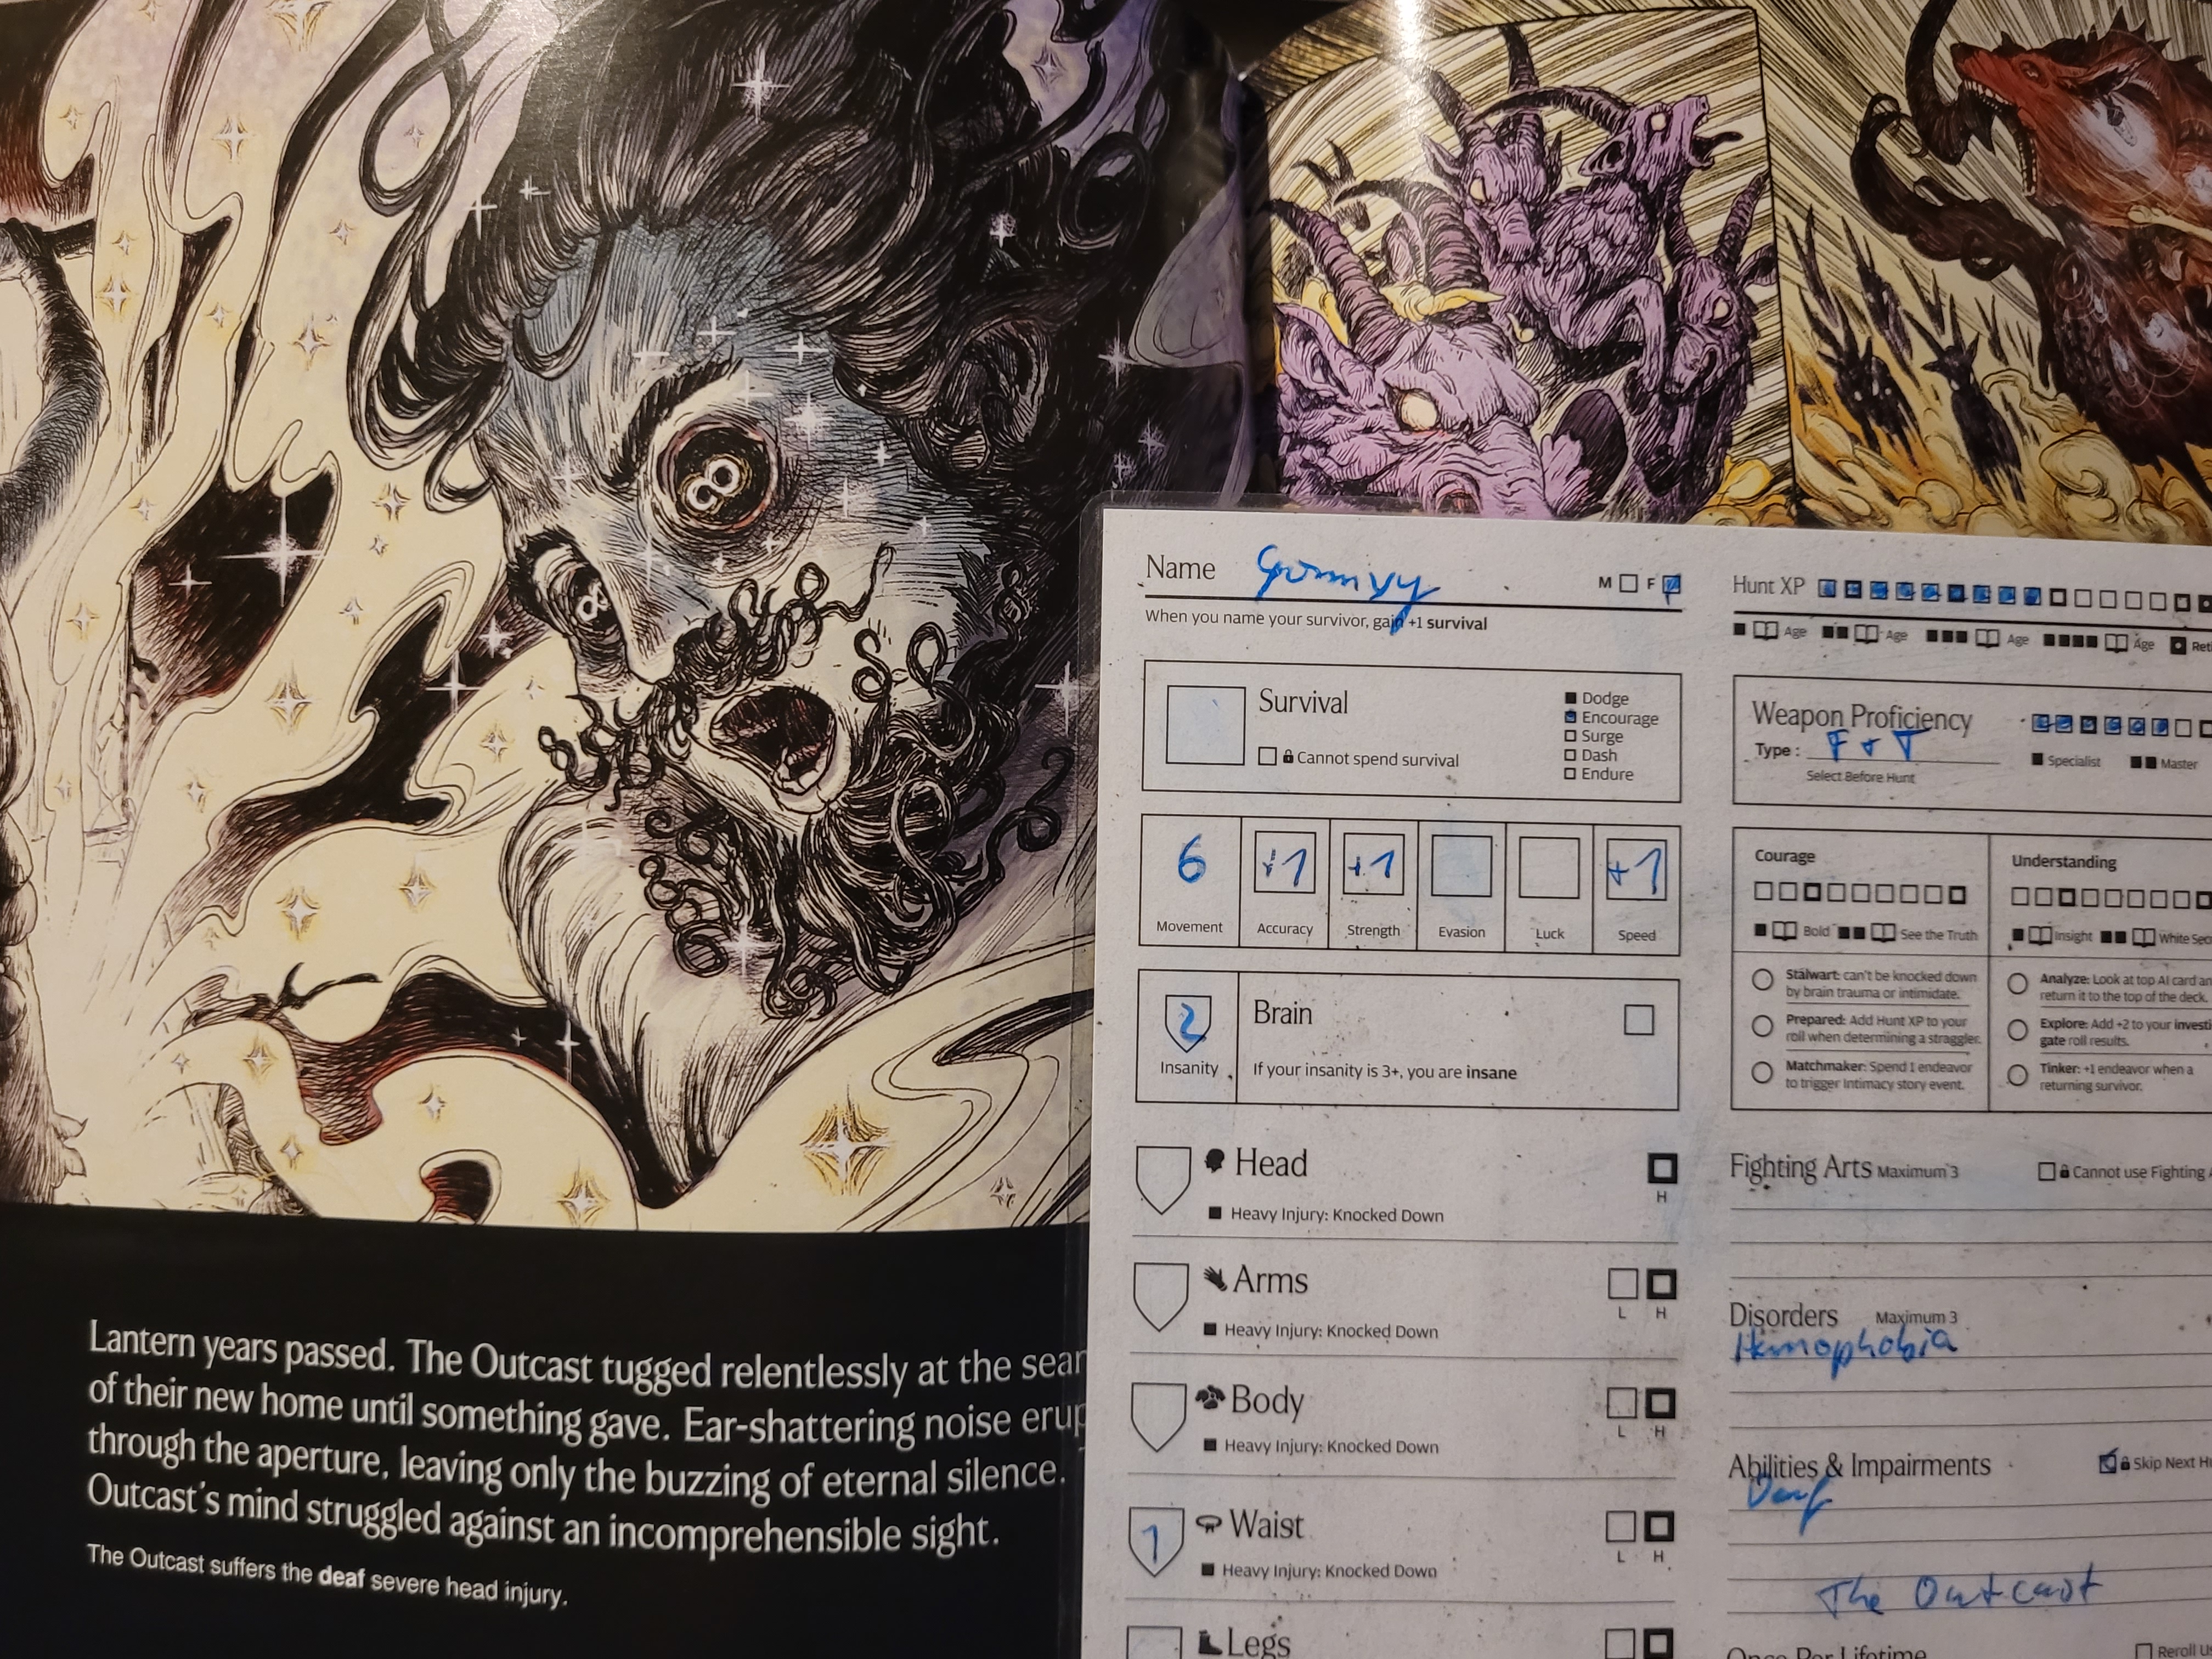
Up next would have been the check-in with Gormvy who had finally managed to clip into the back rooms. This had them go deaf as they watched the Screaming God chase down four musically inclined but unlucky individuals.
As mentioned above, I will be skipping the Vignette for this campaign.
And finally, it started raining: Gorm Climate.
A 6 was rolled which meant that all returning survivors had to skip the next hunt. At this point we were in full jank-territory. Shaogorm could no longer depart and just had her insanity wiped as well!
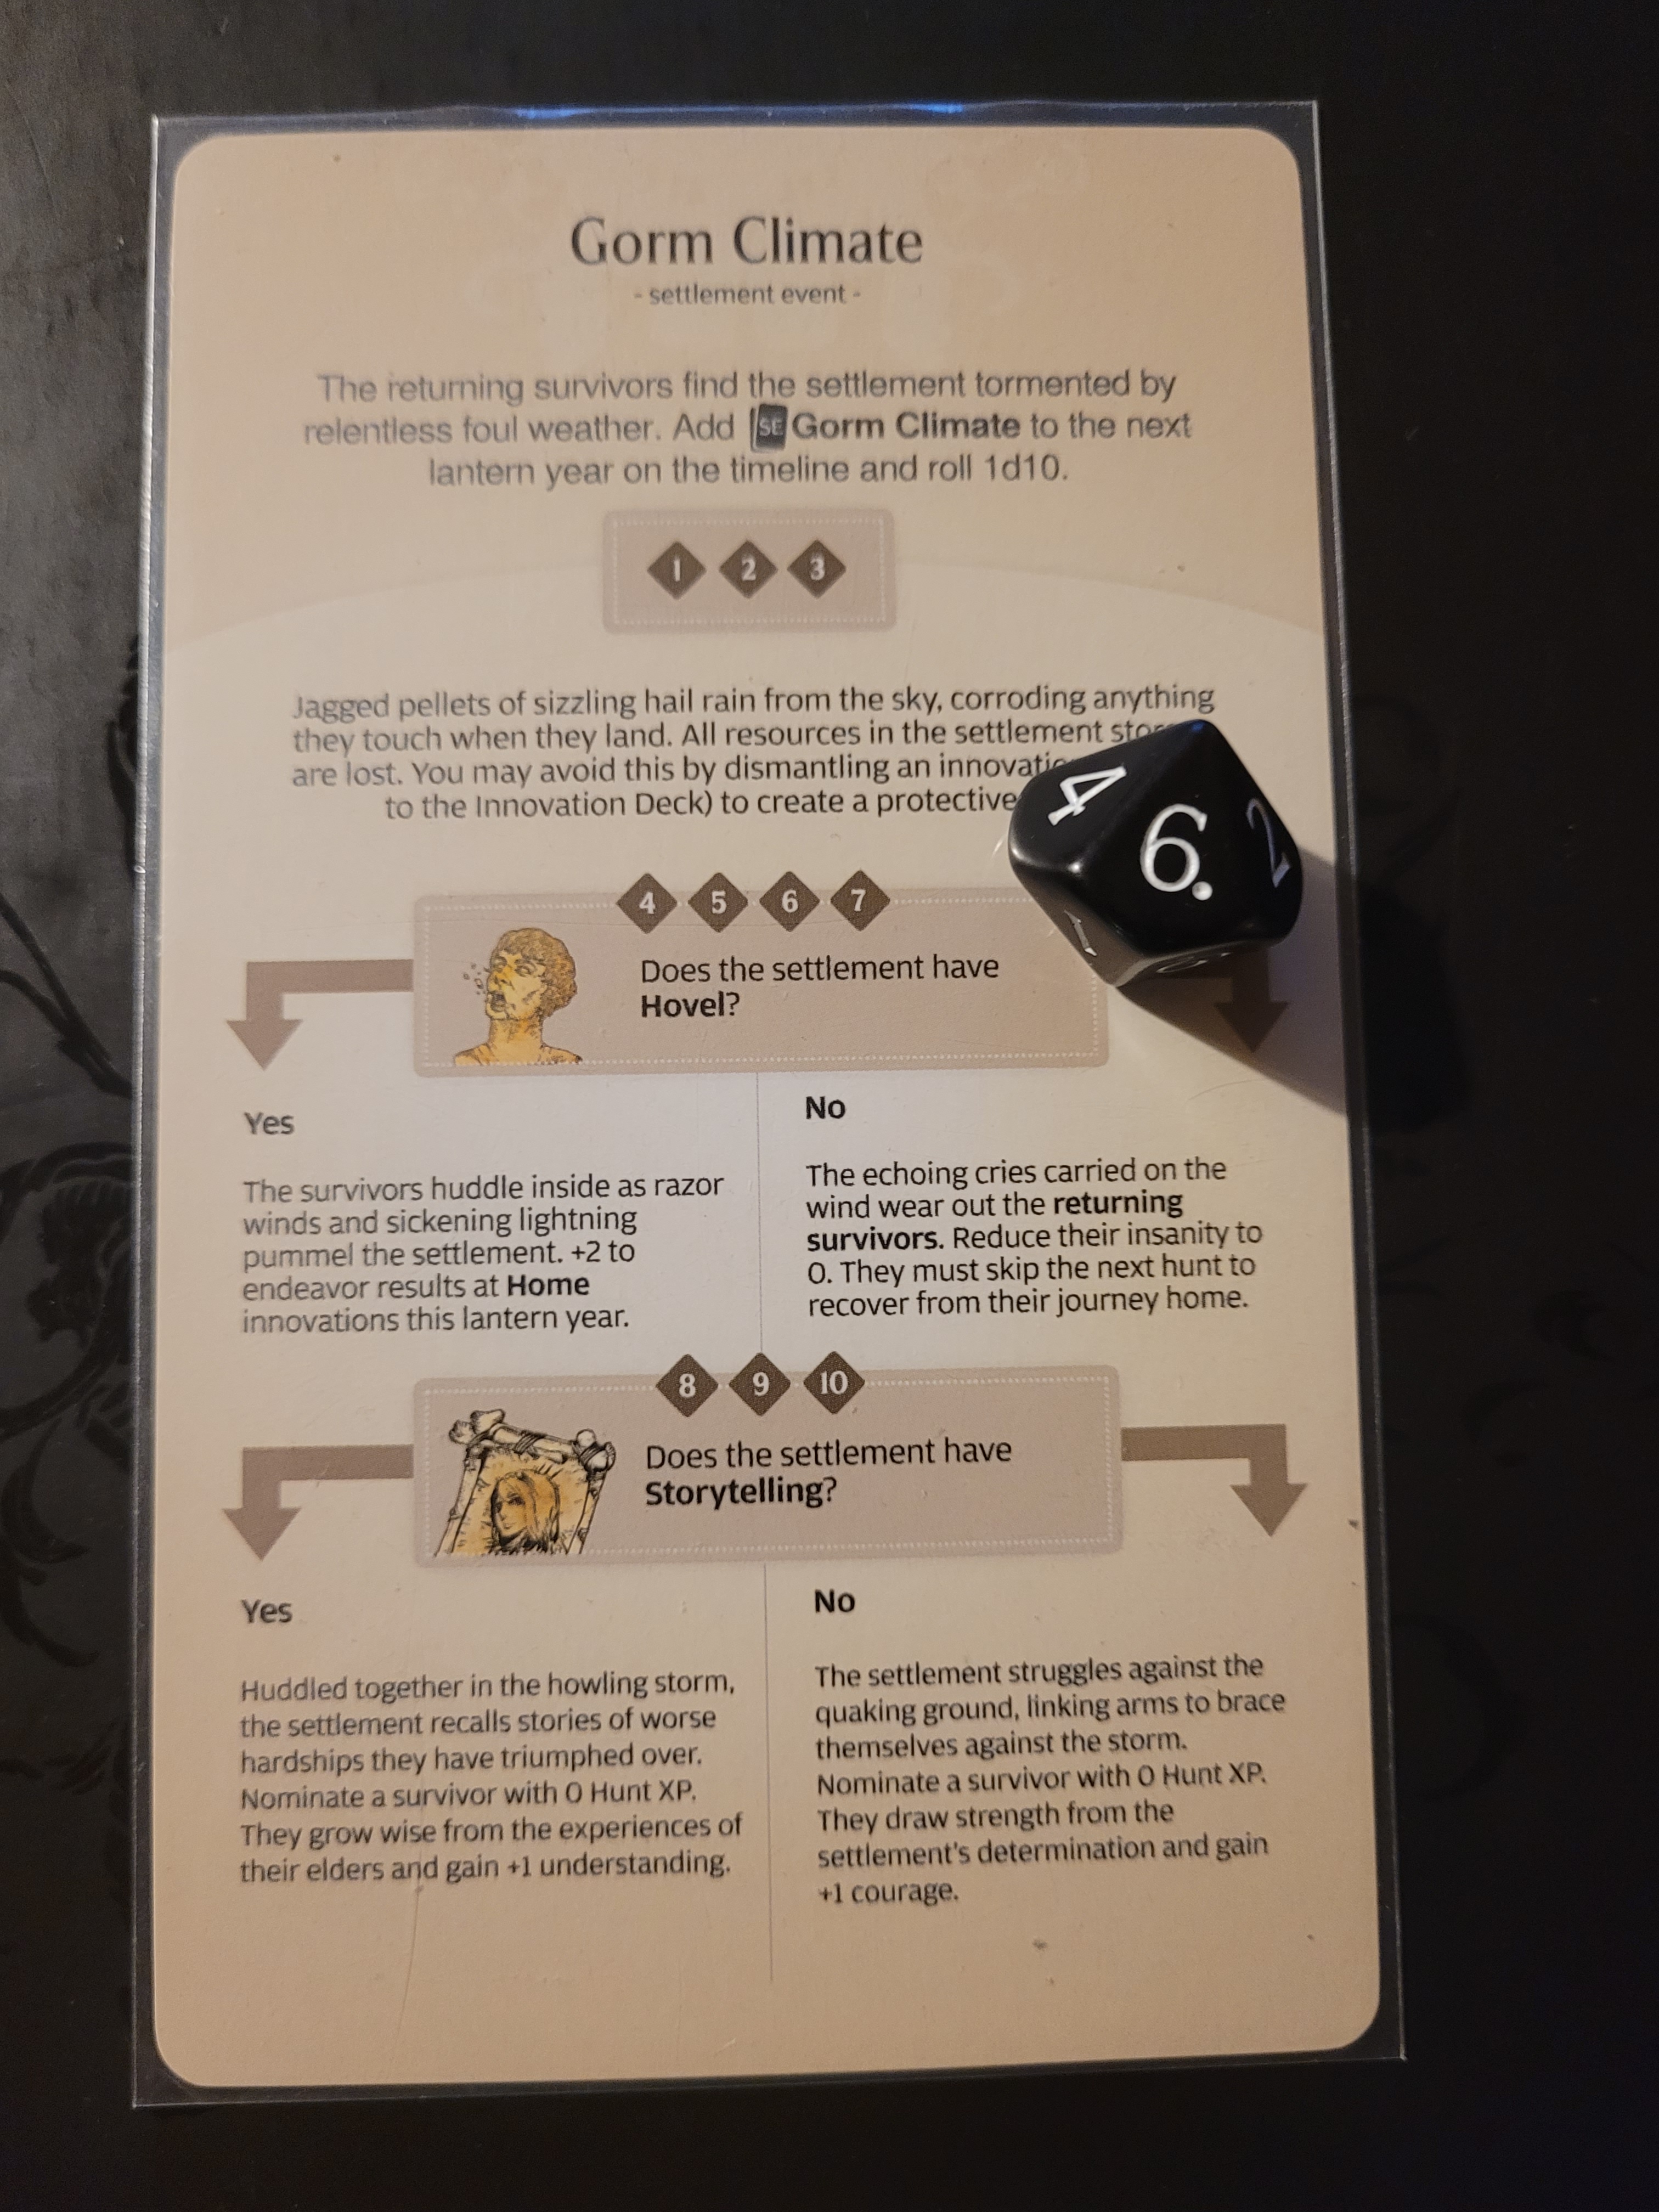
I was very unsure of what to do at this point but having her not depart and going in with only 3 people seemed (and still seems) the most correct way to go about things to me.
Good for her, I guess? That’s what we got for not having houses!
But, we had finally reached the develop step .. but what was that? Aeneas in the kitchen?! Uh oh..
She wanted to repay our earlier kindness by setting up a feast for the whole settlement and started mincing up half of all our resources – 9 of the 18 we had had in total!
I chose stuff to discard by what we needed to build more silk armor as well as innovate later this Lantern Year. This was our second feast in the settlement and at least this time everyone gained +1STR from partaking in this lavish meal! At least that part I liked.
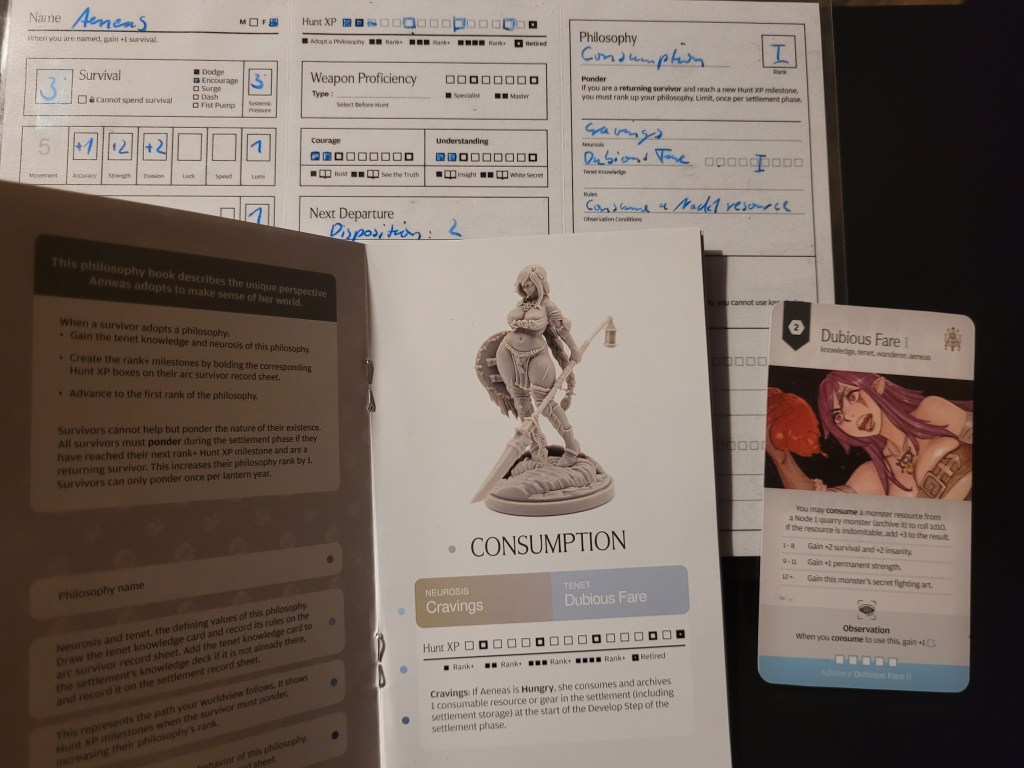
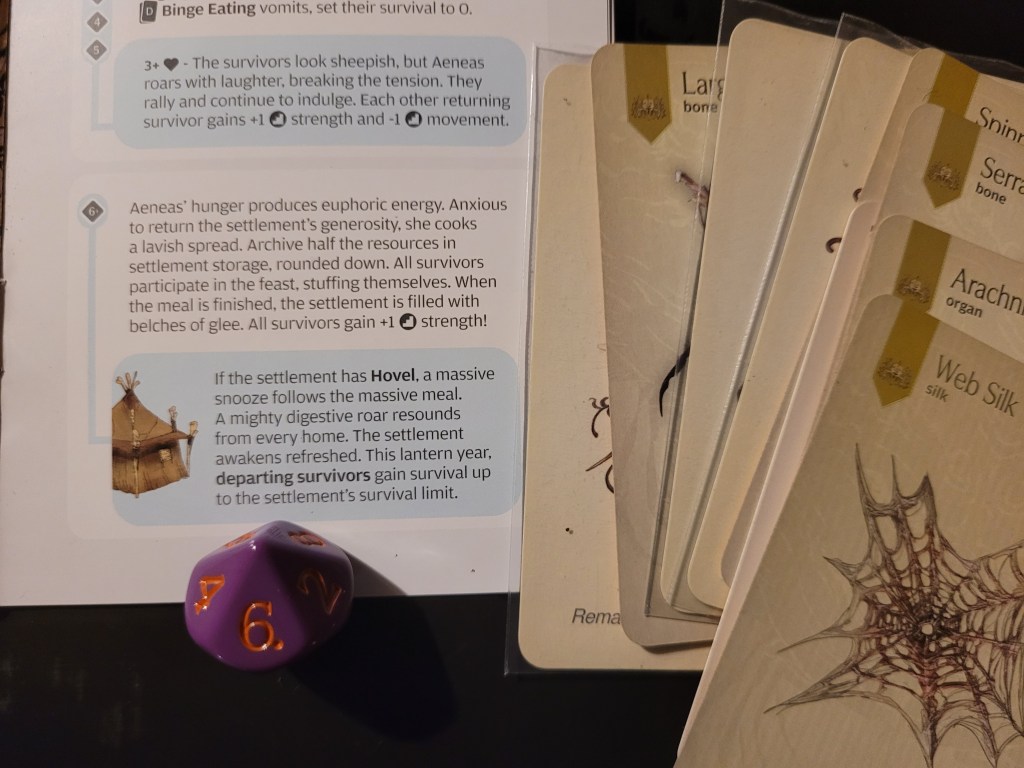
Finally free to develop we quickly built the 2 pieces of silk armor I set us up for, the arms and legs, although I did misread the costs, which left us with an extra Web Silk.
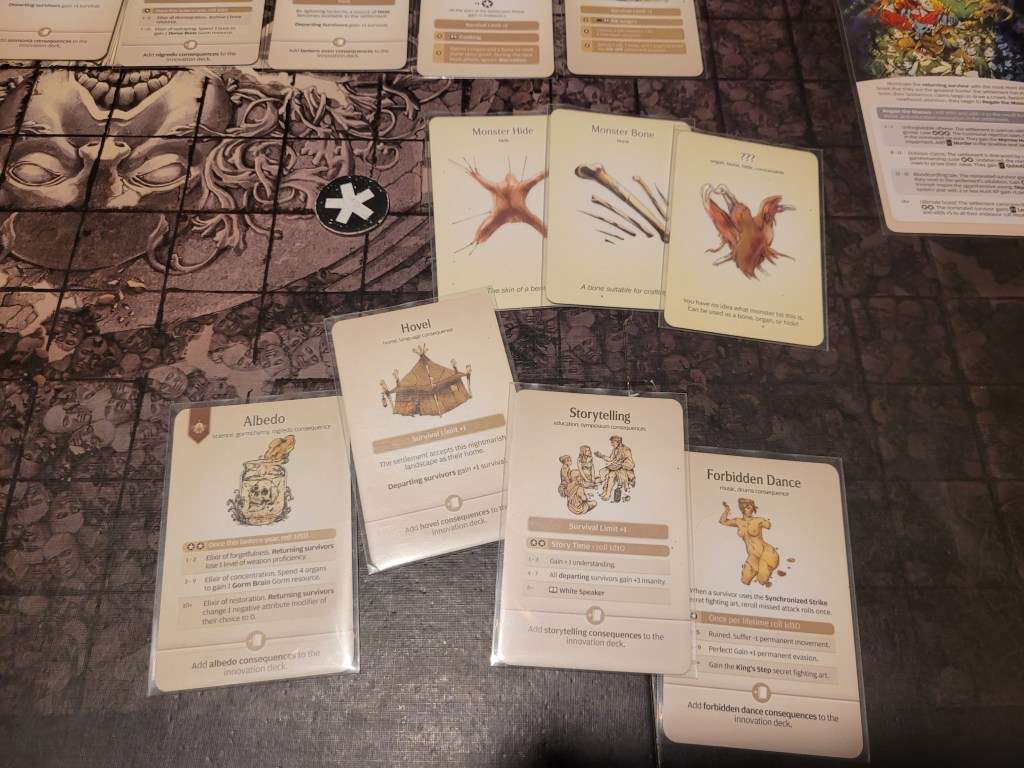
And then we finally got to innovate again. Tensions were getting high .. and for good reason at this point:
Albedo, Hovel, Storytelling or Forbidden Dance…
..
What a .. “great” .. line up.
..
..
Of these 4 I preferred Hovel over the rest.., as at least it would help us with both Gorm Climate and move us towards Family (I) and Clan of Death (I). Of course it will also mean that I could start drawing Partnership (I) each and every Lantern Year from now on as well.
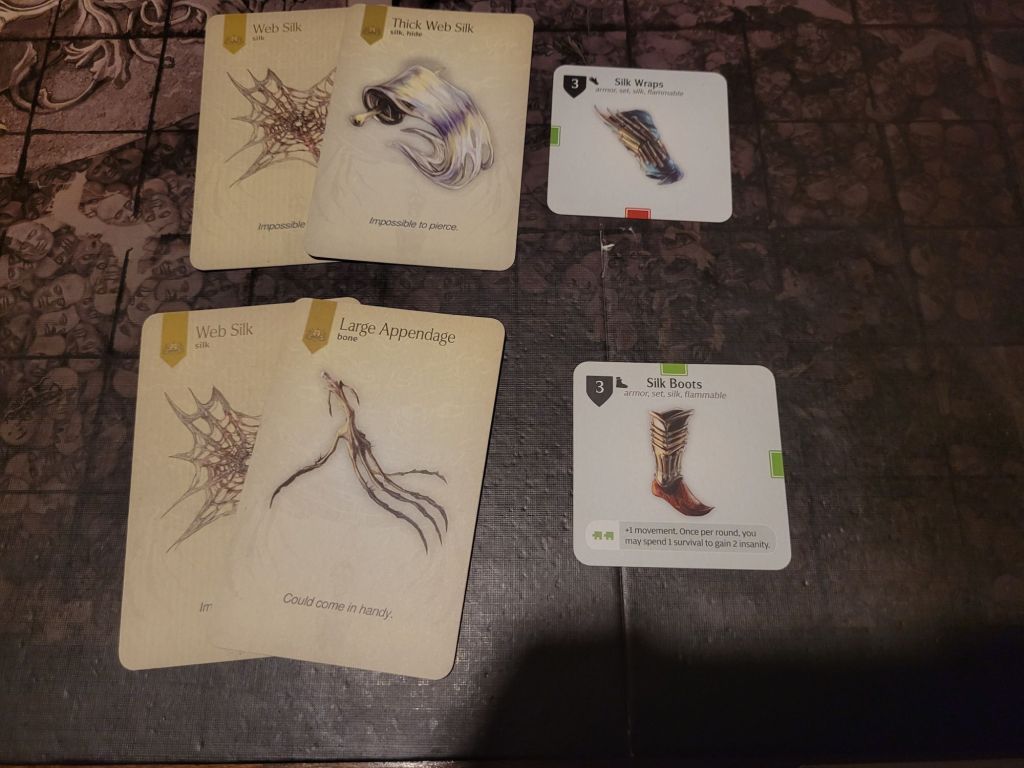
With that we were down to our last endeavor as well as 1 Web Silk and a Perfect Bone left in storage.
The endeavor was spent on Gormvoc to do augury and he rolled a 9 – more babies! A 5 and a 10 on the Valentine’s Day dice meant we’d get one more regular baby for Mrs.Gorm and Gormly – the boy Slorm.
The chosen actors:
Greegorm – green – the Fool (silk bits, Rib Blade)
Gormco – red – the Ruler (Rawhide Armor, Greater Gaxe)
Magorm – yellow – the Villain (Rawhide Armor, Riot Mace)
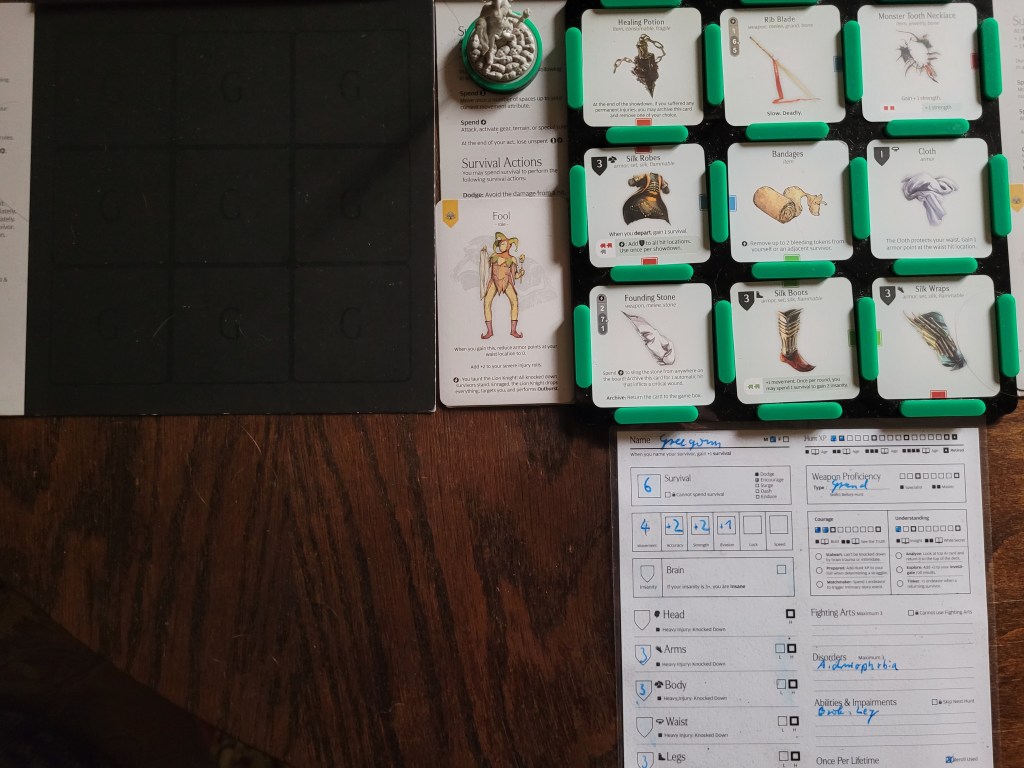
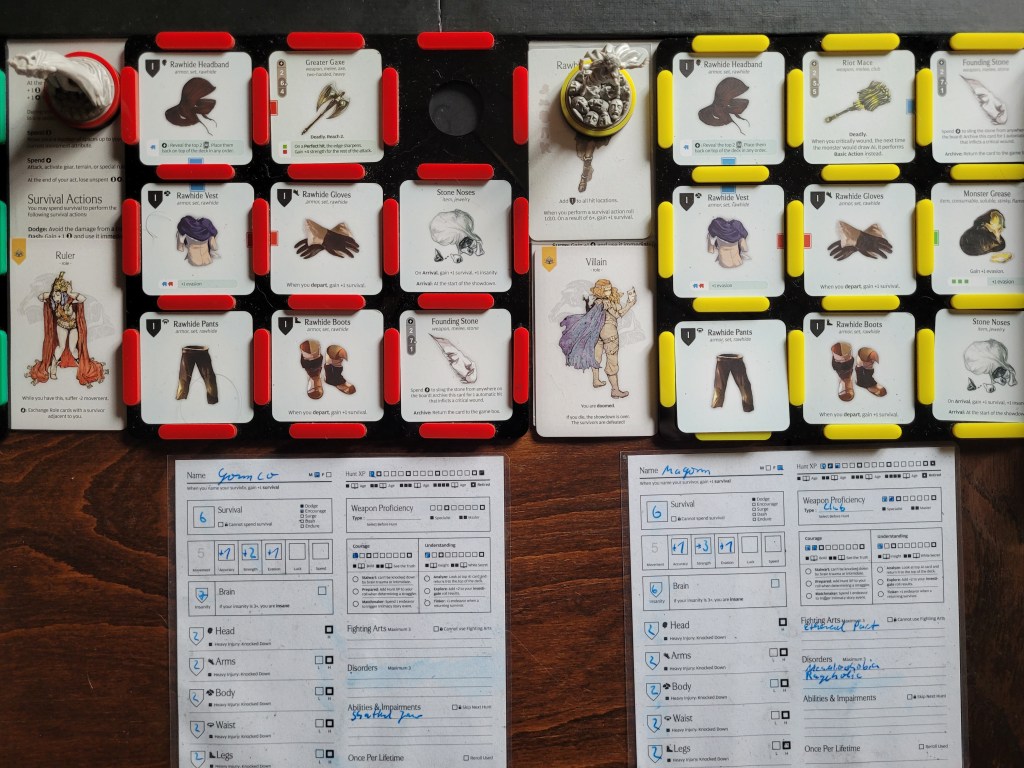
Magorm getting assigned the Villan role was a little unfortunate, but I guess, looking at the other 2 roles’ abilities, I could just have Gormco take the Villain and kill himself vs the monster. Right?
Was that a sound “strategy” for this fight?
In any case, at the time it felt like this fight should be over fairly quickly. Our weapons were pretty great and it felt like I should just be able to punch the Lion Knight into submission .. or, alternatively, it turns around and just kills the Villain in a couple of blows due to our low armor.
But, no matter what, I was looking forward to trying out a new monster!
This was the very first time I’ve fought this monster and I didn’t know any of the hit locations or AI cards beyond the traits I laid out and the basic action.
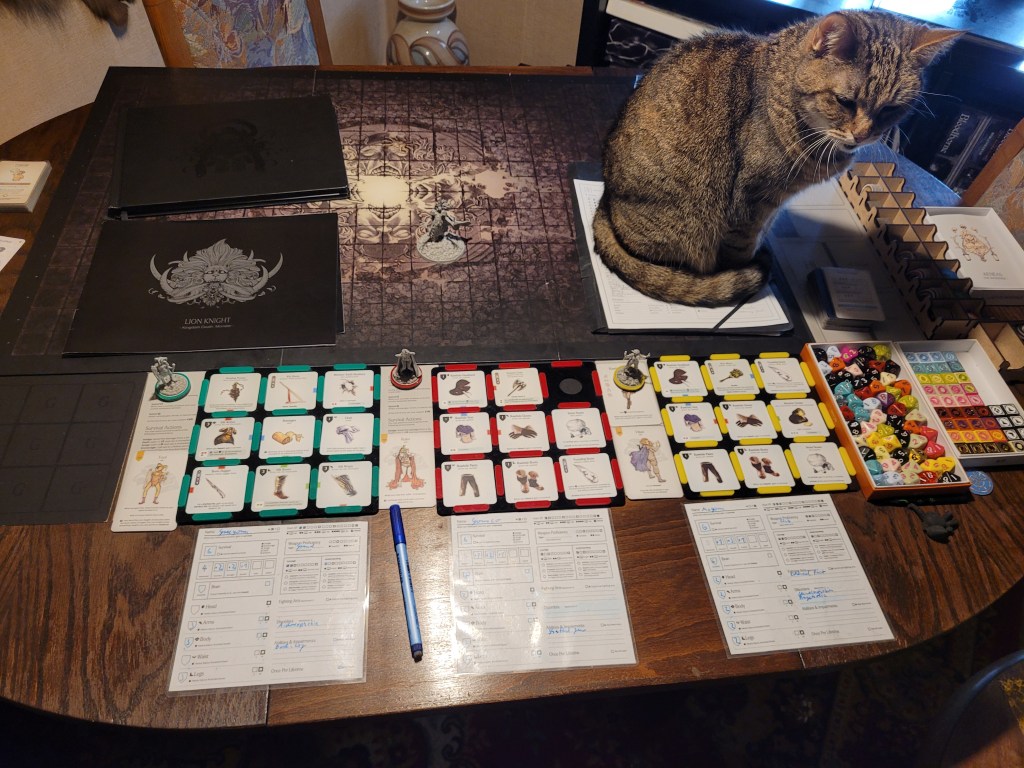
For it’s Lvl1 play, the Lion Knight has only 10TGH and 7MOV.
For AI cards we are looking at 10 B and 2 A cards as well as 2 traits in addition to the 4 different survivor roles.
The first trait is the known Zeal – which does trigger an extra basic action at the end of each monster turn.
Outburst, on the other hand, explains a keyword of the same name that forces its target to lose a survival and gain the Villain role, followed by triggering a basic action (which will attack the Villain) and ending the monster’s turn.
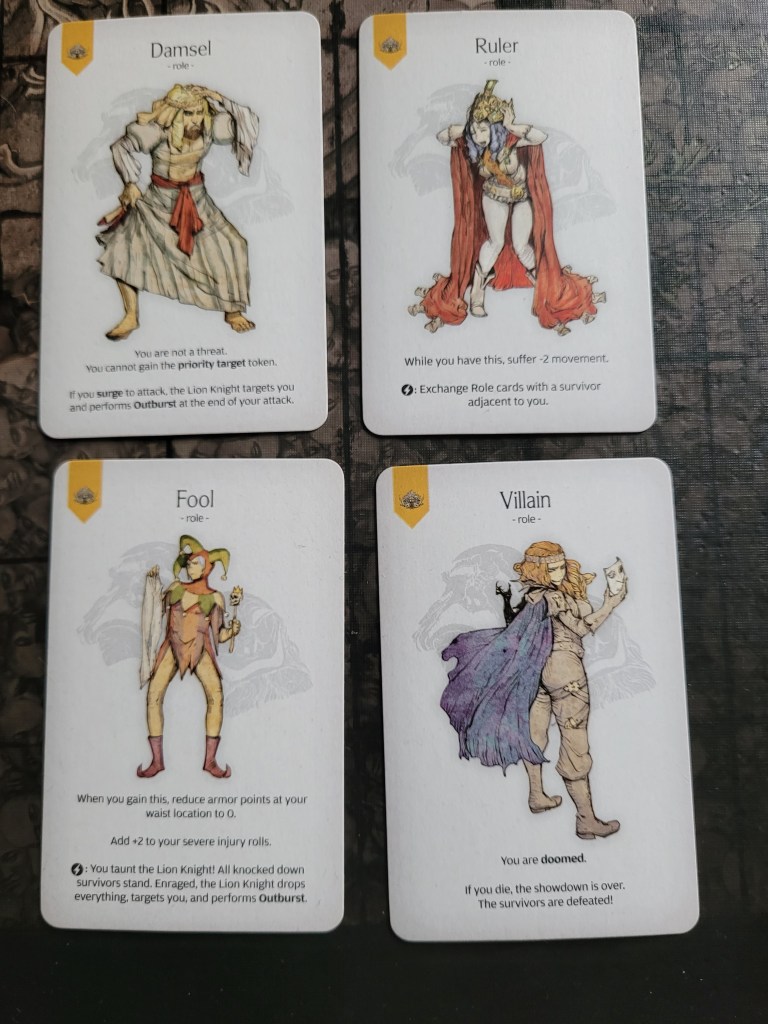
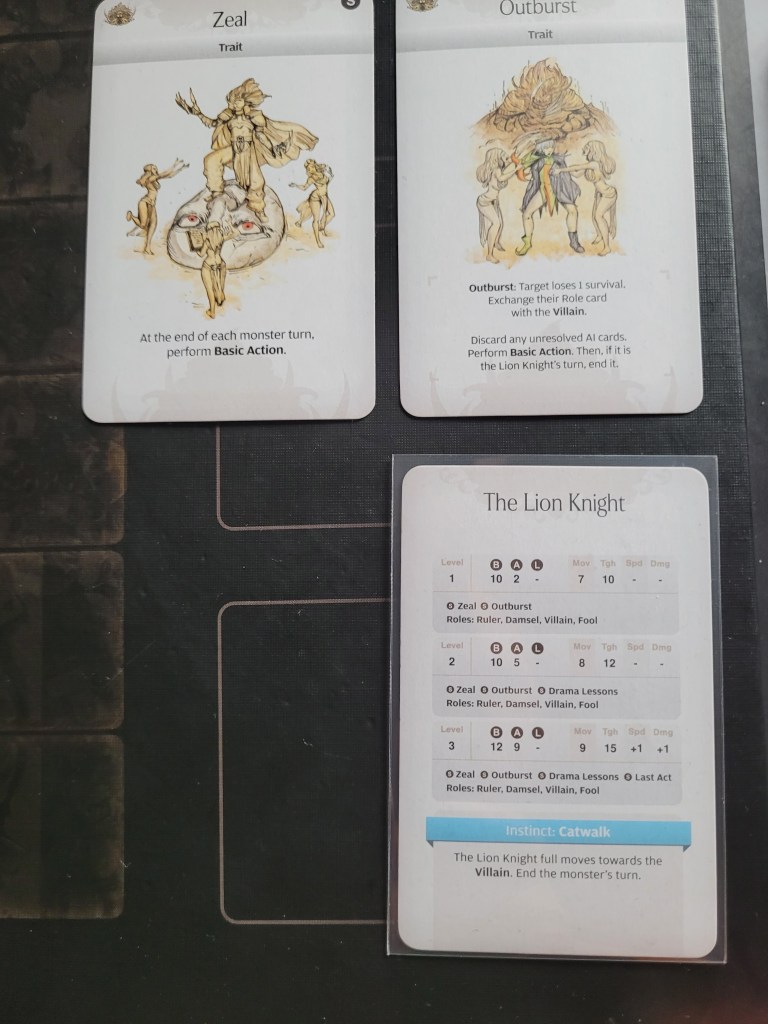
With 12 cards in the AI deck and only 3 survivors on the showdown board, this was surely going to be interesting. The survivors got to go first.
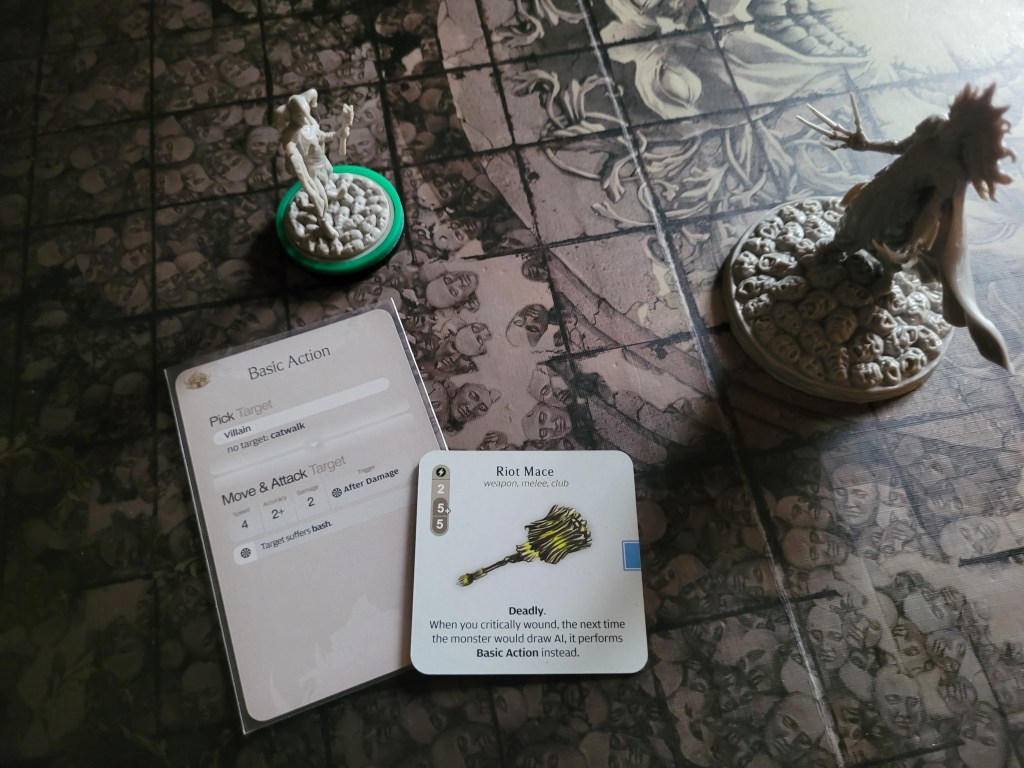
Magorm – the Villain – was first on the scene, striking the Lion Knight in the back with the Riot Mace. The parry prevented the first wound, but she managed to deals a critical hit to the second one, forcing the monster into performing a basic action instead of drawing an AI card. This felt like a decent start already!
Greegorm then ran in next and just about reached the monster due to his new shoes, before hitting and critting on double 9’s.
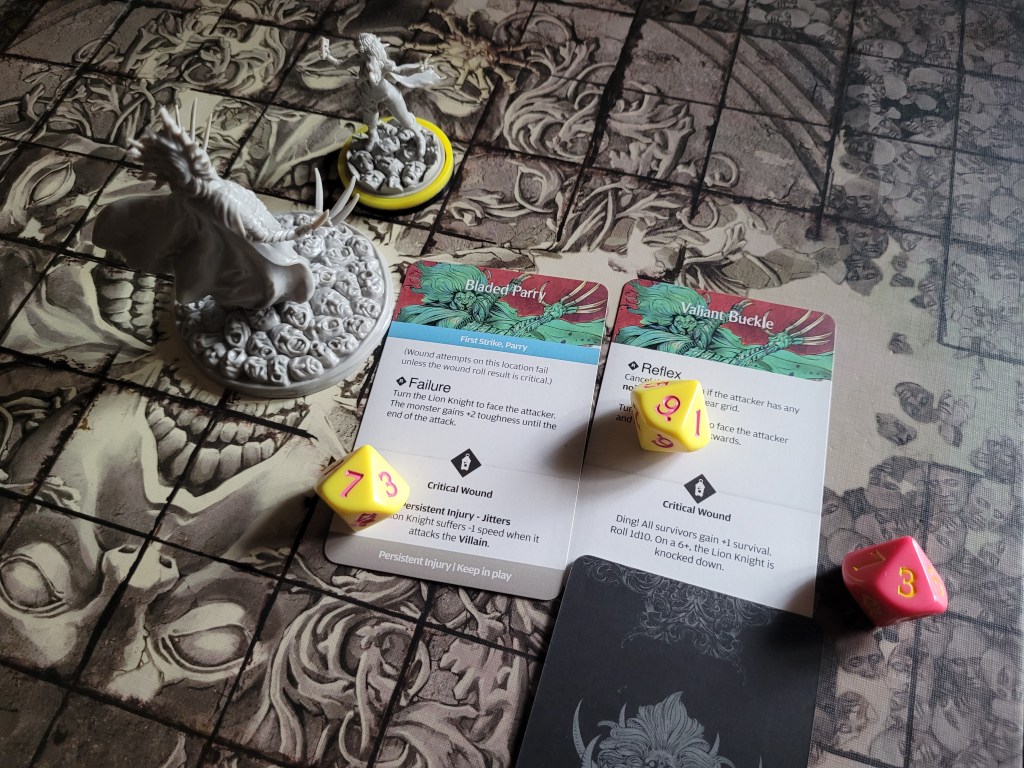
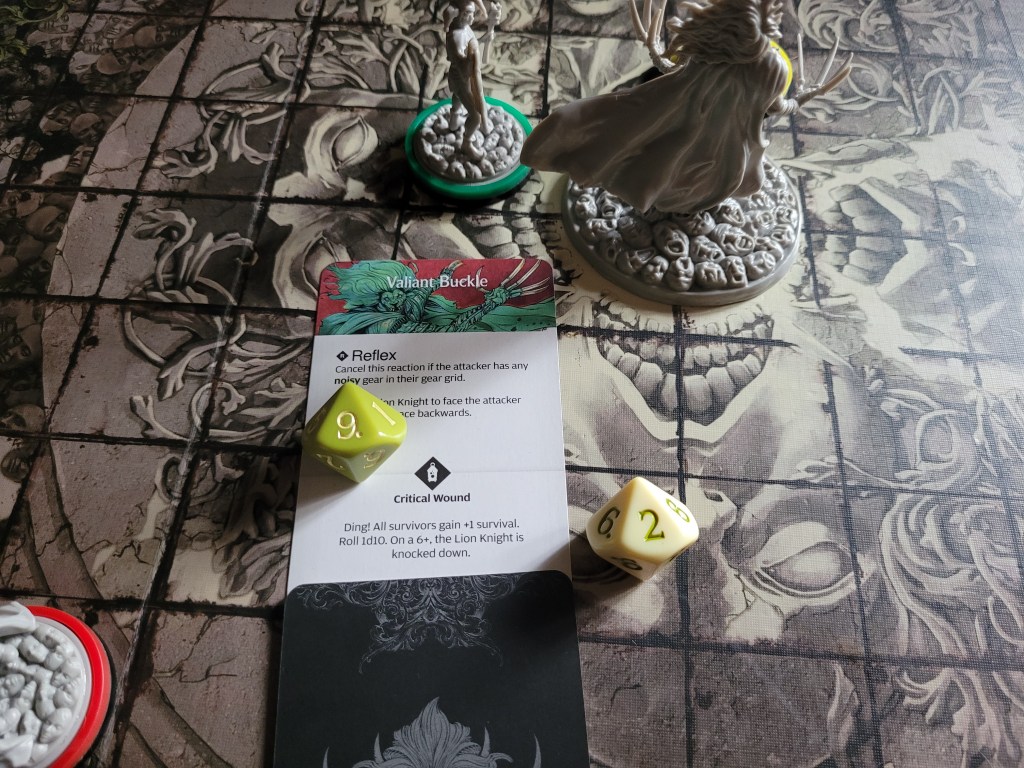
Finally Gormco moved up, but 3MOV was way too slow to reach without dash. I considered just blindly throwing a Founding Stone for a moment but ended up using the Rawhide Headband instead to get an idea of what the Lion Knight could do to us.
10 cards remaining, 2 basic actions were resolved back to back thanks to the Riot Mace, each going to hit Magorm. Hitting on 5+ Magorm was cut up by the long claws of the monster, shredding her armor and knocking her down with 2 instances of bash and a heavy wound (not severe) to her body.
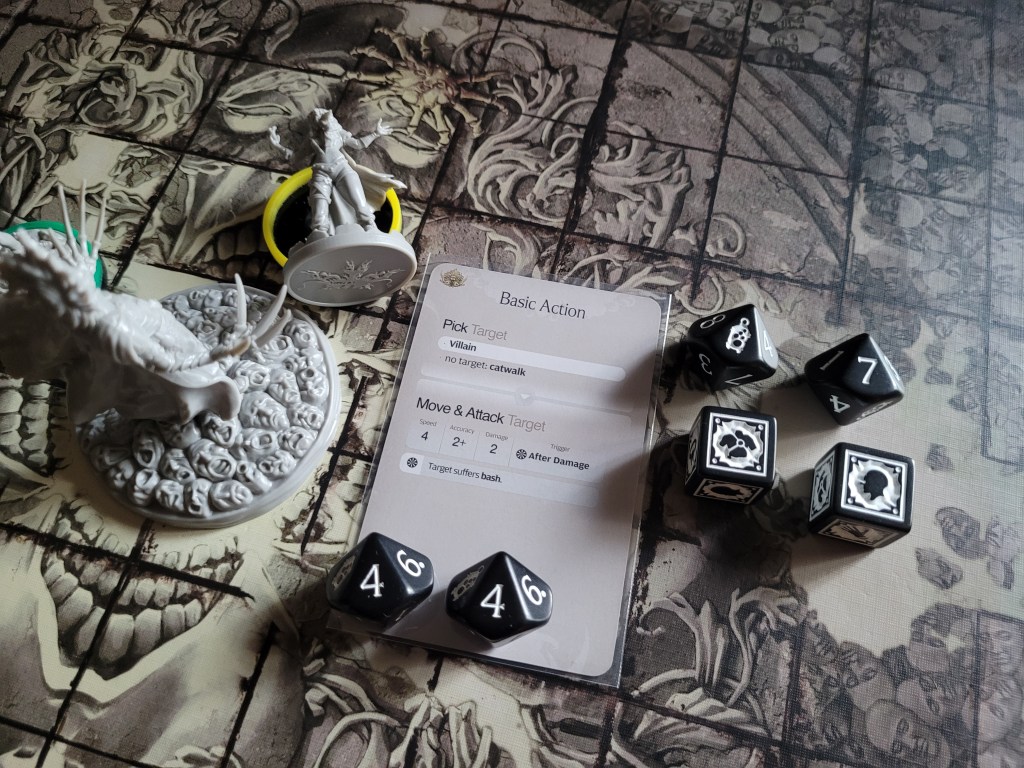
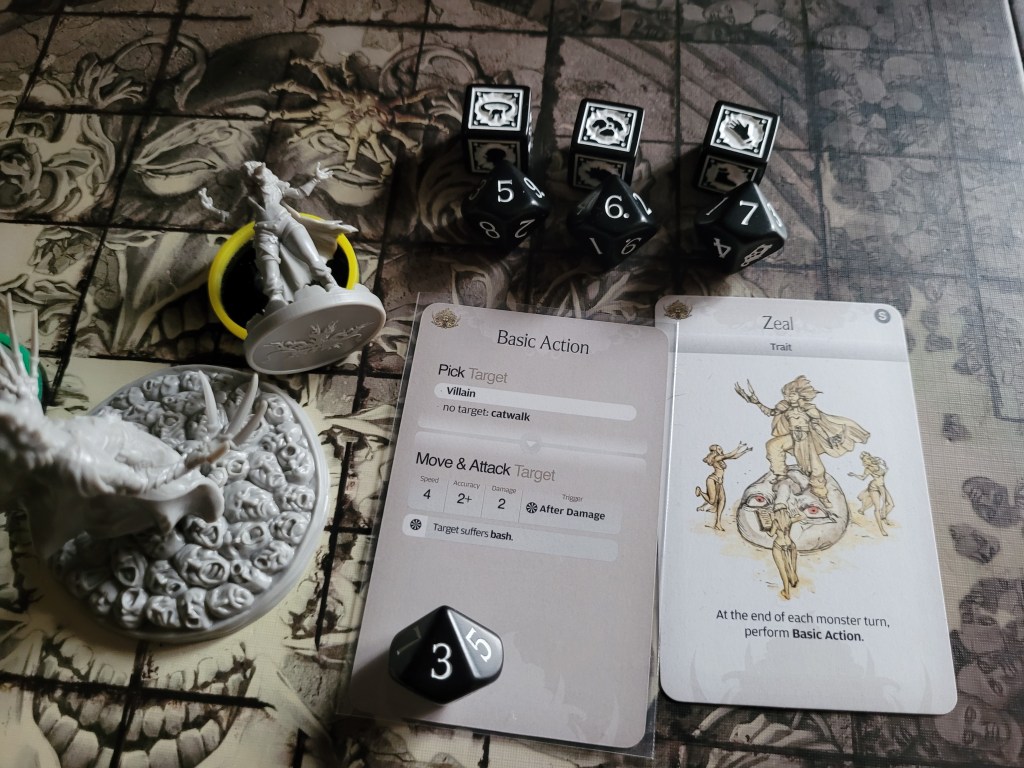
As our 2nd turn rolled around, Greegorm moved into the monster’s blind spot and swung the Rib Blade, but missed like so many before him did as well with this weapon!
Magorm was then encouraged to hit the Lion Knight in the face and the Stage Fight reaction carried the two of them away from the rest of the group.
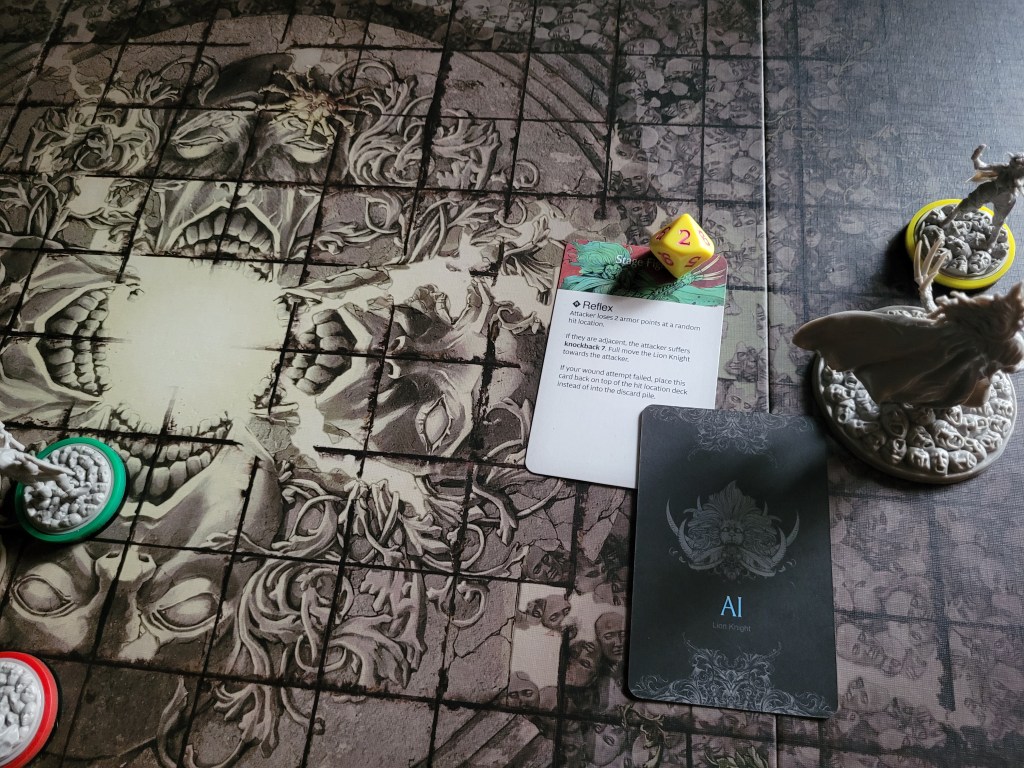
Gormco did throw his stone this time and took out a piece of armor, dealing a wound and inflicting a -1TGH-token to the Lion Knight, as I neglected to take a picture.
8 cards remaining, the monster was not done with Magorm just yet. The Lion Knight slapped her across the face with a Left Swipe, sending her flying away with 2 severe head wounds!
Luckily they turned out to only be a concussion (Hyperactive D) and a Broken Tooth! Her Rageholic disorder did kick in though, and also gave her 2 instances of Frenzy.
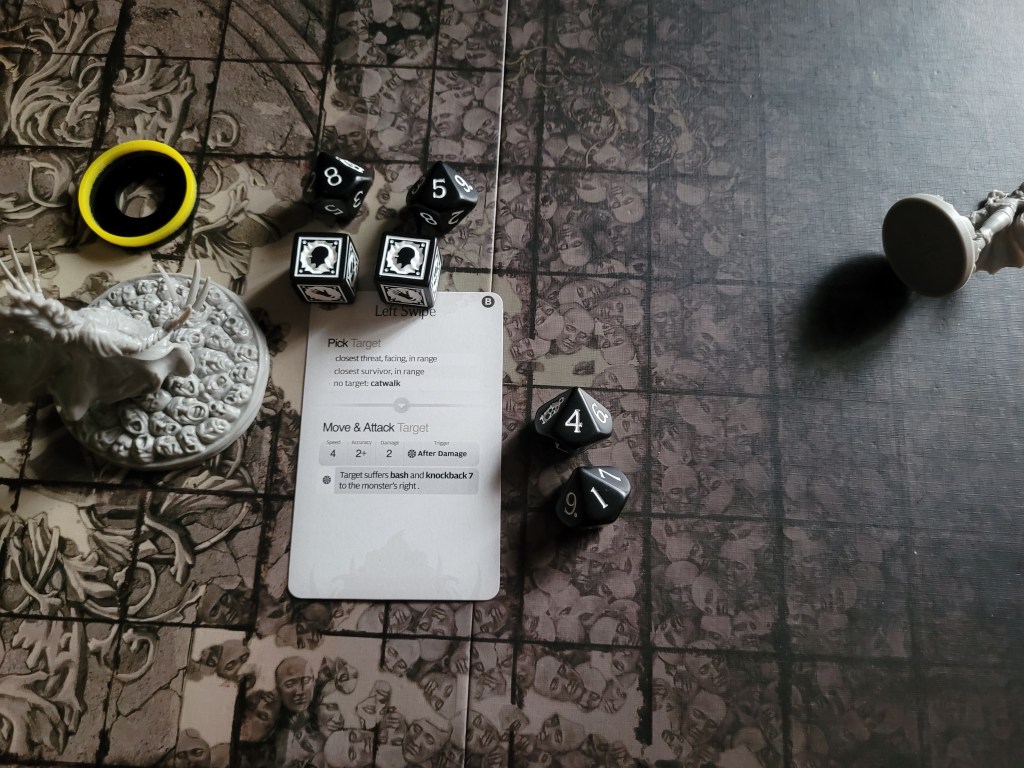
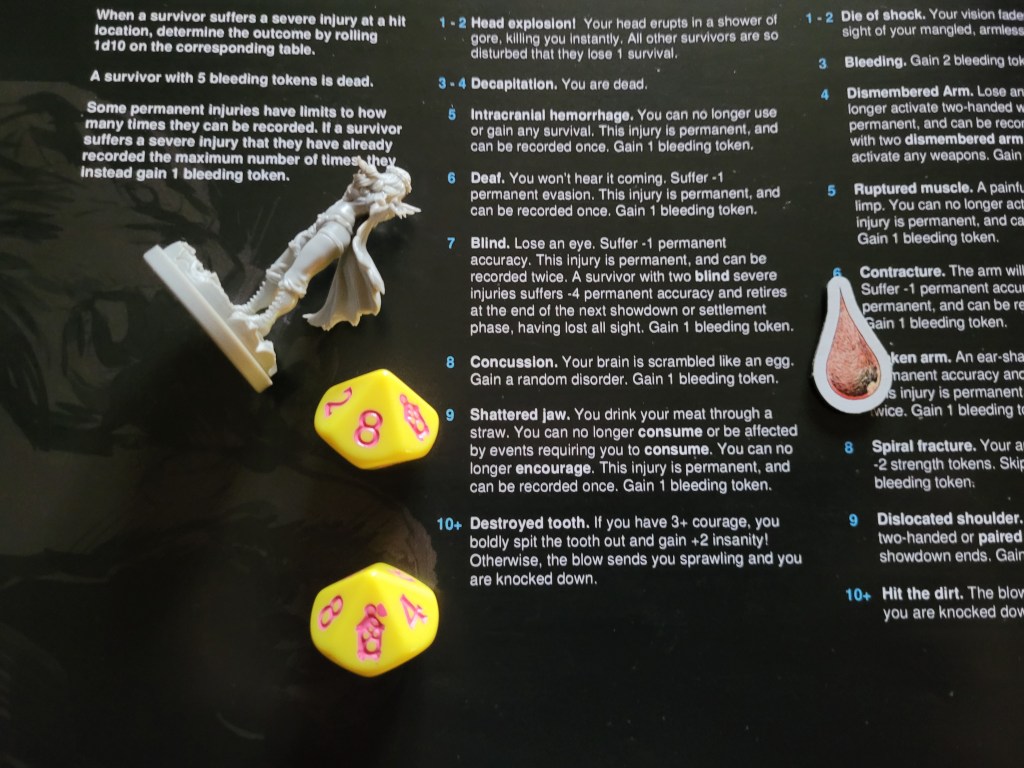
The Villain raging on the floor only spurred on the Lion Knight to keep going! 3 more hits dealt by the basic action at the end of the monster turn caused another severe injury – to the chest this time: a broken rib!
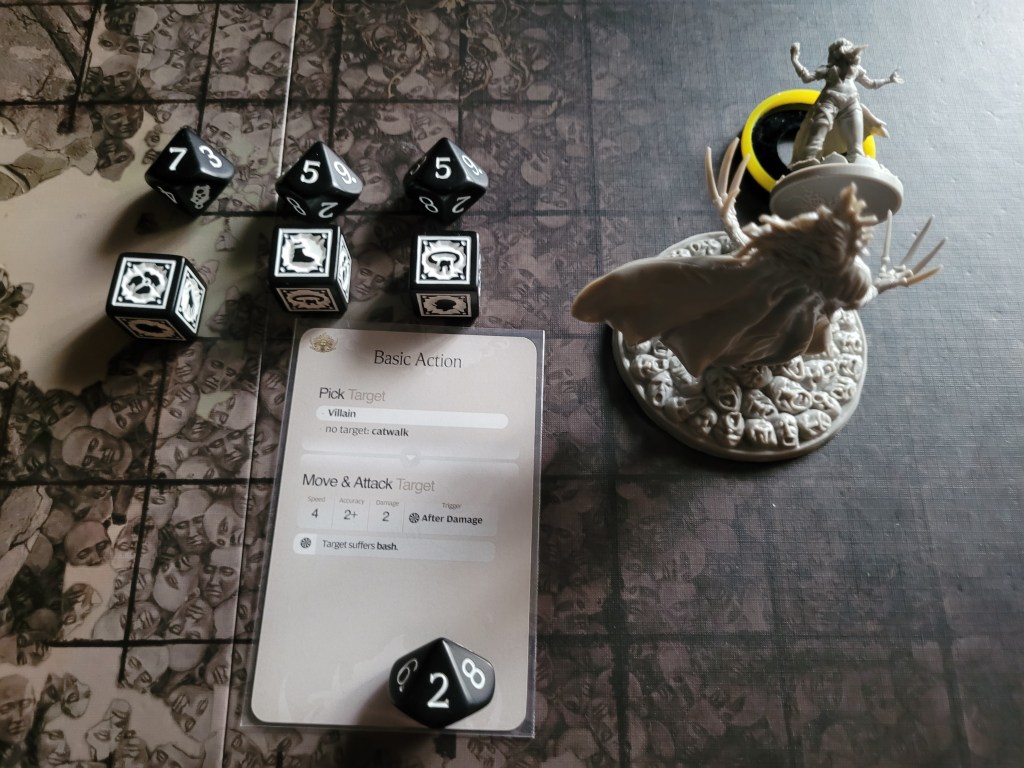
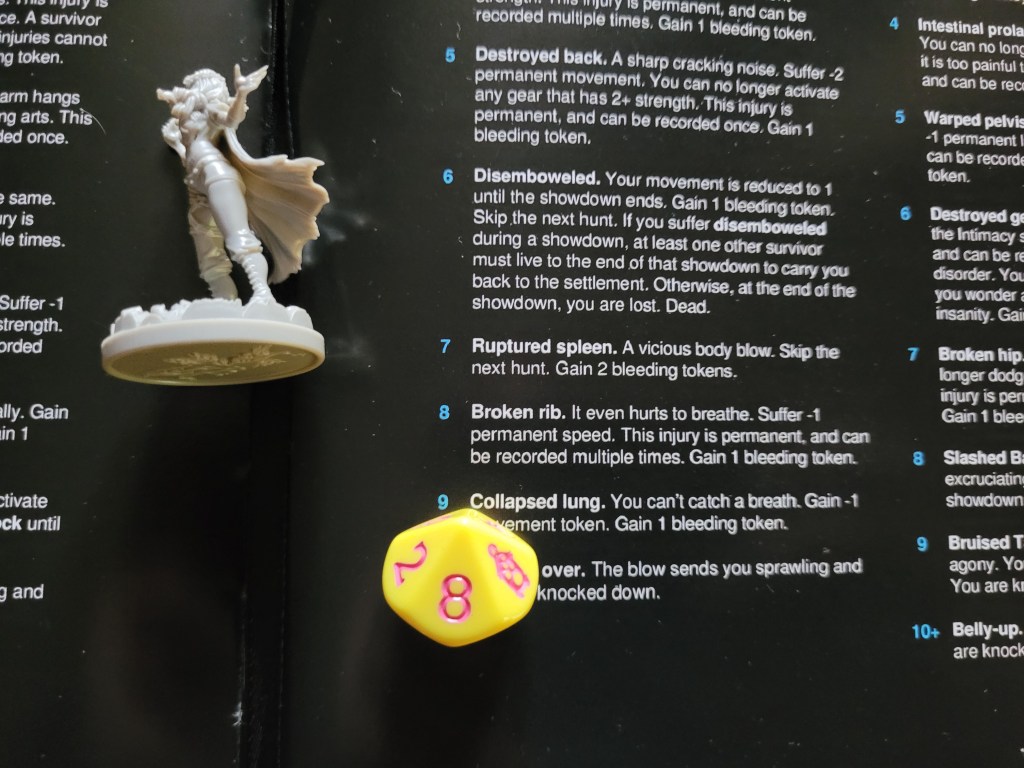
This left Magorm at only 2 remaining injury boxes in total! She did also suffer another hit of frenzy, and despite all of that no parasite stirred within her!
With a go-big-or-go-home mindset, Gormco encouraged Magorm and she used her 4SPD to swing at the monster!
This time she did crit the parry with a 9 due to her deadly Riot Mace and proceeded to deal 2 more wounds before she was flung to the edge of the showdown board by another Stage Fight.
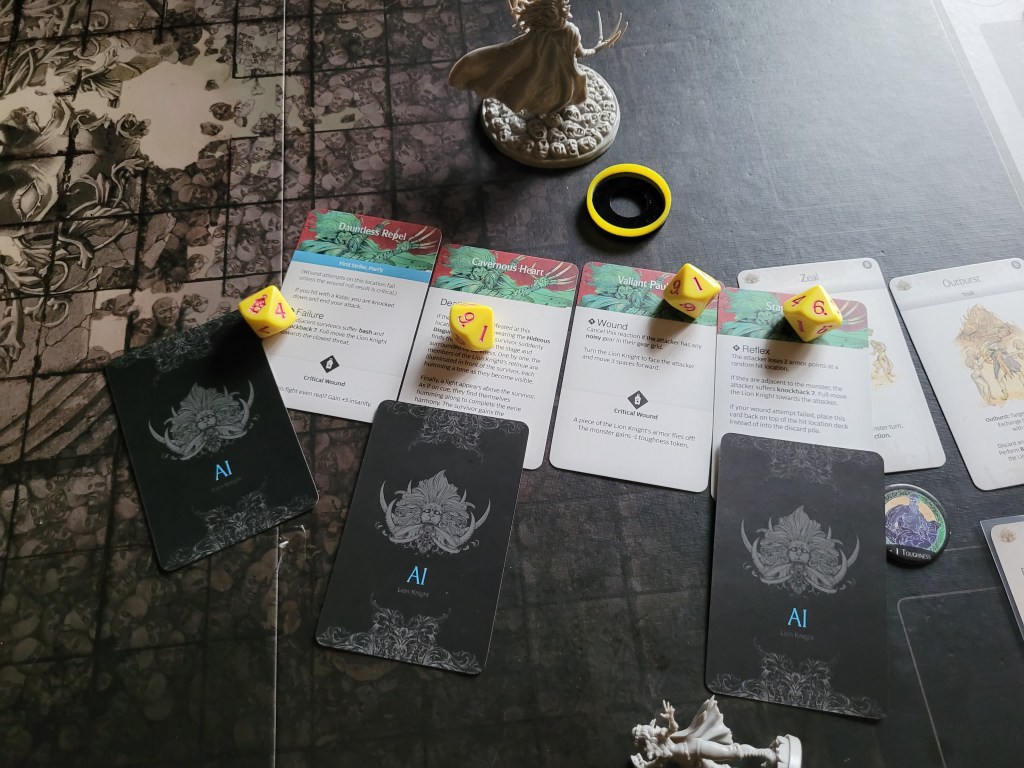
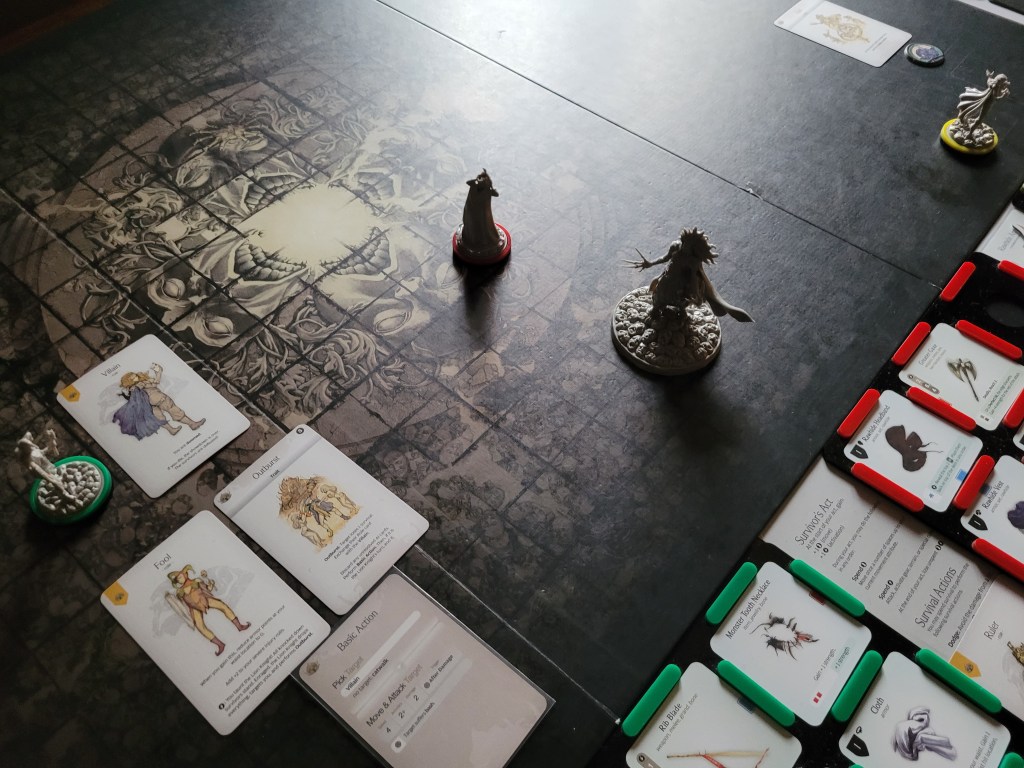
At this point Greegorm decided to step in and use the ability on the Fool Role Card. As Magorm got up again, he revealed himself to be the true Villain by triggering Outburst.
The basic action that followed fizzled out as the monster started marching towards Greegorm but didn’t reach him.
Finally close enough, Gormco swung his Greater Gaxe and hit the Biting Spleen for a quick drive-by wound.
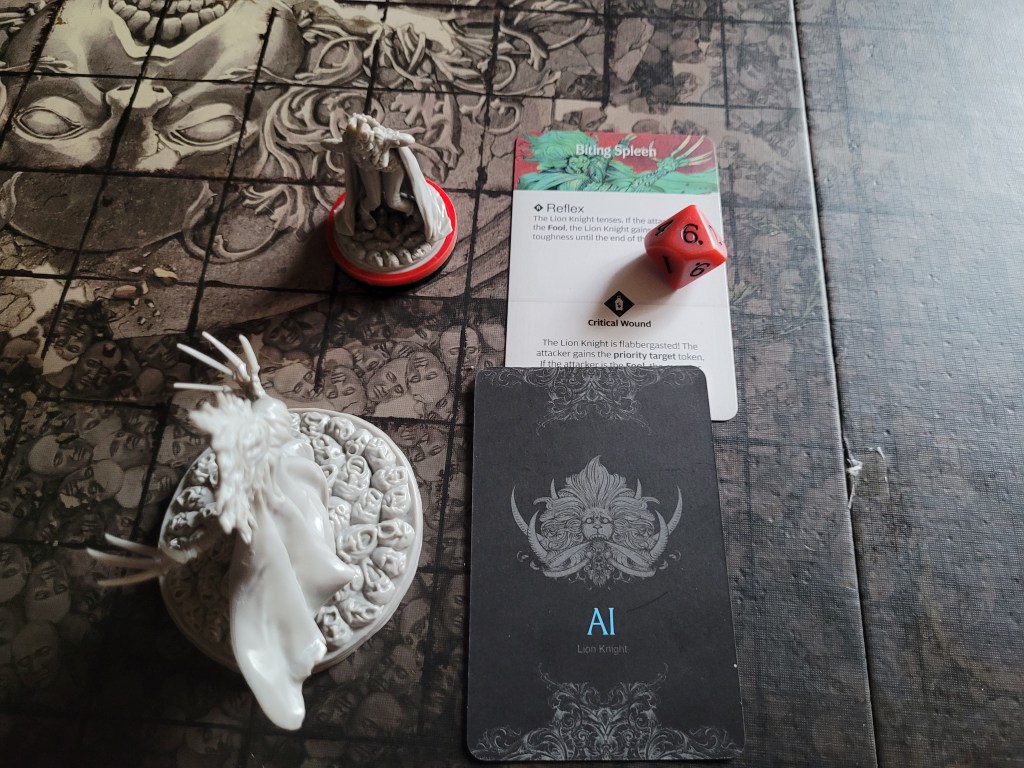
4 cards remaining, the monster had a light concussion after a full-powered bonk by the Riot Mace and still just wanted to go after Greegorm.
Only the 2nd basic attack actually managed to reach him and despite being hit on 3+, he only got hit twice! He did still get knocked down though.
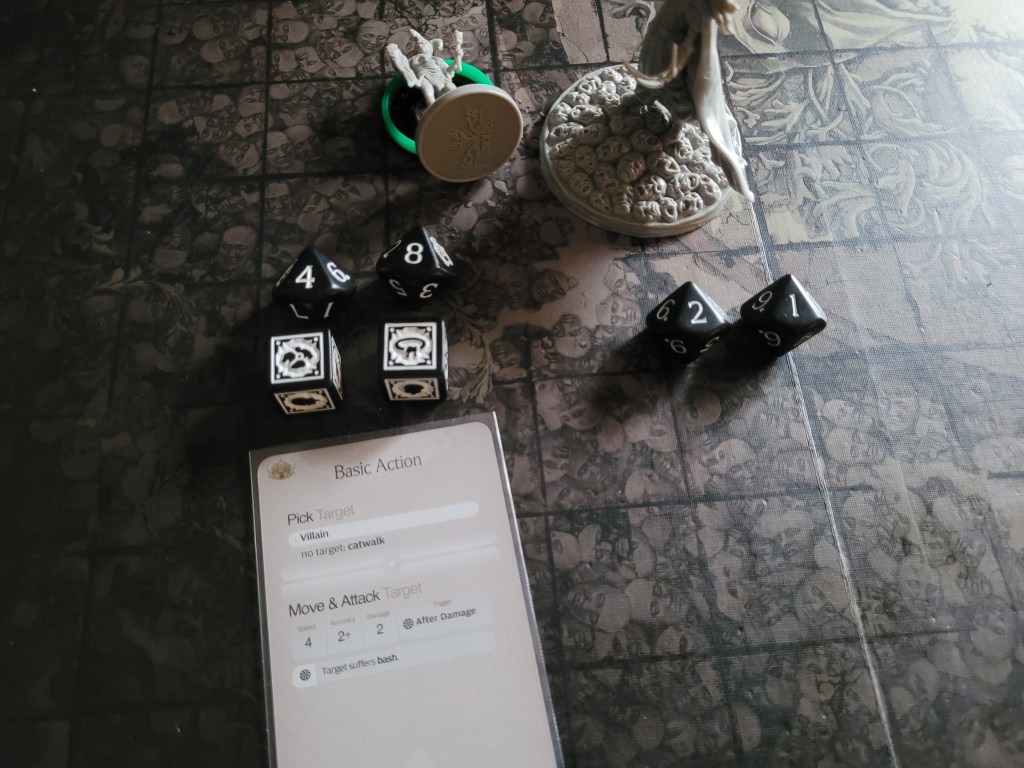
Magorm yelled at Greegorm to get up before he activated first. We just needed a couple more wounds to win this! So, he swung his Rib Blade and a hit easily to secure a wound against the Lover’s Heart.
In an attempt to spread out any incoming damage, Gormco used the Rawhide Headband to reveal the next 2 cards of the deck and saw a mood and another Left Swipe, then he the took his 3 steps over before Magorm used the Fool card to call the big cat back over back towards her.
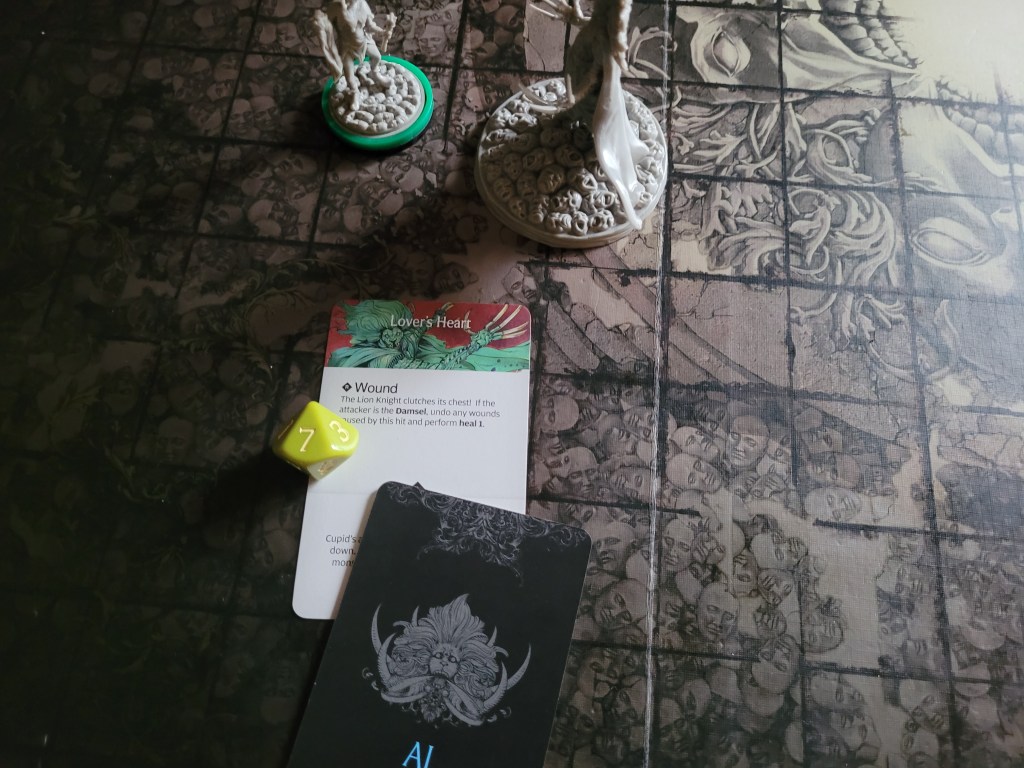
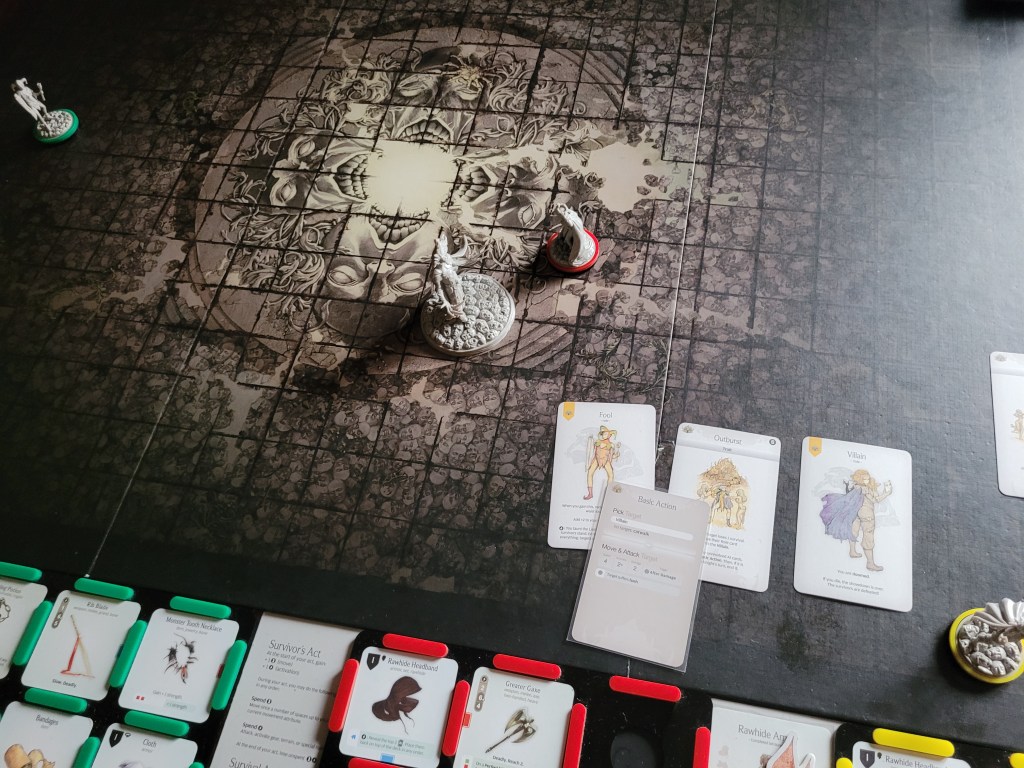
At this point I think I first saw what might be the loop people have been talking about when it comes to the Lion Knight.
3 cards left, the Left Swipe on top of the deck targeted Gormco.
All 4 hits landed, and FINALLY I was allowed to dodge one of them, of course Gormco was still flung across the field of battle before the Lion Knight continued its stride towards the Villain.
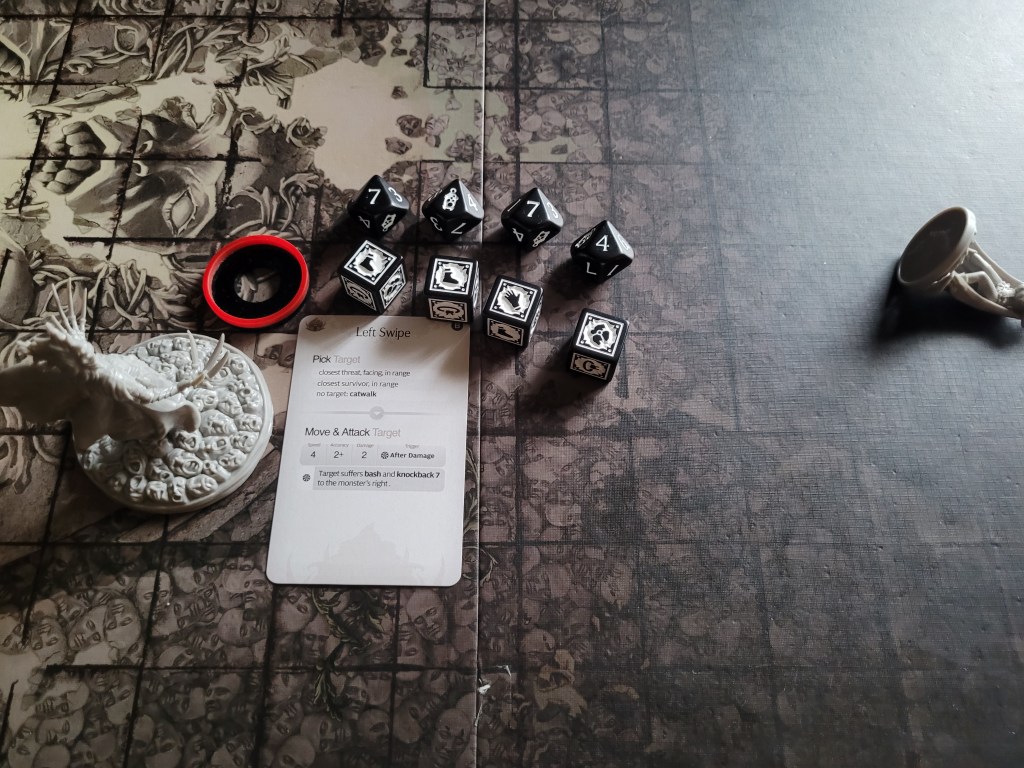
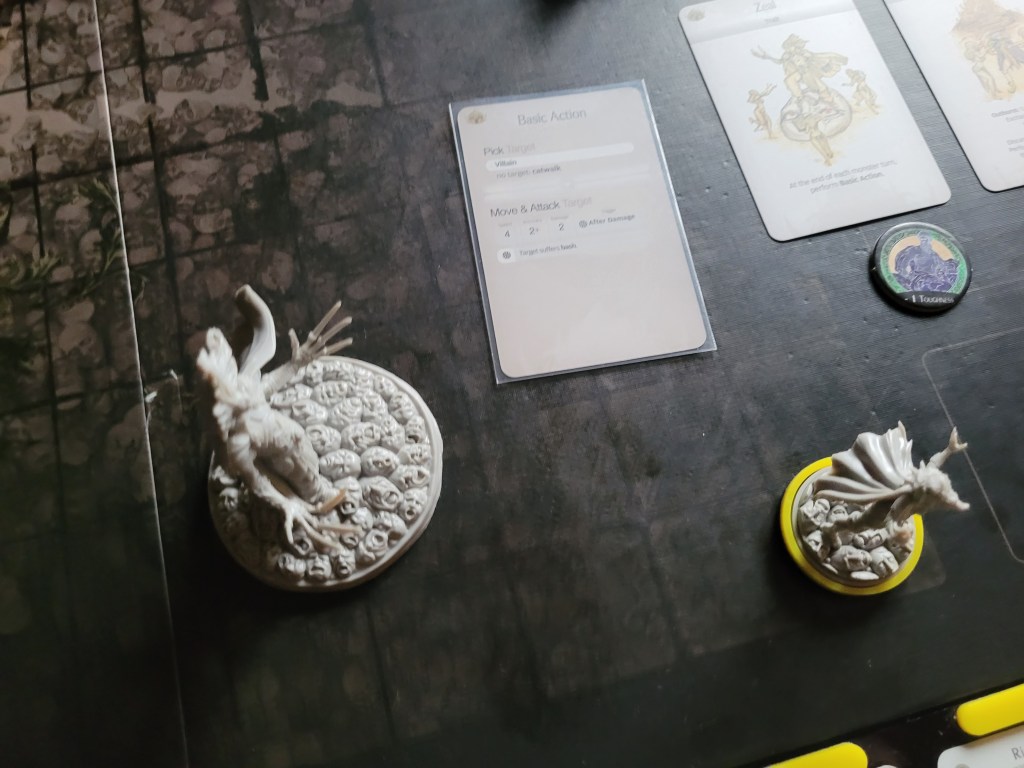
In her frenzy Magorm had a real chance to kill the monster in an all-out attack if she’d manage to avoid the trap whilst doing so! And she, at least, was ready to step up to the challenge – but not as ready as the Lion Knight was! She failed to wound the parry and was flung away again, the monster following her close behind!
To keep the push going Greegorm encouraged Gormco, who was ready to swing his Greater Gaxe again. And of course he found it! There it was – the trap!
All roles were moved along (Greegorm was the new Villain, Gormco the Fool and Magorm the Ruler) before the monster hit Gormco with a basic action.
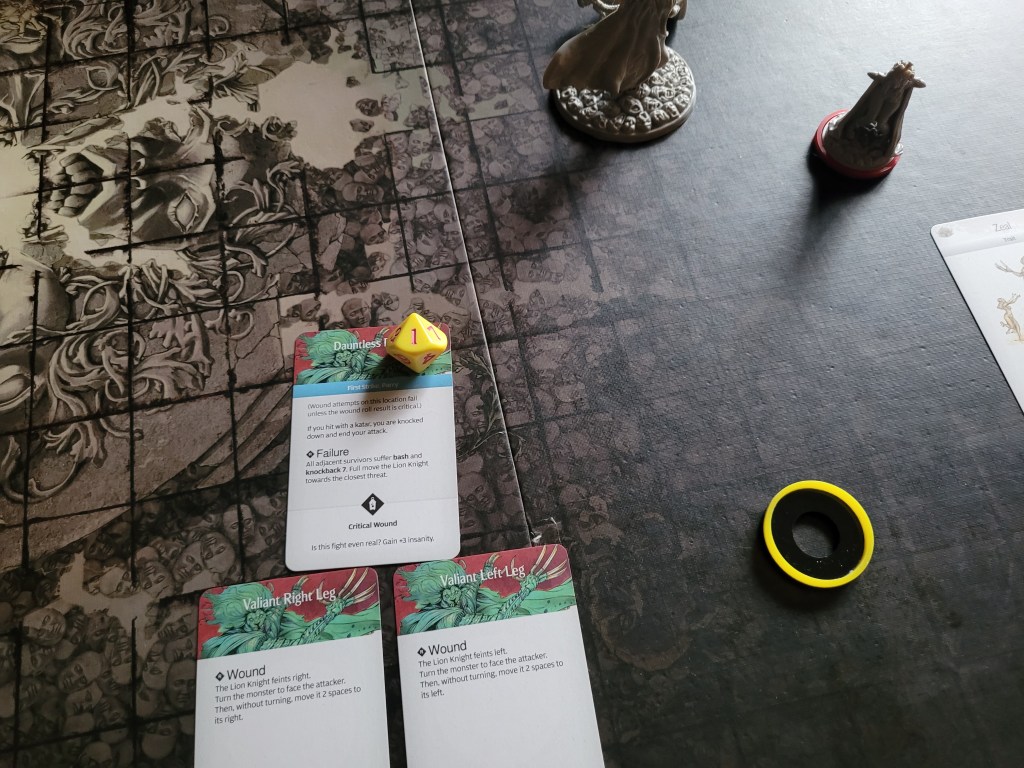
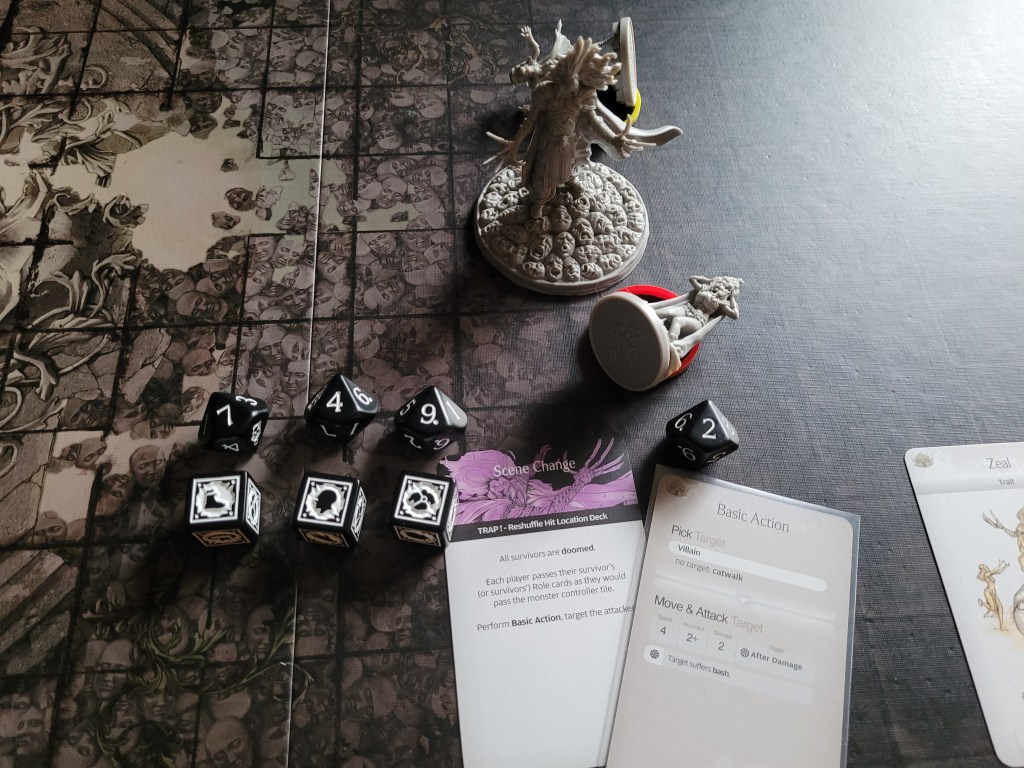
Whilst this could have been much worse, he was already out of armor and 2 heavy injuries deep all of a sudden.
Unfortunately, this also meant that Greegorm couldn’t do anything but throw his stone and I came to the conclusion that I’d rather not. So I had him back up instead.
3 cards left in the AI deck the monster brought the mood Crowd-Pleaser into play. This did trigger an extra basic action and gave the monster +1DMG when attacking the Villain – just what we needed!
Zeal then moved the monster almost all the way over to Greegorm, but even after 2 basic actions it still couldn’t reach him.
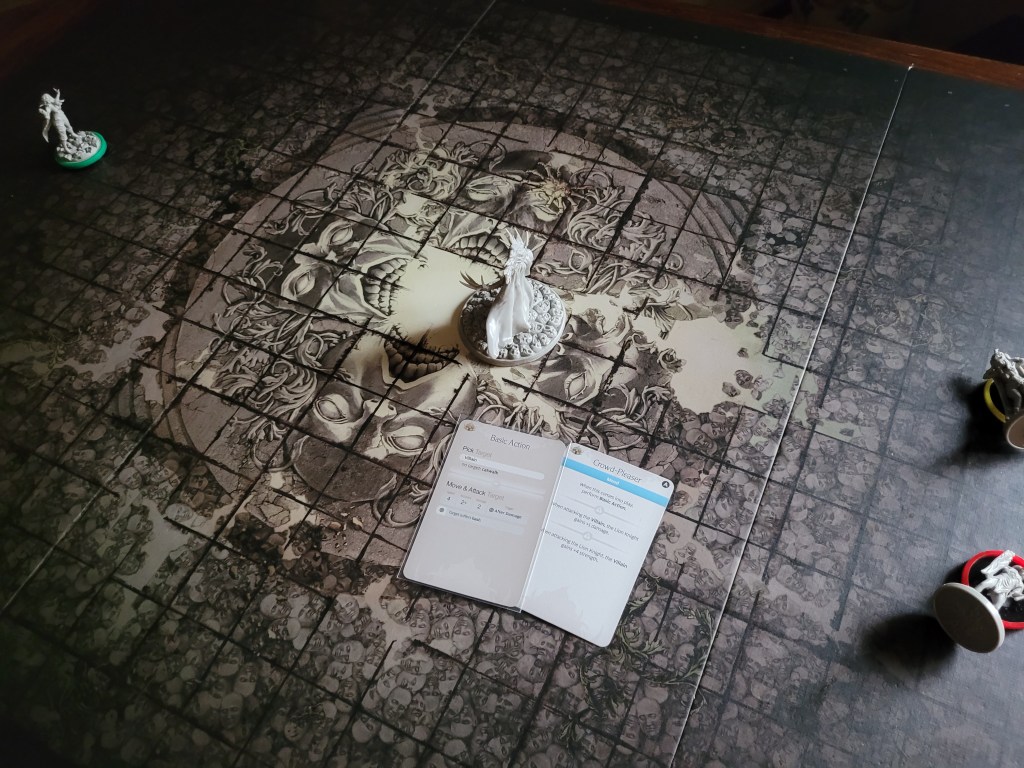
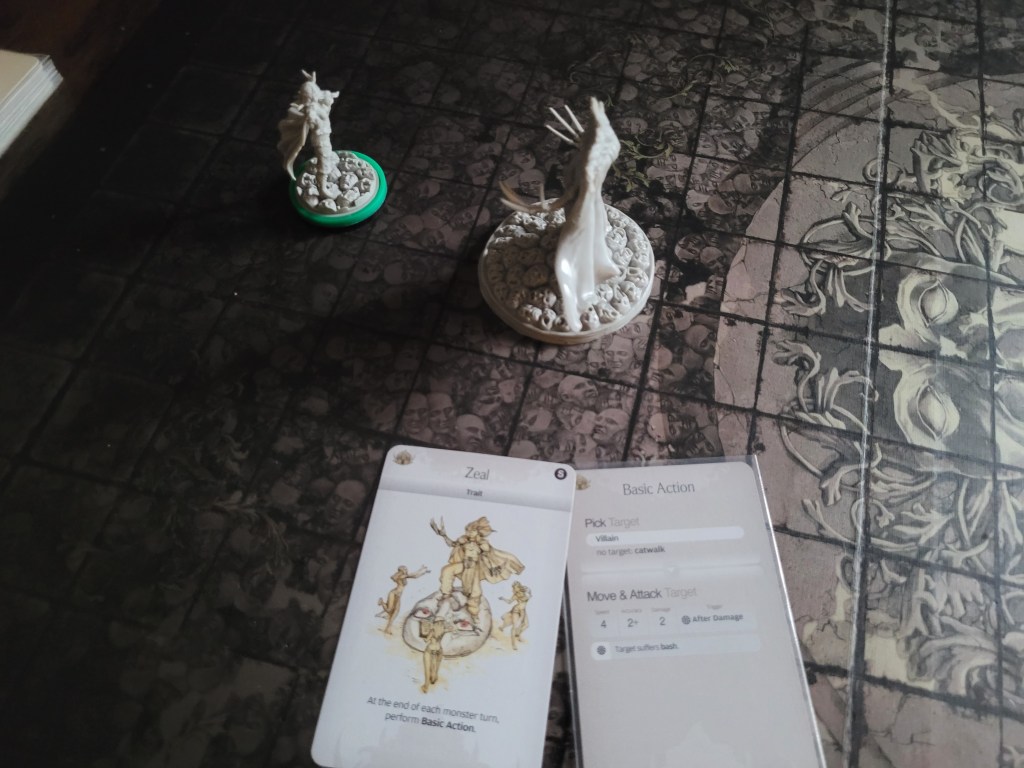
Needing just a couple more wounds Greegorm took the step into the monster’s facing .. and missed with a 3 on 4+. This Rib Blade has to be at least a little cursed.
This did force Gormco to reveal himself as the Villain again if we wanted to have a chance at winning this. The monster reluctantly moved backwards ..
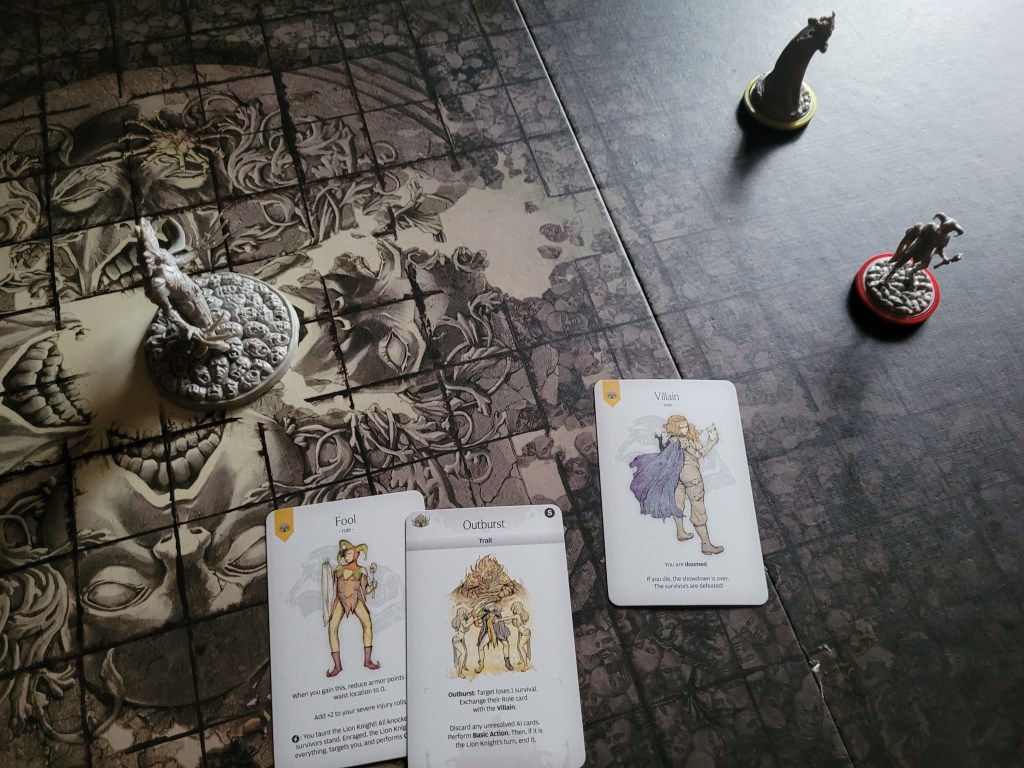
This play was all over the place! Somebody needed to trim some of these twists from the script!
Much too far away for 3MOV, Magorm could only move to the board edge and duck out of range of the upcoming attacks.
2 (3) cards remaining, 2 copies of Left Swipe would be on rotation from this point on, the monster was too far away from us however and instead triggered his instinct: Catwalk .. Jo-Jo walking over to Gormco.
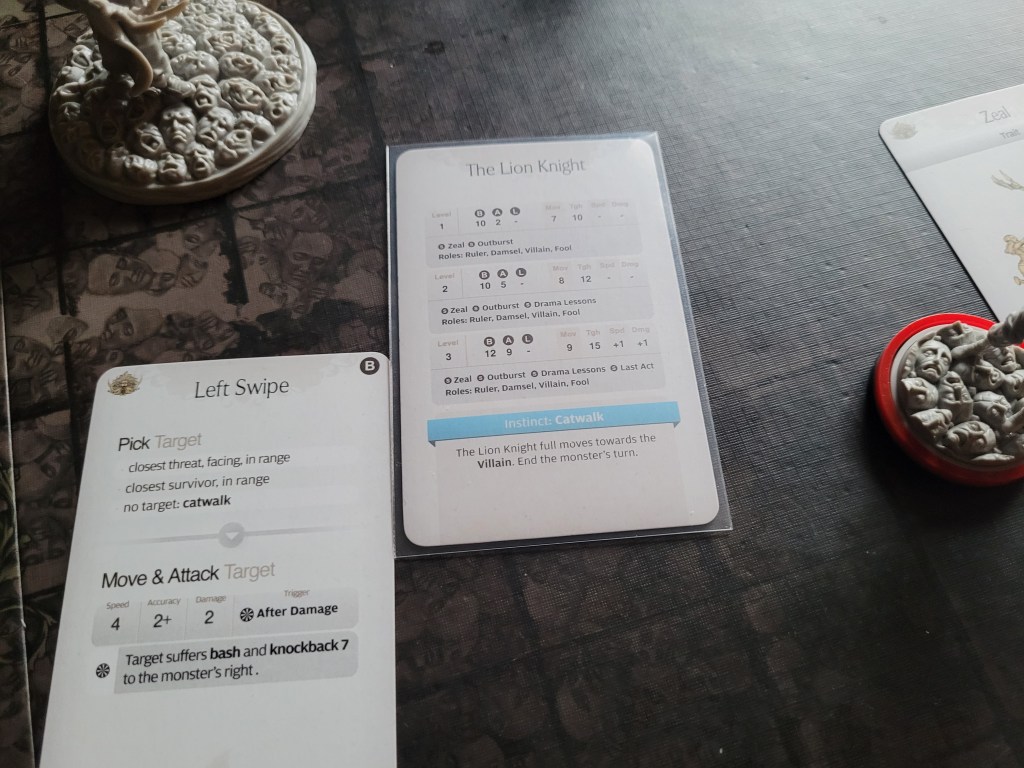
With the Lion knight suddenly really close to her Magorm was still REALLY ANGRY and had a Riot Mace ready to do some clobbering .. but she hit only twice and even got tangled up in the monster’s Valiant Cape! And whilst she still wounded once, it was a far cry from what could have been!
Inching closer to victory Gormco moved into the monster’s blind spot and swung the Greater Gaxe as well, but he too managed to only get 1 hit in!
The wound was dealt with ease but the Lion Knight also knocked him, the Villain, over.
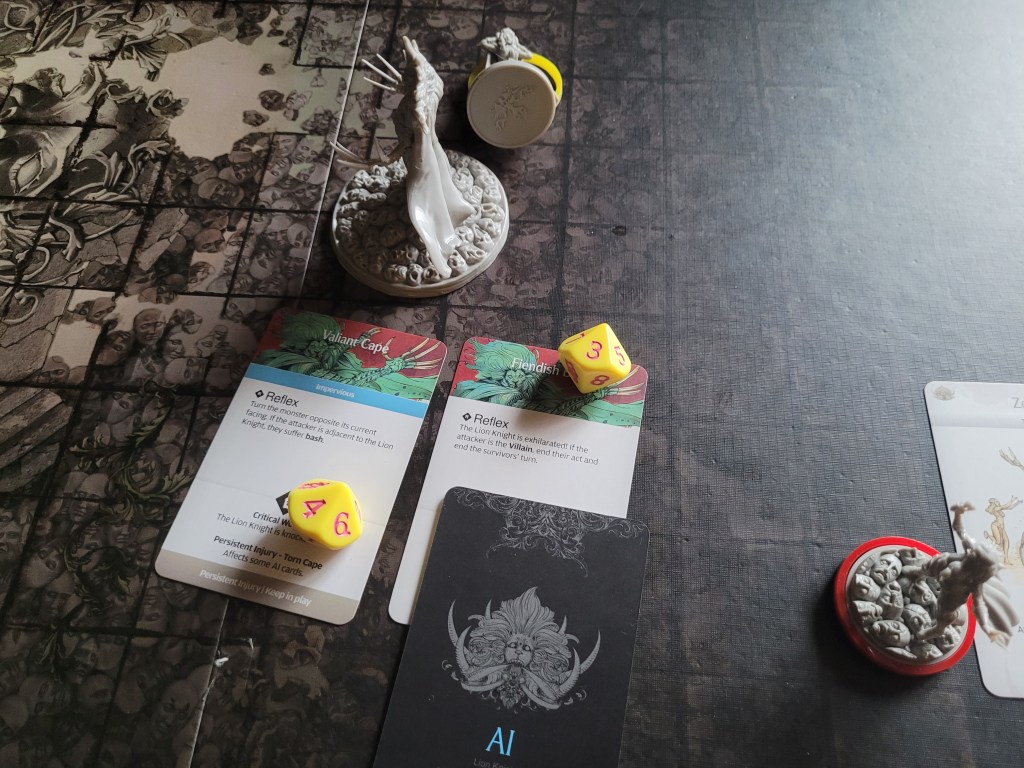
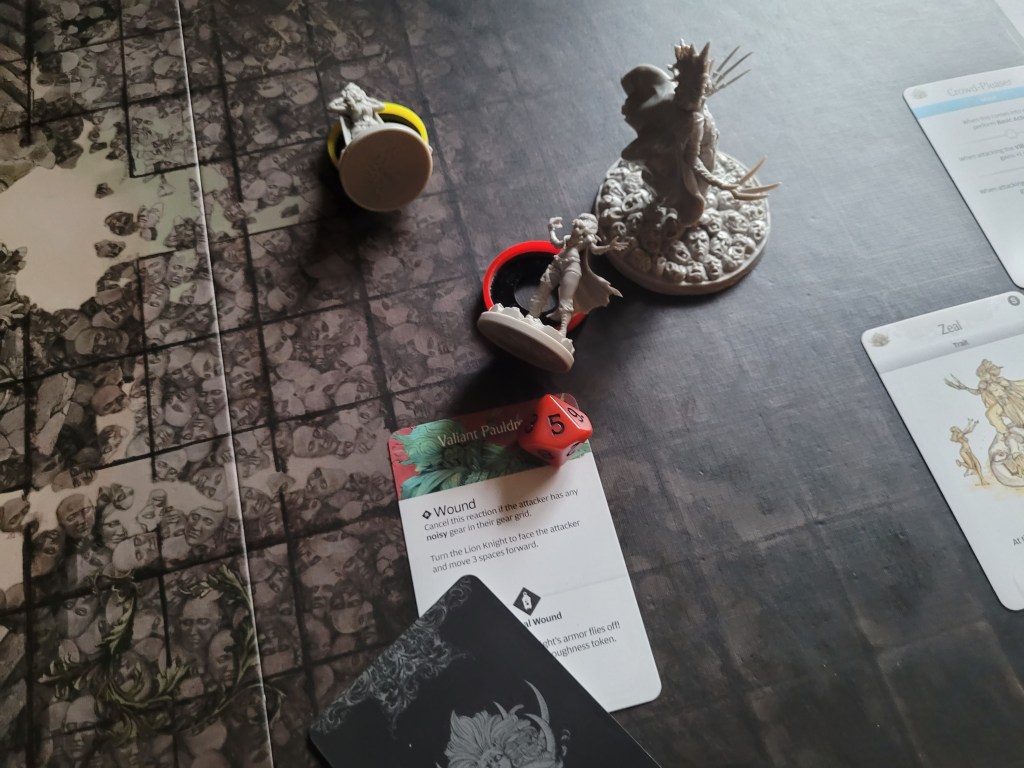
This was it. The moment we had saved the Founding Stone for!
From what I had seen up to this point, I had felt like there were a lot of crit locations in the Hit Location deck .. but if this didn’t land right, I’d likely lose the Villain and thus the fight.
I was unsure of how wasteful this actually was (considering this is a nemesis monster) but I threw the Founding Stone anyway.. and it hit a card without crit box!
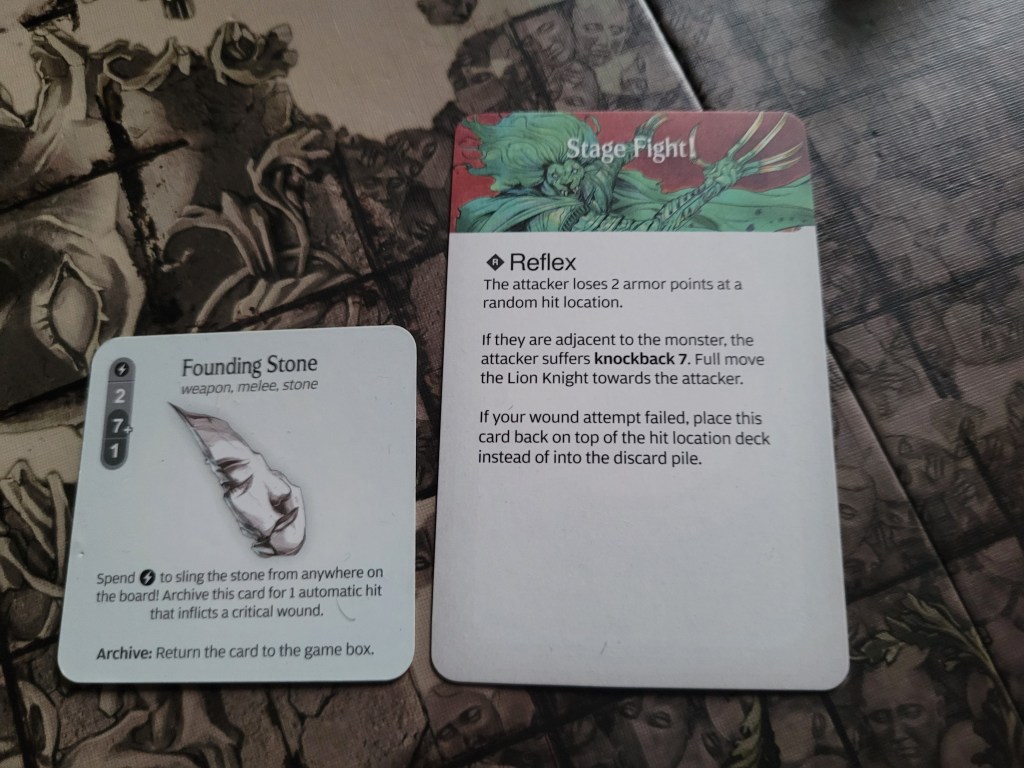
Oh no!
0 cards remaining, the Lion Knight turned to Gormco by its feet and his claws dug in deep, piercing straight down. With +1DMG due to the mood in play, each hit was a severe and 4 severe injuries killed him with a deadly hit to his waist.
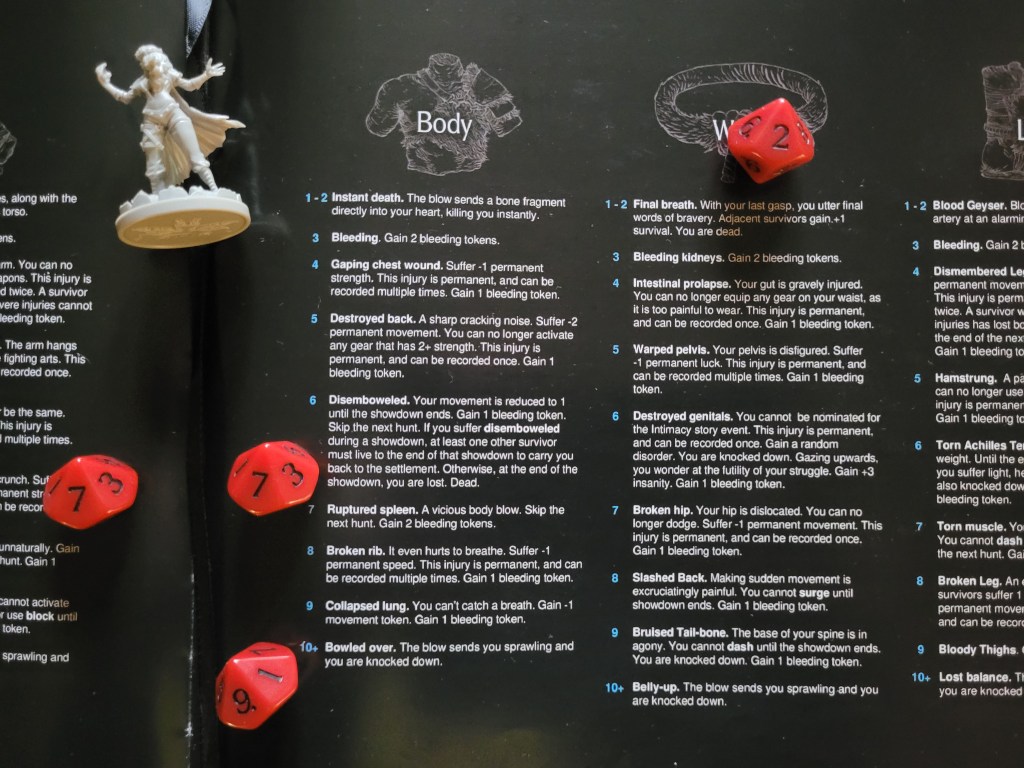
With the Villain dead at the monster’s feet, the survivors had lost the fight.
We did not gain hunt xp or weapon prof for getting defeated by the monster but still triggered the defeat side of the Intermission story event.
I will say I would have really liked to get that Lion Knight Badge!
But instead I was instructred to replace the Stoic Statue (I) with the White Mask innovation and to add the Places, Everyone event back to the timeline in Lantern Year 12.
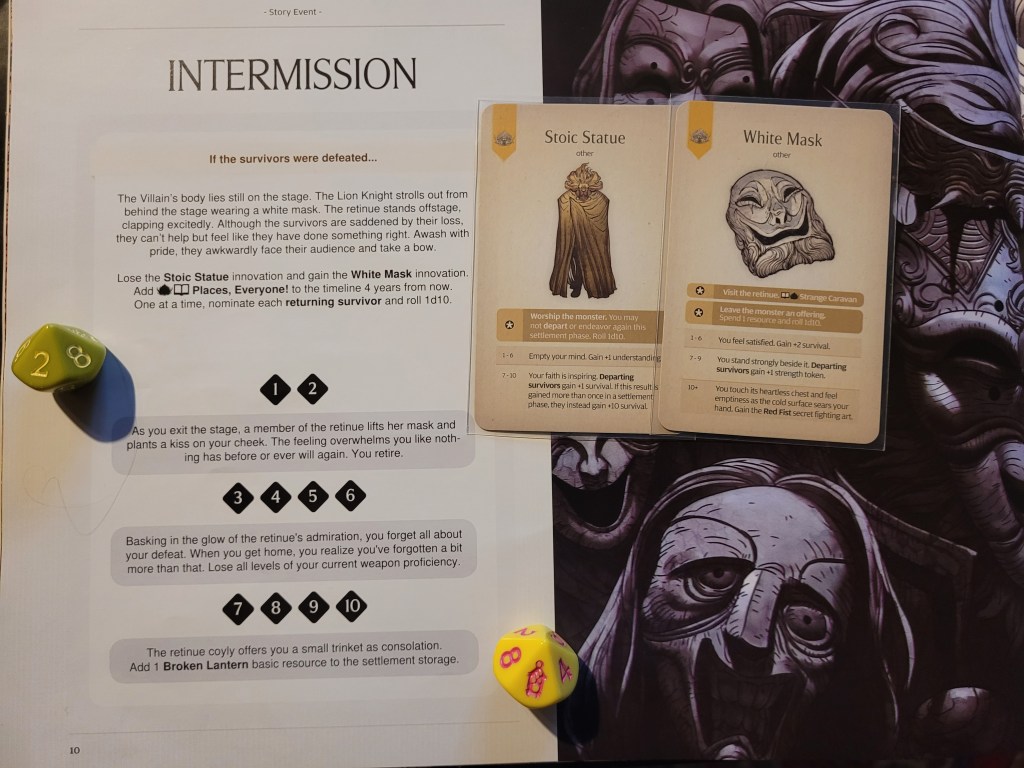
As the remaining 2 survivors exited the stage Greegorm got a smooch by a member of the Lion Knight’s retinue and he decided to retire from fighting alltogether – he was a star now! Meanwhile, Magorm was presented with a Broken Lantern for her powerful performance in all 3 roles.
I guess this was alright as an overall outcome?
It definitely was flavorful!
But it’s easy to forget that this Lantern Year is far from over! There is still a full-on hunt that needs to be resolved!
But we’ll tackle that next time!
***
As far as the Lion Knight is concerned, it is definitely an interesting fight with the role cards, but I do already see how abusable this set up can become if you lean into it hard with the Fool and Villain.
Which, for what it’s worth, isn’t a way I personally enjoy playing the game.
I still believe I probably could have won the fight by dragging it out, but I don’t particularly regret taking the risk of throwing the stone in the end.
I did give the Hit Location deck a brief glance over afterwards and saw that there are 12 cards with a crit out of 20 cards in total.. which was less than I had expected.
Ideally, next time we face off against the Lion Knight we’ll also have dash or surge at our disposal .. or,well, a 4th person in the fight.
The timing of the Places, Everyone event still feels a little weird to me although, right now, I believe I played it correctly.
The official Node guidelines on the KD:M site do alter the Lion Knight a little bit by turning all his fights into regular showdowns. And whilst this does add more balance to the overall campaign (as long as you are winning, 3 extra hunts/fights is a lot of bonus progress for proficiencies and/or resources) it doesn’t change much about the confusion I personally experienced with the event.
It also won’t prevent people from being selected to depart and being unable to later on – which, to be perfectly fair – might be intended game design – I could have just not picked Shaogorm and would have had 4 people in the fight. So, I would say, that is ultimately on me.
But here we are, at least a couple of points that I had initially wanted to mention/make about the event/fight have at least partially evaporated whilst writing about it today, but this might also be due to me lacking familiarity with the monster and it’s content.
We’ll see how Lvl2 will play out in a little bit – it’s only 4 Lantern Years in between fights for the Lion Knight after all!
Before then we will have had a the Halloween sale though, as well as at least 2 more Spidicules encounters. So get ready to dress up for the occasion!
As always, thank you very much for your time, do you have to submit an evil monologue before getting cast as the Villain in the Lion Knight’s play?
Amathul


Leave a Reply