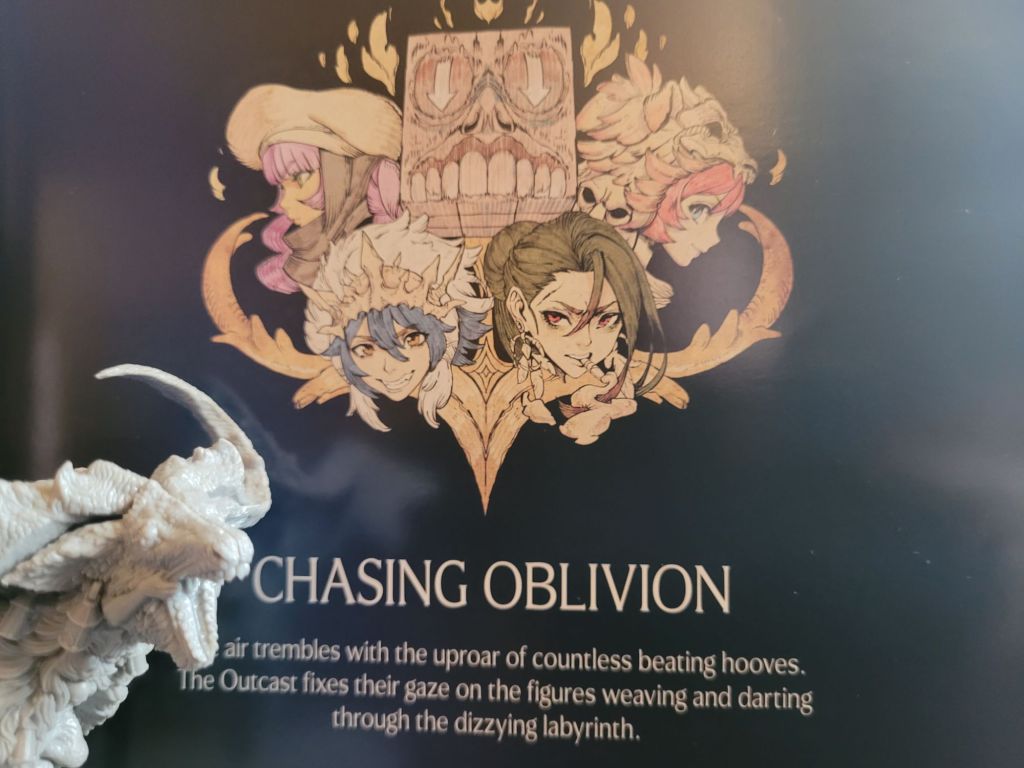
The Screaming God has finally arrived!
And it sent me into a bit of a frenzy, a building frenzy! A frenzy trying to figure out how I should play it for the Season 3, i.e. how to include it on the timeline & when to hunt it.
Whilst 18TGH is quite the high bench mark to have to clear for the settlement, I now at least know that I did not need to worry about how to include it one bit! The multi-step introduction had me a little worried, you see. But we can simply resolve all steps of the story event all at once – rules as written even: whilst usually you will be resolving them spread out throughout the entire campaign, beginning all the way in LY3, a belated Screaming God addition resolves all steps of the Outcast until you are caught up to your current Lantern Year relative to the event-chain.
So, let’s get started on Lantern Year 18 and the the Screaming God introductory event featured within it!
As we (finally) managed to arrive back home in the Bloody Shallows mostly victorious from fighting against the Black Knight, we triumphantly gained our 6 endeavors (3 survivors, Cooking (I), 10 pop, 1 Tinker) before we immediately got into the Settlement Events for this Lantern Year!
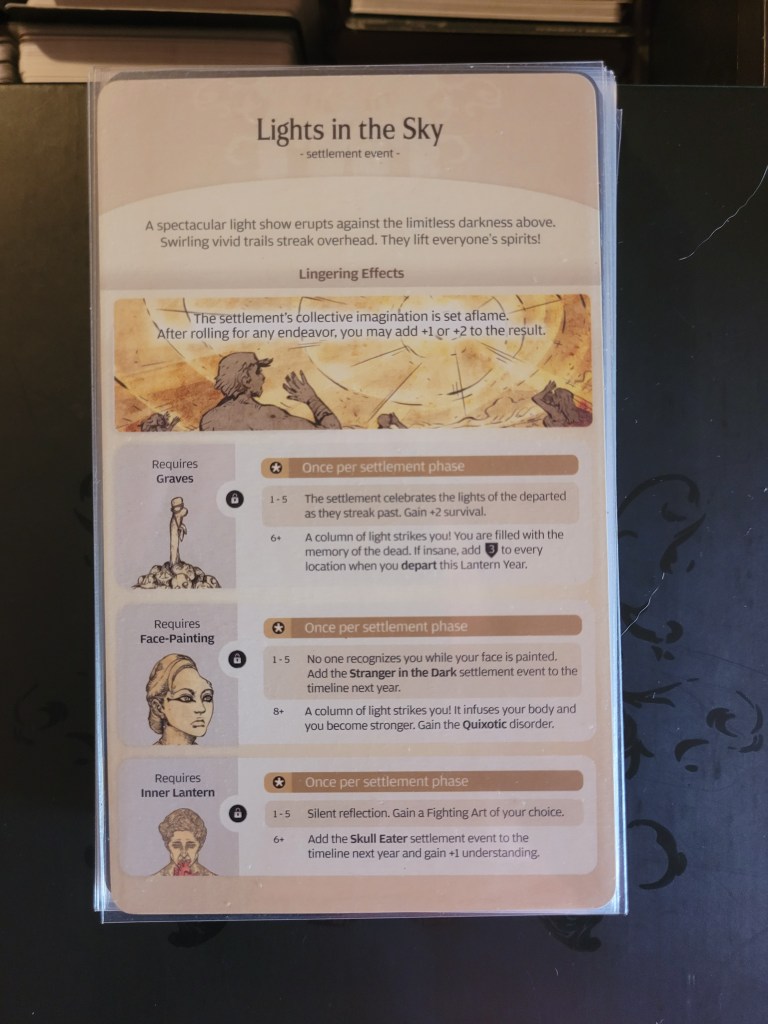
Lights in the Sky was our random draw.
A new Sun rose in the distance and my survivors were flabbergasted by the sudden surge of light.
I had been wondering which random event I would have liked to get for the Lantern Year – and that was certainly a pretty good one!
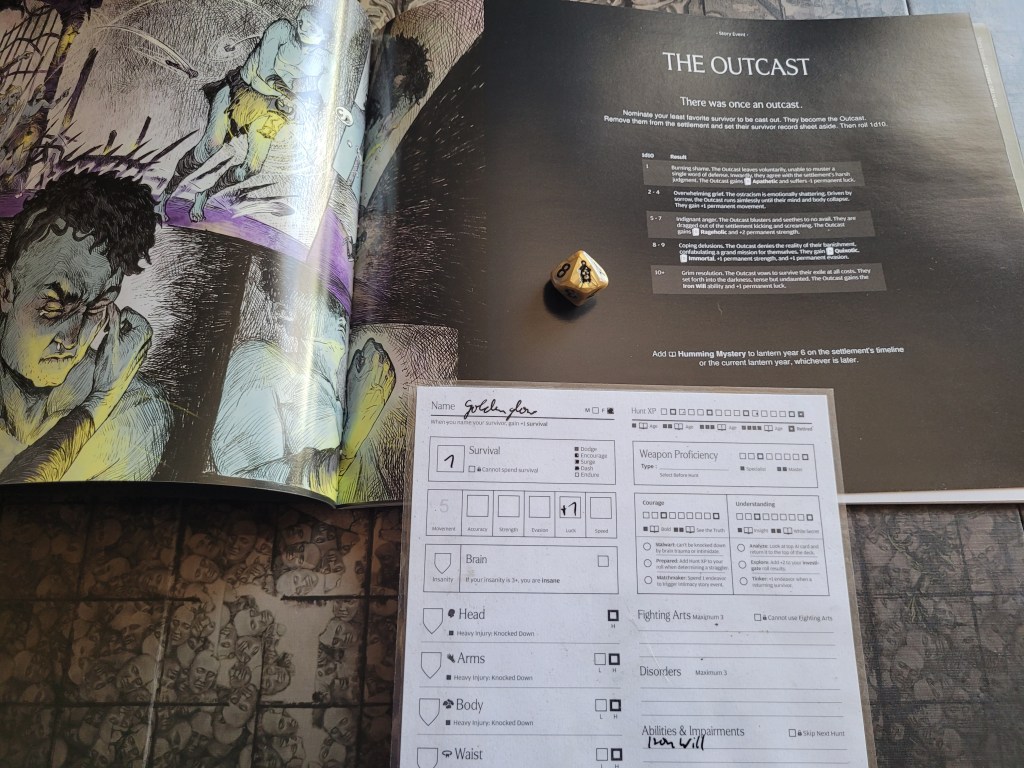
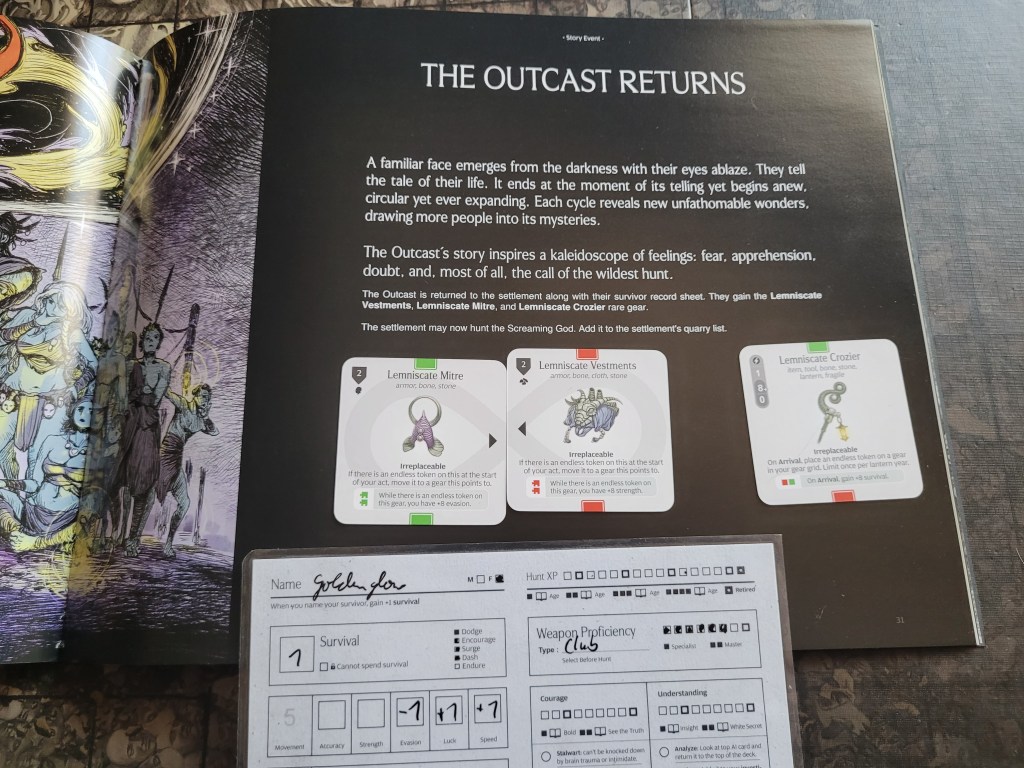
And then the time had come to experience the journey of the Outcast for the very first time!
The event started off by wanting for us to nominate our least favorite survivor to go into exile, which was a bit of a tough call (partially because it had been a while). Looking over the remaining survivors, I didn’t just want to nominate a (partially) broken survivor from the last Pariah fight, so I went with one I didn’t care for at all: Goldenglow.
Whatever she did, get her out of here!
Sure, she rolled a Lantern 10 and took her exile in stride – +1LCK and .. Iron Will?!
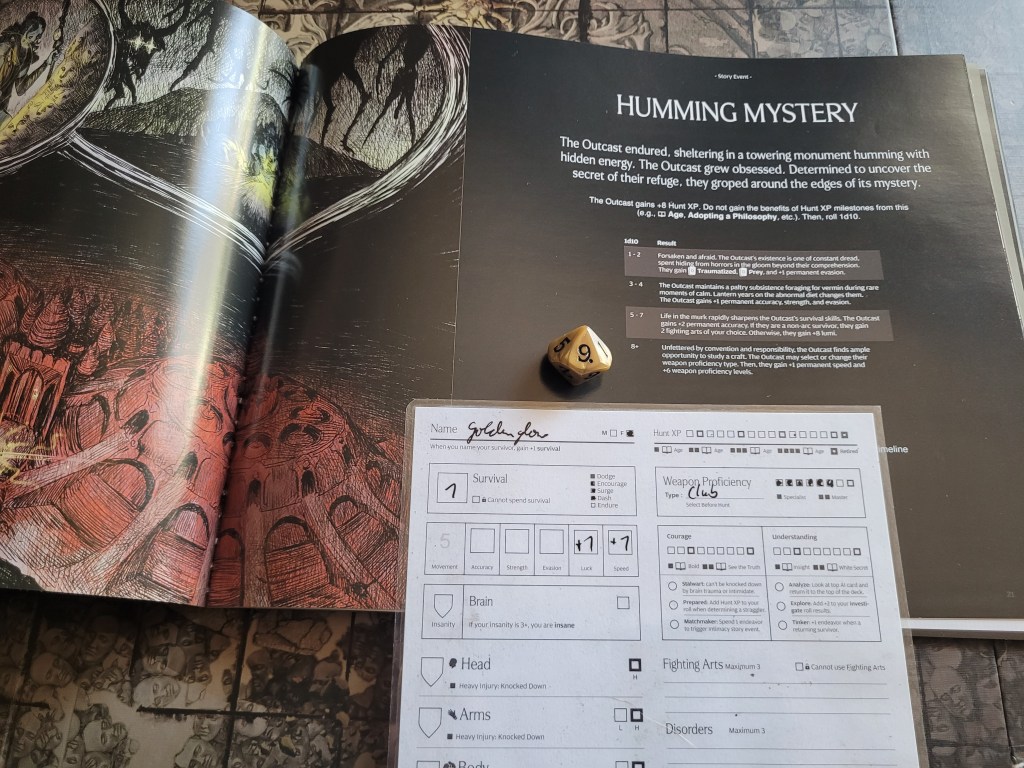
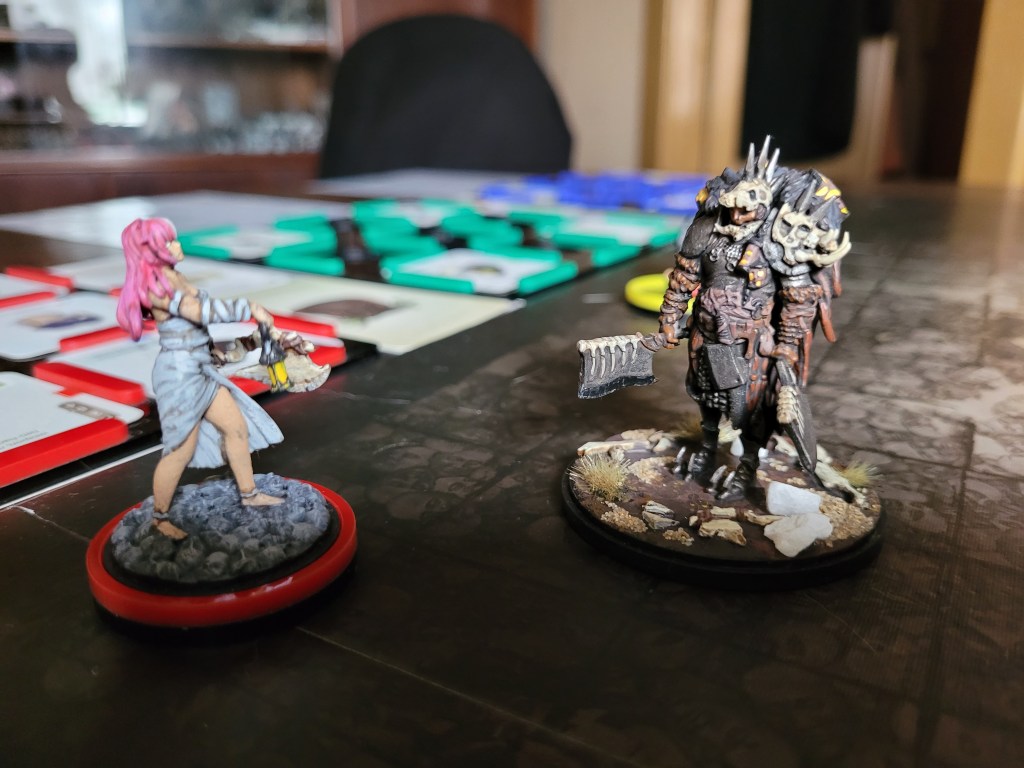
After wandering the darkness for a while, she found shelter in a towering ancient structure plagued by constant humming.
Trying to find an entrance to deeper layers she spent her time in the darkness studying the Path of the Bonk for what felt like ages – gaining 8 hunt xp, 6 points of club proficiency and +1SPD!
Eventually the walls yielded to her, for what must have been her constantly hitting them with blunt objects for all we know, and she found passage to the deeper layers of the structure.
But the reward for her discovery was first the deafening wail of ancient machinery and only later after her hearing had gone completely, the sight of infinity, and strangers struggling against it from within. Four of them, trying to fell an ancient beast – the Screaming God!
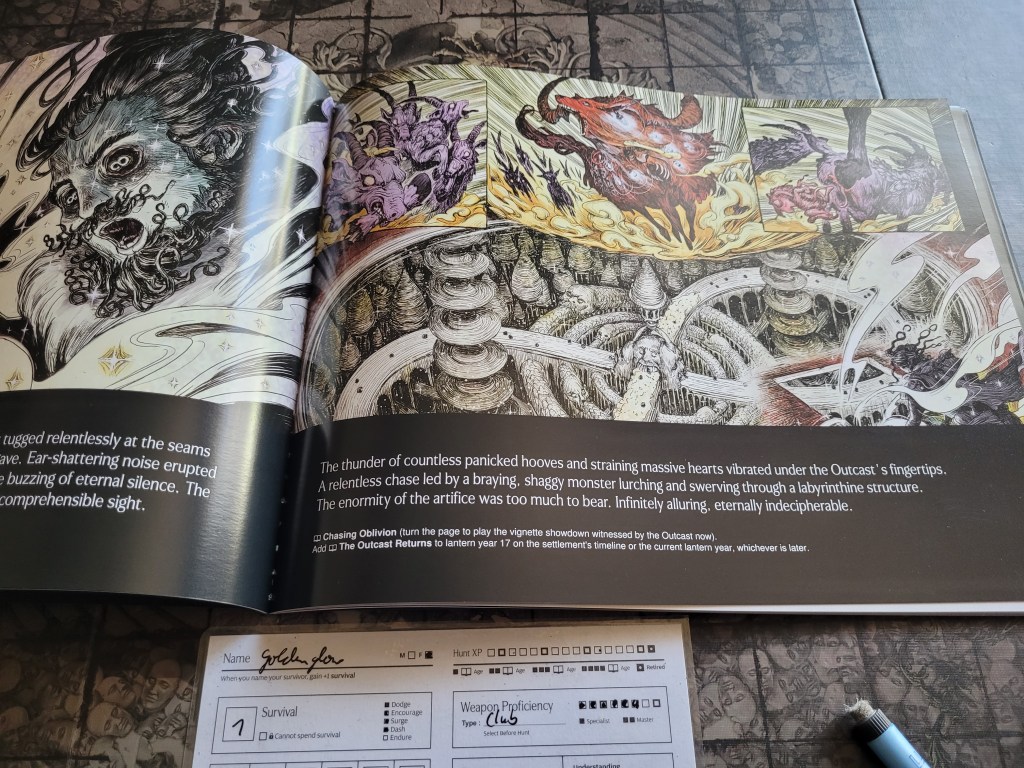
Which is what we’ll be doing today and should not come as much of a surprise if you have read the title of the post.
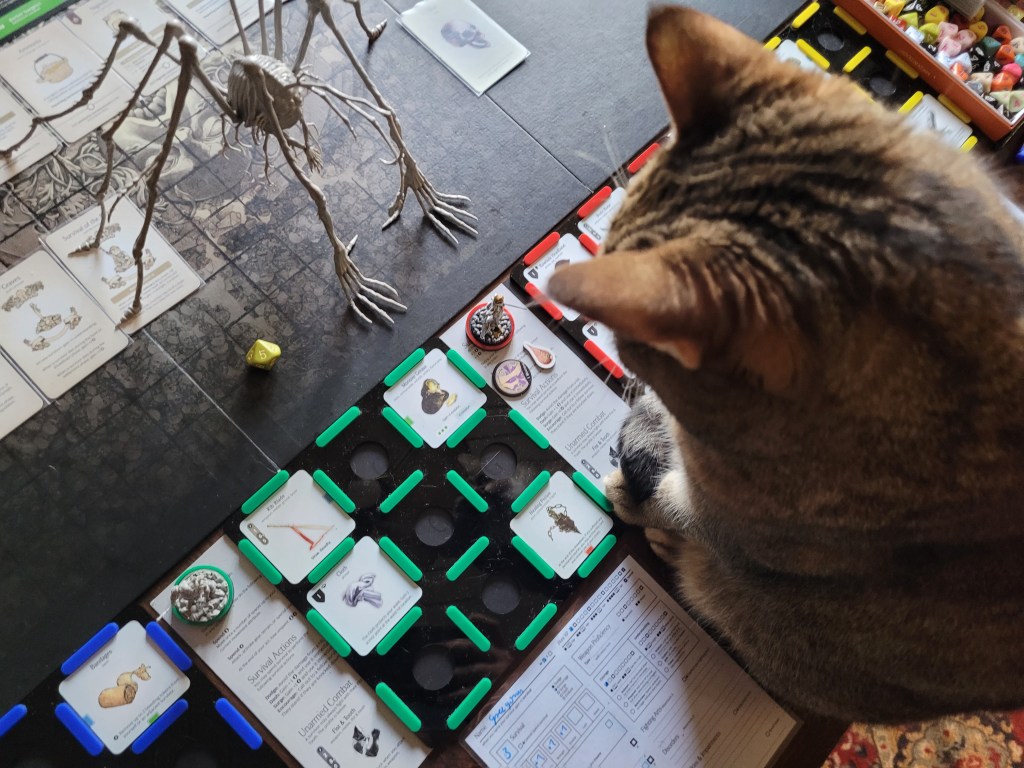
As I was setting up for the fight, the Feline Entity not only took a liking to the Screaming God mini, but also tried to kill both Harmony and Lyra several times over.
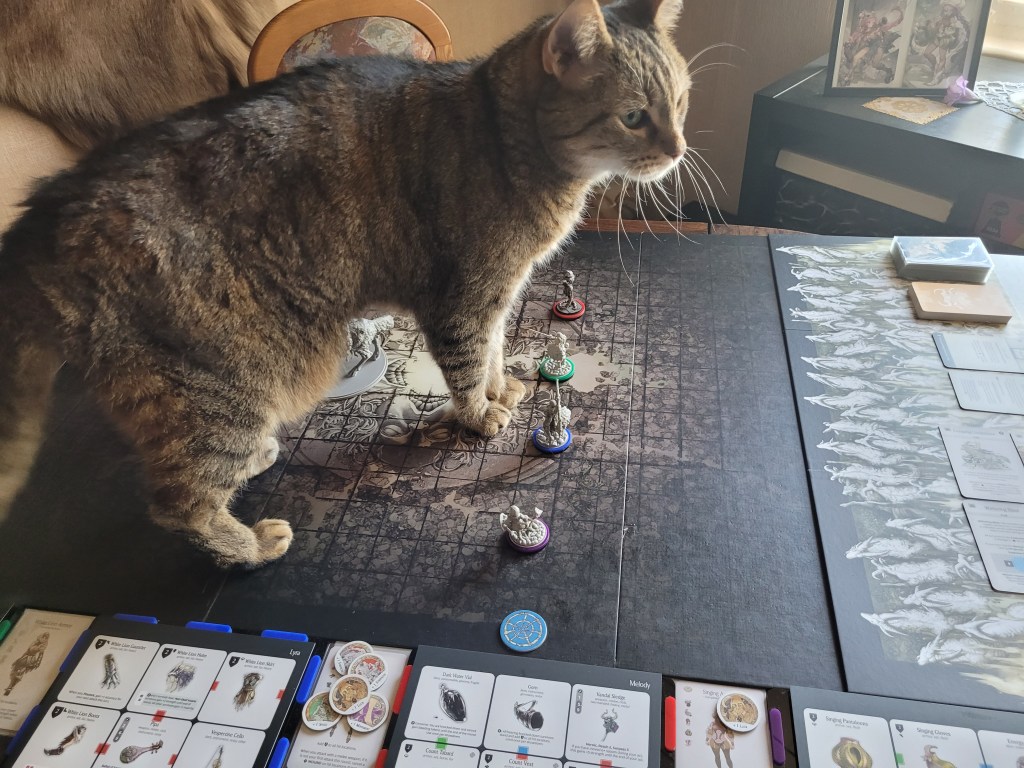
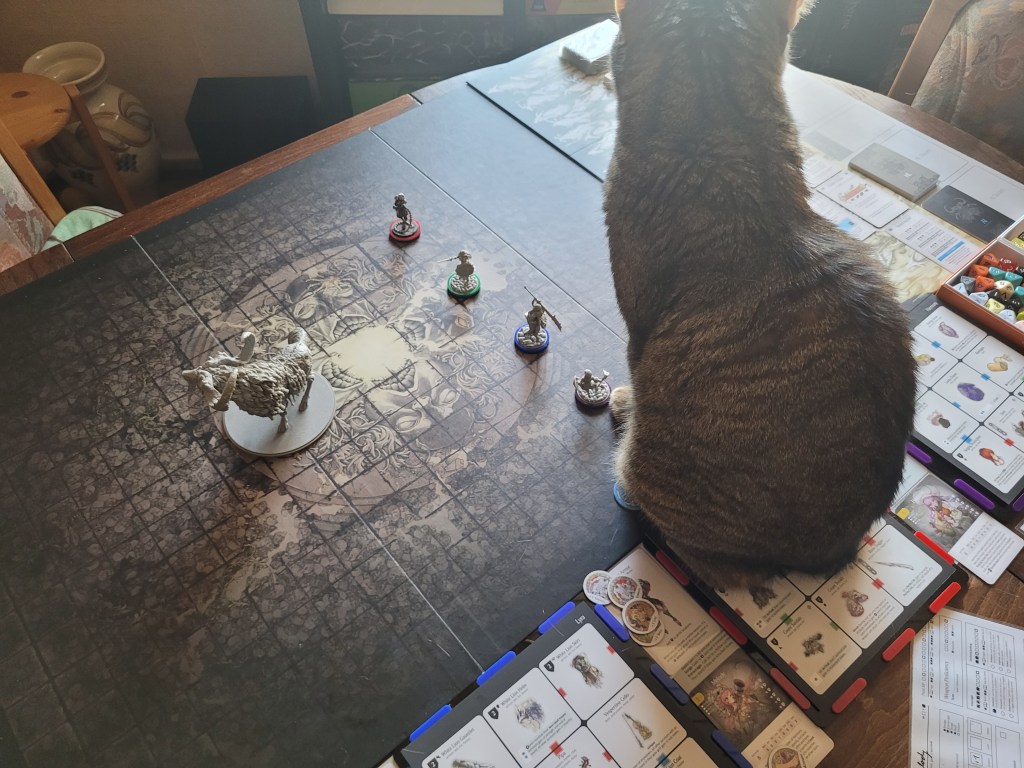
Speaking of which – our 4 Vignette survivors were:
Sage – kitted out with full a Lantern Armor Set and the weird new club from the Screaming God’s arsenal. She should be able to withstand a couple of blows and deal significant damage with her unusual weapon (think Sad Frogdog Song SFA for wound attempts on a stick).
Lyra – full White Lion Armor, 7STR and an active Zanbato.
Melody – full, active Count Armor and another Screaming God weapon: the 2handed club that gets stronger if you move far enough during your act which also has Surpass 5.
Harmony – Singing Armor and a Saxe, axe spec support if you will.., which does sound like my kind of support!
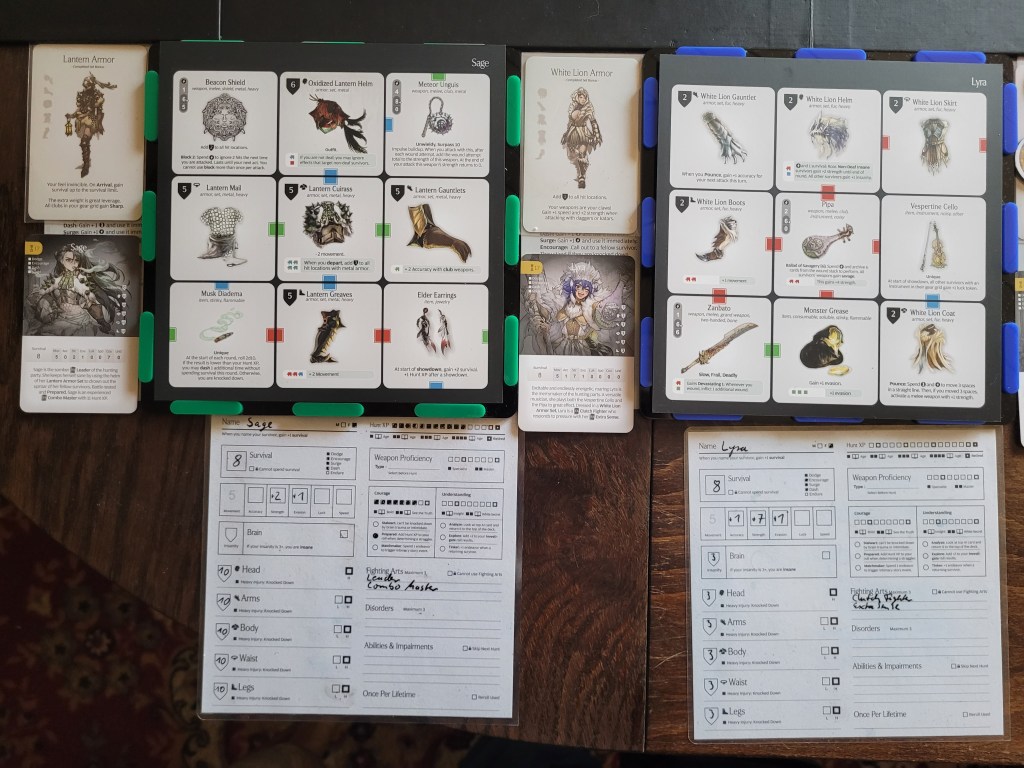
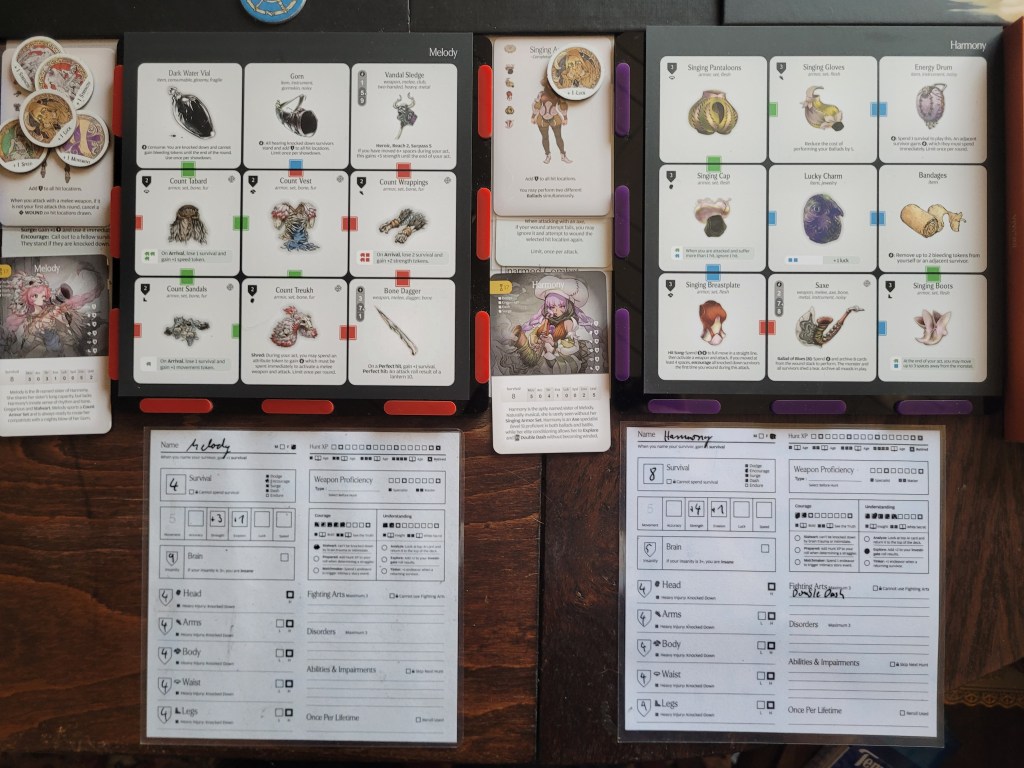
All 4 Vignette survivors seem more than capable of dealing decent amounts of damage to the Screaming God even when put up against it’s relatively high 18TGH. But, in turn, 3 of them are also quite squishy and I get the feeling that they might just explode when the monster looks at them funny for whatever reason.
Other than that, we are starting with 8 Survival on each of them, halved to 4 for Melody because of Count Armor items.
On the monster’s side of things the Vignette version is almost a standard Lvl1 Screaming God. The aforementioned 18TGH and INFINITE MOV and the 4 traits it gets are all part of its regular set up.
To change things up slightly, It does have a curated 16 card AI deck featuring 1 card less than the normal Lvl1 encounter would, but it adds a L card instead of the 1 more B & A card each.
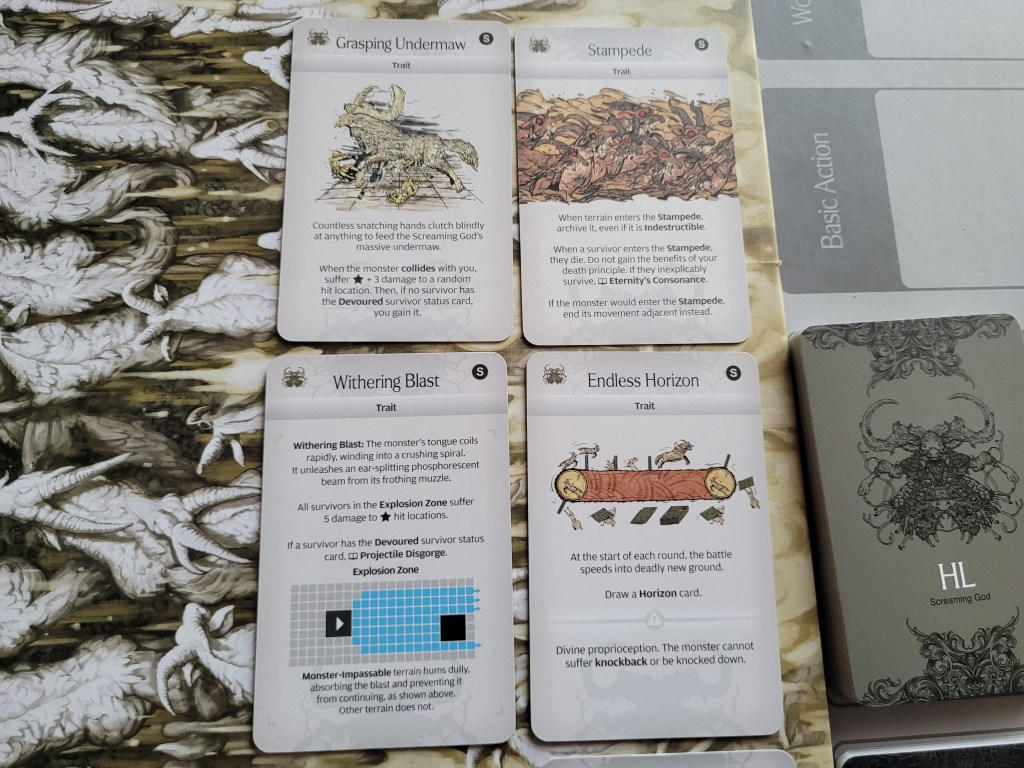
The fight against the Screaming God is constantly in motion. Whilst you are frantically chasing after the ancient monster a herd of frenzied antelopes follows you and your quarry along the trail and anything that gets swallowed by the ever approaching Stampede (trait) will end up dead one way or another.
Endless Horizon (trait) puts large 3×3 Labyrinth tiles into play, which you desperately need to avoid colliding with as anything stationary .. like, let’s say a knocked down survivor, gets dragged 7 spaces closer to the Stampede and with it, certain doom. This trait also tells us that the Screaming God is immune to Knockback and being knocked down.
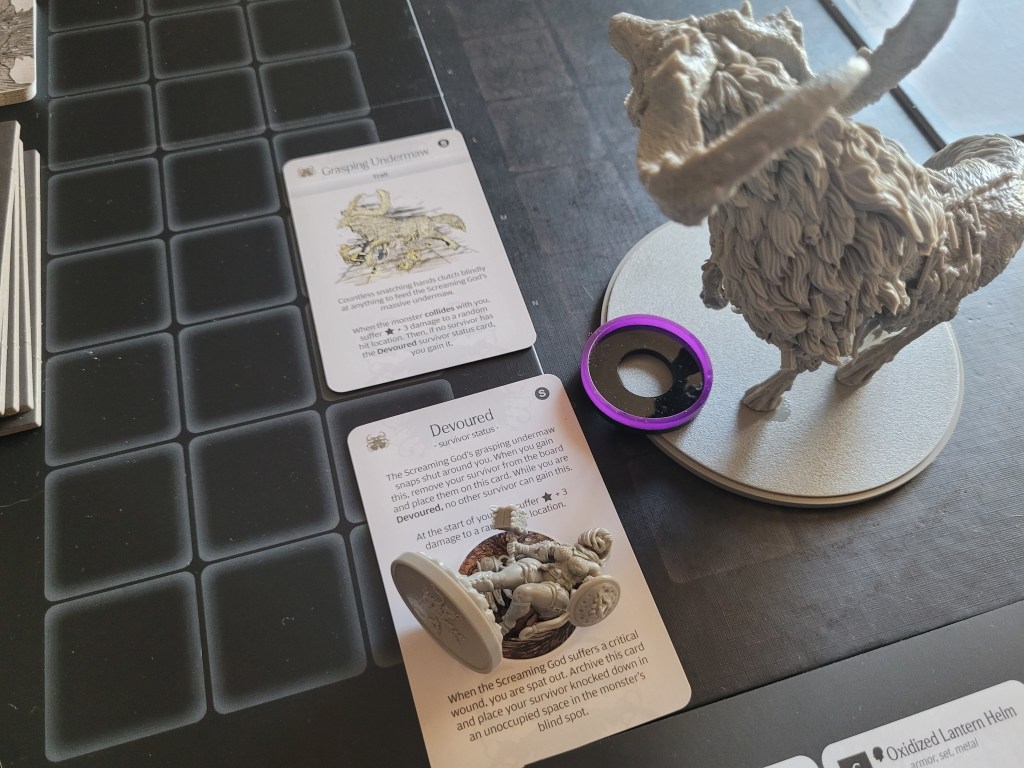
But the monster is not just set decoration either. Should it collide with you, it’s Grasping Undermaw (trait) will deal damage to you and swallow you up if it is still empty. And I don’t think we want to find out what happens when we get spat out again.
Finally, Withering Blast (trait) is the explanation of a keyword found on a bunch of cards, both AI and HL, dealing 5DMG to ☆ hit locations as the air in front of the monster explodes. Oh, and should anybody have the Devoured status, they get shot out of the monster’s mouth during this like a humanoid bullet as well.
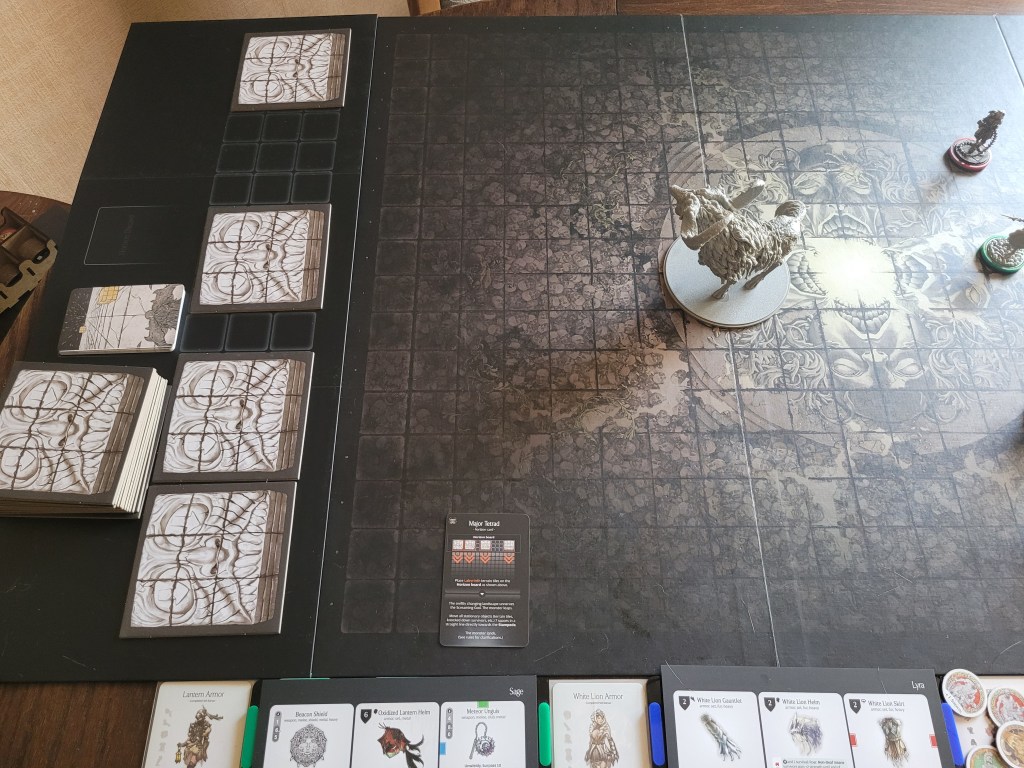
Now that we know everything we need to keep track off, we can start off the showdown by drawing our first Horizon card!
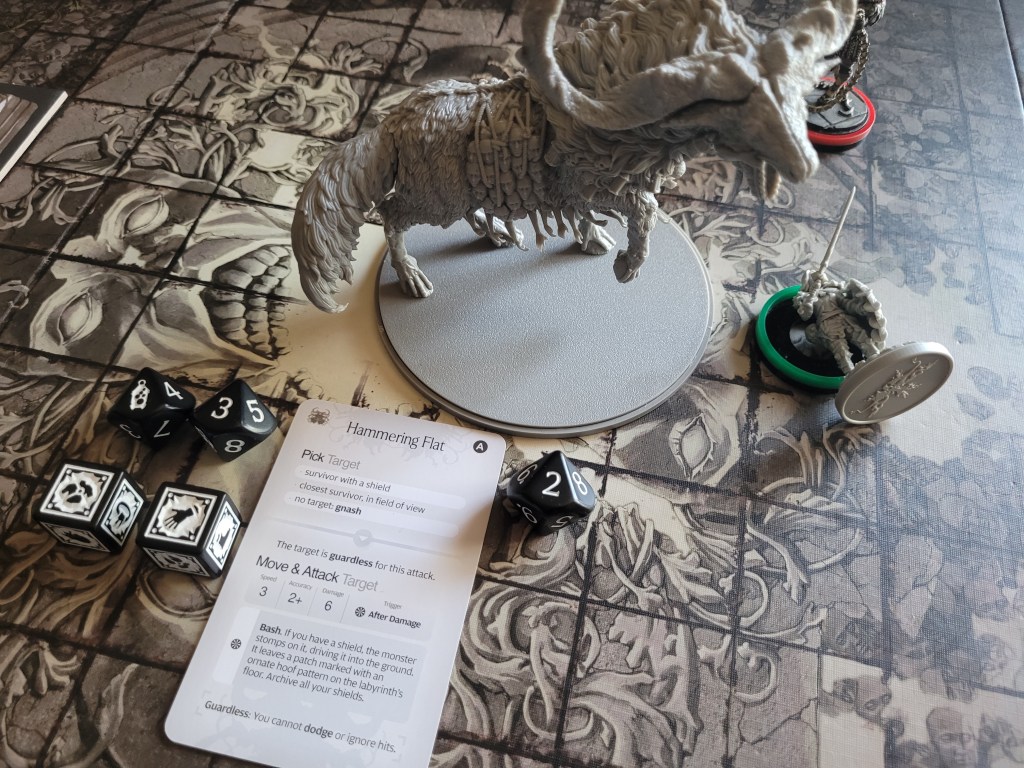
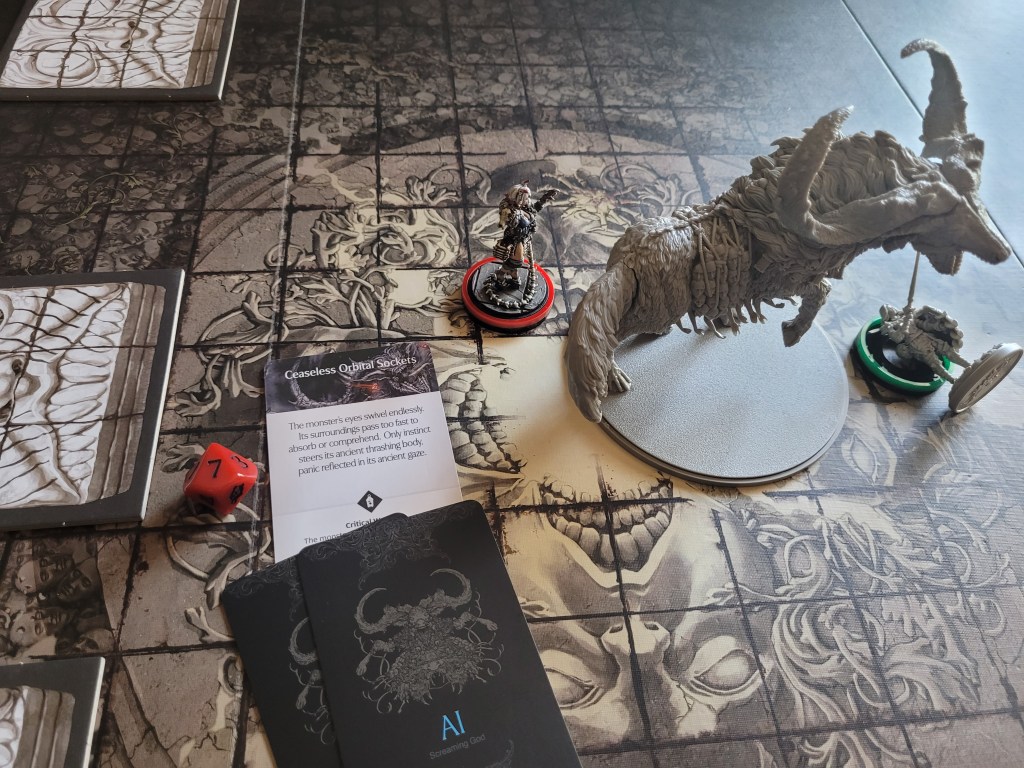
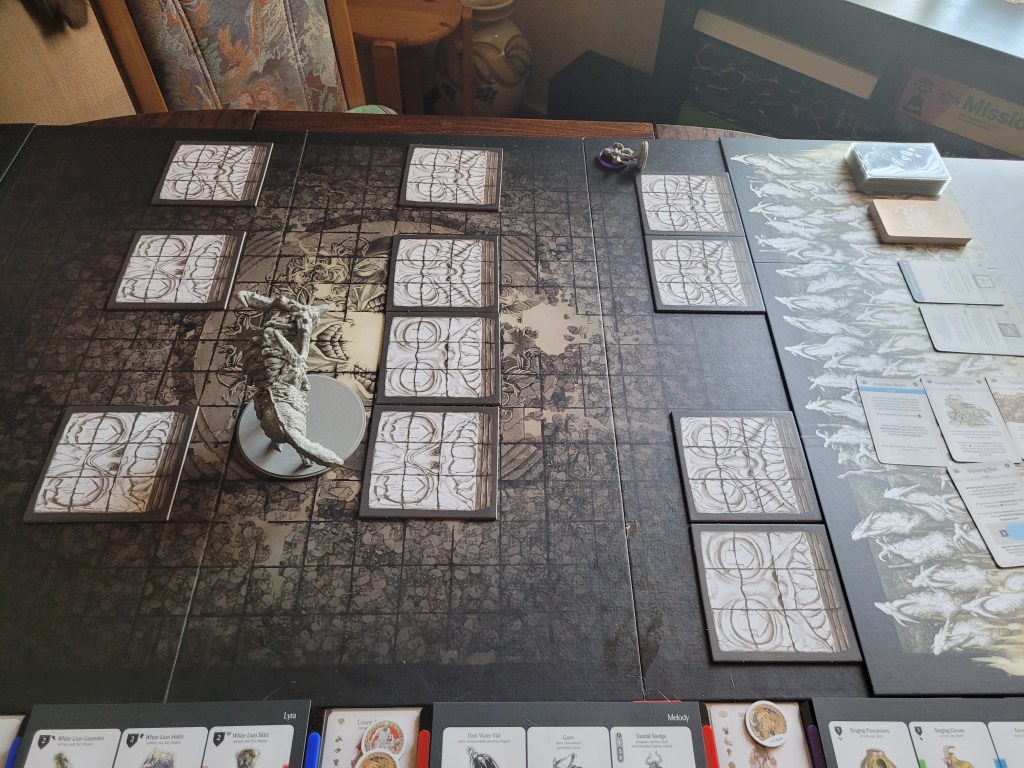
16 cards in the deck, Goldenglow was set to watch the endless chase continue as the first Horizon card was drawn! After all Labyrinth tiles had been placed and moved accordingly, I started the monster turn proper with the first AI card of this brand new monster: Hammered Flat – oh good Feline Entity – what is this?!
Only Sage had a shield, so she was the only target available for the attack: she was hit only 2 times thanks to her 1EVA, but the hoof left a visible dent in her armor and shield anyhow.
Fun fact: Vignette survivors can’t archive gear (aside from Ashbloom from the Screaming Nukealope Vignette) so Sage should not have to remove her Beacon Shield, but I am going to put a marker down on it anyways. Unga-bunga protects! Who needs to block anyways?
What a mean card for normal survivors though – it just flat out archives your shield?!
Spurred on by this first attack, Melody was ready to be the one to start our counter-offensive! She moved the full 6 spaces into the monster’s blind spot to activate the +5STR on her club and swung with it at 2SPD: 1 successful hit against the Ceaseless Orbital Sockets. She had 19STR even before rolling and only needed a 4 to activate Surpass 5. A 7 did do it, she dealt 2 wounds on the very first blow!
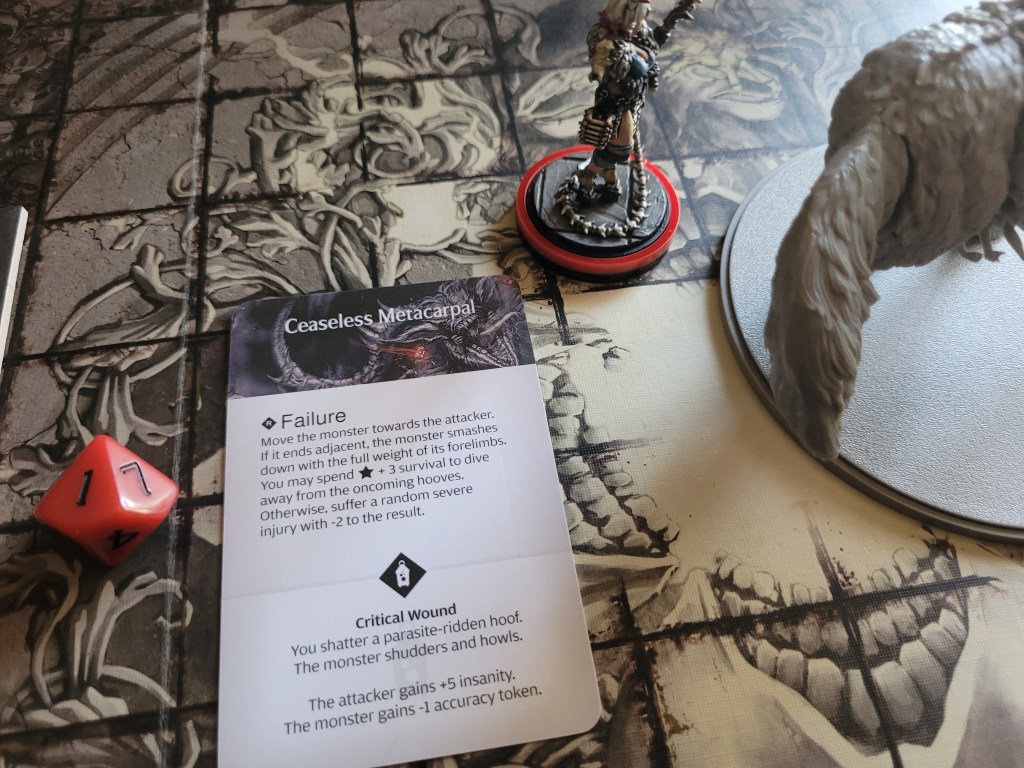
Before her act was fully over, she made sure to activate Shred by archiving a +1STR-token to attack again. Hitting again only once she .. failed the wound on a 1.
After that first strike I was feeling safe – too safe obviously!
The failure effect on the Ceaseless Metacarpal gave her the option to either spend all 4 of her remaining survival or suffer a random severe injury with a -2 modifier. I didn’t think either was a good call, but I chose to spend the survival, thinking it would keep her alive for longer.
Next up: Lyra. She managed to find both a hit and a wound with her Zanbato, dealing 2 more wounds before she got kicked away by the reflex on the card.
Harmony then encouraged Sage, who in turn started to wind up her attack. At this point I also noticed that I forgot about her cigar – the Musk Diadema – I decided to roll and got a 12, which is higher than her hunt xp of 11 and in turn meant that I would have needed to stand her up during the Horizon card (or she would have died instantly) – so I spent an extra survival with Lyra.
After all that, Sage attacked with 4SPD and a 6+ to hit, but she missed all of them. She then surged and somehow landed all 4! Highs and lows…To have a first strike amongst the 4 hit locations that was going to knock her away no matter what happened was a little unfortunate though. She high-rolled a wound and was sent flying the same direction Lyra had been.
I shed a single tear at how much damage this could have been with this weapon!
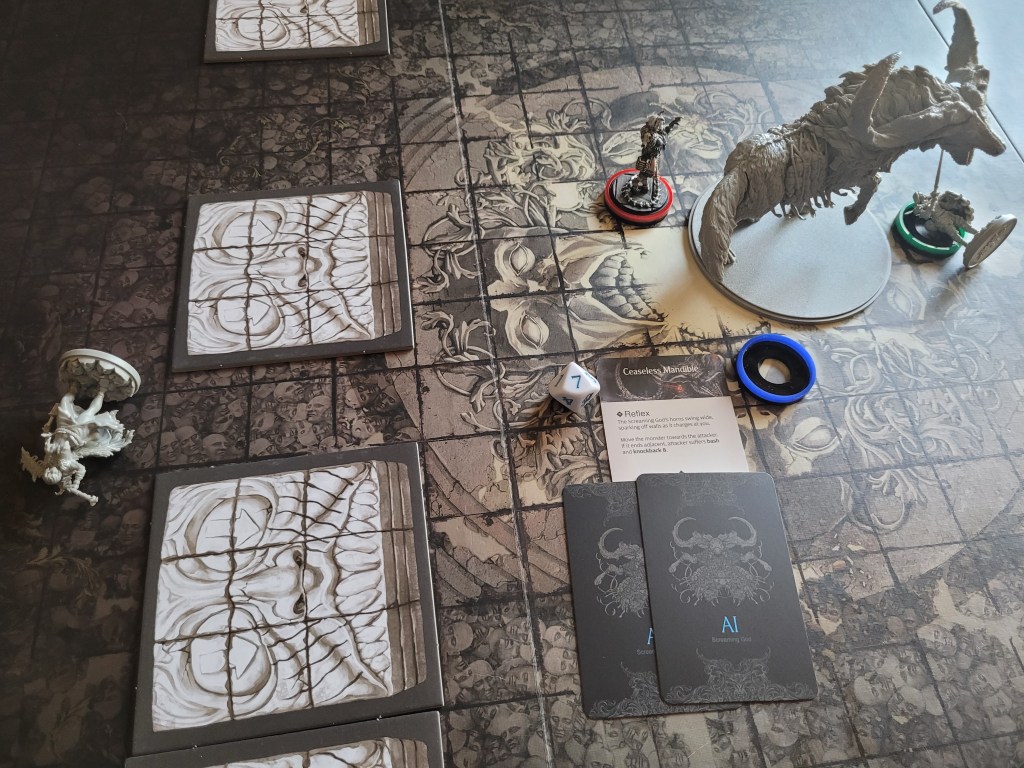
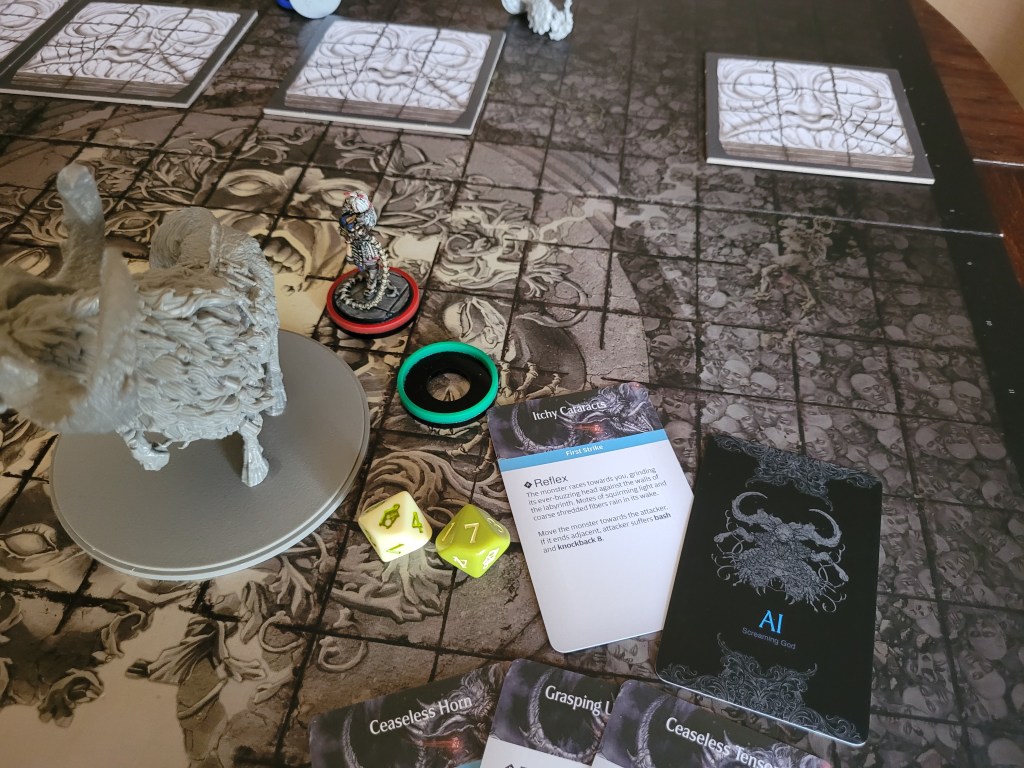
Finally Harmony moved up towards the monster. I was unsure whether or not I should attack with the Saxe, so I had her dash to the side of Melody instead, because I thought she had the better chance of wounding the monster.
So Harmony activated her Energy Drum and gave the act to her sister – and she did indeed manage to wound an additional time.
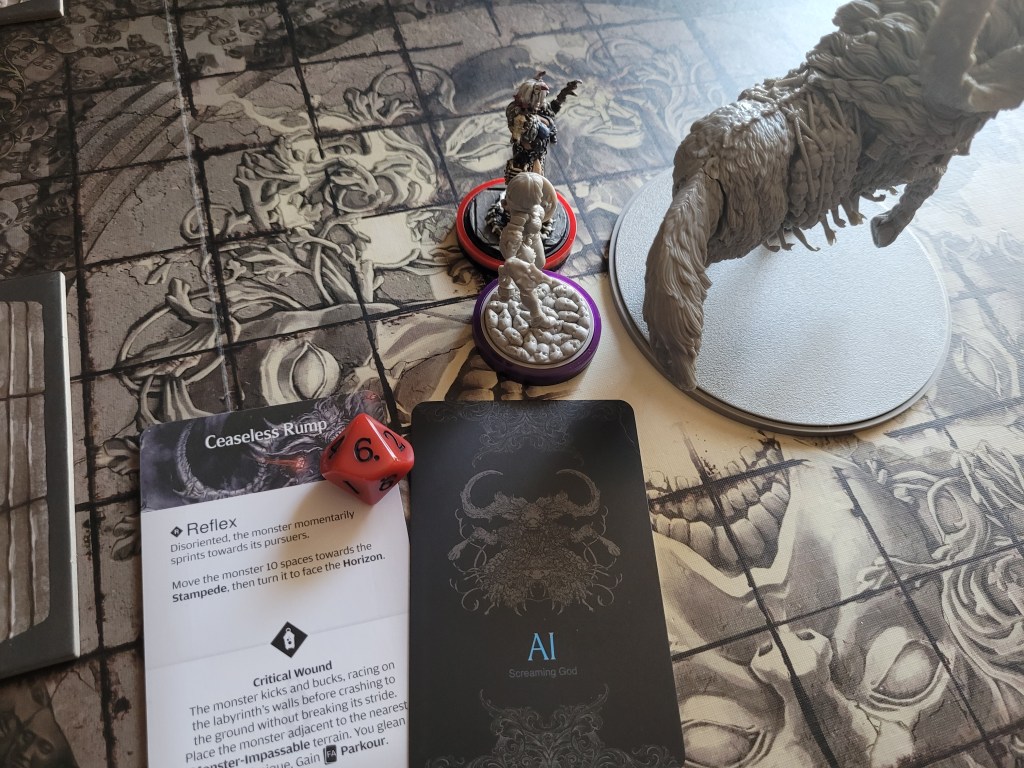
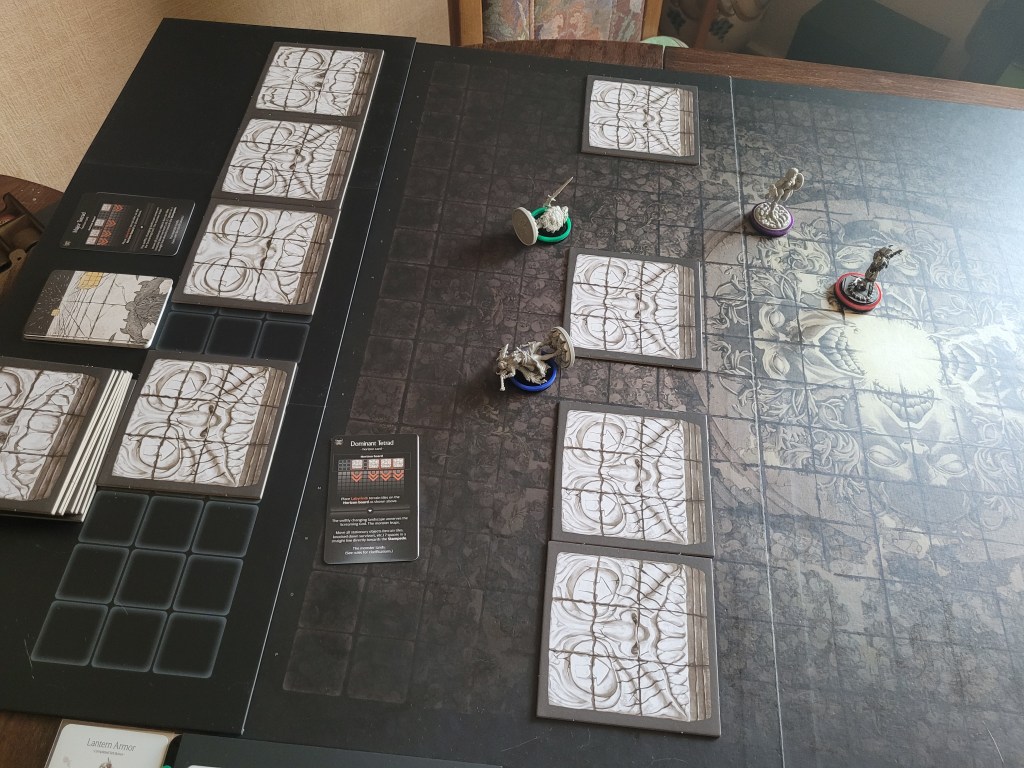
At the start of the new round Sage got knocked over by her cigar again and then we drew the Horizon card: a wall of Labyrinth tiles appeared from the darkness ahead of us.
Harmony encouraged Sage, who in turn dashed to relative safety. Lyra on the other hand was just fine after getting helped up by Sage.
Meanwhile Melody was distracted and ran into the terrain due to her sudden lack of survival.
10 cards left in the AI deck: Withering Momentum was drawn .. which meant another Horizon card had to be drawn.
Oh, no…
Sage and Melody were going to hit terrain, whilst Harmony and Lyra could still dash out of the way.
This did kill Melody as she was the first to be consumed by the Stampede! Dead.
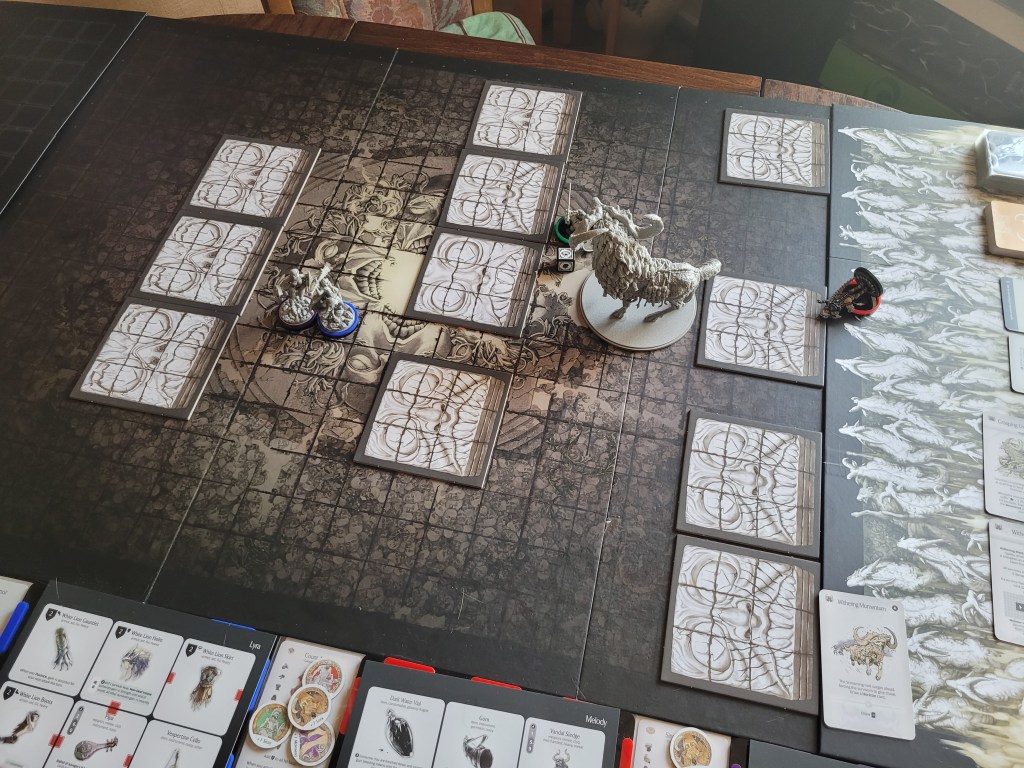
It also meant that the Screaming God got to draw a 2nd AI card for the turn: Pounding Host.
Harmony surged to move via Double Dash (FA) to keep the monster away from Lyra at least.
The Screaming God rounded the corner and immediately laid into her! All 4 hits connected but 1 was prevented by her head gear before she was flung away.
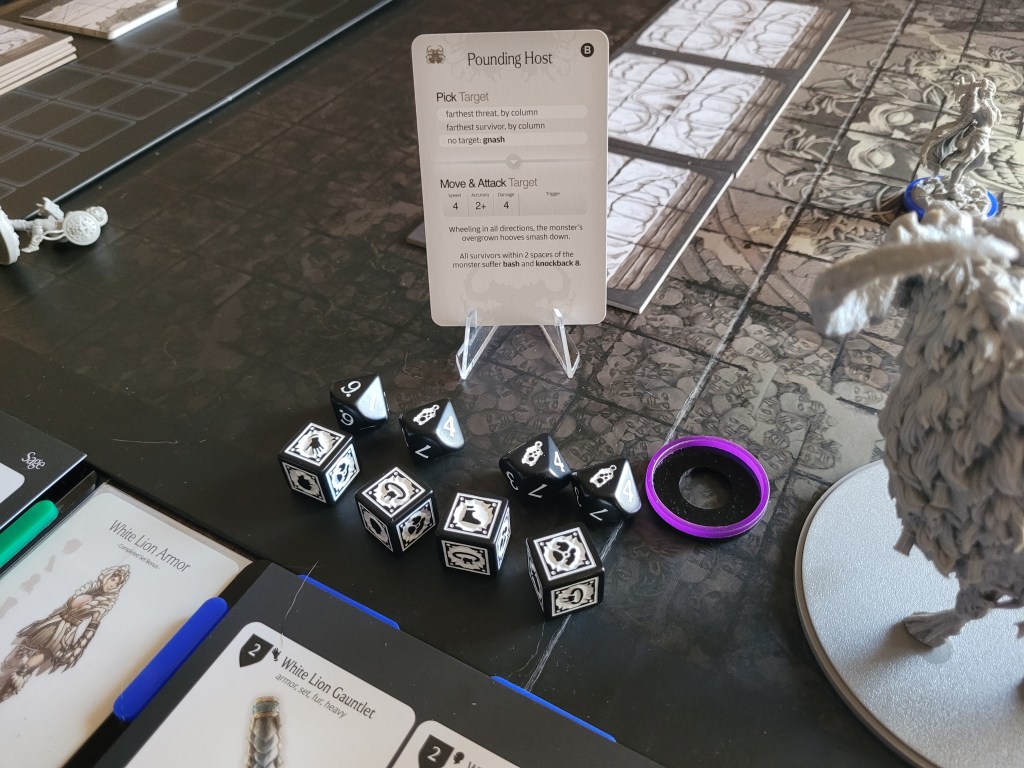
Lyra did not waste a single second and pounced at the monster, landing a clean hit wounding the Ceaseless Tail. This, however, set the monster off, running towards the Horizon and into colliding with Harmony, which meant she was picked up and Devoured by the beast!
Sage could also only move so far because of the upcoming terrain she would need to avoid.
Finally, Harmony took 4DMG to the head as she was thoroughly chewed up at the start of her act, her armor completely depleted already!
Sage started the round off for us by rolling another 12 for her cigar and she was knocked down again! She really should have quit smoking those if she couldn’t handle cigars!
This forced Lyra to encourage her Leader (FA) yet again before dashing herself.
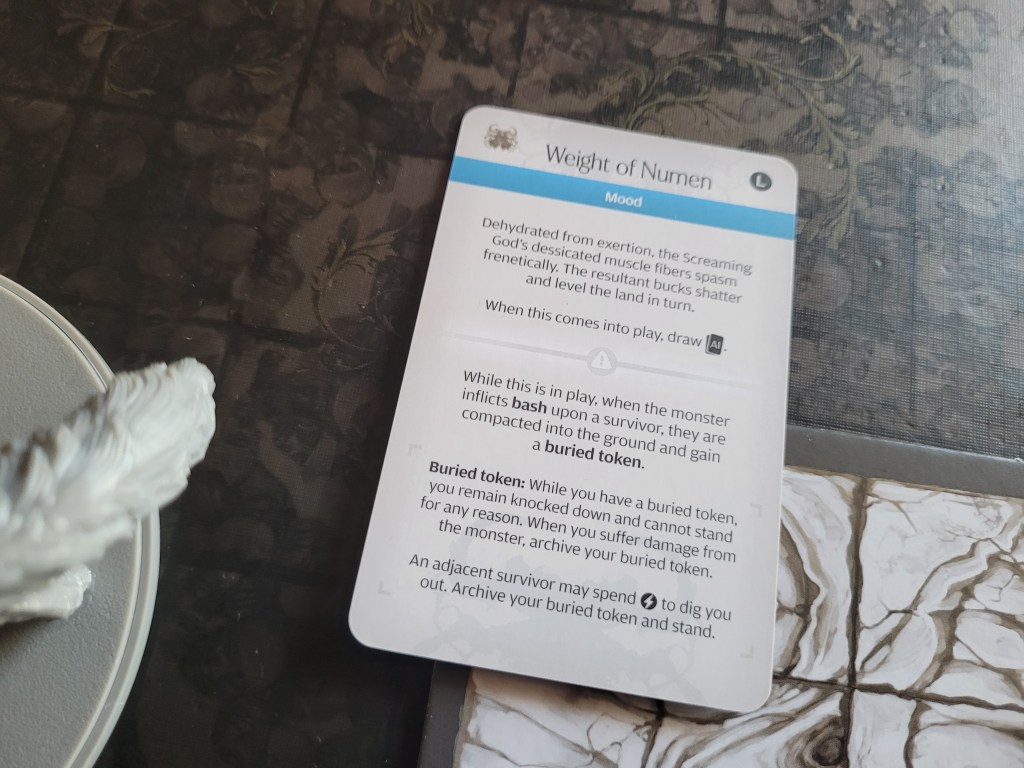
8 cards left in the deck, the monster was down to half health at least! The fight felt fast and furious on both sides. And then the Legendary AI entered play: the mood Weight of Numen.
This mood turned any bash dealt out by the monster into a permanent knockdown – unless another survivor spent an act to dig you out of the hole you had been put in, you were out for the count.
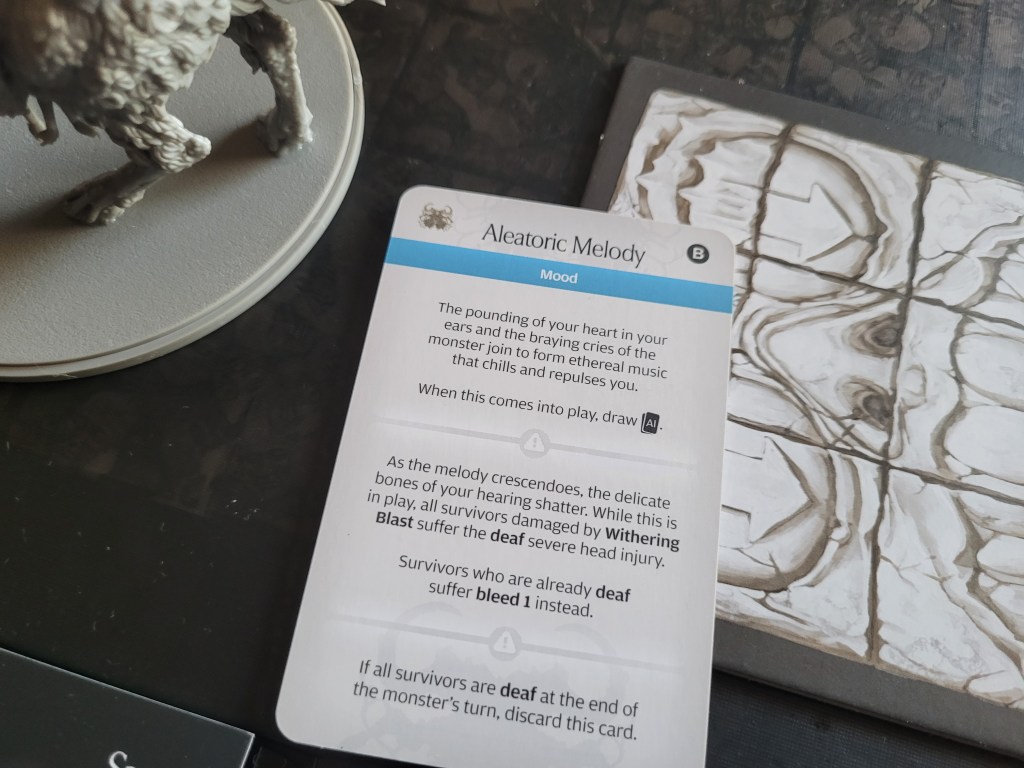
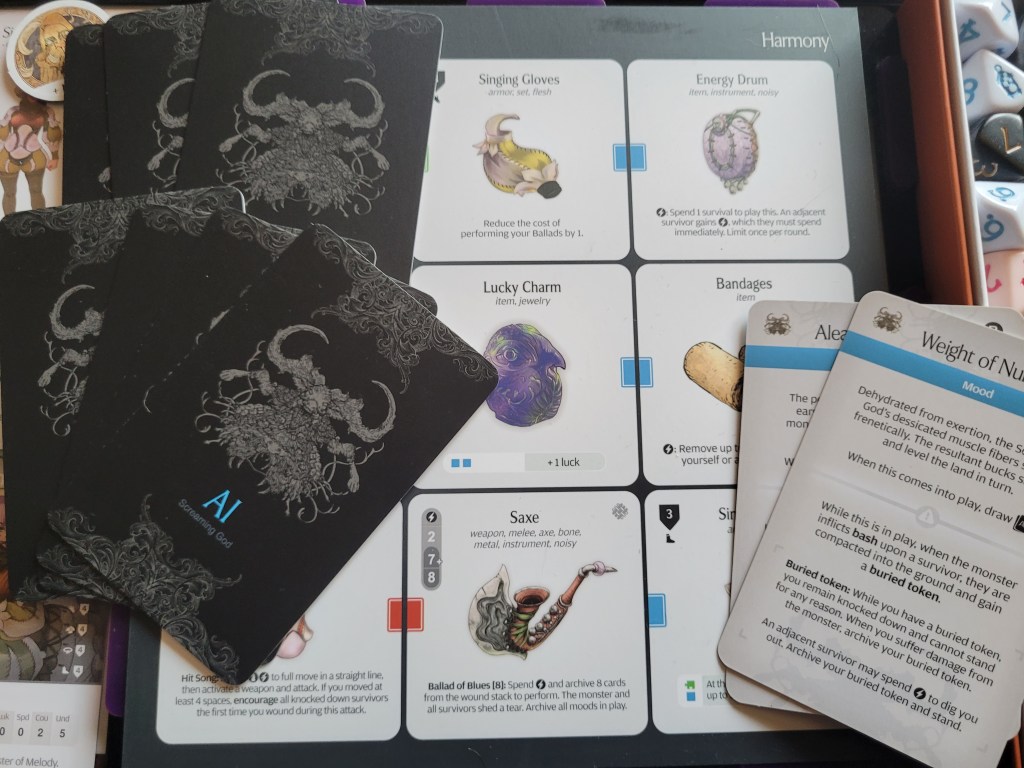
It also meant the monster got to draw another AI: Aleatoric Melody – another mood!? And it instantly clicked for me: this is what the Saxe was for!
This mood added the deaf severe injury to any Withering Blast.. and had the monster draw yet another AI!
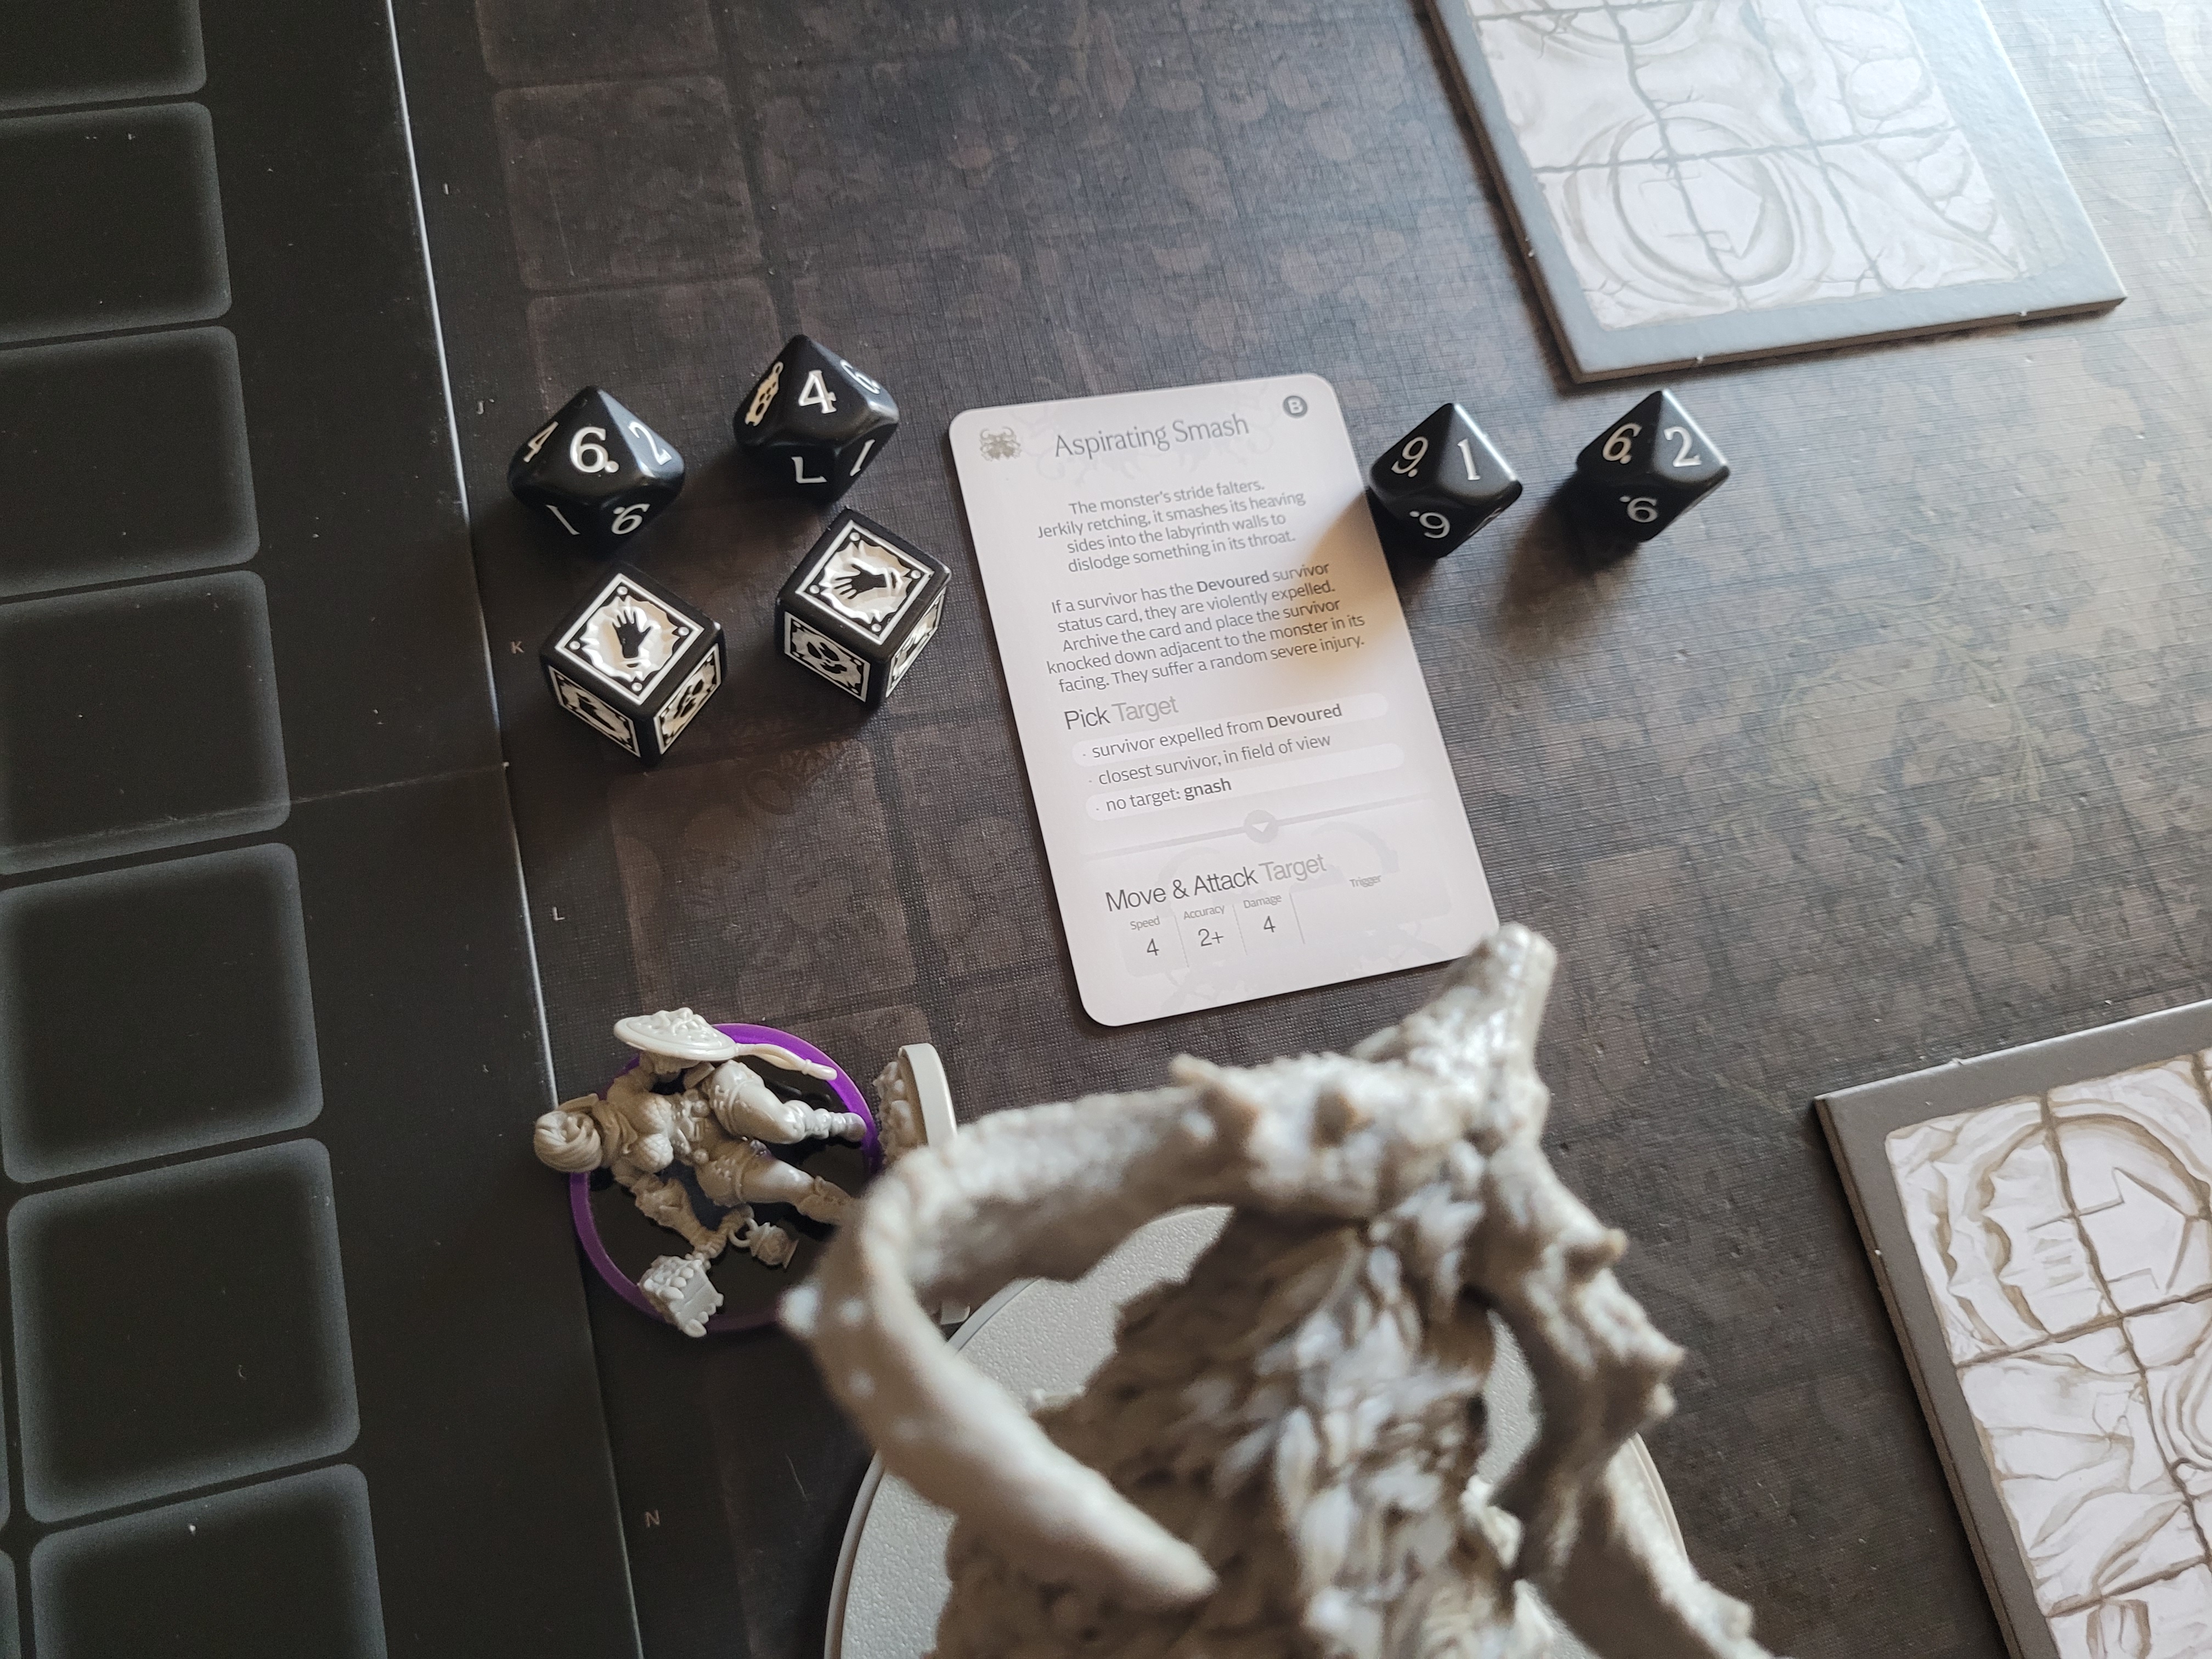
Still not done the Screaming God began choking on Harmony! Aspirating Smash.
Well, there goes my Saxe, or so I thought at the time.
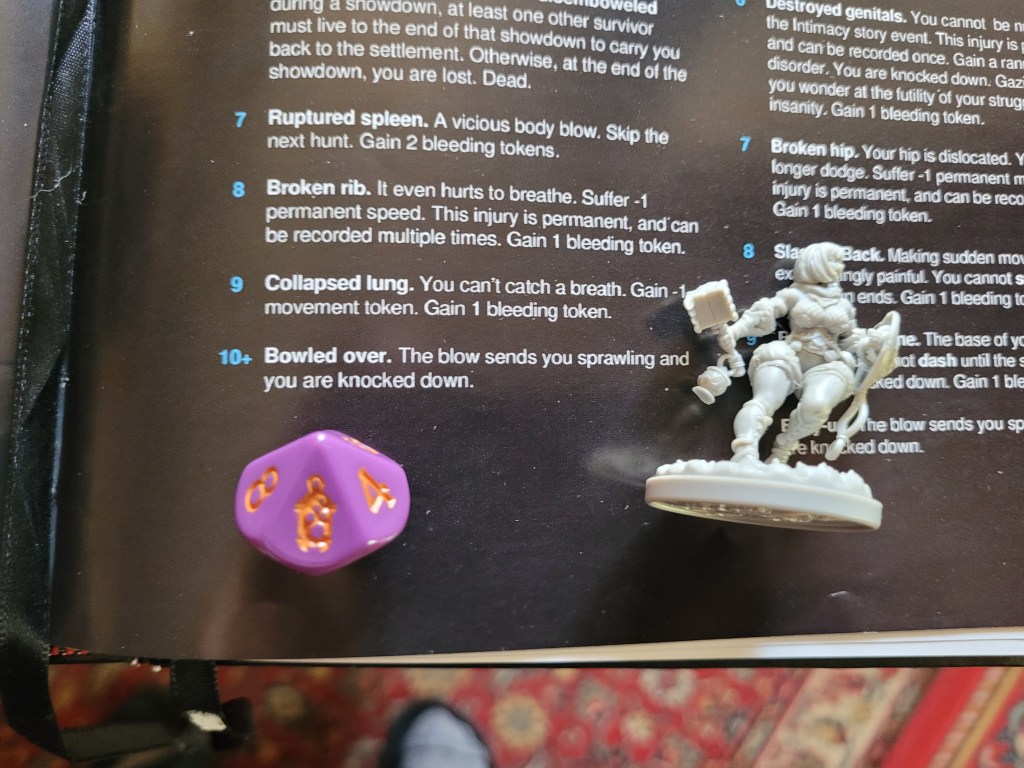
The monster threw her up, inflicting a body severe .. which turned out to be a Lantern 10! Nothing but knockdown! It felt like luck was on our side again!
And then the monster was ready to go to town .. and it faltered as well! Still reeling from what I assume must have been a near death experience, only 2 hits on 3+ found their target – with Harmony’s head armor preventing 1 of them and a dodge the other!
As our turn started, Sage quickly encouraged Harmony who began playing the Saxe immediately! The Ballad of Blues required us to archive 7 (8) cards from the wound stack to archive all moods currently in play! Yes please!
She then limped away from the monster, a job well done!
Limited in our movement due to constantly dashing, we were unable to get close enough to the Screaming God this turn and could only wait for the monster to come to us.
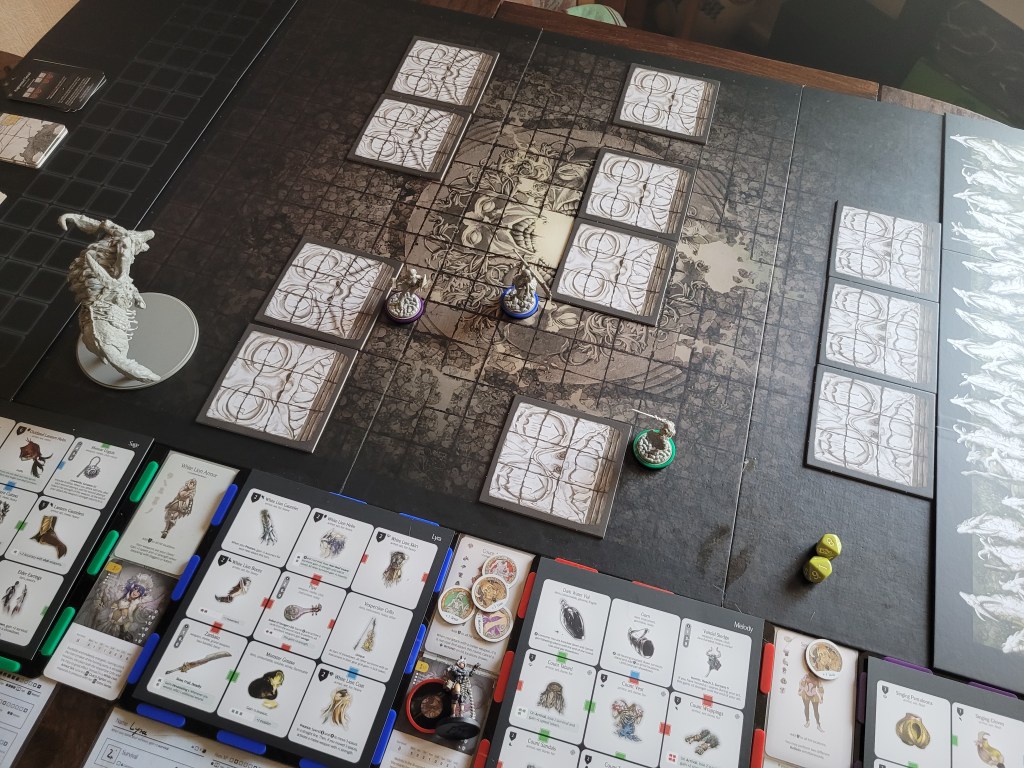
Sage fell over yet again, but was still helped up by Lyra to avoid getting caught up by the Stampede as our endless sprint towards the Horizon continued.
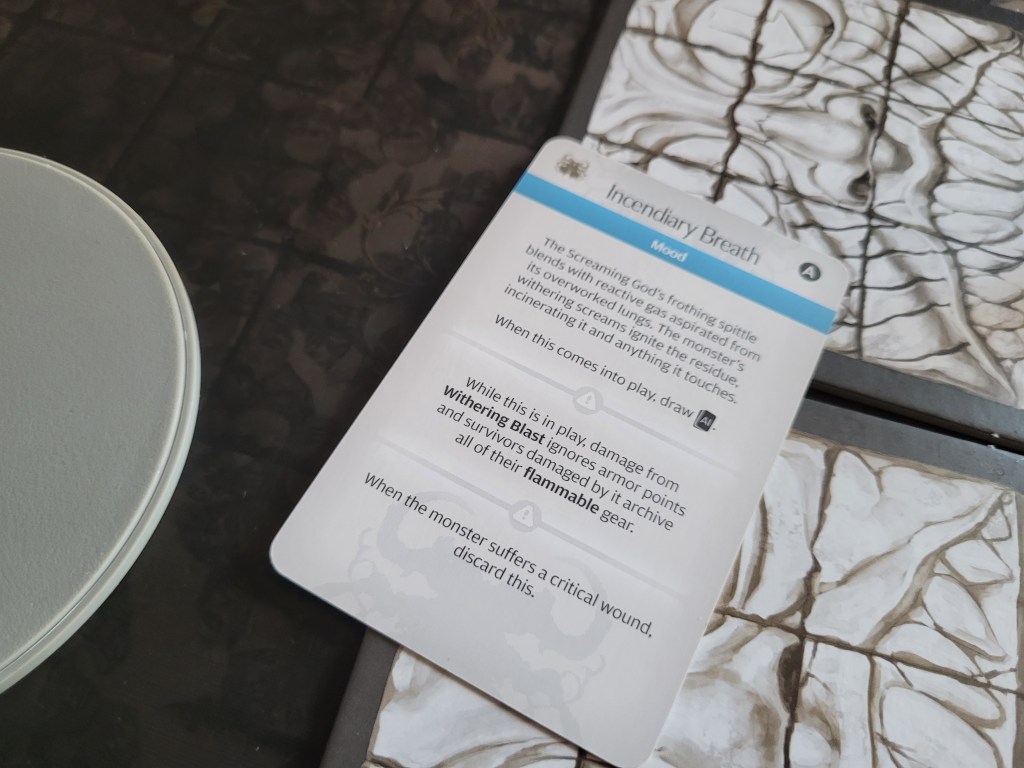
6 cards remaining: another mood? Incendiary Breath!
This meant that Withering Blast would ignore armor and archive any flammable gear from then on! For a moment I was happy and thinking this wouldn’t affect us too much, but..:
Again, another AI was played – the final unknown card left in the deck: Ancient Gasp, and it was going to attack Sage because she was the furthest away .. and this included firing off a Withering Blast at her. Of course it did! Right on queue!
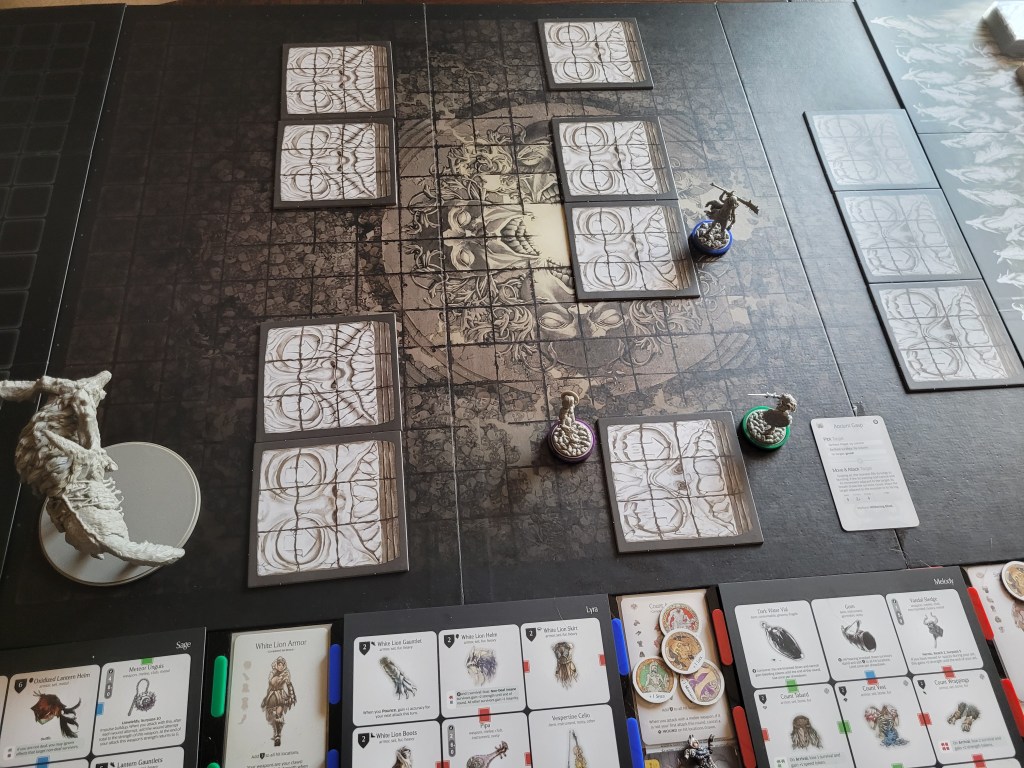
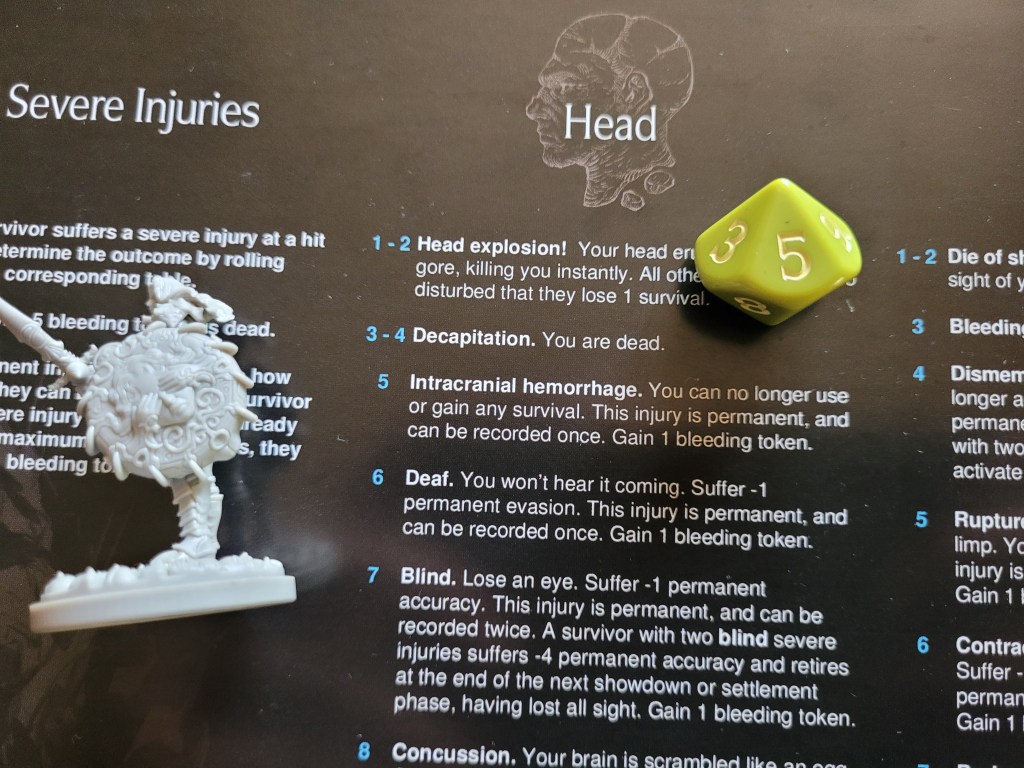
Lyra and Harmony dashed out of the monster’s path. Then Sage was pummeled for a bit before the monster shot out its first Withering Blast of the fight, now bypassing her head armor entirely, causing an Intracranial Hemorrhage!
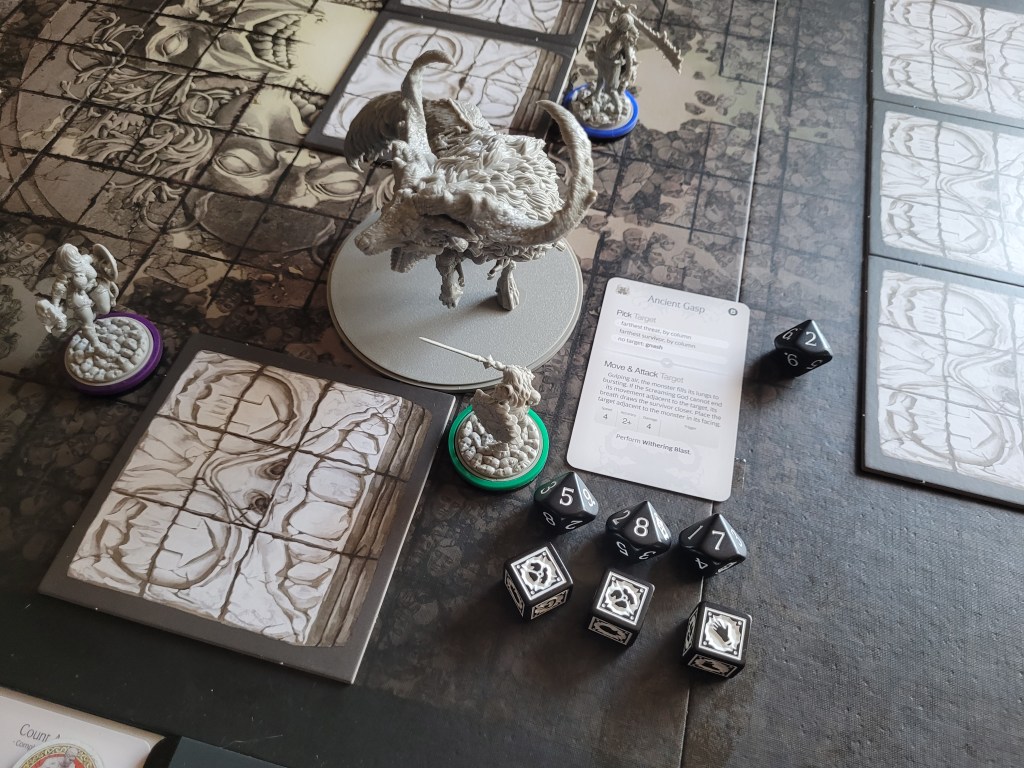
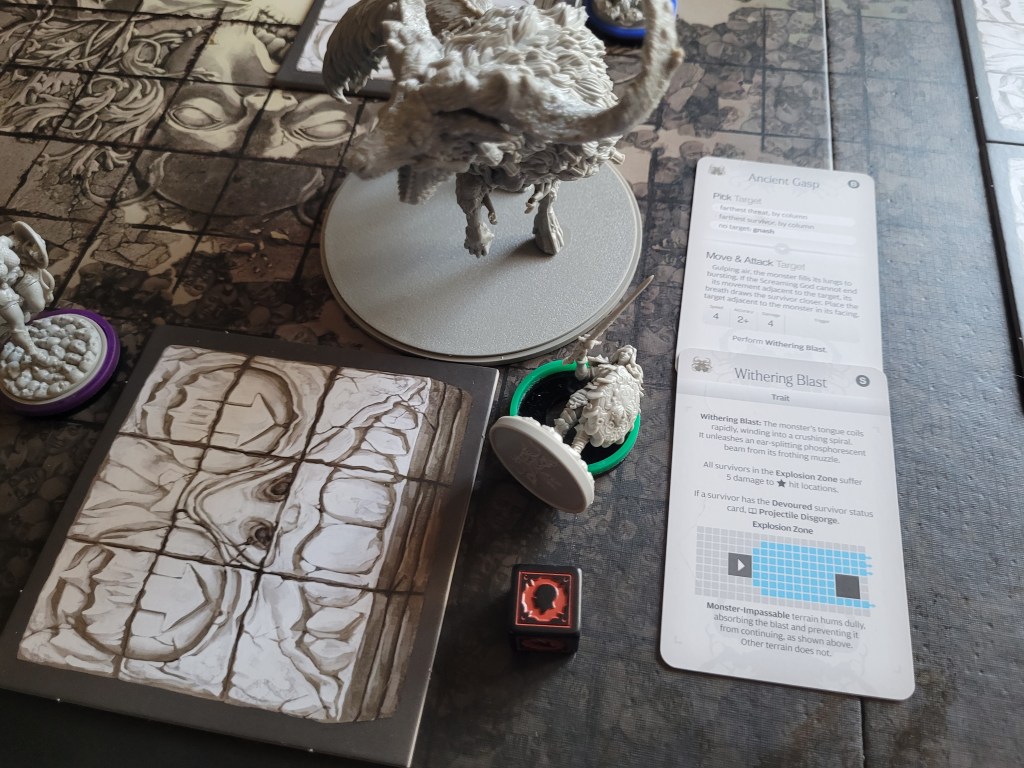
Not being able to spend survival seemed like a death sentence in this fight, so with next to nothing left throughout the team we were probably as good as dead at this point.
Still, Lyra stepped up to the monster’s blind spot undeterred and failed to wound spectacularly! She was sent flying a full 8 spaces to her demise.
And the Saxe also missed twice on its 7+.
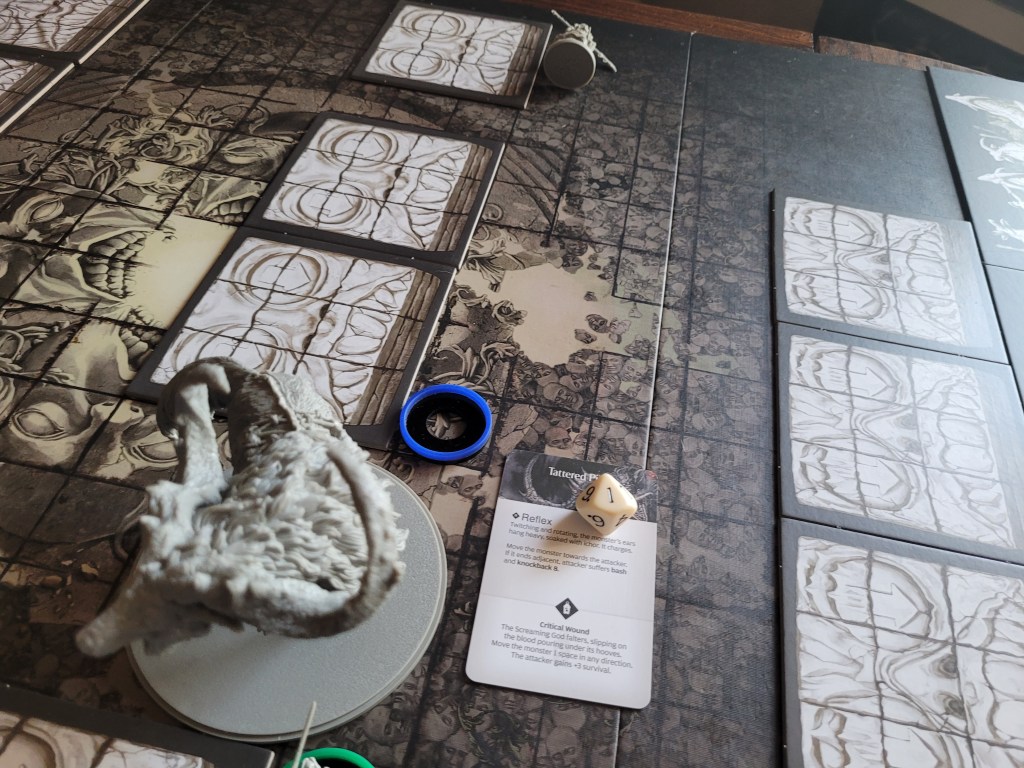
With Harmony fully out of survival and the other 2 knocked down, there was nothing for us to do here. Sage and Lyra were swallowed by the Stampede. Both of them: dead.
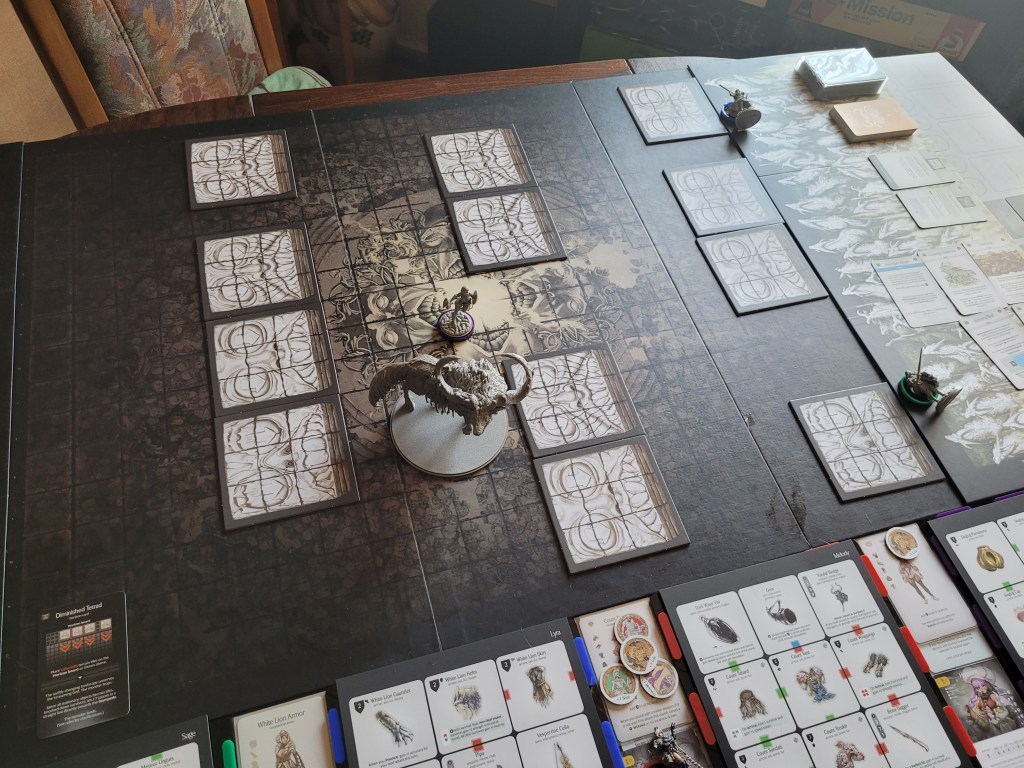
5 (6) cards left, Pounding Host was the first card the Screaming God replayed. Harmony was once again pummeled, and she suffered 2 severe body injuries here, both ending up being Gaping Chest Wounds.
But the real problem was that she ended up knocked down after having been flung so far.
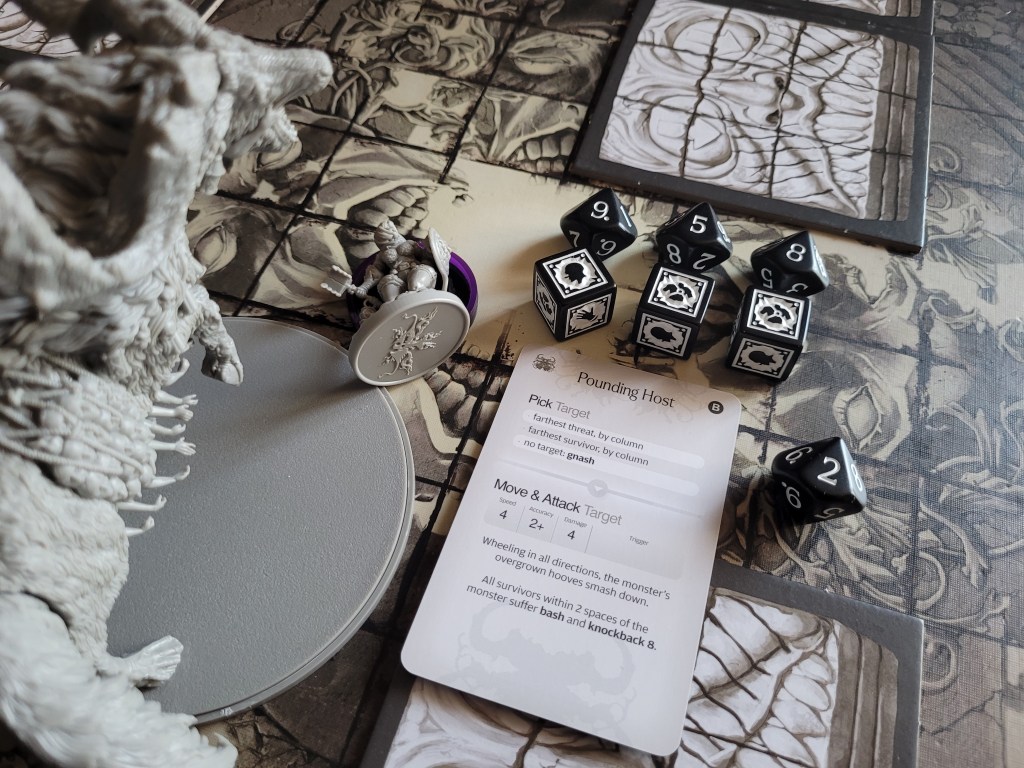
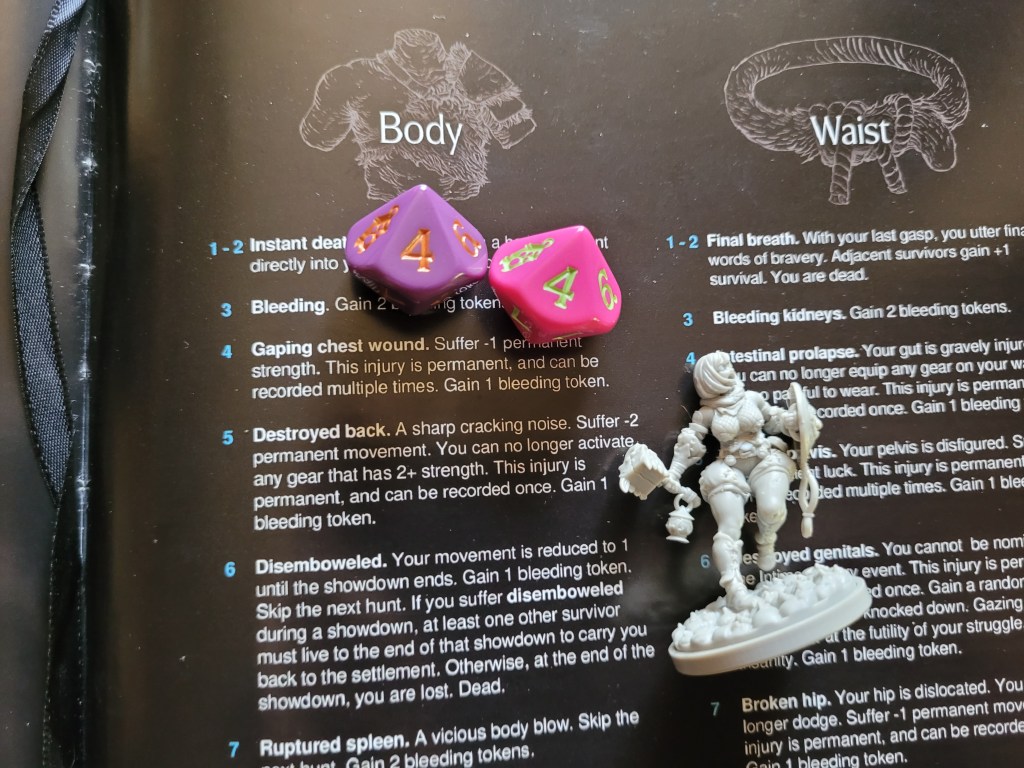
Her turn fizzled out with her still trying to figure out what’s up and down as the Stampede continued its approach unabated.
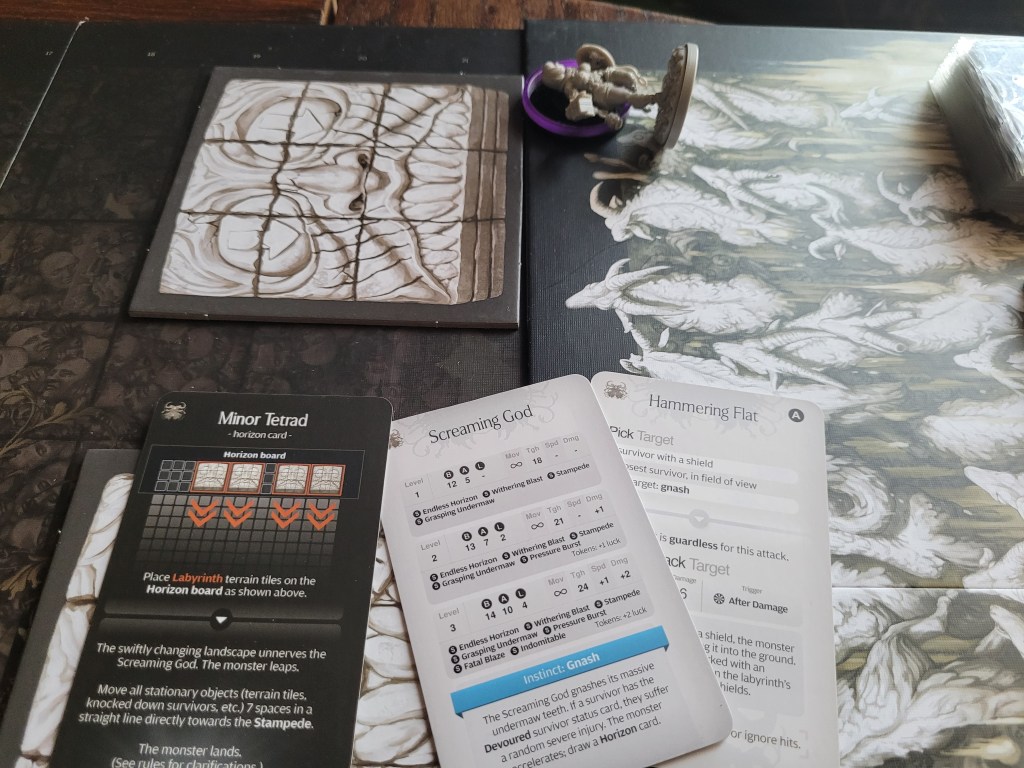
5 (6) cards remaining: Hammering Flat did not find a target as Harmony should not be in field of view here, triggering the monster’s instinct instead: Gnash.
This did mean we had to draw another Horizon card and Harmony was lost to the Stampede as well. Dead.
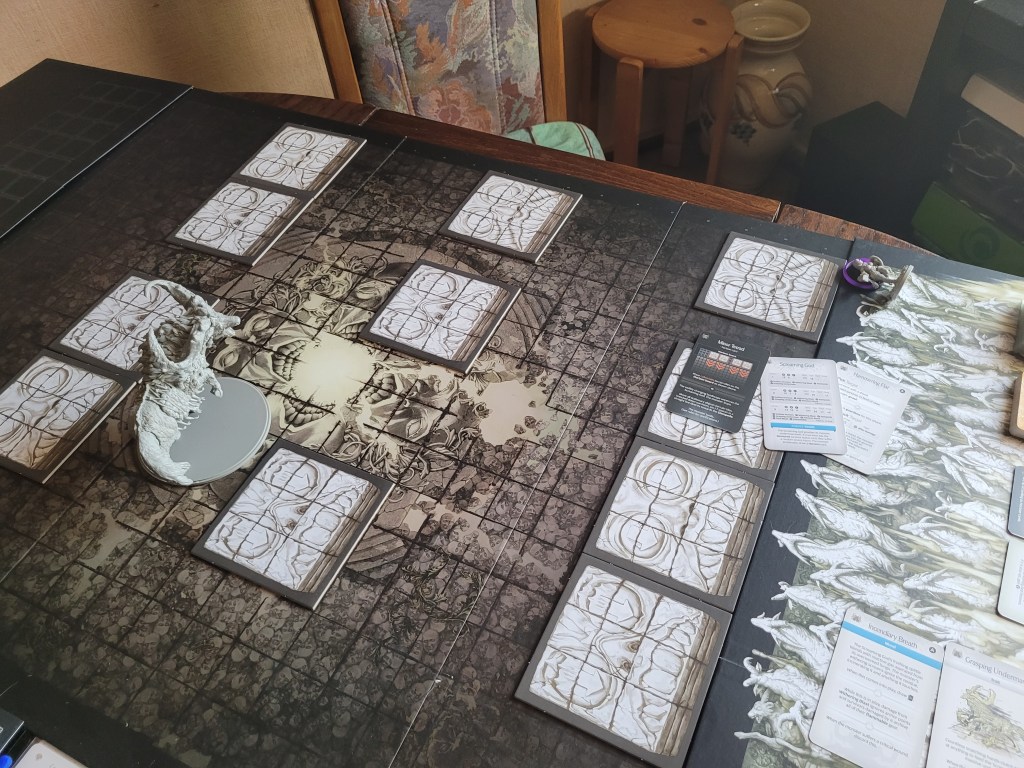
With muted horror Goldenglow lingered frozen in place, unsure if she should try to explore further into this antediluvian structure or just watch a little longer trying to comprehend what she was beholden to here.
The infinitely winding machinery churned and before long, events played out again. And again. And again.
When she finally returned to the settlement she had both hardened and found a twisted wisdom she was eager to share with those who knew nothing.
To those that had cast her out mere days ago not even one hunt had transpired in the mean time, and yet she seemed like ages had passed for her within such a short time frame.
But – and she might agree on this as well – time moves differently when so close to infinity.
***
All in all I think we did well enough for a first attempt at the vignette.
With these characters dealing damage isn’t really that much of an issue as opposed to staying alive. Both losing Melody so early and Sage never really getting much of a chance to attack (not to mention her utter inability to smoke her cigar) didn’t help my chances either.
Lyra did her best though and is probably in contention with Harmony for MVP of the fight. Speaking of Harmony, the Saxe archiving the legendary AI felt great .. at least until that third mood hit the table just a turn afterwards.
Still, with 3 characters able to deal double wounds, potentially even triple wounds per attack, you should eventually hit a “perfect storm” moment and feel sorry for this loud-mouthed deity as you utterly destroy it.
Had Melody not failed that wound that cost her 4 survival the whole fight would have likely been vastly different!
From what I have seen here today, the fight has a very interesting feel to it with the shifting battlefield and the ever present urge to move forward, continuously posing the question which is more dangerous: the Screaming God or the Stampede?
I do think it is overall a very difficult encounter the way it is set up. You do have to fight against a powerful monster even without the movement of the Endless Horizon and Stampede at your back and I could imagine this constant pressure putting people off due to it double-dipping into all manner of difficulty spikes.
And then there is also still the question of gathering its resources. Getting hardly anything from this fight or losing it all to the Stampede will probably kill this monster for some people.
Of course, it will also make it all the more intriguing for others.
As for the included Vignette:
Having this mildly curated set-up as part of the introductory event is both a nice way to introduce the monster to first time players, as well as an offer for a refresher-fight with no stakes after perhaps not having fought it for a long time.
The fact that you can also just skip this Vignette if you wish to has garnered some mild criticism from what I’ve seen. And.., I don’t get that? At all? Like, what?
Some parts of the community have been weird lately. At least the bits that I got to read. If the game forced you to play the Vignette every time, surely people would be complaining about that even more?
But that’ll be all I say on the matter.
***
In general, I am quite intrigued on how fighting the Screaming God will play out in an actual campaign.
From my first impressions it does feel like including Screaming God will push Watcher firmly towards LY25 when used in PotLantern. Which, if you manage to build the Vandal Sledge or maybe even the grand weapon, should not be that much of a problem to overcome with a Retinue or 2.
As for the Bloody Shallows in particular, I am feeling woefully under-prepared for this monster, to be honest. Goldenglow might be able to semi-reliably inflict wounds now, .. every other round .., together with whoever has the Piercing Claws; at least if either has the Dragon Armor; but it feels like any sharp weapon like a Nuclear Scythe with the Red Power Core would go a long way as well.
.. I miss having a 3STR baseline for all my survivors ..
In any case, unless we go on a critical-wounding-spree, I am sure we would lose the fight if we challenged the Screaming God right away. So I will have to make up my mind as to what we should hunt next.
The Red Witches are also just around the corner!
Then again .. we do have a blue savior…
***
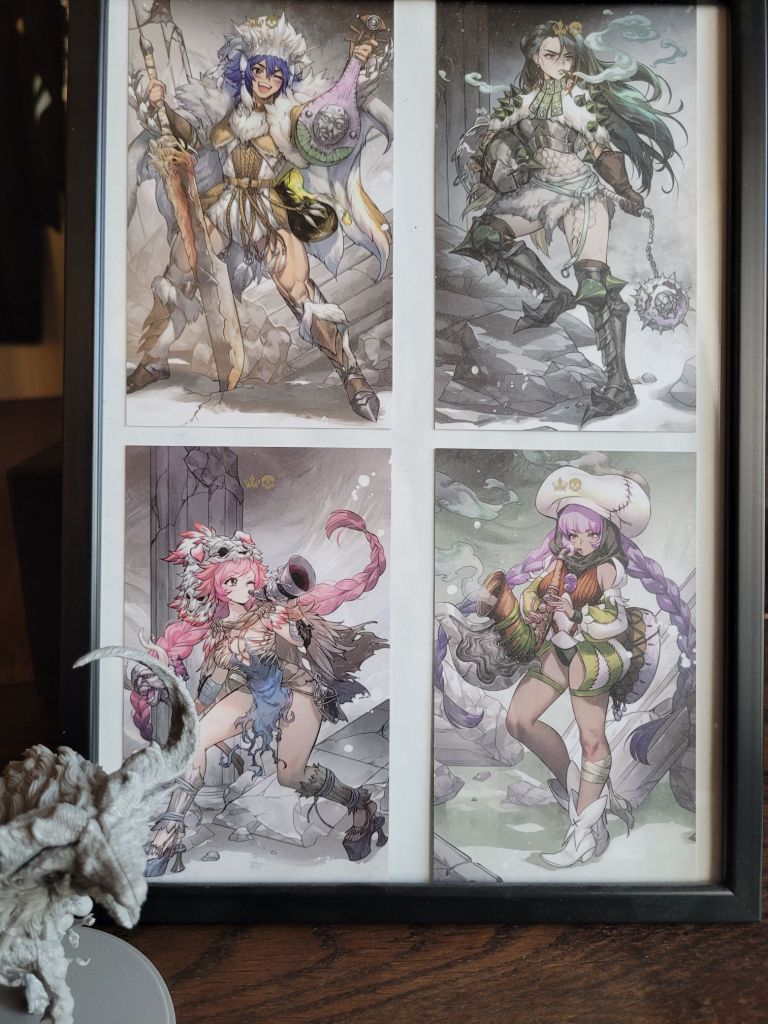
Edit: I did almost forget that I wanted to mention the 4 vignette survivors one more time.
As you might have heard by now, they are not included in the box, which is a shame. But the outcry for more models has been heard at the source and we are very likely going to see these 4 as a White Box release in the future.
They could easily fill a Survivors of Death or Echoes of Death box-set or something else entirely.
I personally would certainly prefer them with some additional content – be it something small like Seed Patterns or Fighting Arts at least.
***
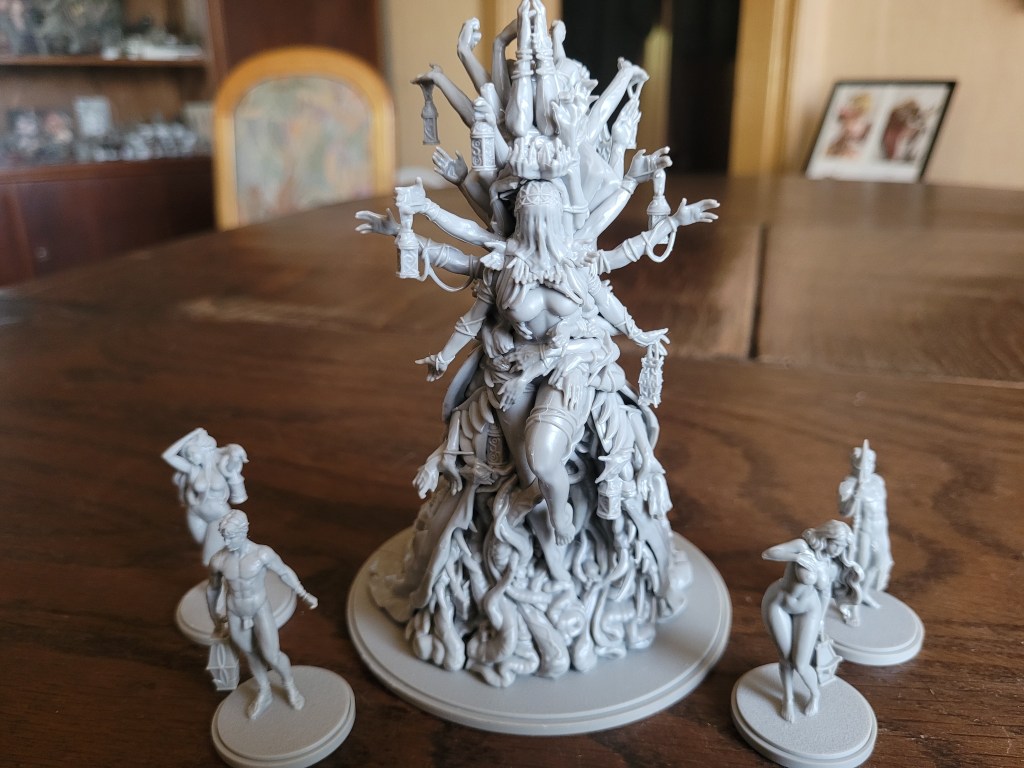
The Parasite Queen is the first model I have built entirely according to the official guide, because I felt completely lost with all the loose arms and lanterns and bits, and I can report that I have had no issues with said guide, besides maybe her 2 “main” arms being a bit hard to snap into place around her shoulders.
Her head also isn’t glued on currently, but sits in place quite firmly still, so I can/could switch between the veil and Tomie.
Both versions fit nicely from a story-perspective (there is a hit location card for the Parasite Queen that explains it well enough), though I do think the veil makes it look more like a monster.
I also enjoy the “off” look the Illuminated figures have. There’s something not quite right about them.
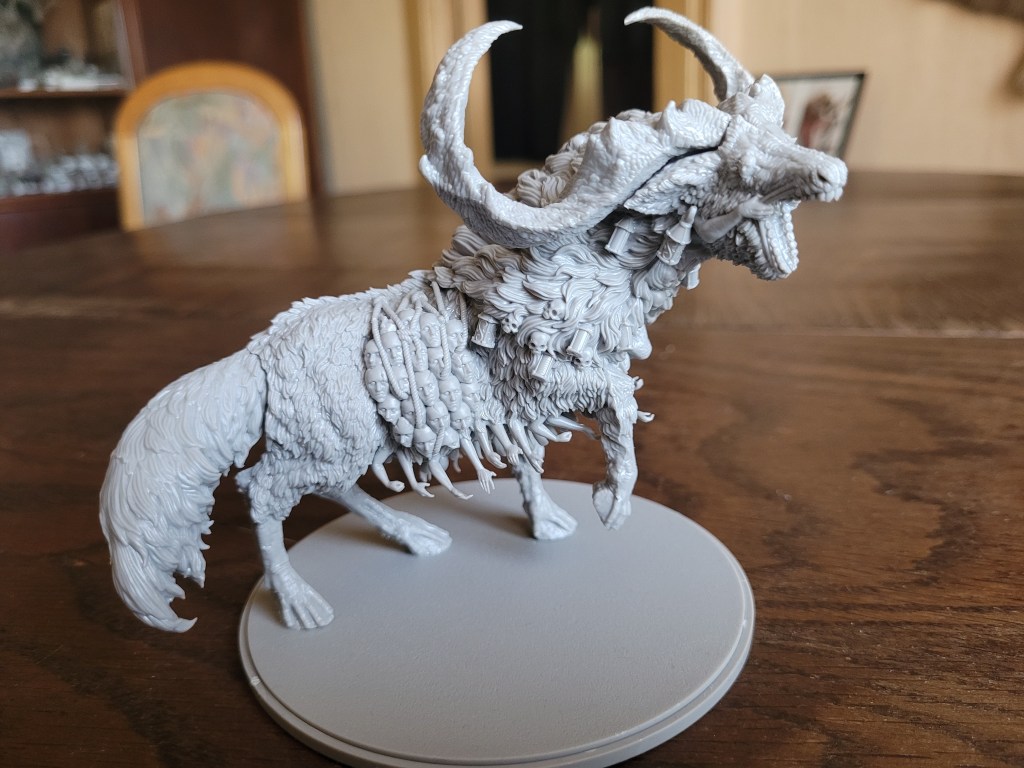
On the other hand, building the Screaming God was fairly straight forward, and even the loose lanterns weren’t that hard to figure out on my own. You do need to watch out for the arms around the undermaw a little, though.
Just keep on dry-fitting the parts and you’ll be able to work it out!
Skimming through the book, cards and gear has been a delight so far. And for what it’s worth, I think I finally understand why these 2 have been paired together into one expansion. At the very least I now have an idea as to why.
But, I’ll leave it at that for now.
We have not quite managed to unlock a Strain Milestone today, but there is always a next time!
As always, thank you very much for your time, have you gotten your glance at infinity yet? Or a royal invitation to return back to the throng? Or a divine edict?
Amathul





Leave a Reply