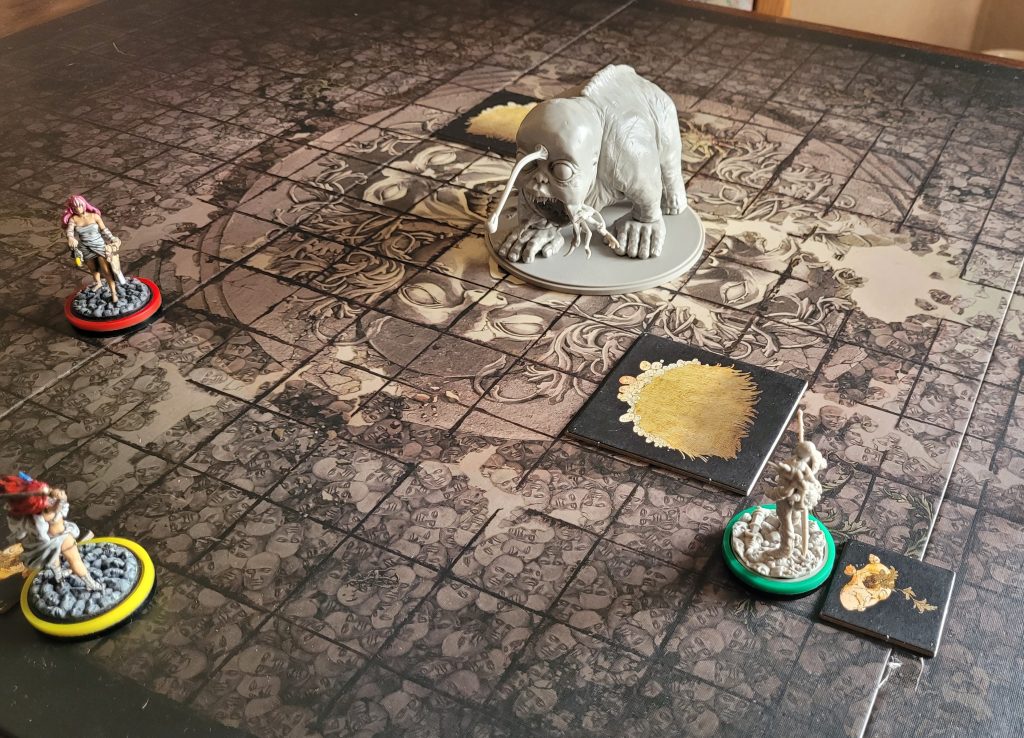
So, what are we hunting today? It’s another Gorm!?
Yup. .. Another Gorm.
As I’ve mentioned last time, hunting a Spidicules at this point wouldn’t help us all that much. Whilst we are in need of armor (and other survival actions) a Spidicules Lvl1 would give us just barely enough Web Silk to build the crafting location, and there is no telling if we’d even be able to craft anything from it.
So, with the Butcher set to pay us a visit in Lantern Year 4, I opted to try for 1 more Gorm. And ultimately, as you will see, I would say this did pay off. Even if it wasn’t in the way that I had wanted it to be.
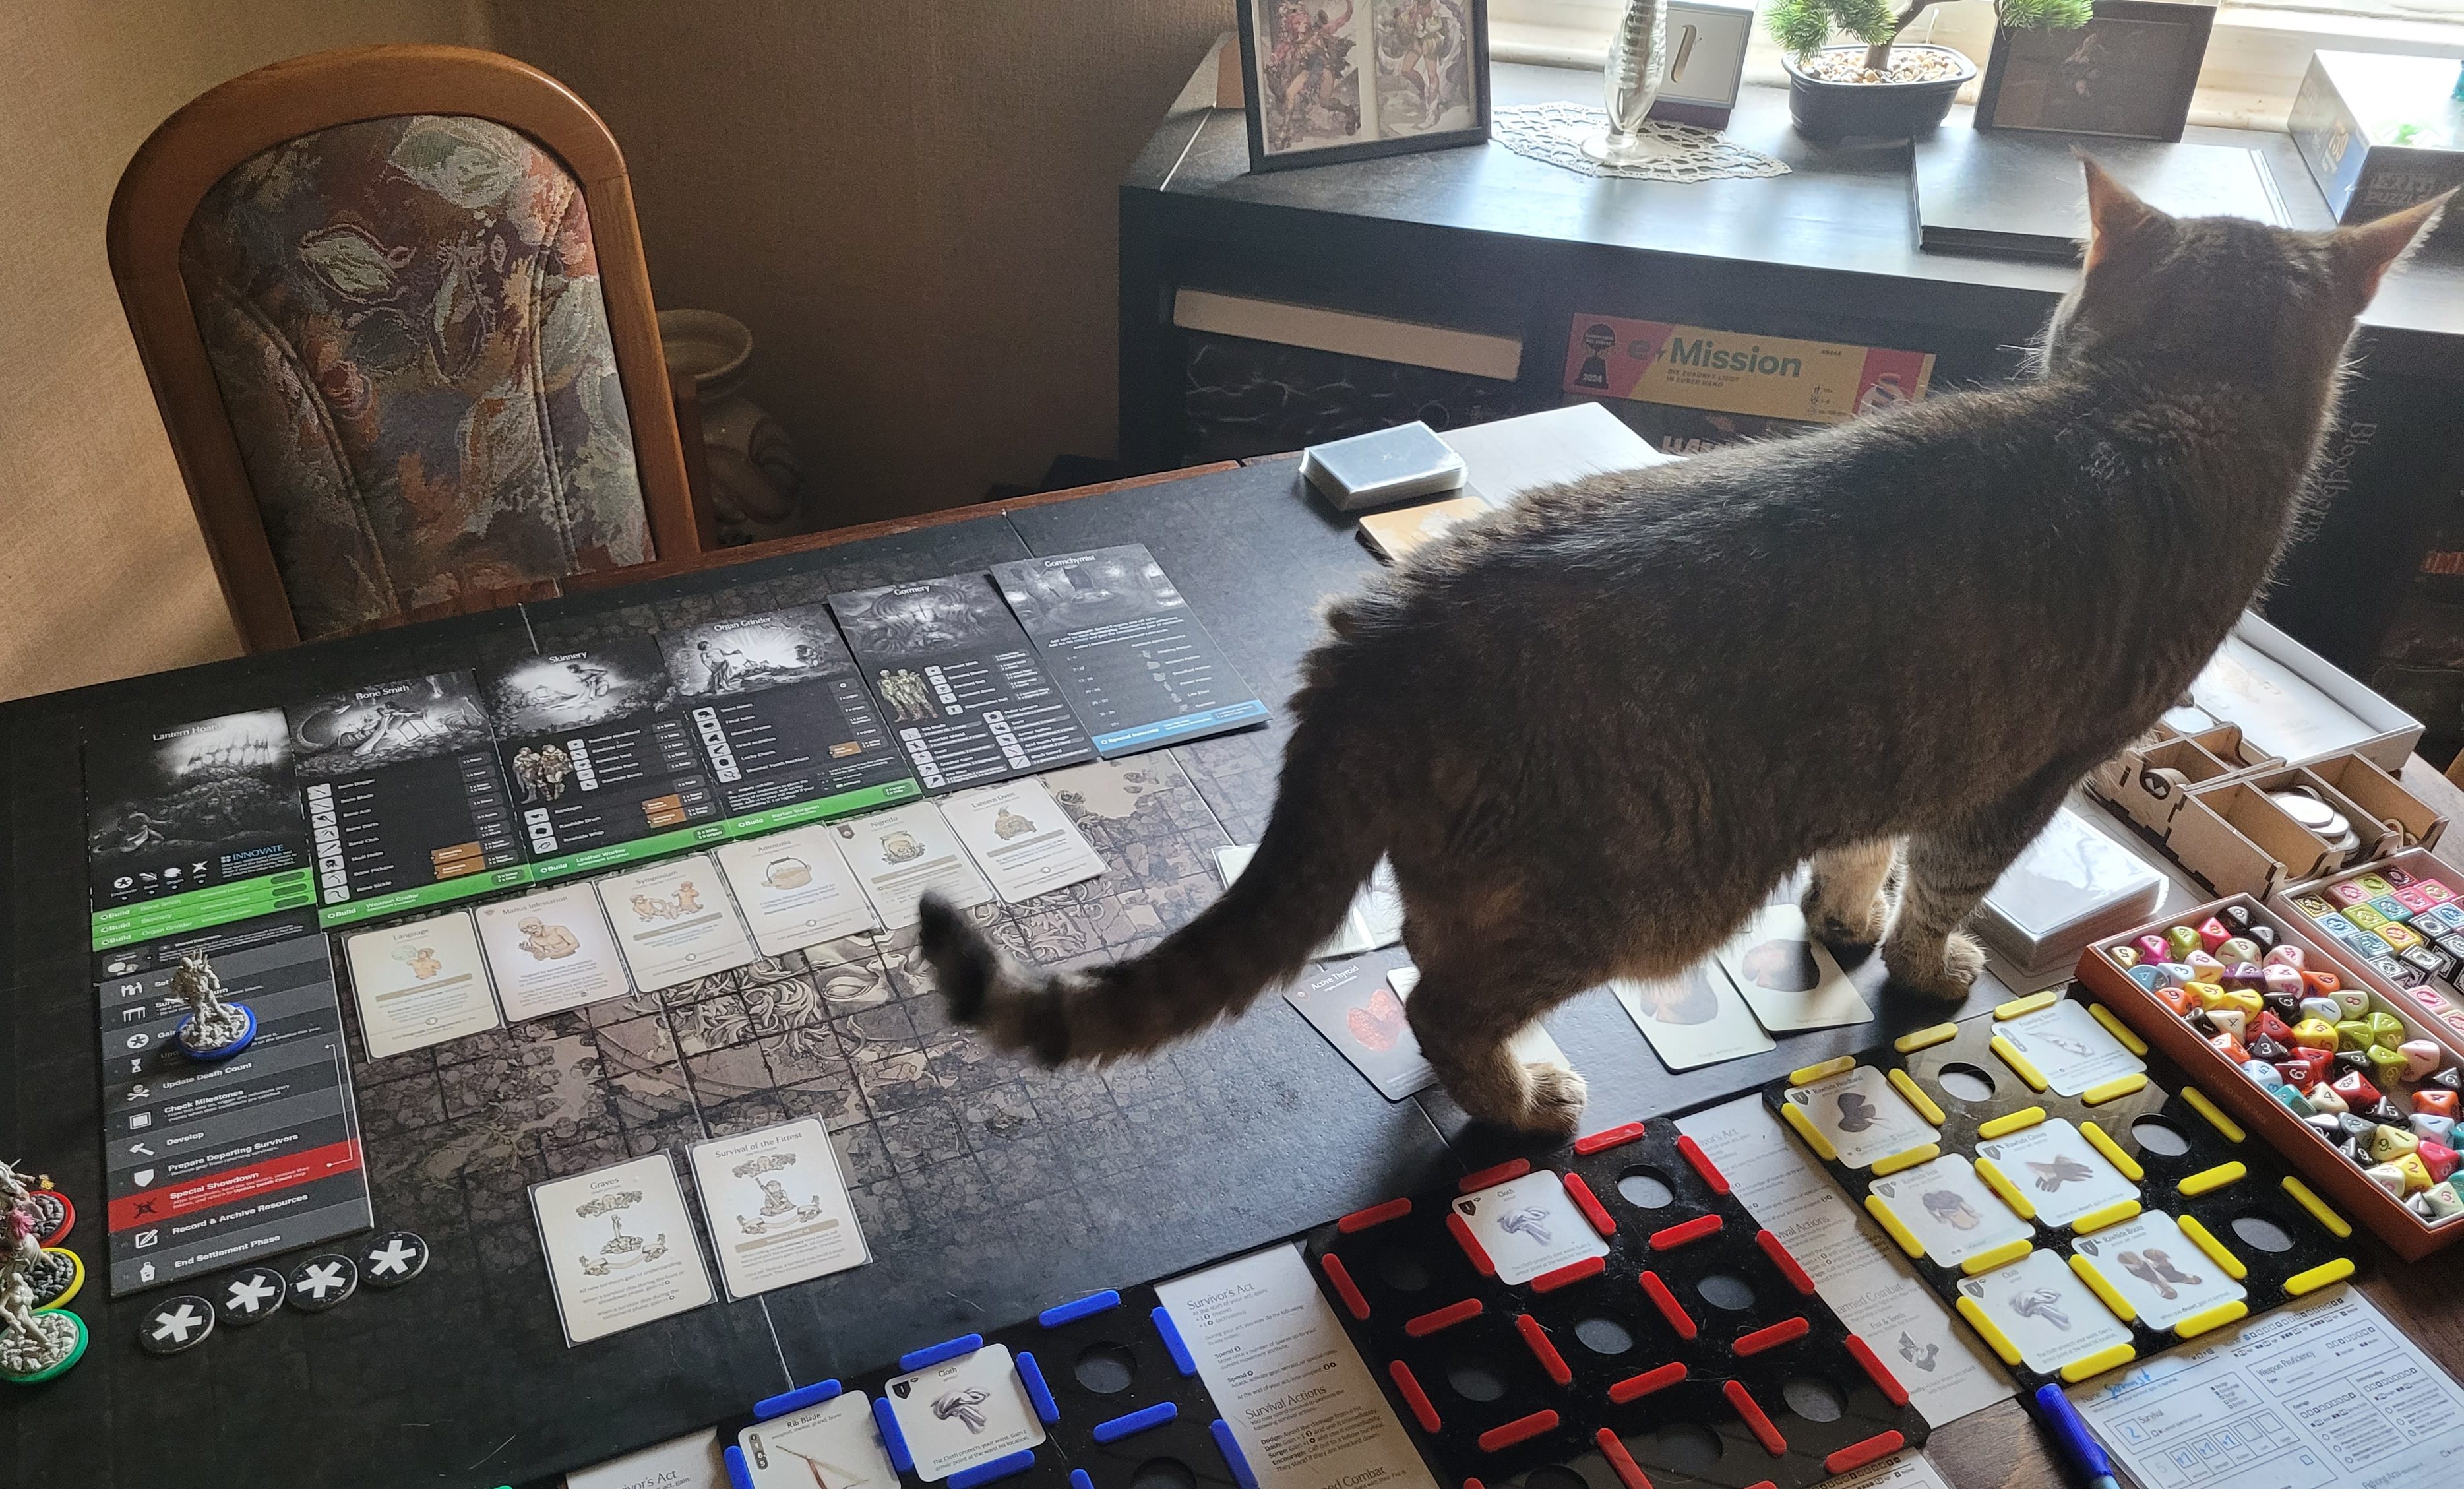
Dragging another dead Gorm back home surely was hard work – still, the successful hunt got the creative juices flowing within the survivors and rewarded us with 4 endeavors before we moved on to dealing with this Lantern Year’s line-up of events.
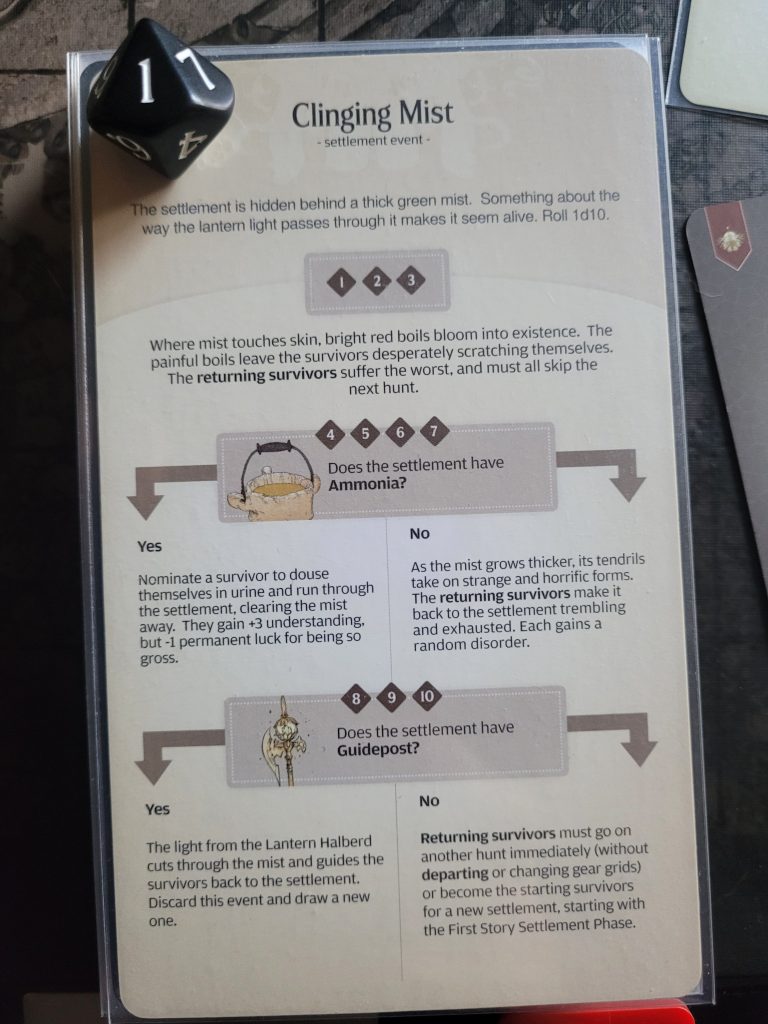
The random settlement event for this Lantern Year was .. Clinging Mist.
I rolled a 1 and all thoughts I had had regarding an excursion into NG+ evaporated as my 4 survivors returned horribly burned and were forced to collectively skip the next hunt.
But that was only event 1 of 4.
Up next: The Outcast.
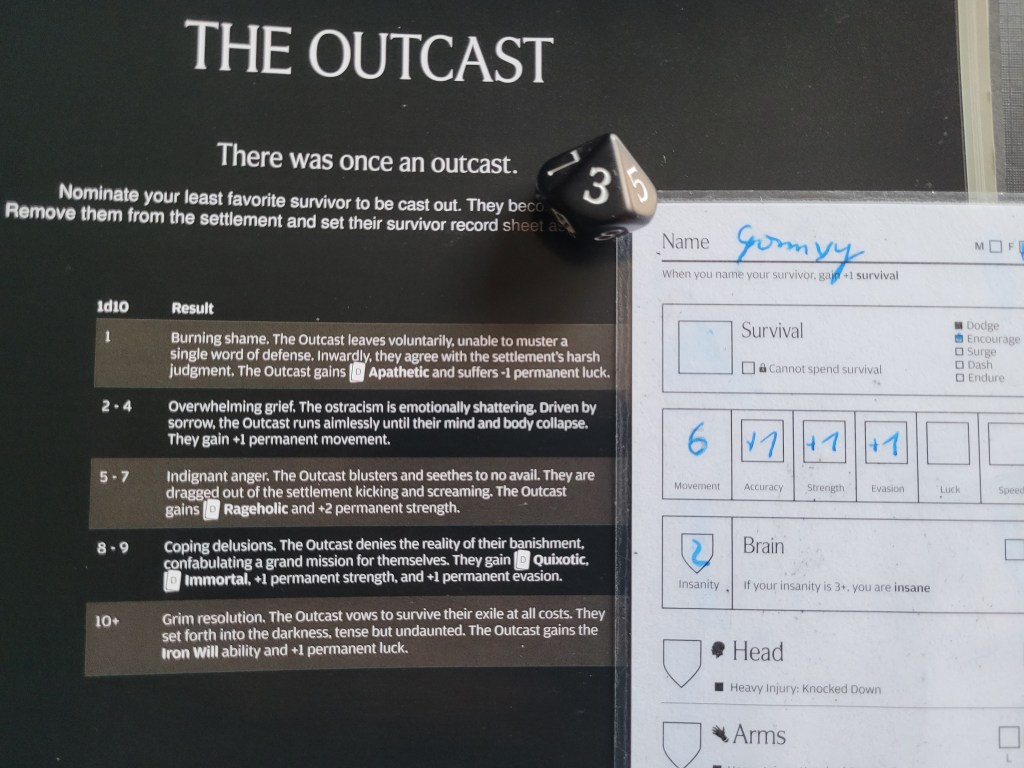
I nominated Gormvy to get exiled (if you know, you know) and rolled on the table – 3 – Gormvy had not seen this coming and ran as far as her little legs could carry her.
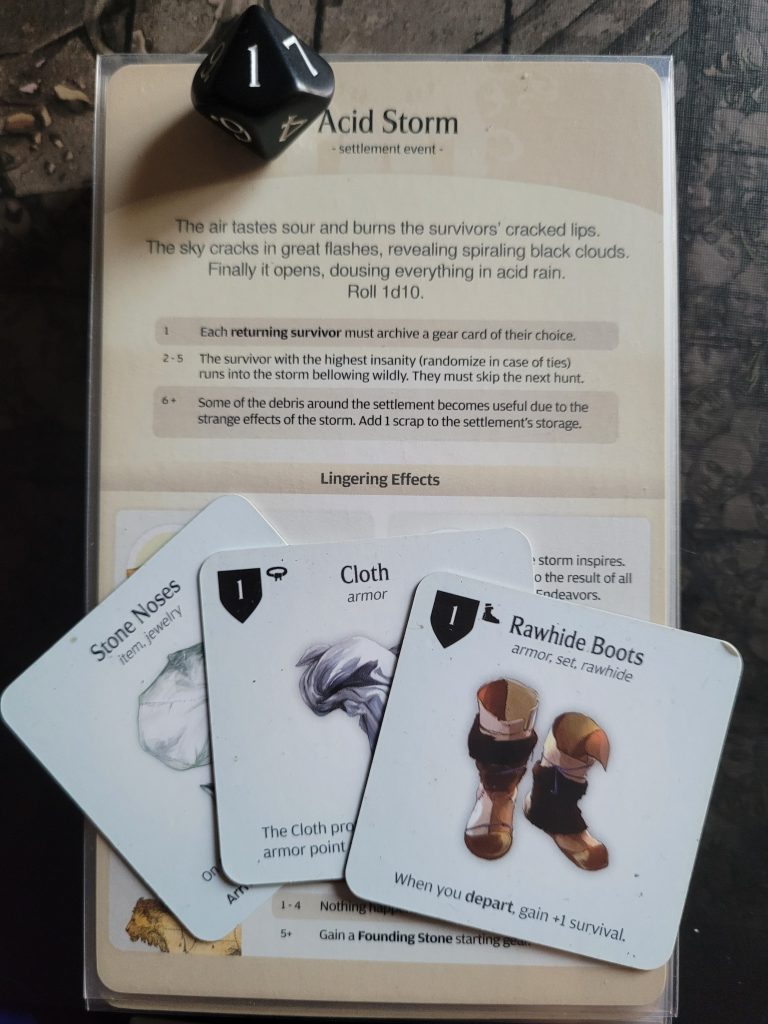
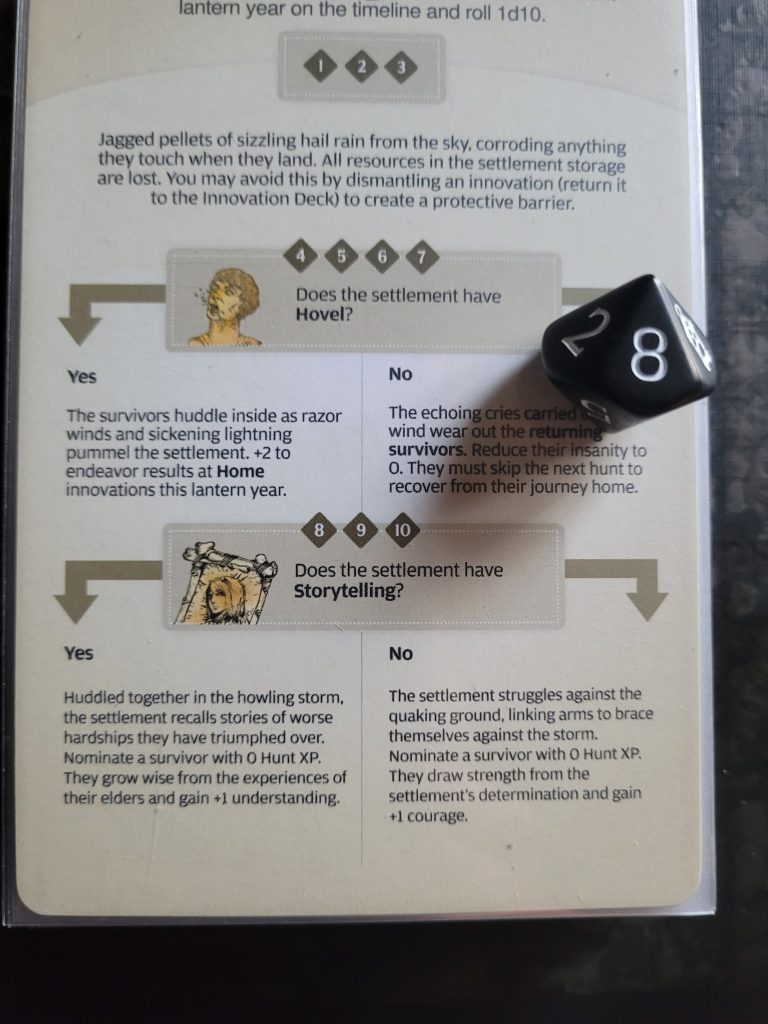
Before we could settle in for the Lantern Year, climate change struck for the first time – both an Acid Storm still had to be resolved alongside the lasting Gorm Climate.
And it was a bad one. A 1 rerolled into another 1 cost us a Cloth, the bag of Stone Noses and our Rawhide Boots as each returning survivor had to archive a piece of gear. Oof.
And finally the roll for Gorm Climate. I was pretty much hoping for a 1 – 3 to be able to dismantle the Lantern Oven (I) again .. but an 8 meant that Mrs. Gorm would gain a courage from being stuck indoors during the storm instead.
With that we were set to move on to the develop step. Losing 5 pieces of gear between the last hunt and getting back to town was rough!
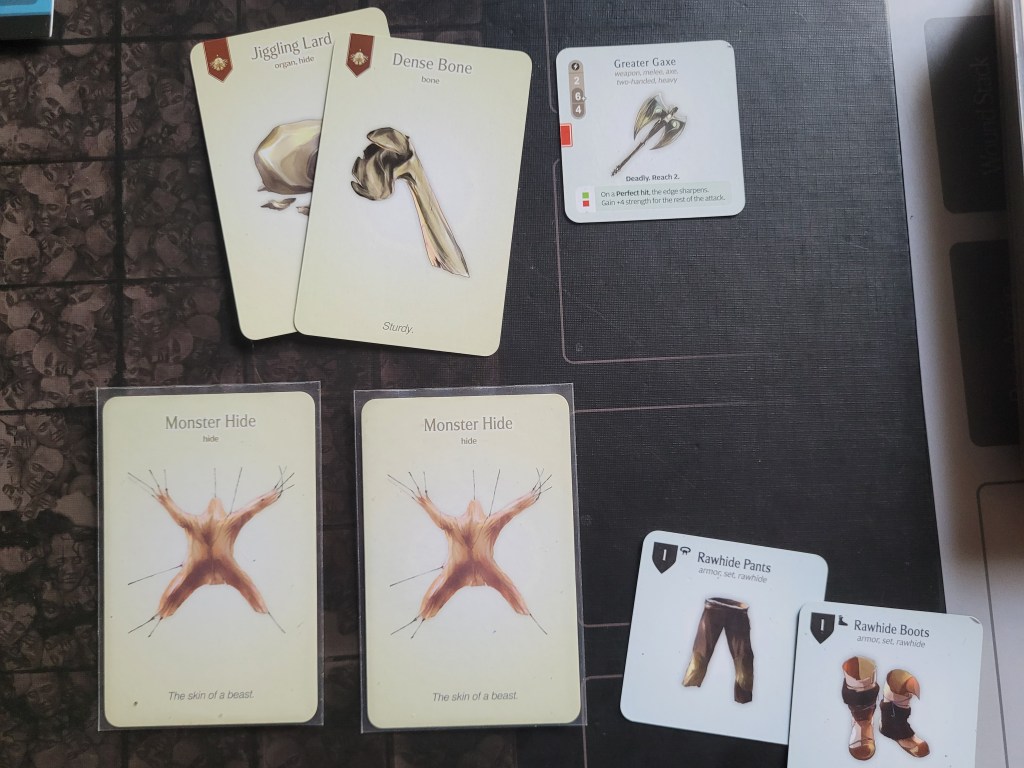
So, with a shortage of usable weapons, I had a look into our storage and used the Jiggling Lard I found in there with the Dense Bone we were able to loot from the last fight to build the Greater Gaxe.
Finally! An unbreaking (G)axe!
I also used the 2 regular Monster Hides to finish the Rawhide Armor Set.
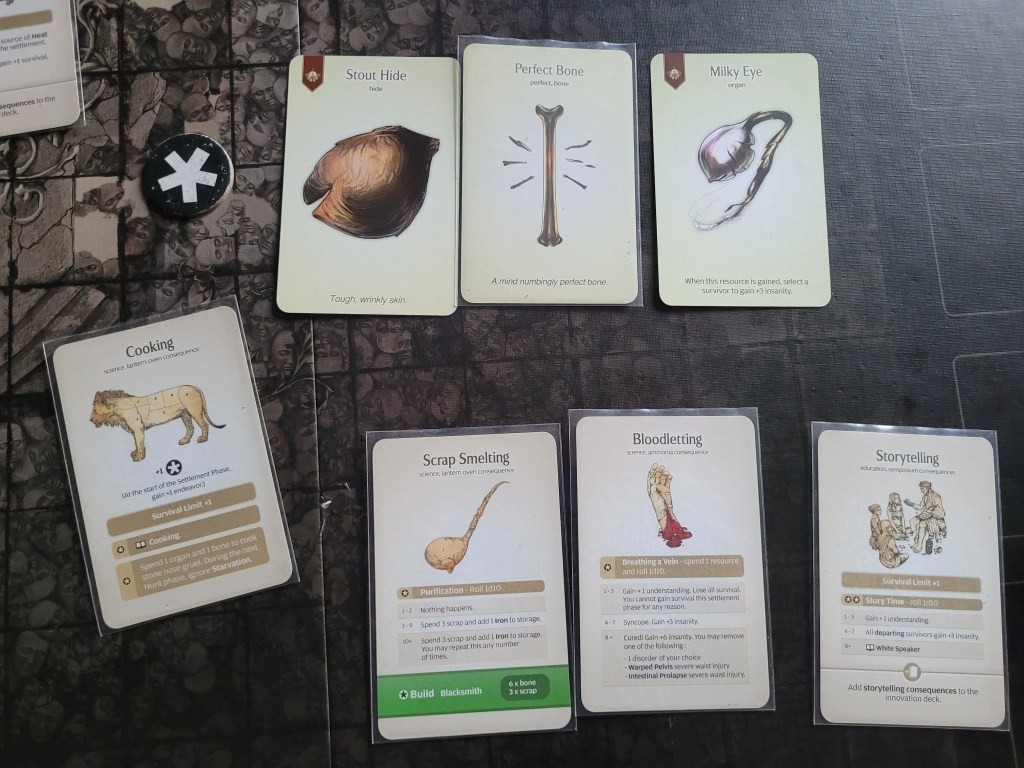
I then spent a short while deliberation on whether or not I should build a Pulse Lantern. And whilst I have used it before and think it is a decent piece of gear, I do still dislike the -1ACC is applies for these early Lantern Years, especially without surge available to us yet. All that combined meant that it wasn’t going to be my highest priority to build at this point in time. So in the end, I decided I would use the Milky Eye to innovate this Lantern Year and kept a bunch of stuff in storage again (a Stout Hide, Stout Kidney and Active Thyroid).
This innovation did costs the settlement a Perfect Bone .. so it better be good!
Cooking, Scrap Smelting, Bloodletting or Storytelling.
Sure. What a line-up. Only Cooking felt like a reasonable choice here, so that’s what I took.
With the remaining 3 endeavors I remade the bag of Stone Noses we had just lost, and Kigorm got 2 survival via augury (two 6s).
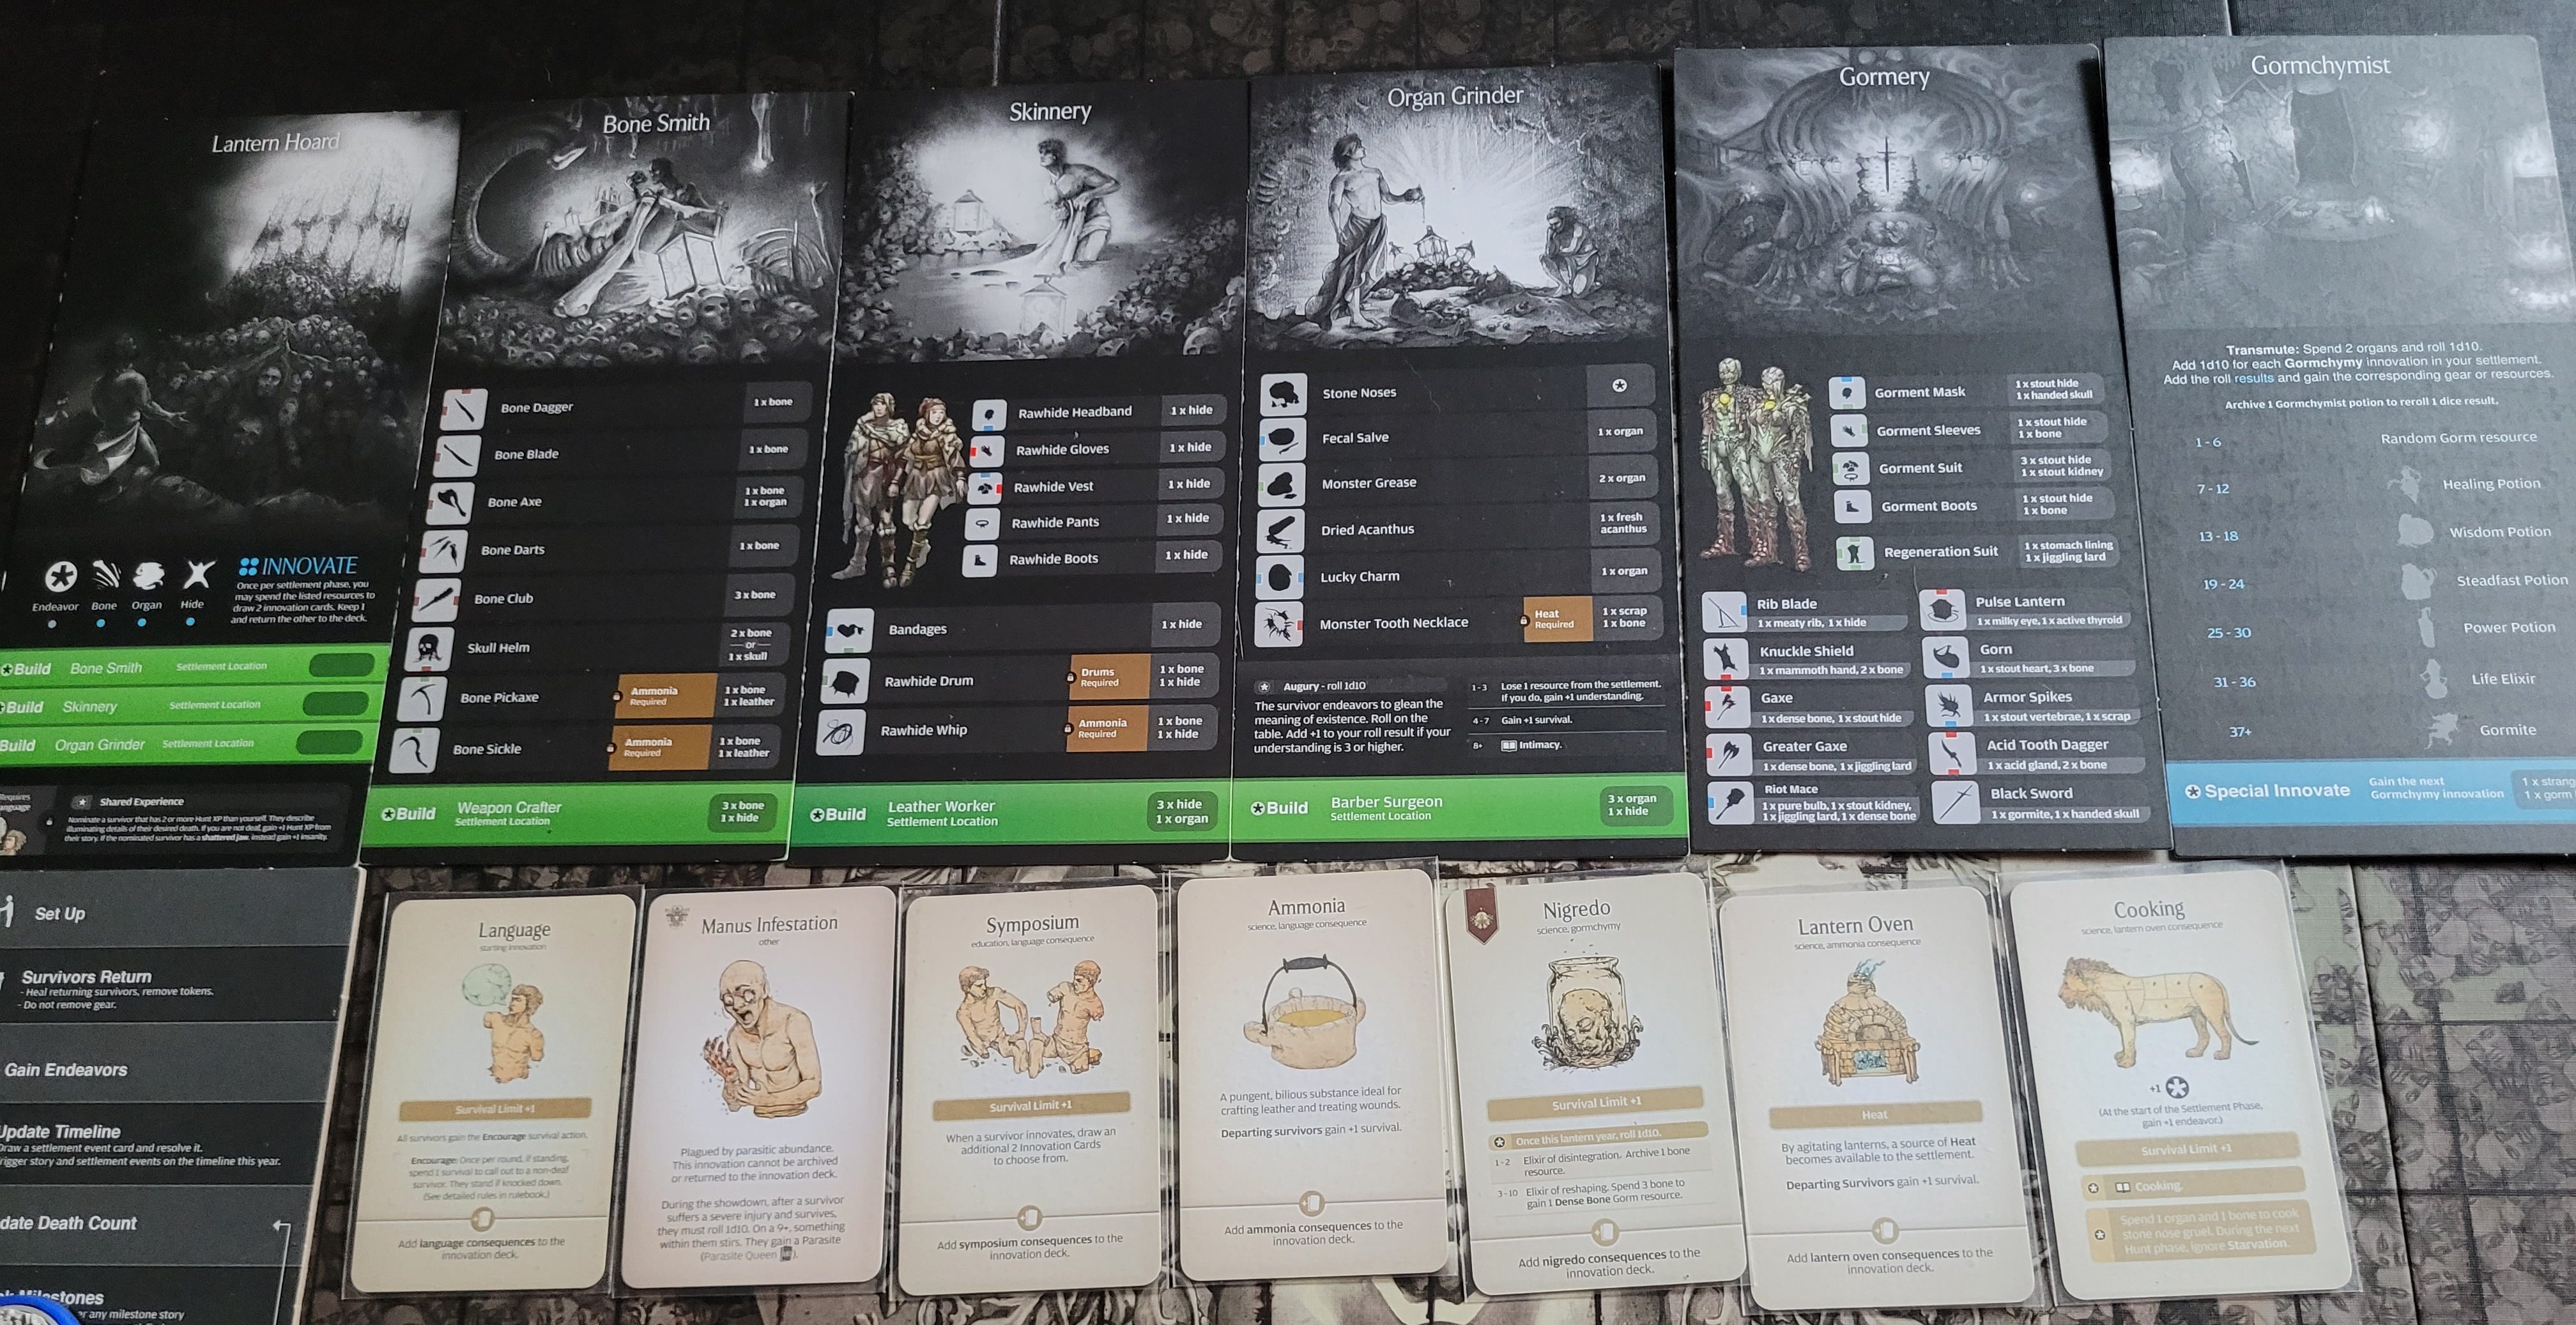
What a silly line up of innovations for Lantern Year 3.
The Hunters of yet another Gorm:
Greegorm – green (Bone Dagger)
Gormco – blue (Rib Blade)
Shaogorm – red (Greater Gaxe)
Gormwry – yellow (Rawhide Armor Set, Twilight Sword)
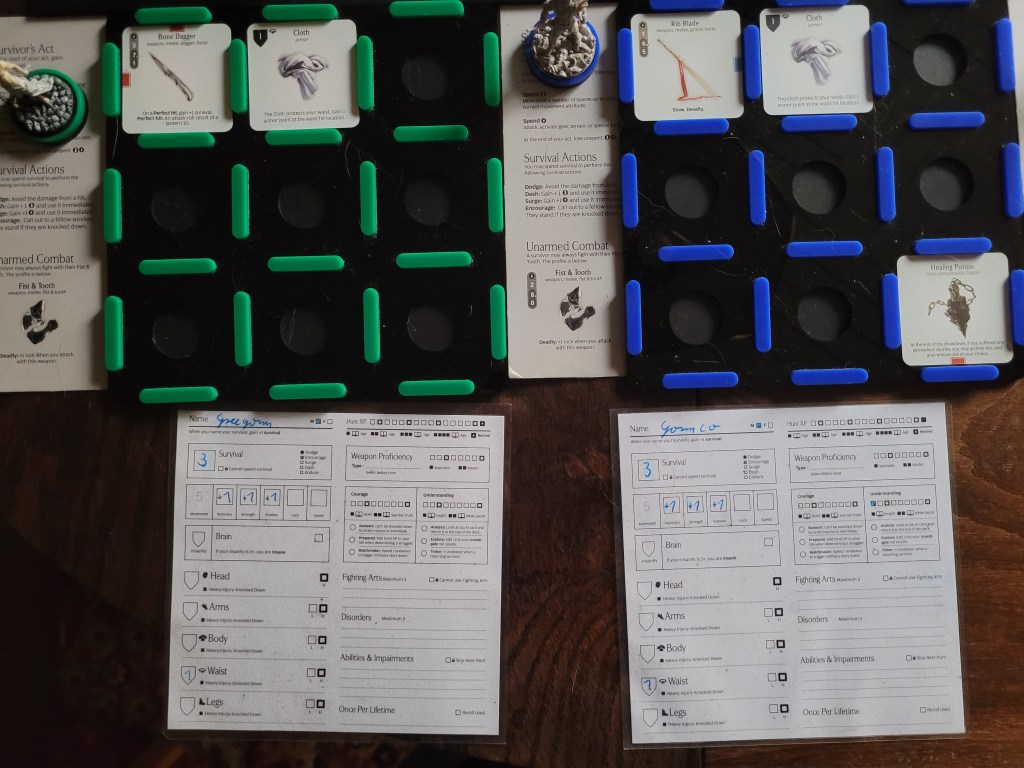
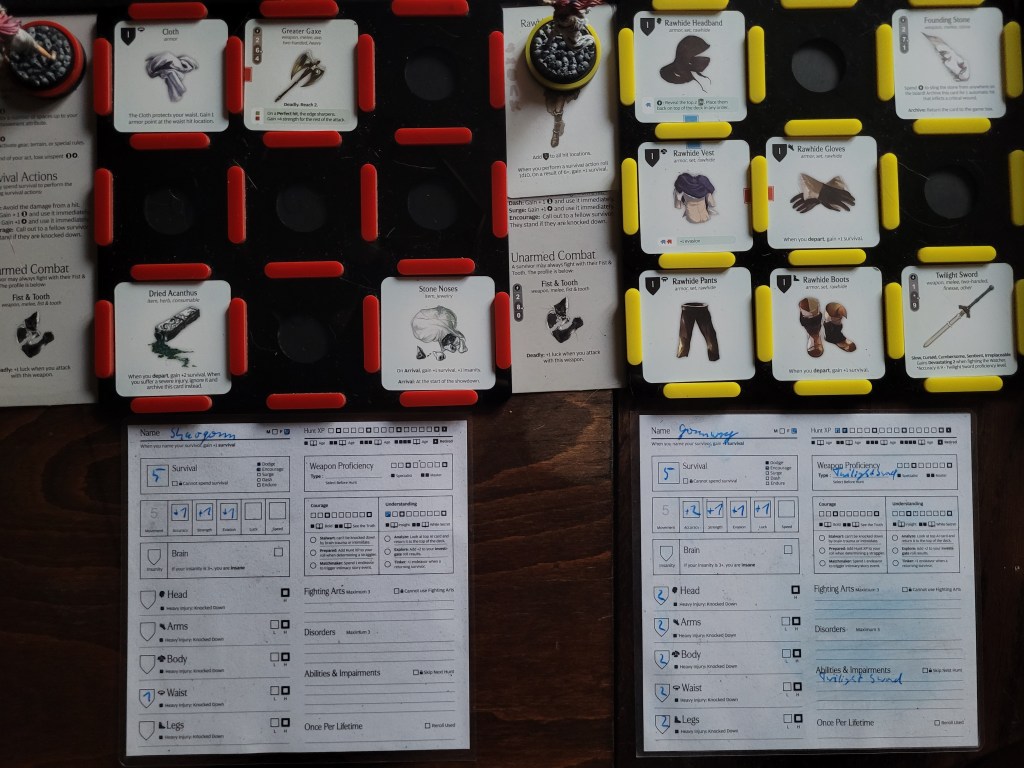
Getting 1 or 2 points of Twilight Sword proficiency for Gormwry would help with her surviving the frequent training with the Hooded Knight. Though we might need to get a child with proficiency ready for later down the line if I actually wanted to use the Twilight Sword for the Watcher.
For this particular hunt the greatest hurdle in this regard would be having Gormwry insane enough to be able to even use the weapon. Whilst it didn’t feel particularly great to hunt a third Gorm Lvl1 in a row in the context of a recorded Season 4, I did expect things to be this way when I chose the Gorm as this campaign’s Node 1 quarry.
The Huntphase:
Greegorm took the lead this time and found a gathering of huge smooth boulders. As nobody had enough understanding to make anything of these misshapen rocks, all theories about Itchy Palms remained un-thought.
Making their way upon a less tread upon path, the group was instead surprised by an Exhalation of Darkness (basic HE19). Both Shaogorm and Gormco were left to their own devices as the group got scattered in the pitch black and one of them dealt with it much better than the other. Whilst Gormco re-emerged without his Cloth, Shaogorm was holding a fresh Monster Organ.
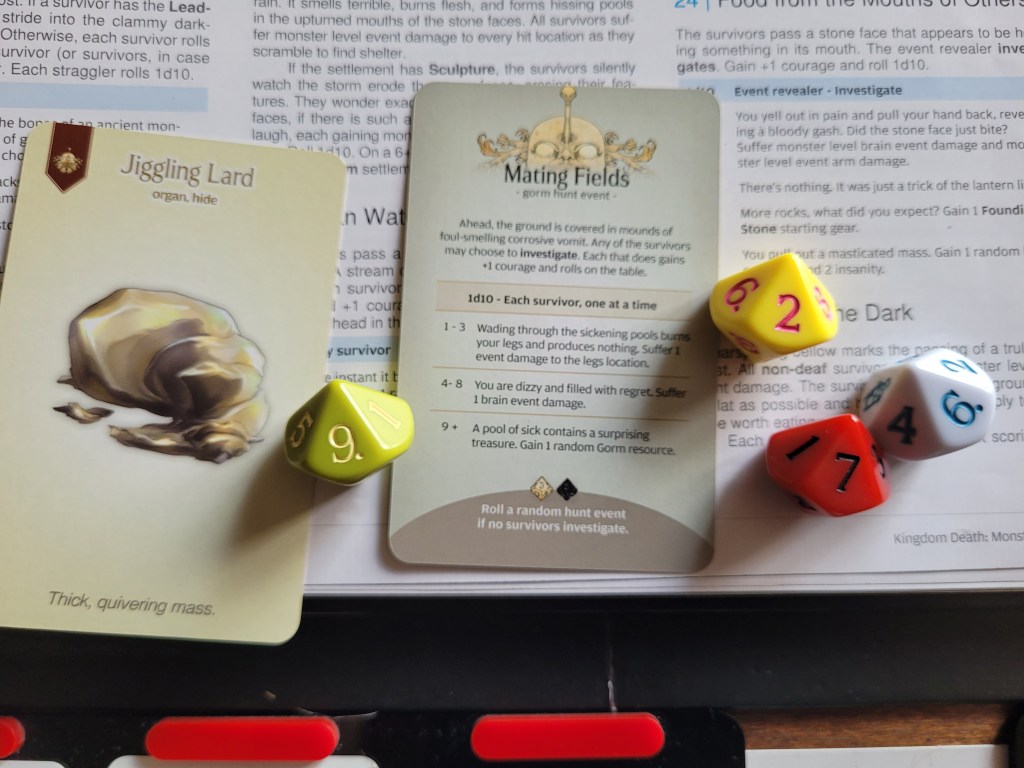
Crossing into the Mating Fields showed the survivors that they were once again on the right track. The whole group started to investigate their surroundings and whilst Gormco got a chance to redeem himself by finding a Jiggling Lard, the others weren’t as lucky.
Surging with confidence, Gormco strode towards the Gorm, but lead the hunting party instead to a Test of Courage (basic HE85). Suddenly meek once more, the group diverted their attention back to the hunt at hand.
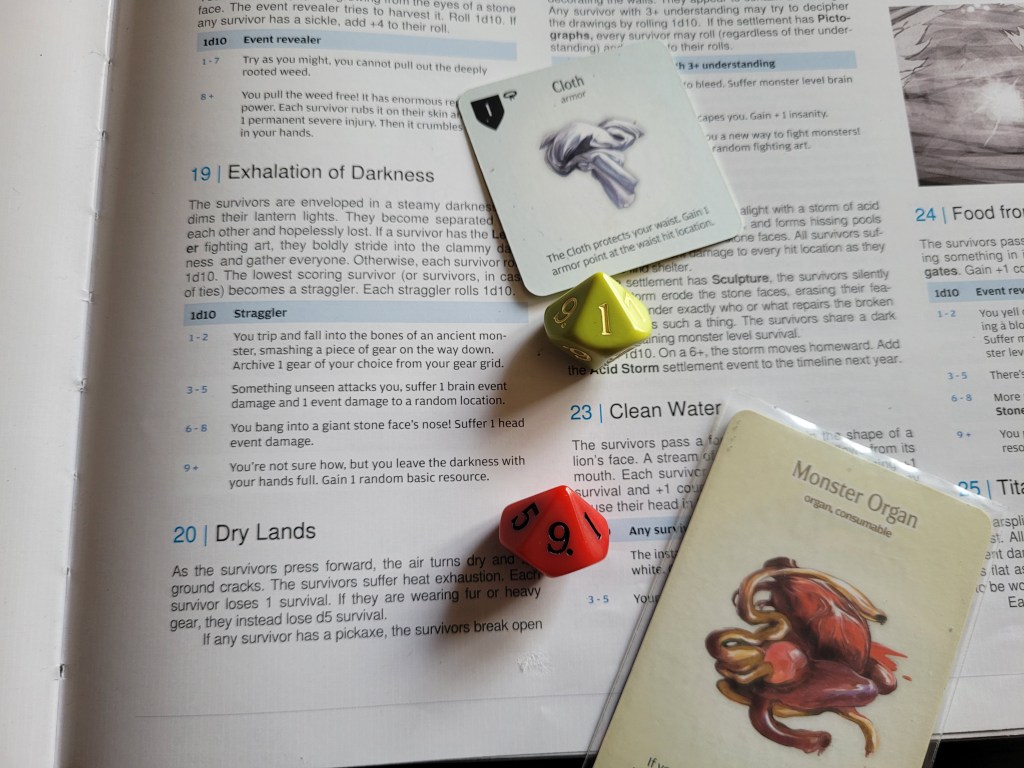
Shortly afterwards we managed to corner the Gorm.
As for terrain, I drew a Toppled Pillar and Acanthus Plants to round out the set-up of the showdown.
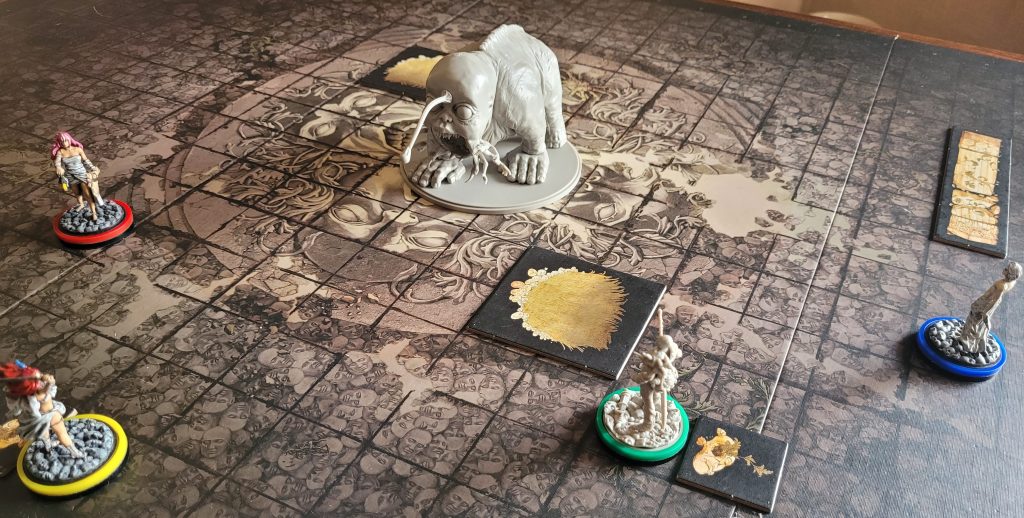
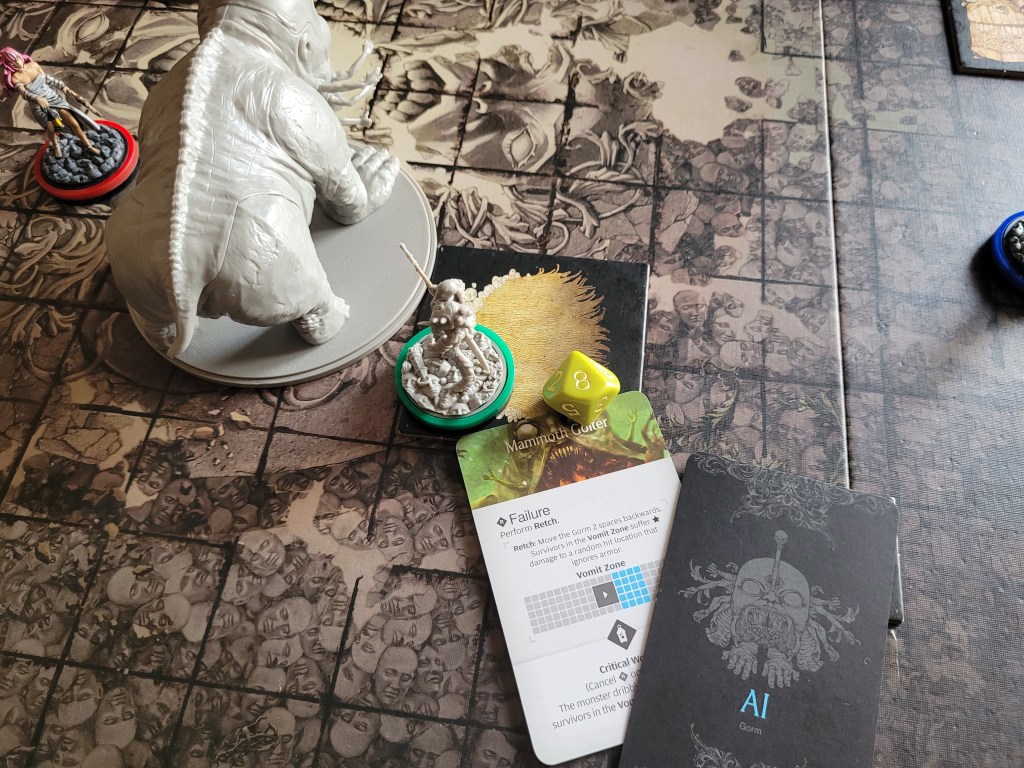
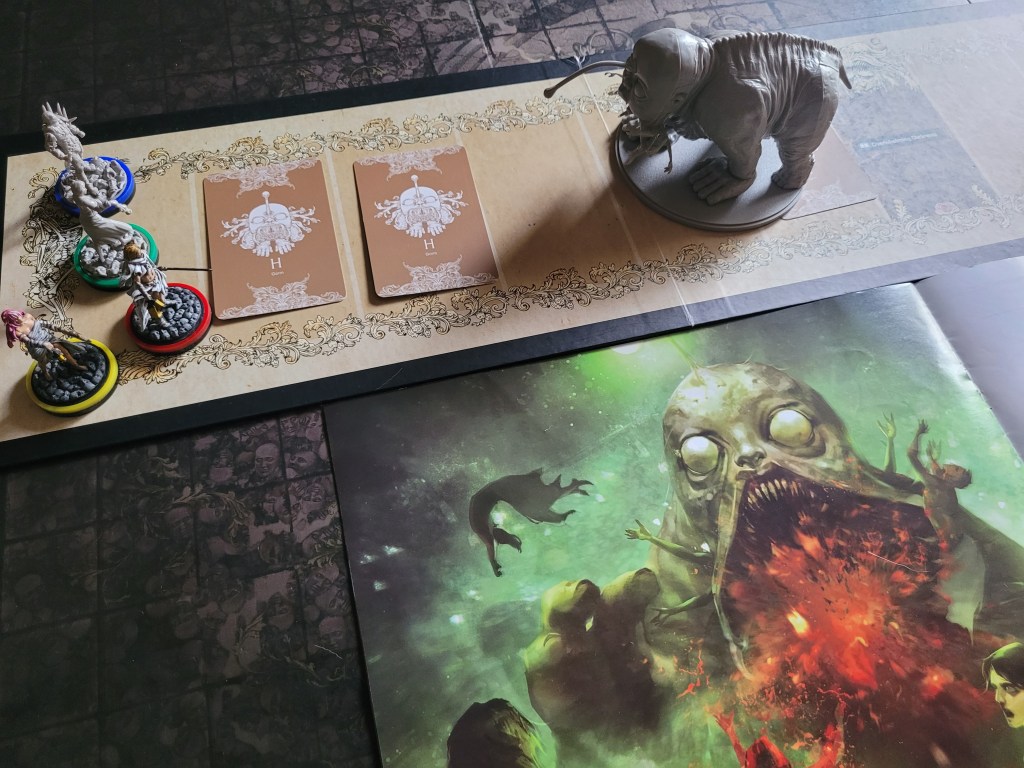
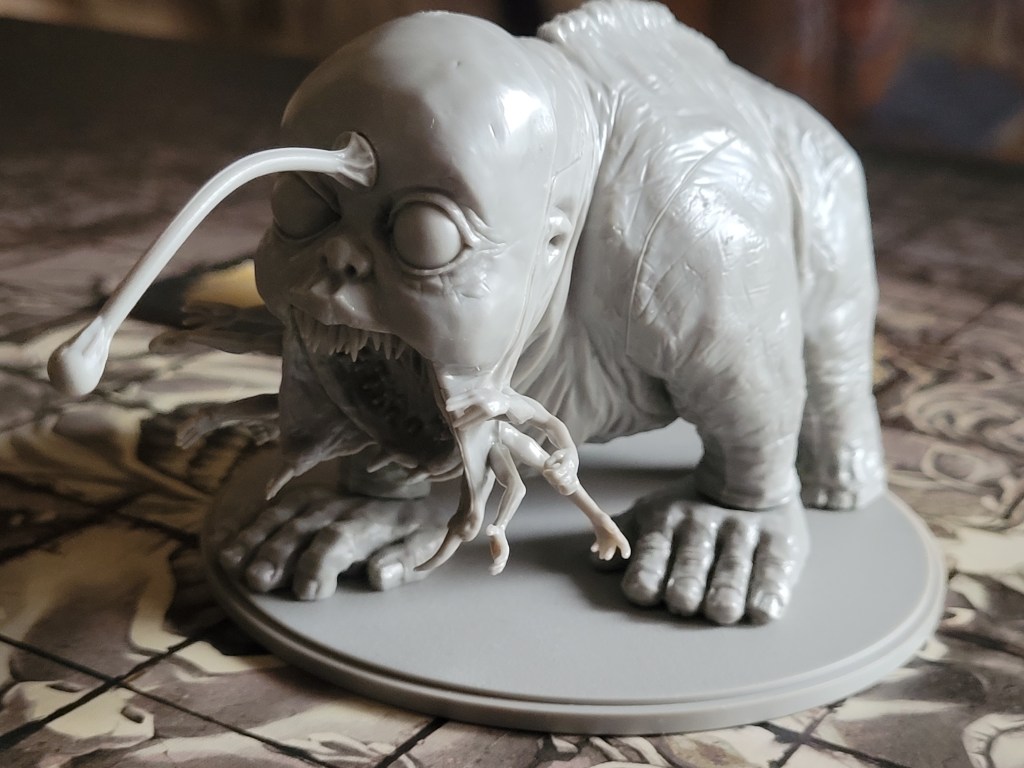
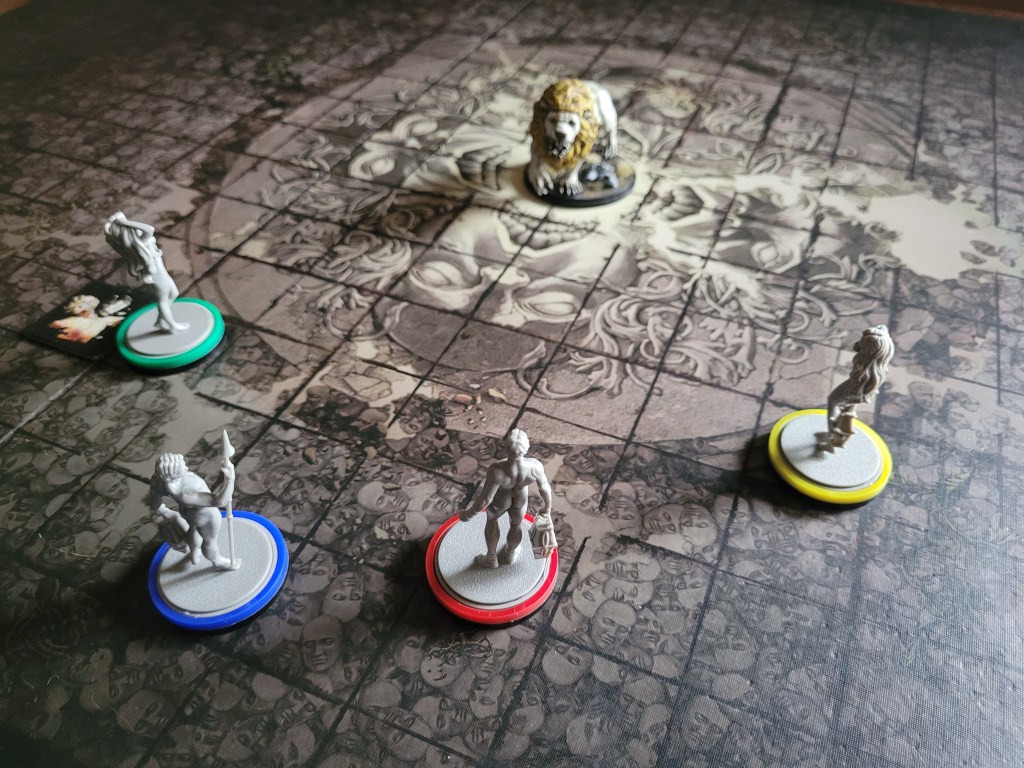
With 10 cards in the deck, the Gorm was poised and ready to strike! Strobe.
It knew the weakness of our mushy survivor brains – flashing lights!
Thanks to Shaogorm’s bag of Stone Noses she barely avoided the brain trauma as all 4 survivors had already gathered marked boxes.
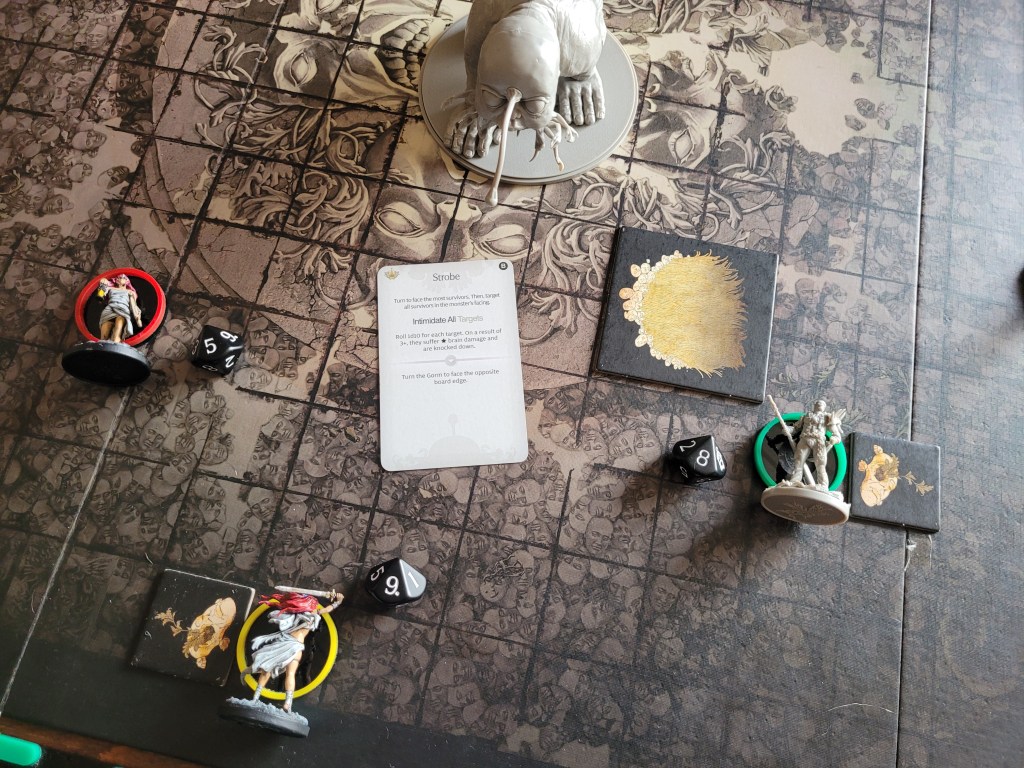
Whilst we had only been minimally prepared for the disco-Gorm, what we did have though, was lots of survival and thus I started an encourage-chain as our first turn began: Greegorm stood up Gormwry, who helped up Gormco, who in turn helped up Shaogorm.
After that Shaogorm wasted no time and moved to the hind flank of the Gorm and attacked with the Greater Gaxe. She hits once on 5+, drawing first blood by wounding the Mammoth Maw causing the monster to Retch.
Gormco was up next, preventing a 2nd Retch by wounding the Mammoth Goiter with his Rib Blade.
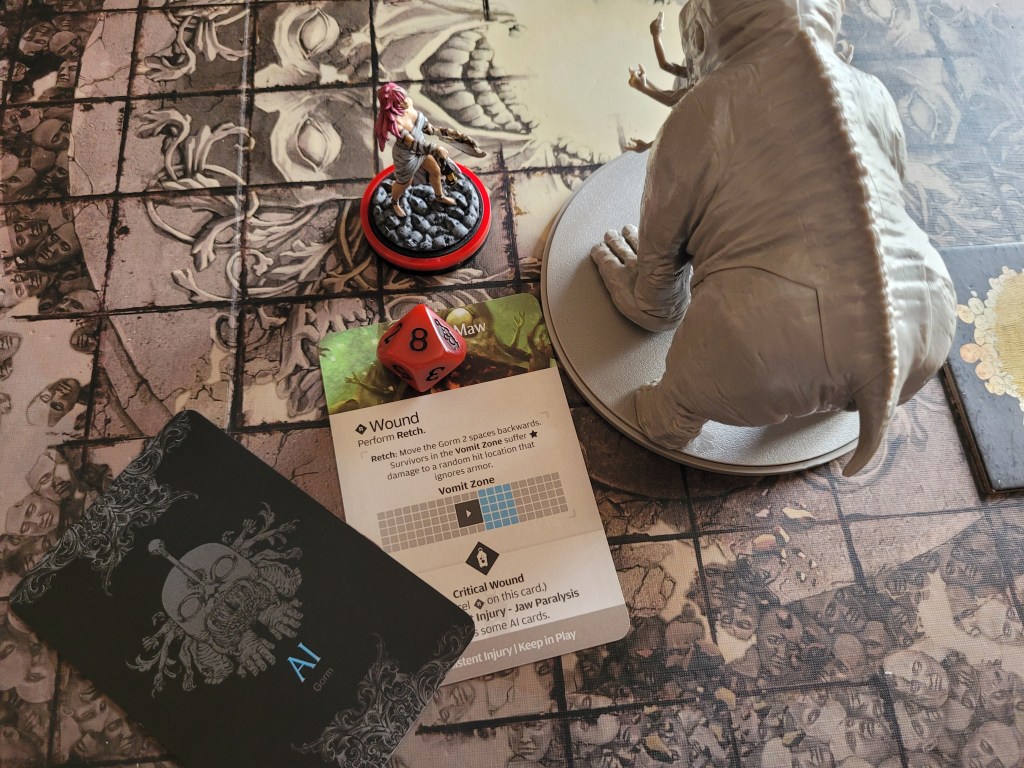
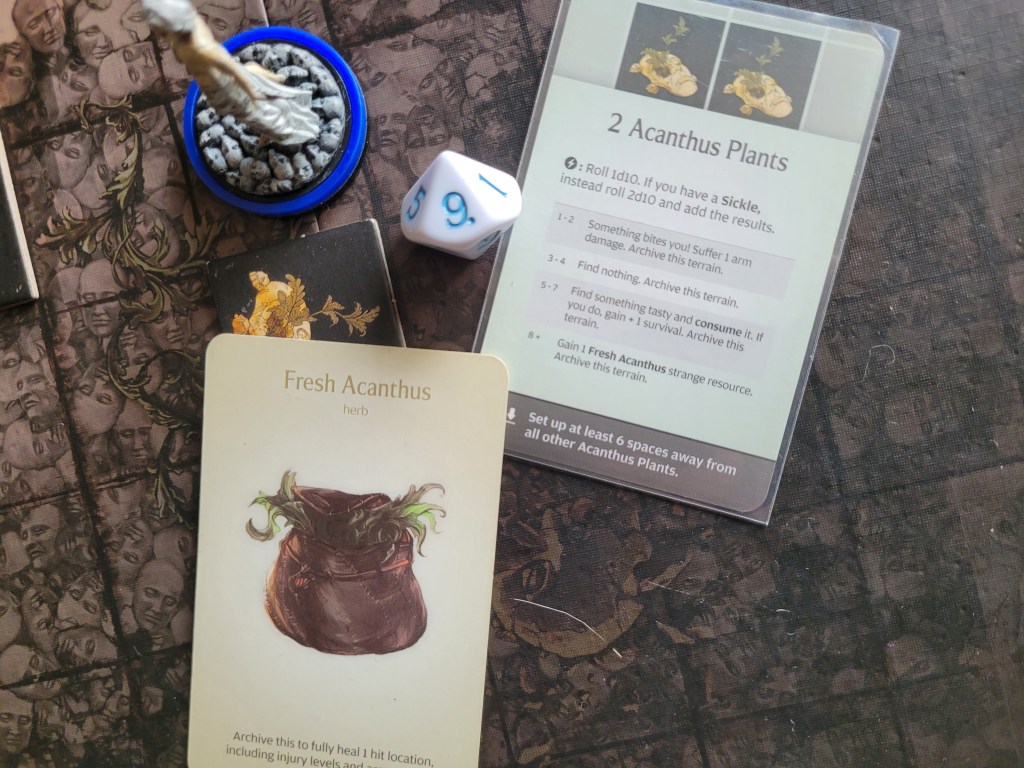
For Greegorm and Gormwry I instead had them pick up the Fresh Acanthus on the board and they actually managed to do so .. both even!
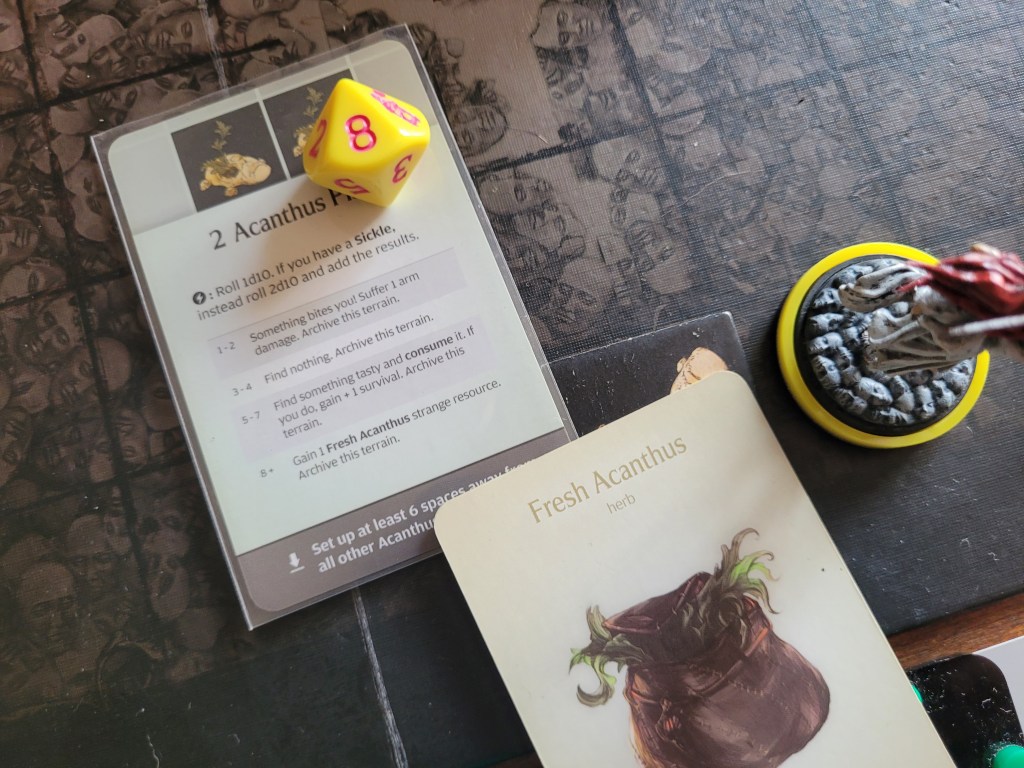
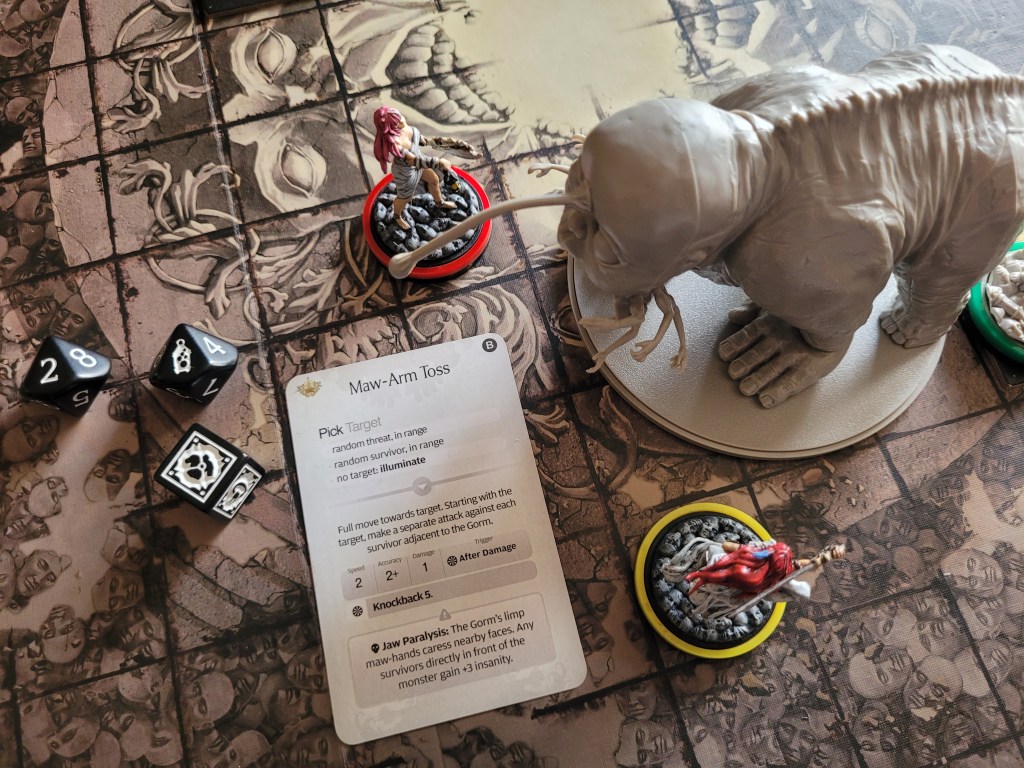
8 cards remaining, the slightly injured Gorm pondered what to do before waddling over to Shaogorm and attempting a Maw-Arm Toss!
And whilst Shaogorm had managed to deftly avoid the attack entirely – I hadn’t properly read the card and to my unabashed surprise – the Gorm was just getting started! It spun around, tossing not only Gormwry around as well, but it also launched Gormco into Greegorm!
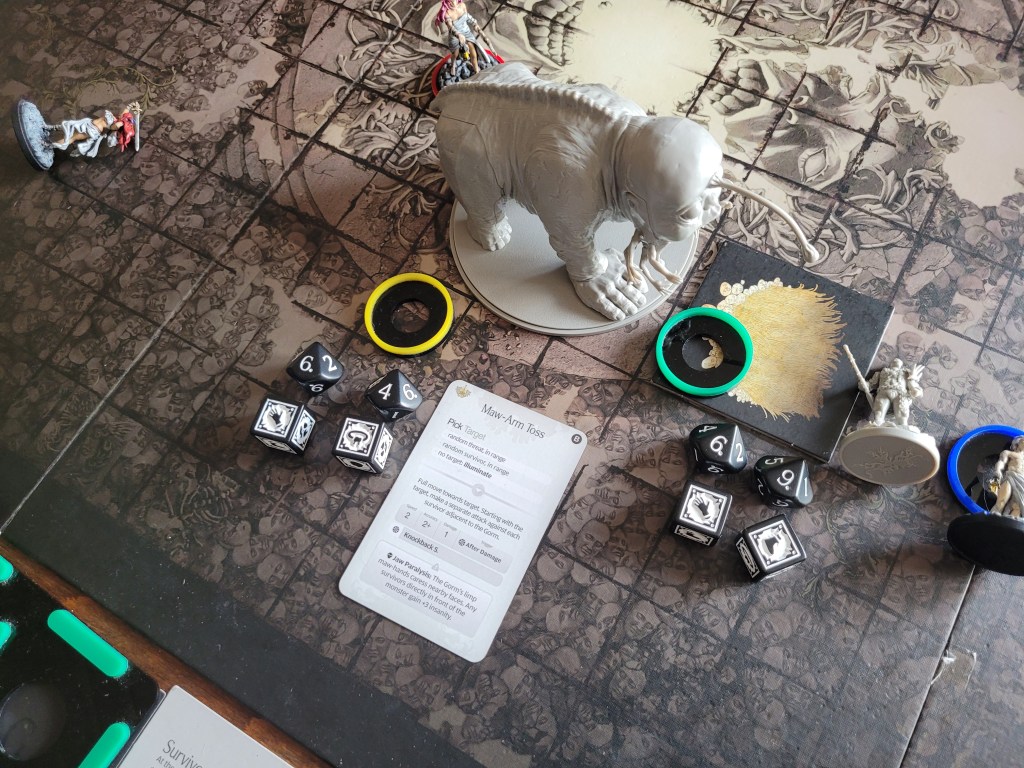
With our second turn starting with another encourage-chain already I was suddenly much more aware how finite our survival still was.
Well, maybe not for Gormwry as she had yet to miss a roll for her Rawhide Armor set.
Anyways, we needed to kill a Gorm – Shaogorm attacked from the blind spot which she was standing in and again, hit once, wounded once and moved to the Tall Grass close by for safety.
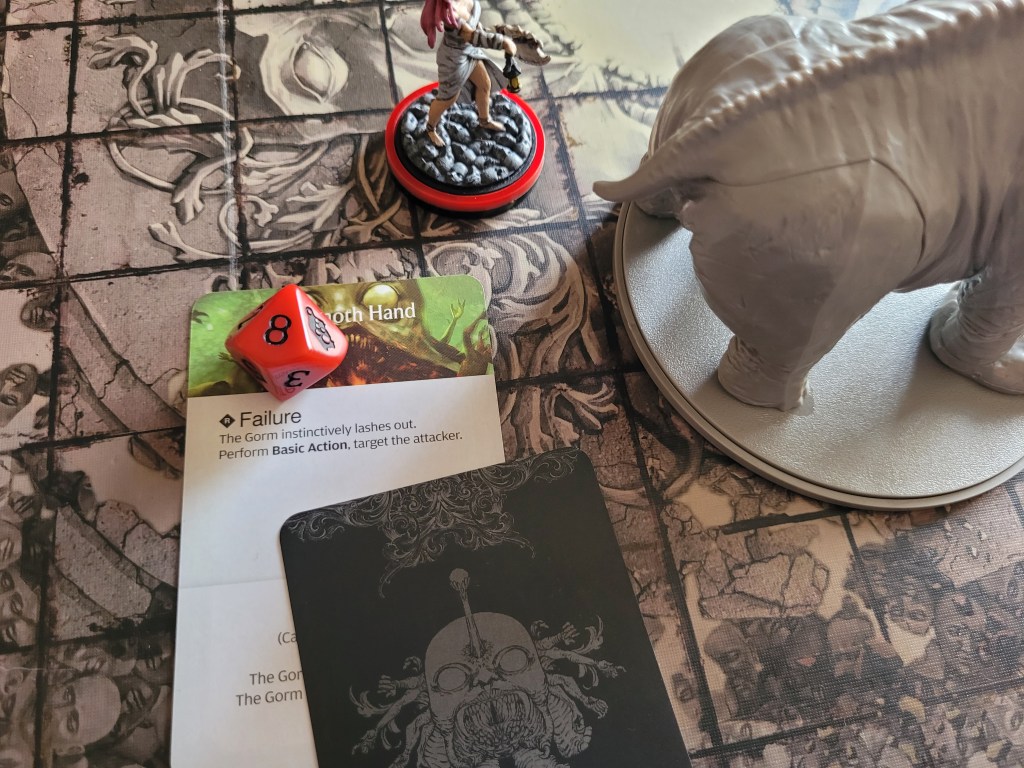
Afterwards both Gormco and Greegorm missed all their attacks.
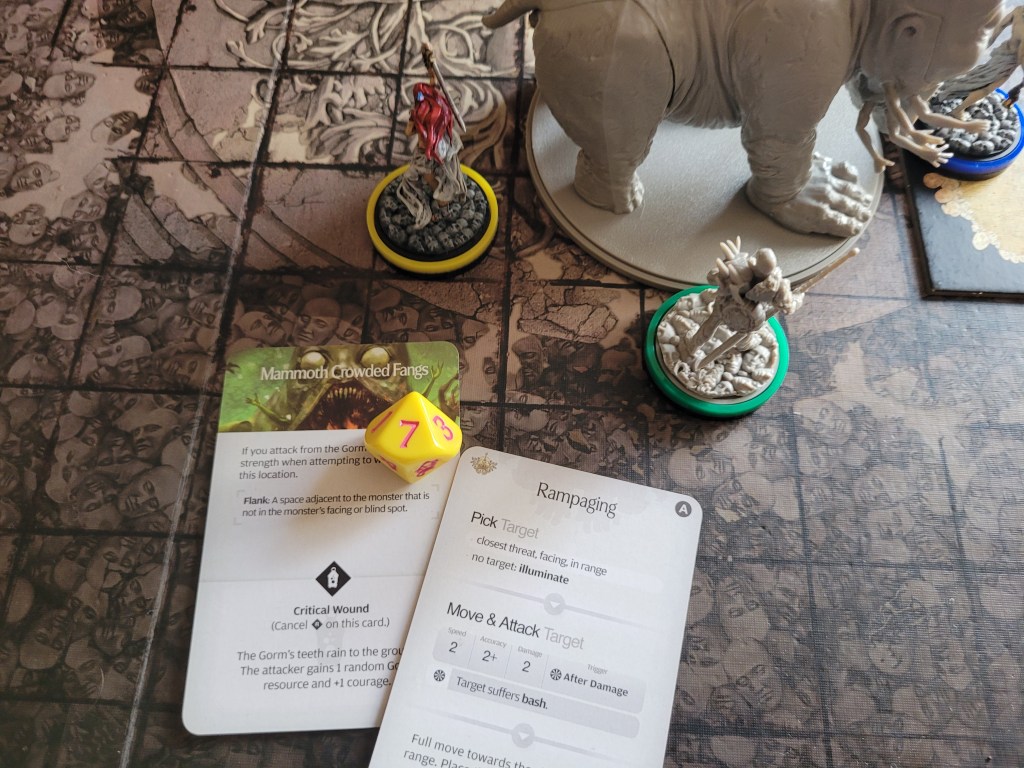
Finally Gormwry moved into the monster’s blind spot as well and used her Rawhide Headband as she couldn’t do anything else (due to cumbersome on the Twilight Sword). Rear up or Rampaging. Both felt like bad choices.. but I put Rampaging on top.
7 cards left, Rampaging was played .. as had been foretold!
The Gorm struck Greegorm, but the Tall Grass prevented the worst of it, giving him the opportunity to spend his last survival and avoid the 2DMG hit.
This did mean that he remained standing and would get hit by the basic follow up as well. Greegorm suffered 1DMG to his hands and body each and Rampaging got placed back on top of the deck.
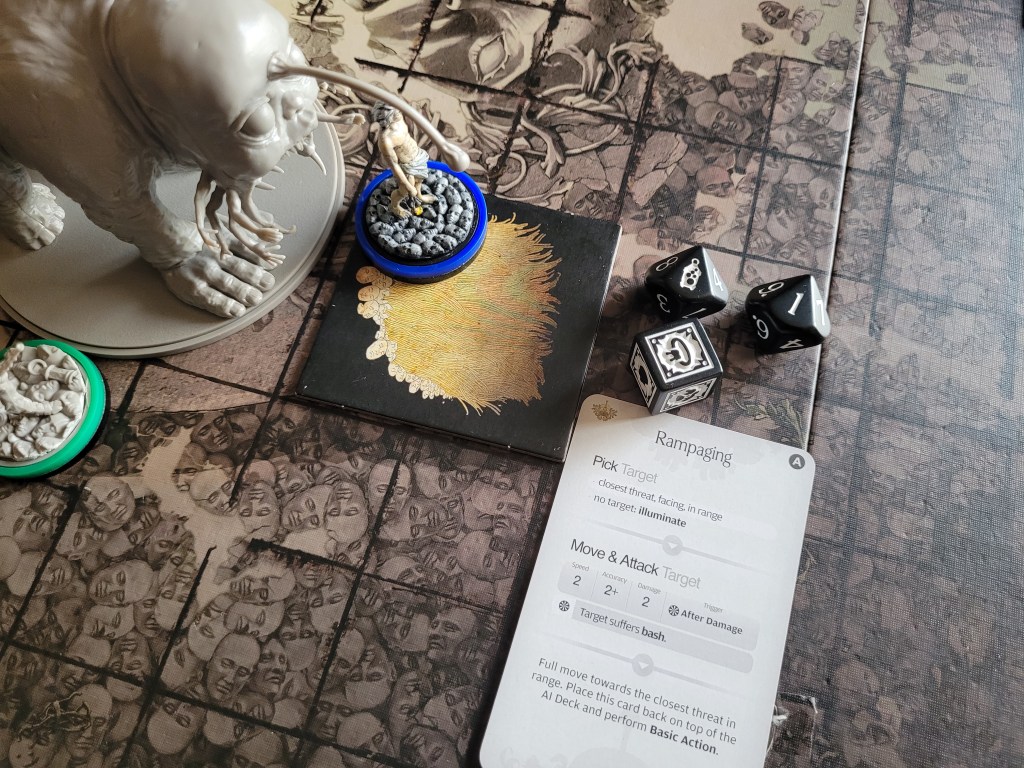
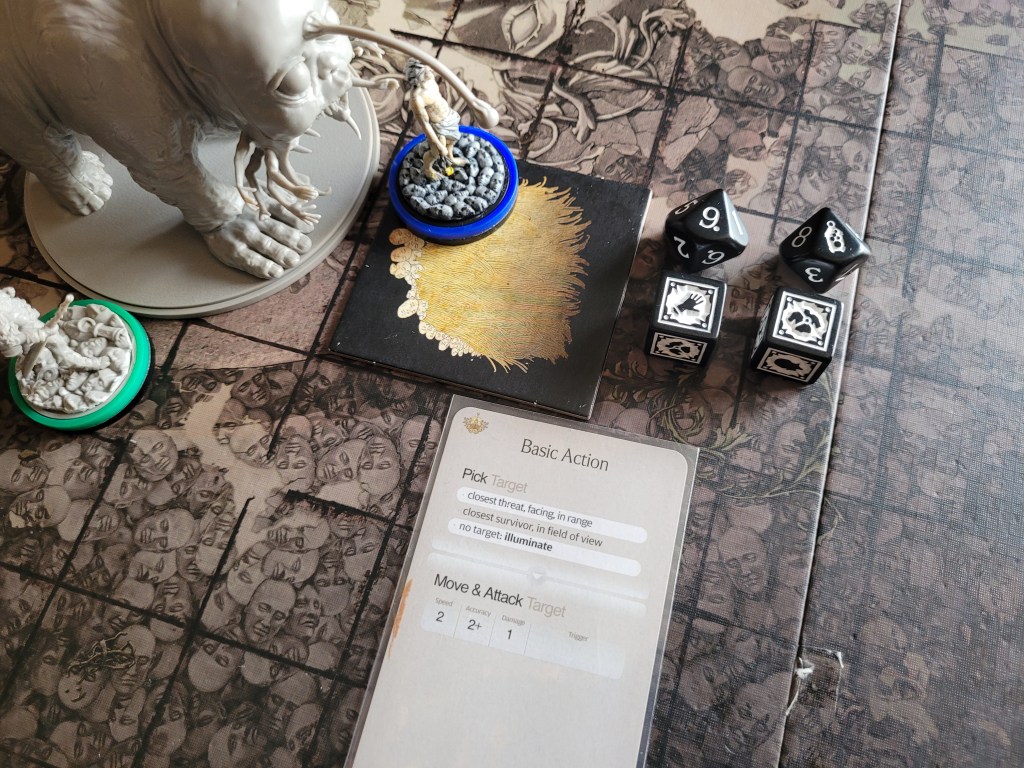
Gormwry could finally attack with the Twilight Sword and thanks to being in the blind spot and her innate +2ACC she would hit the monster on 6+. Putting Greegorm into some mild danger – he could get Retch‘ed upon – she swung anyhow and hit with a 9! A 7 was more than enough to wound the Mammoth Crowded Fangs and I felt a wave of relief because she had managed to secure that point of proficiency for later!
Edit: Nope. Sadly, this was a mistake. Gormwry was not insane and thus could not have used the sentient Twilight Sword at this point in time. Whilst it likely would have changed the flow of this fight – I am willing to assume that it won’t matter much in the grand scheme of things for the campaign as a whole.
With Rear Up still on the deck, Gormco stepped up to the monster .. and missed!
At this point Greegorm just backed off and Shaogorm took position with 1 space of distance as she had reach 2 on her Greater Gaxe. Hitting twice and wounding on 3s .. two 5s were rolled to deal 2 more wounds.
The Gorm did try to flee from this sudden onslaught and knocked Gormwry over.
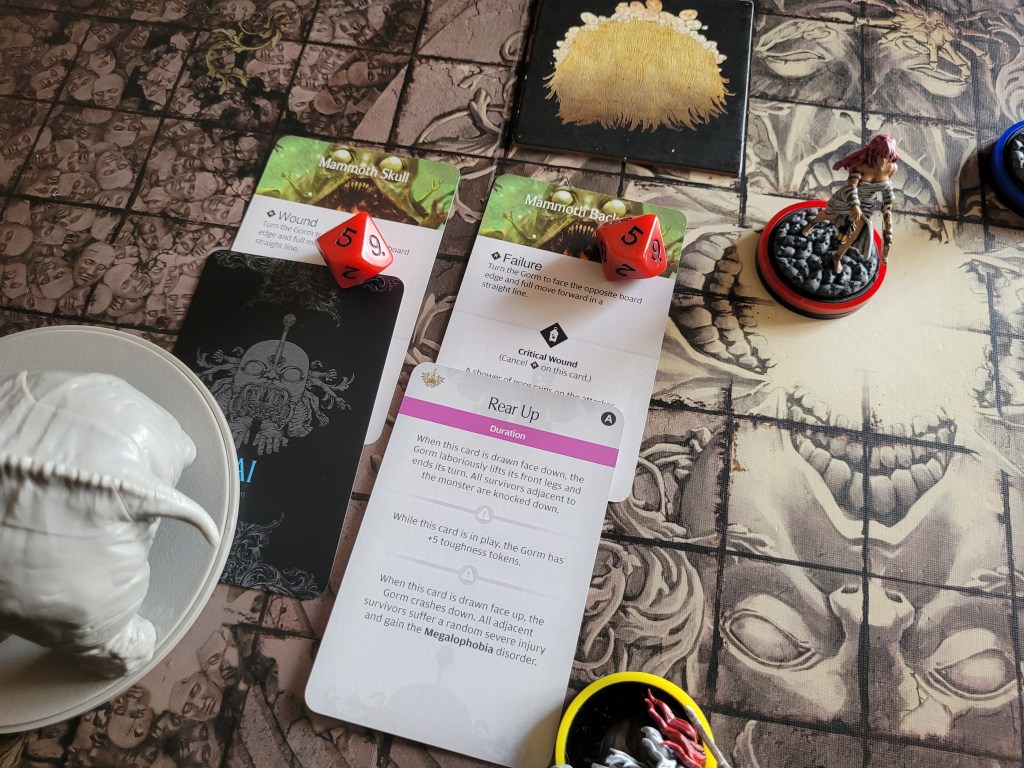
4 cards remaining, at this point we did know for certain that there were no more A cards left in the deck, so unless the monster was morphing back into disco-mode, suddenly dealing tons of brain damage we should be mostly fine from this point on.
On cue .. it drew Wallop – that’s about as basic as the cards could possibly come! The Gorm went after Gormco, pushing Gormwry around before it punched Gormco in the face!
He did hit the floor due to a heavy head wound .. as expected, honestly.
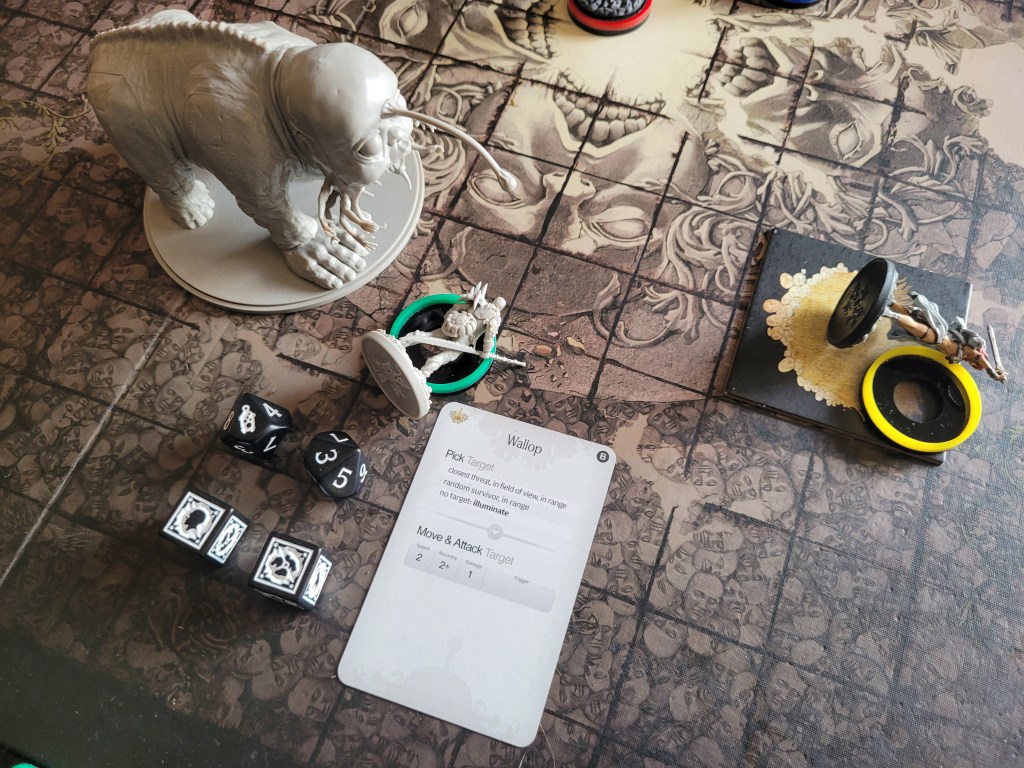
As per usual, I stood my people up via encourage and Gormco tried once more to redeem himself a little more – and he missed another attack!
Shaogorm was up next and she finally dealt a critical wound with her deadly axe! Unfortunately it was the Mammoth Testes which had me audibly say: “Oh no!” She gained Mammoth Hunting (FA) from the crit .. which felt a little useless with the reach 2 axe, and the Gorm got a +1DMG token – oof!
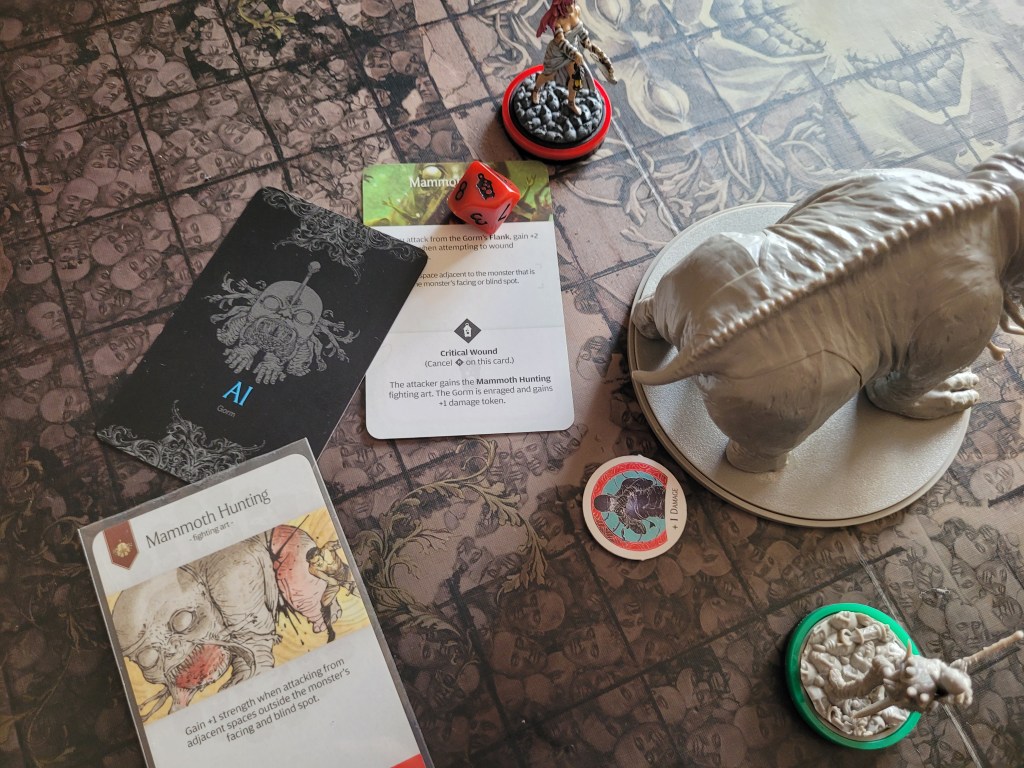
Suddenly we were in panic mode!
Greegorm was too far away and hid in the Tall Grass, and with the deck empty Gormwry couldn’t even uses her headband!
3 cards left – this next one would likely hurt: Maw-Arm Toss got drawn as the first repeat card and randomly targeted Gormwry – which, to be fair, was the best I could have hoped for!
Gormwry was hit twice on 6+ and got flung from the Tall Grass even after dodging the blow to her head.
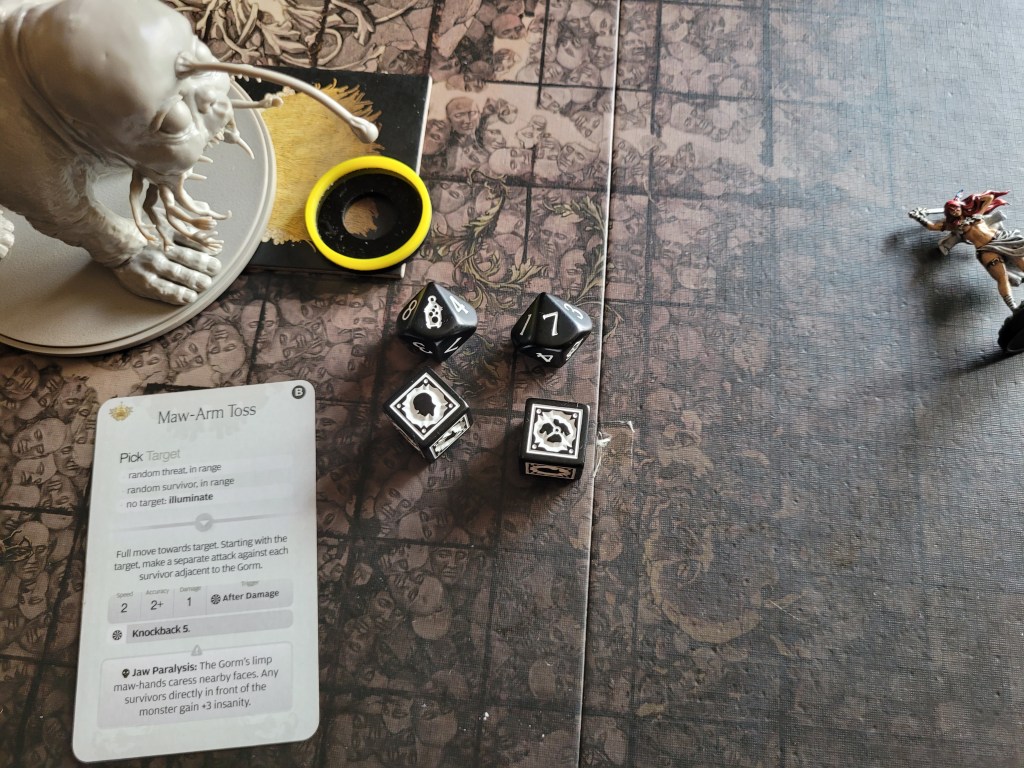
Considering how badly Gormco had been performing when it came to hitting the monster, I sent him into the blind spot and he just barely hit this time with a 4. 2+ was easy enough to wound with on the other hand.. but it was not for a lack of him trying to fail – a 3 nevertheless wounded the Mammoth Distended Gut.
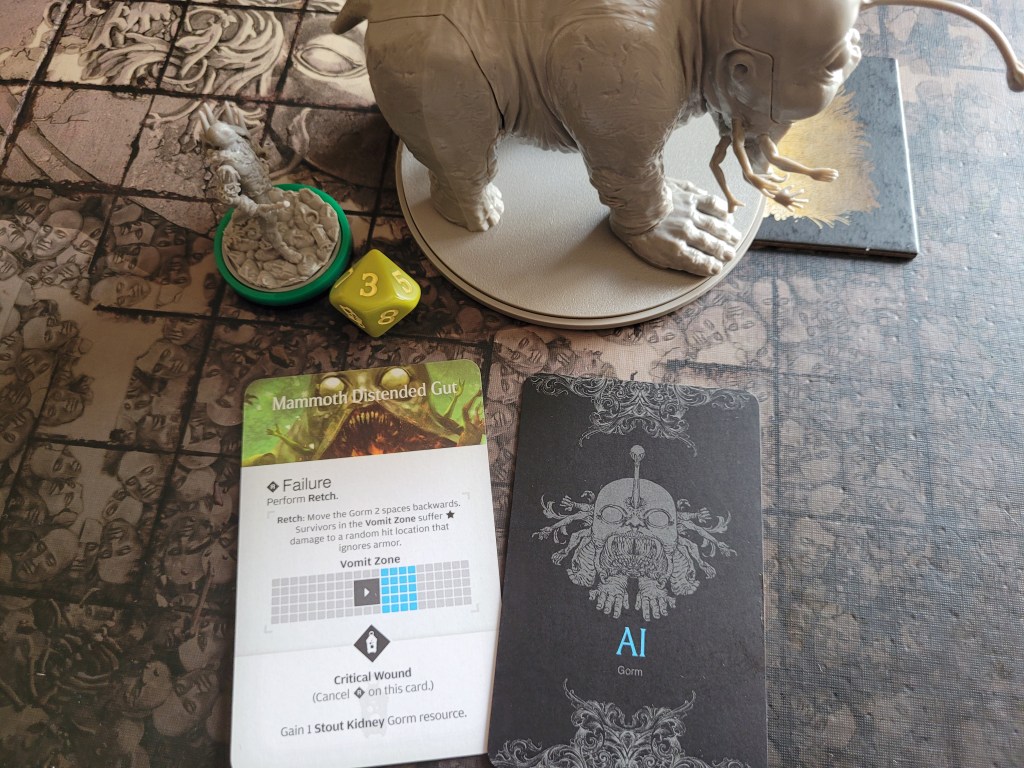
Shaogorm moved all the way to the monster’s side and before I could consider any possible outcomes for this line of attack she had hit the trap!
The headbutt left her sprawled out across the ground before the Gorm turned its strobe light back on and caused brain traumas for Greegorm and Gormco!
Greegorm suffered Flee and Gormco rolled Lunacy (Xenomelia D).
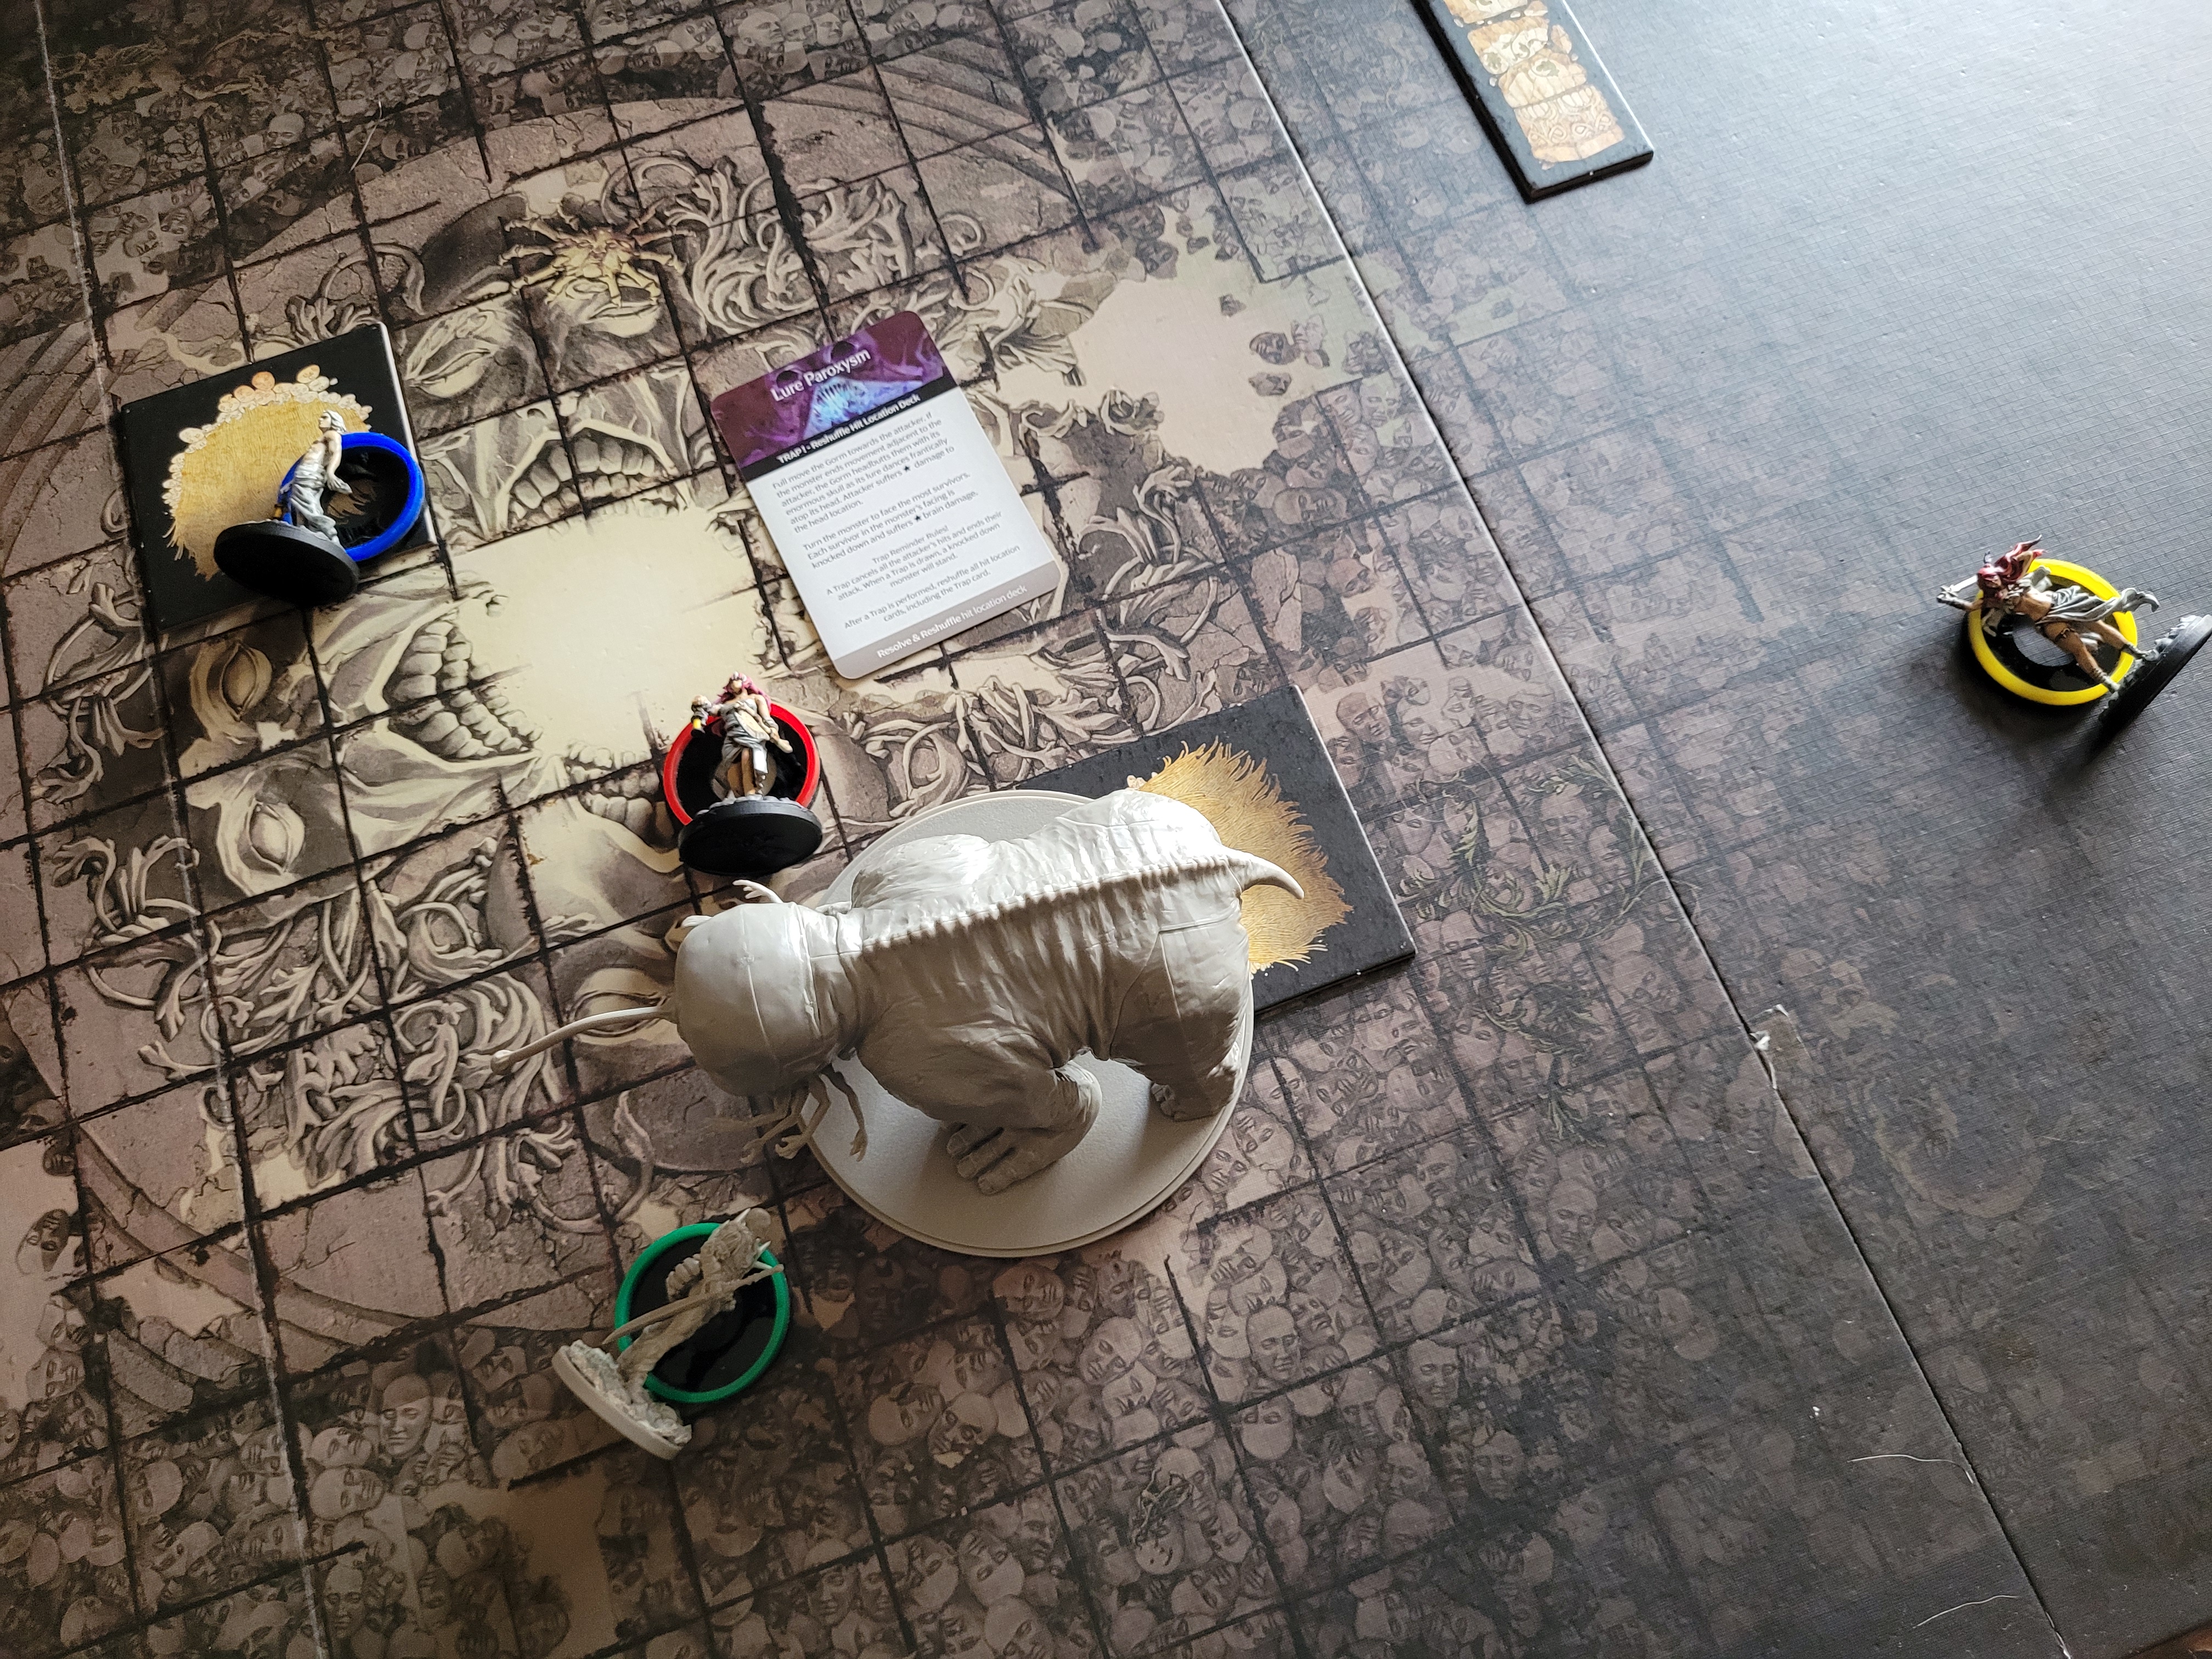
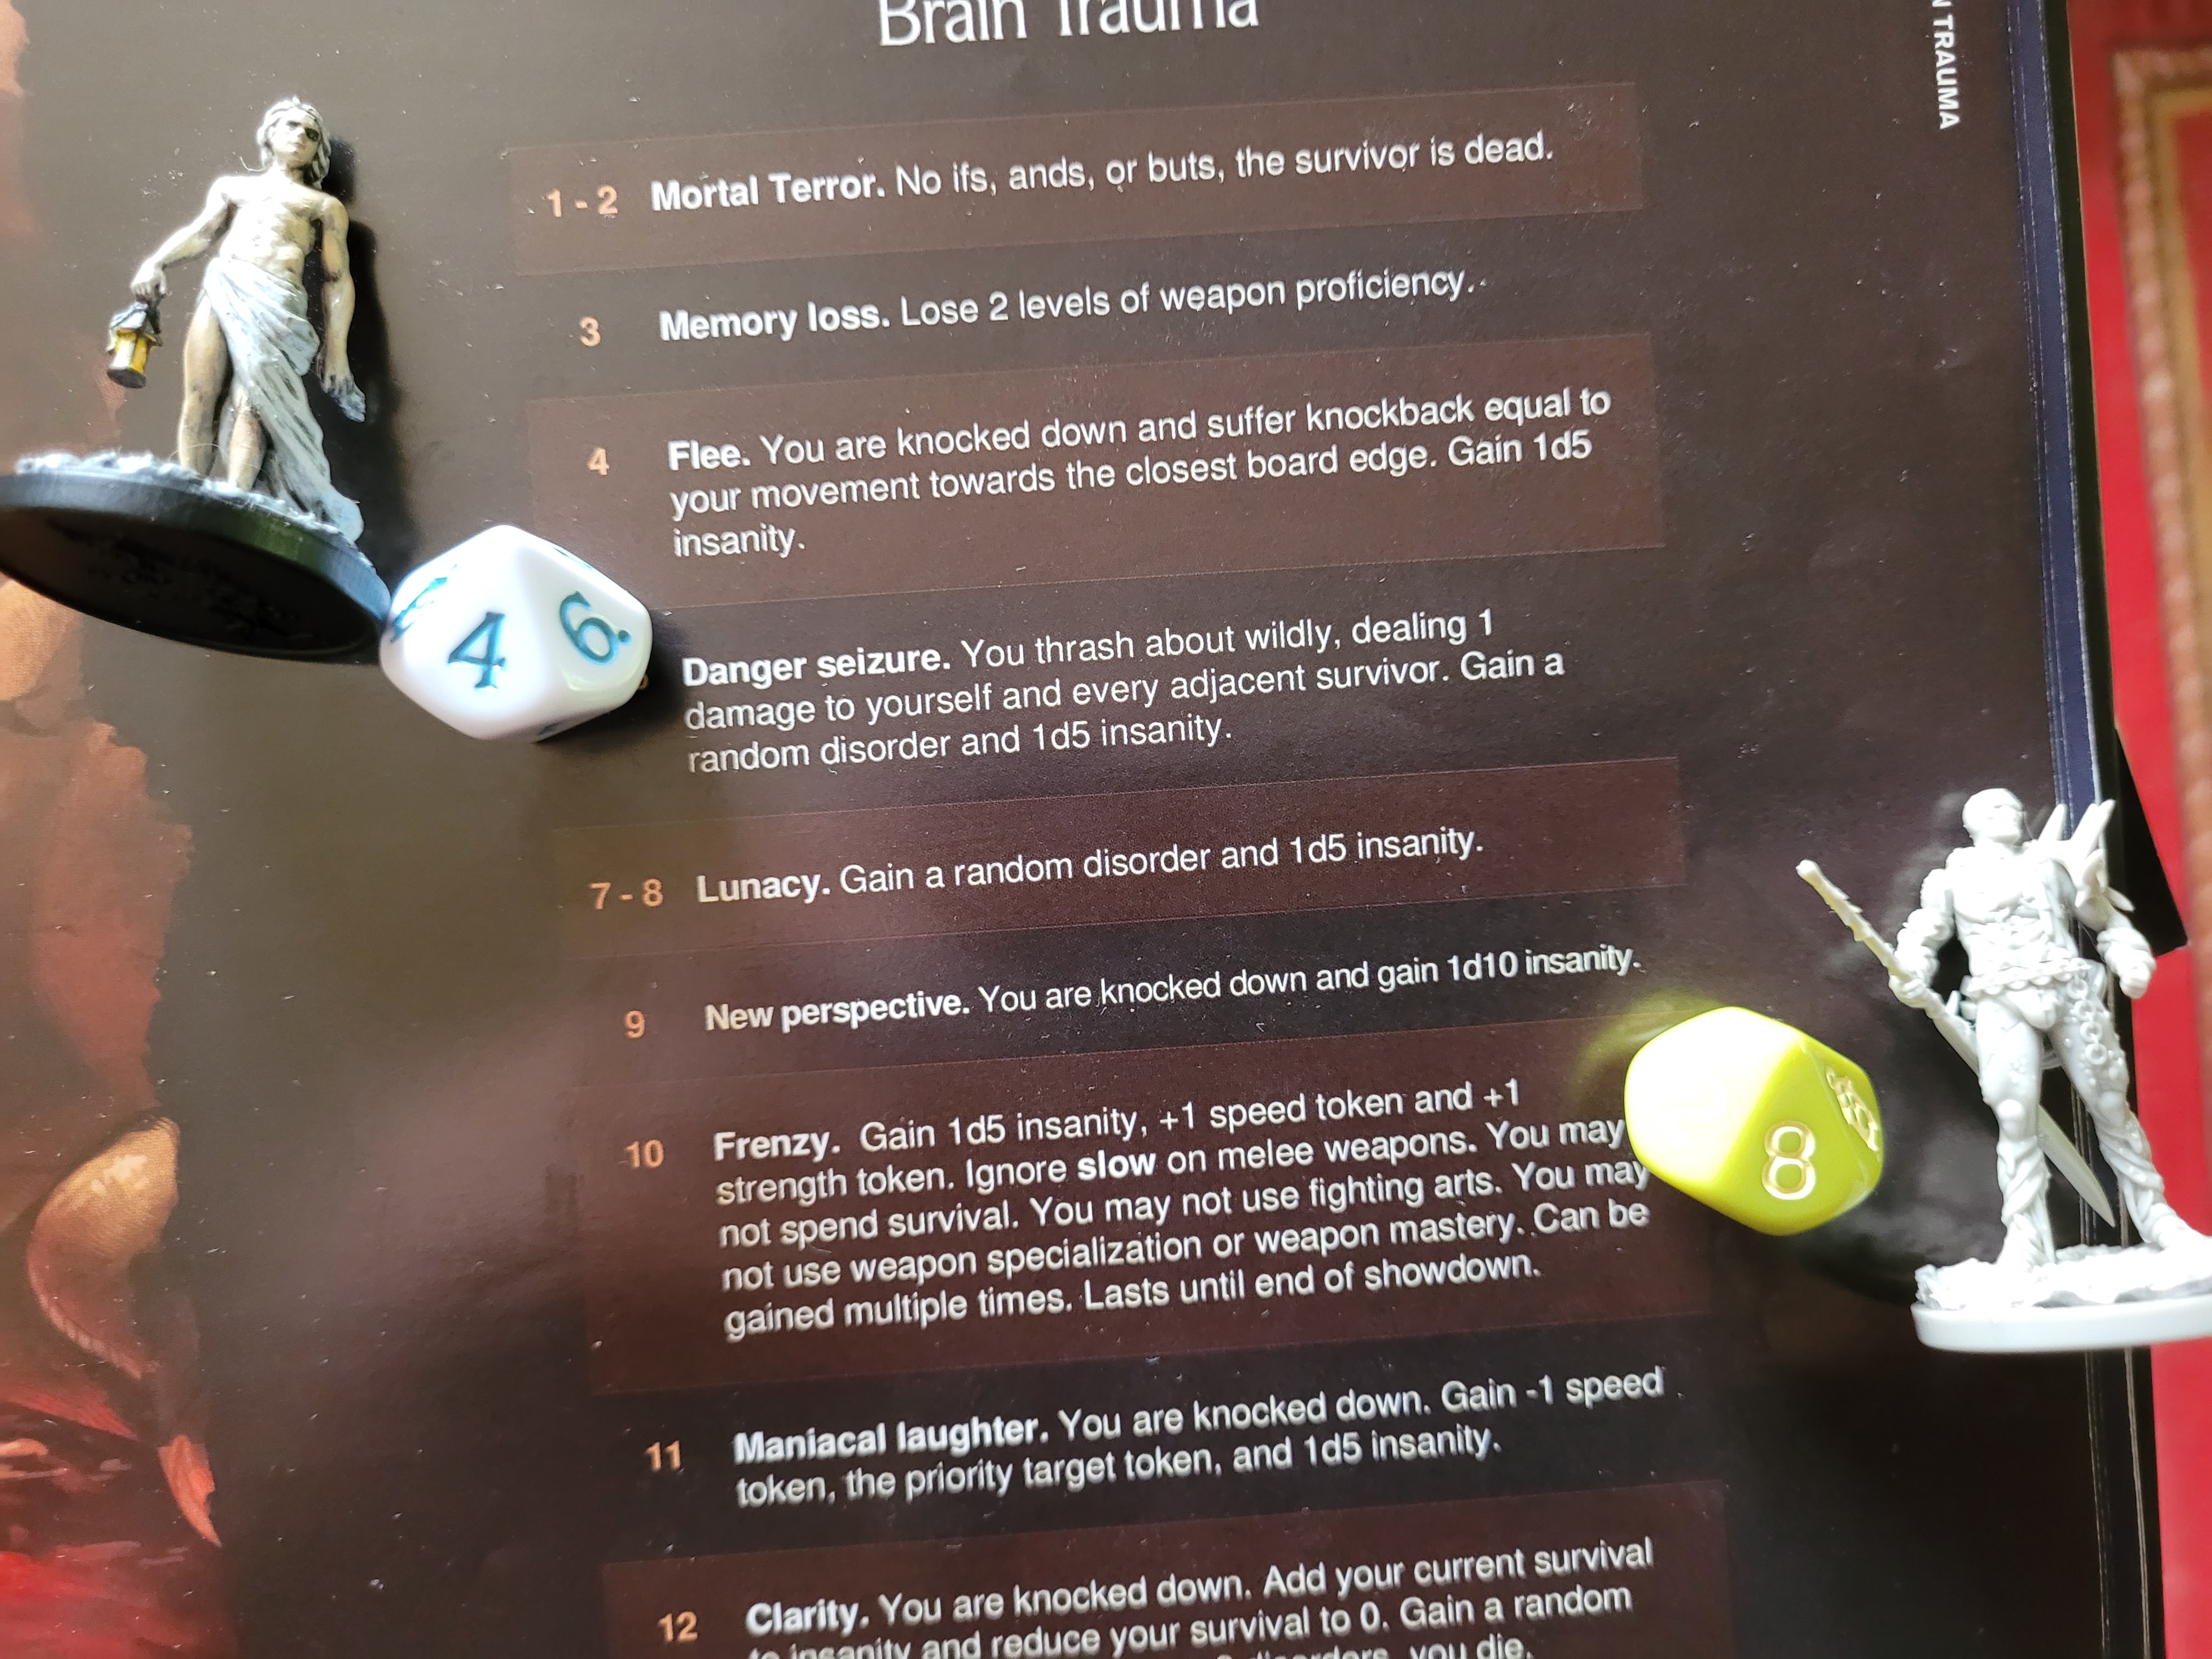
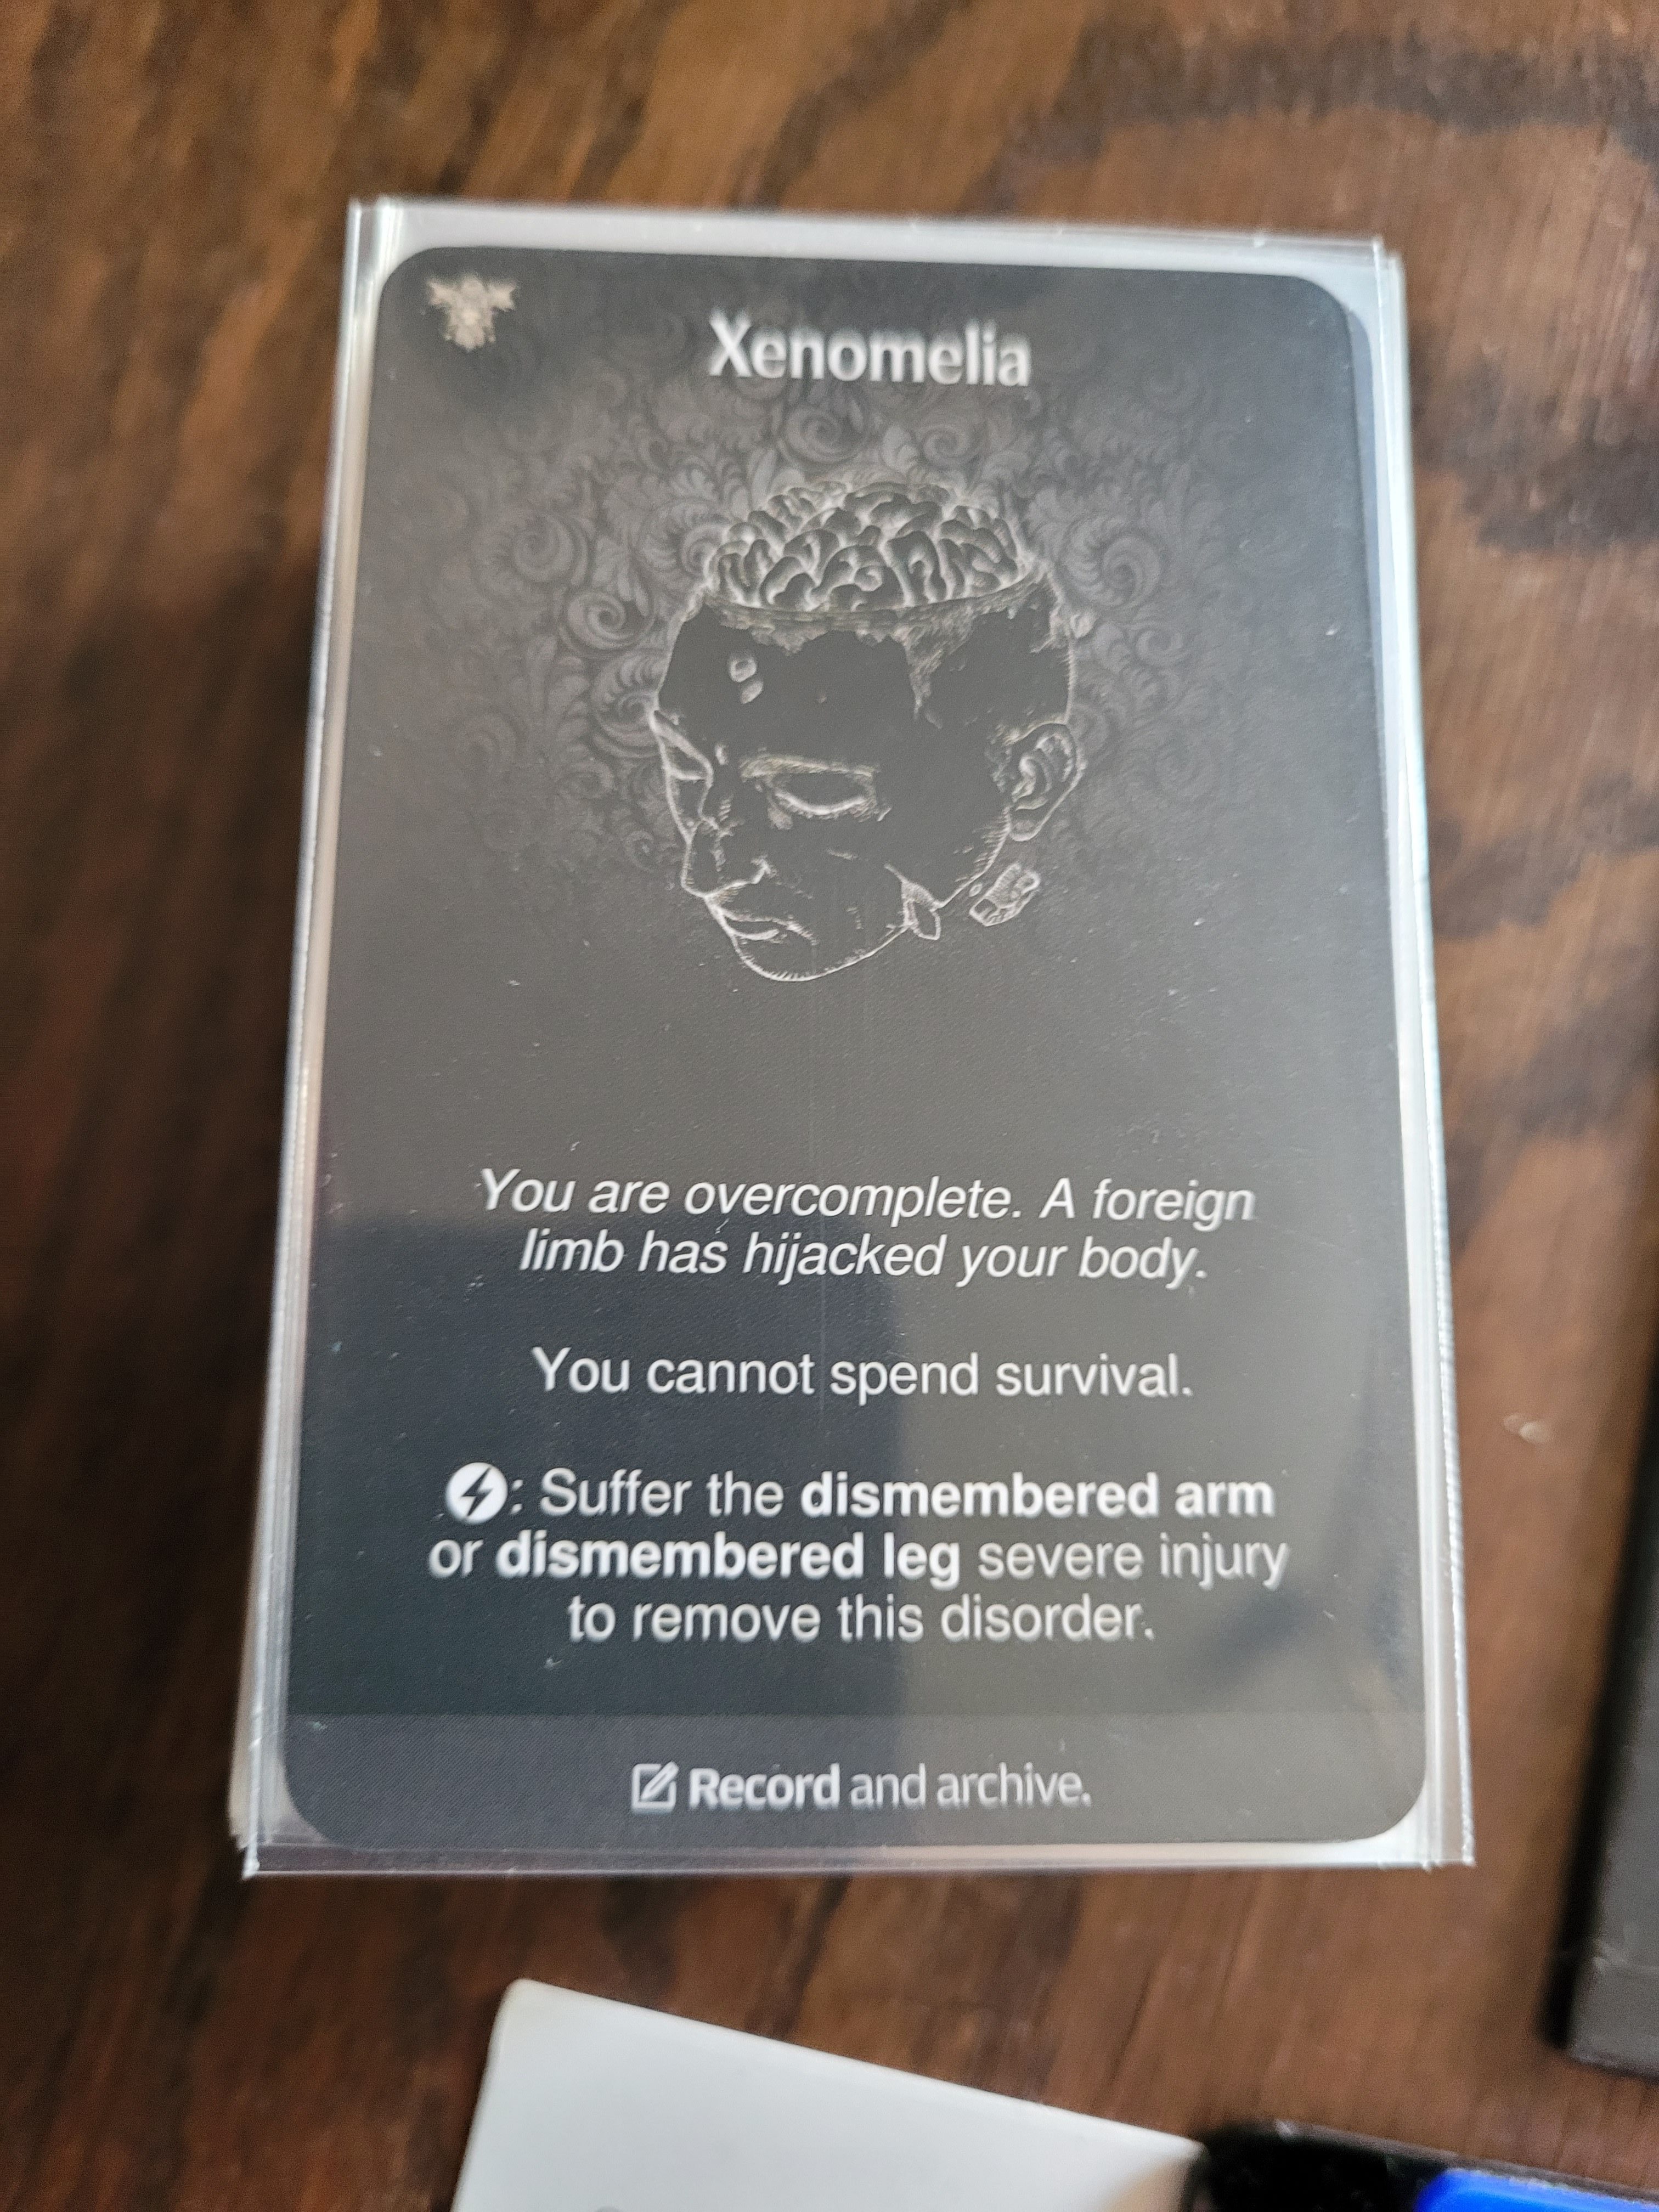
With everyone knocked over it was back to the monster!
2 cards left, Wallop was still in the deck and the Gorm wanted to hit Gormco again. The hit to his head left him with a Shattered Jaw. But it had not been hard enough for a parasite to stir.
That could have gone a lot worse for him!
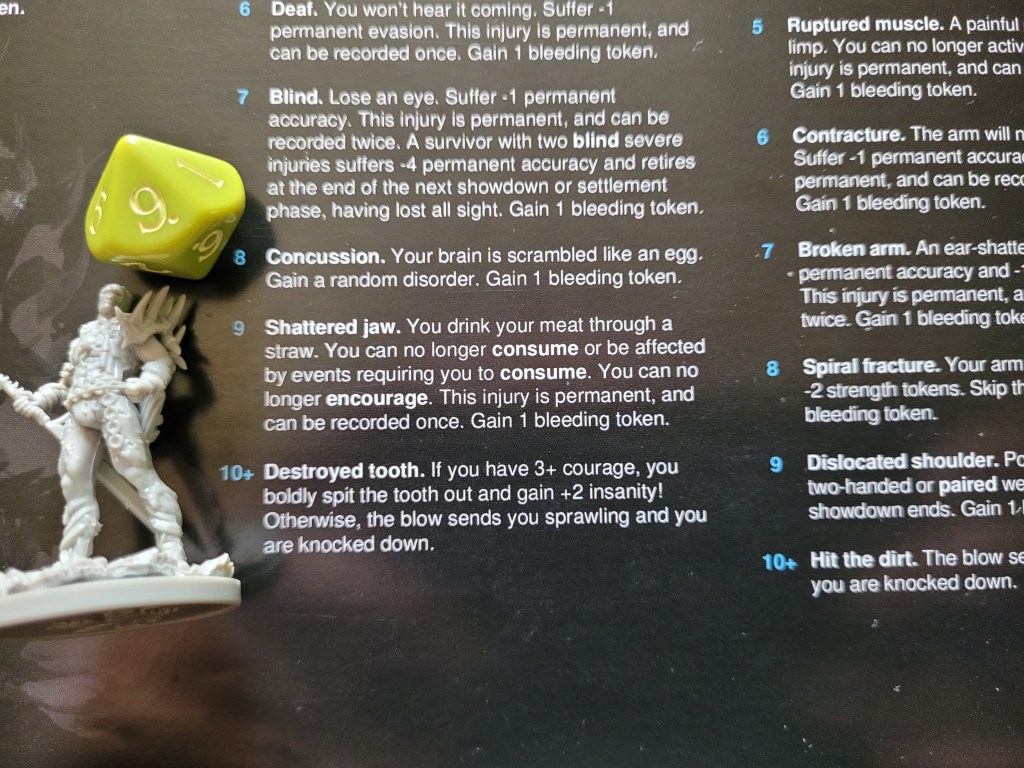
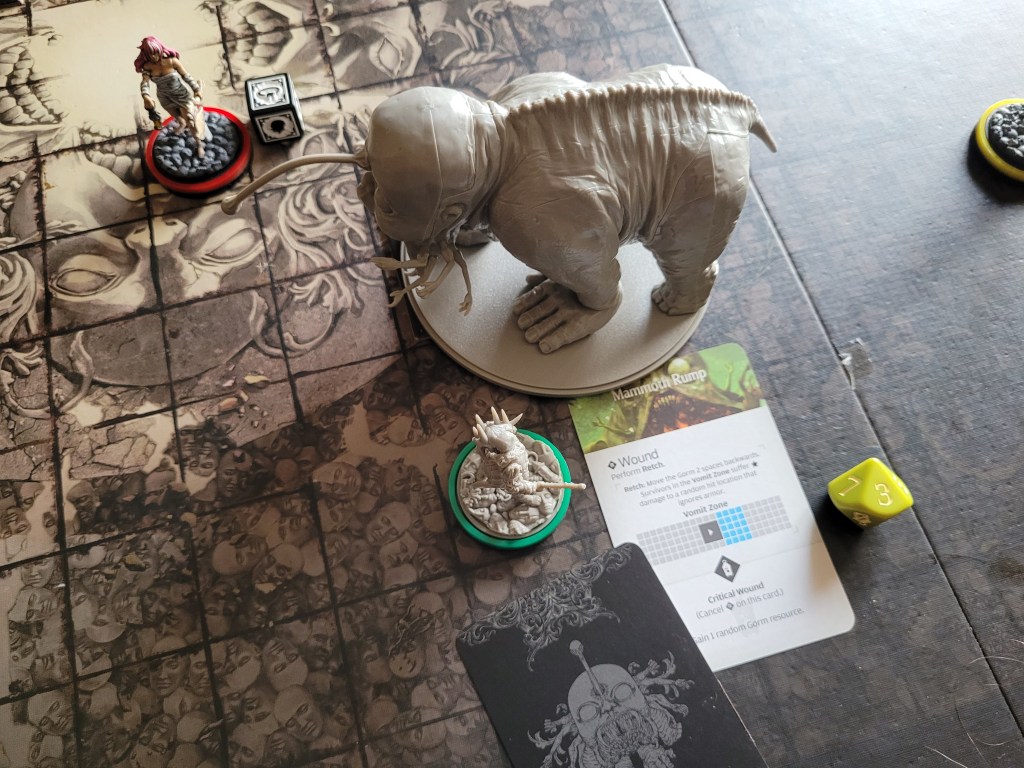
Gormco ran to the monster’s side and quickly struck with an utterly uncharacteristic perfect hit! He barely wounded the Mammoth Rump as Shaogorm was retch‘ed on.
At this point, Shaogorm has had enough of this fight – she moved towards the flank, staying close to get the +1STR from her new Fighting Art. She hit the monster twice – double 6s .. and drew the death blow!?
Wounding on 2s she dealt a regular wound to the Mammoth Distended Gut first and then killed the Gorm on the death blow!
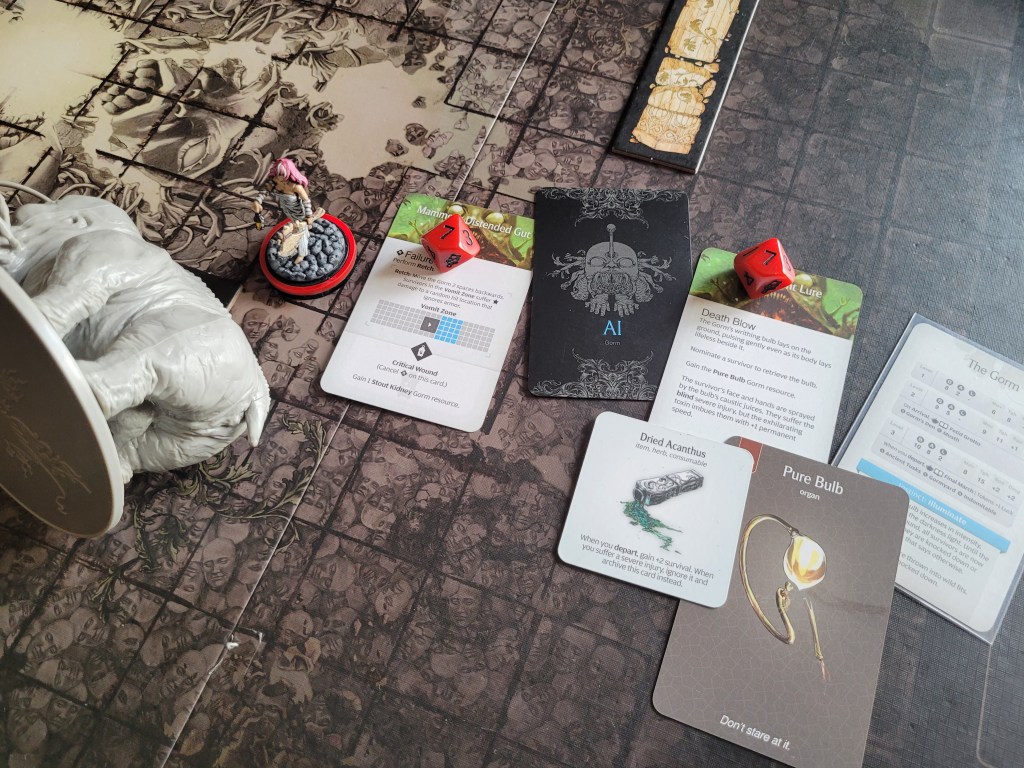
We got a Pure Bulb!?!
This did mean that we also had to nominate a survivor to gain blind and +1SPD and whilst I had a Healing Potion I could use .. on Gormco .. Shaogorm had Dried Acanthus still!
She was able to ignore the severe from the card and just gained the extra +1SPD as she ripped the bulb from the monster’s forehead. Having an extra SPD would definitely help against the eventual broken rib she was going to get if she kept on doing axe stuff.
..
Trust me, its going to happen.
Nobody aged this time around and only Gormwry got a point of proficiency with the Twilight Sword. (Well.., about that…)
The others simply weren’t old enough yet.
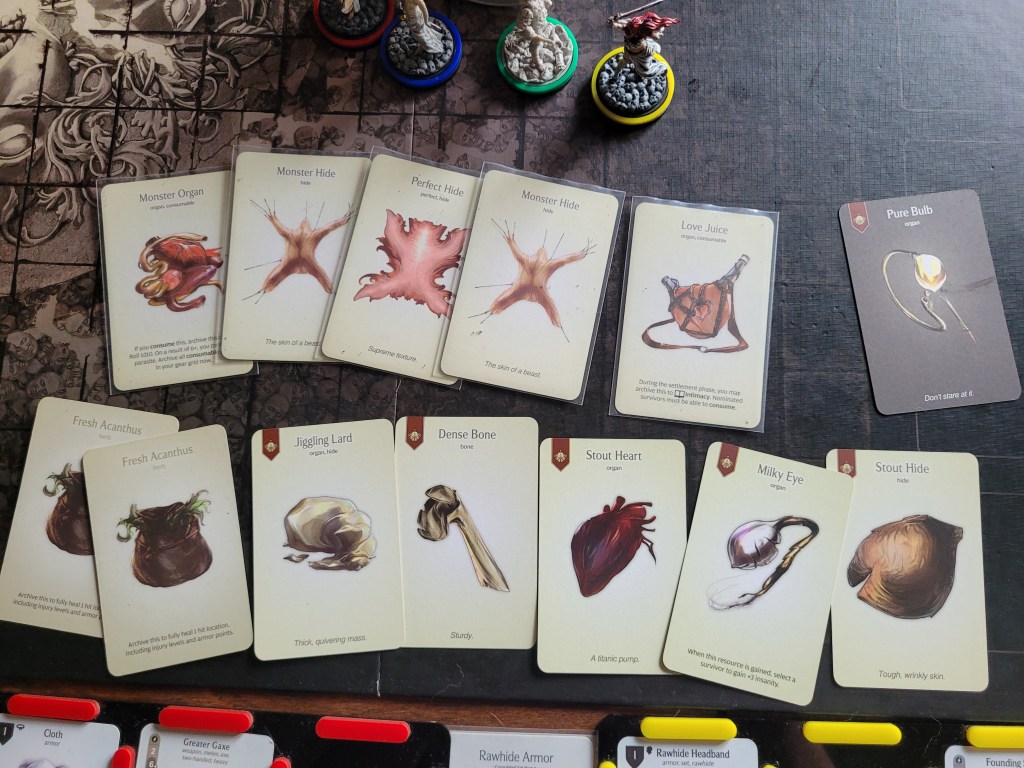
As for resources .. we still needed to draw the right stuff or else we might still lose the bulb to the Butcher rampaging through town.
And whilst I only drew a single bone, I was pretty sure we were going to need that one for something else besides innovating, even with me not knowing what we needed to build the Riot Mace at the time.
There was still also the regular Gaxe and that alone would make for a tough choice between the innovation (to get another survival action) or another weapon.
***
Having checked on the the crafting costs of the Riot Mace after the fight, I am indeed in a position to build it.
This will definitely help with the upcoming Nemesis fight! Even without its really powerful ability (which doesn’t do much against the Butcher in particular), the 2/5+/5 and deadly one-handed club is basically on par with Node 3 weaponry.
Overall, Gorm weaponry does typically out-perform a lot of other Node 1 and 2 Quarry gear, but on the flip-side the armor is pretty hard to build. Whilst the innate utility of the set (by only taking up 4 gear slots in addition to its block-based abilities) is, of course, nothing to sneeze at, building it is not any cheaper than other Node 1 armor .. which means it is fairly expensive all in all.
But, I’ll leave it at that for today. I am noticing that I am getting more and more unfocussed. I was already feeling a bit sick over the week-end but now, combined with the fact that the Feline Entity somehow managed to turn on an alarm clock in the middle of the night by stepping on it, I’m just a little messed up today.
So, as always, thank you very much for your time, I do hope you did have a nice, full-length night of sleep today!
Amathul
 Exhausted Lantern Hoard
Leave a comment