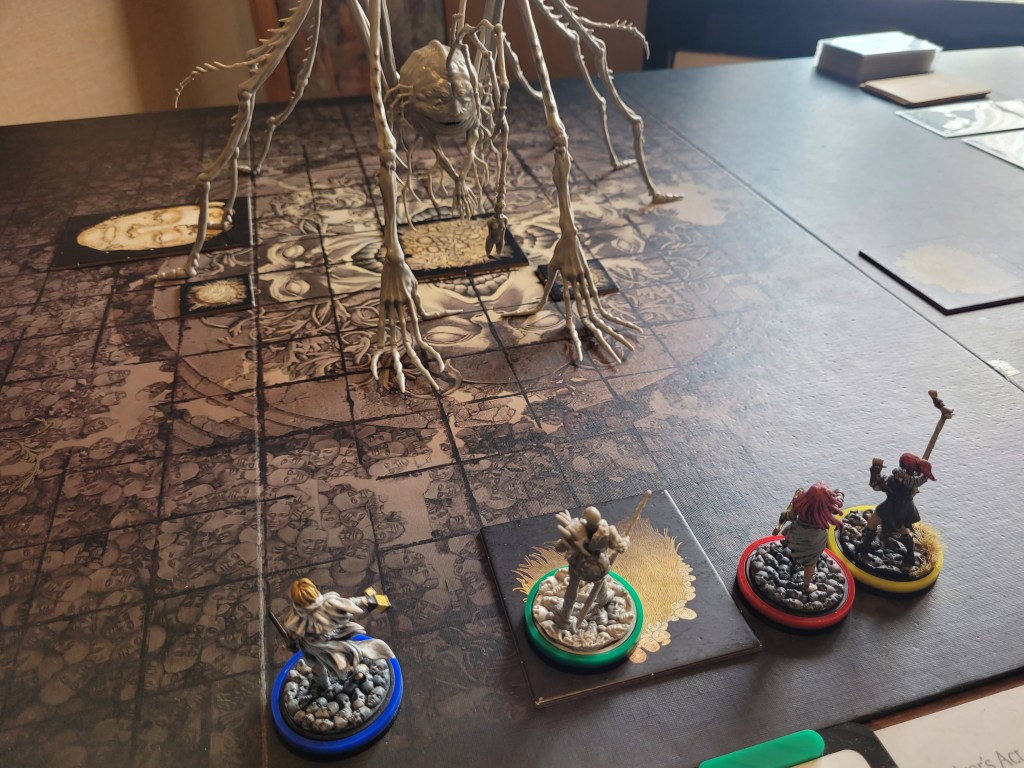
Today we return to the Gormpital, eager and ready to use up some of that Web Silk we have managed to harvest from the Spidicules fight last hunt and hold our own against the Hooded Knight in 1-on-1 combat for the very first time!
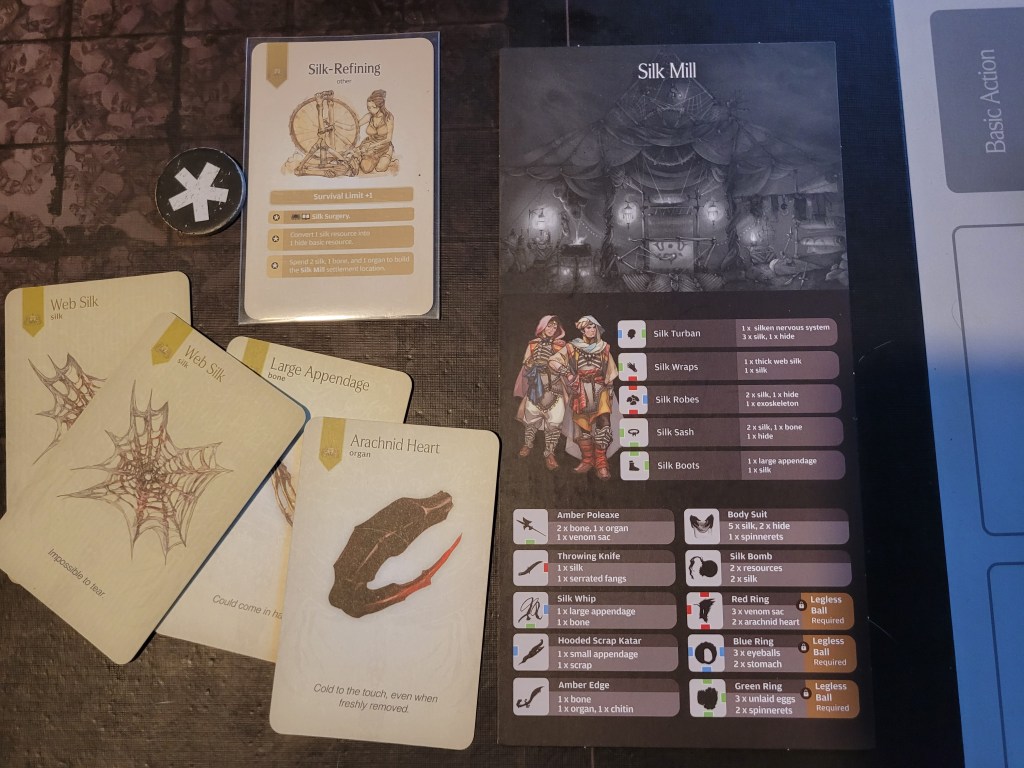
During the aftermath of the last showdown we had already gained Silk Refining (I) which did up our survival limit to a comfy total of 8.. if we actually had survival actions to spend it on that is.
And there’s also the issue of us needing to build the Silk Mill before we could make Spooder-weapons or armor, but we’ll get to that in a minute. First we need to collect our endeavors and deal with events.
Arriving back home without Gormnina the “twice-kidnapped”, we gained 5 endeavors for a successful hunt (3 returning survivors, Cooking and 16 population)!
And whilst our creative juices were positively overflowing .. a lot was going to happen this Lantern Year event-wise as well – 5 things! Can you believe it?
..
Surely you can. With all these newer expansions it feels like there is always a ton going on in the first 10 Lantern Years.
Starting off the year was, of course, the random settlement event:
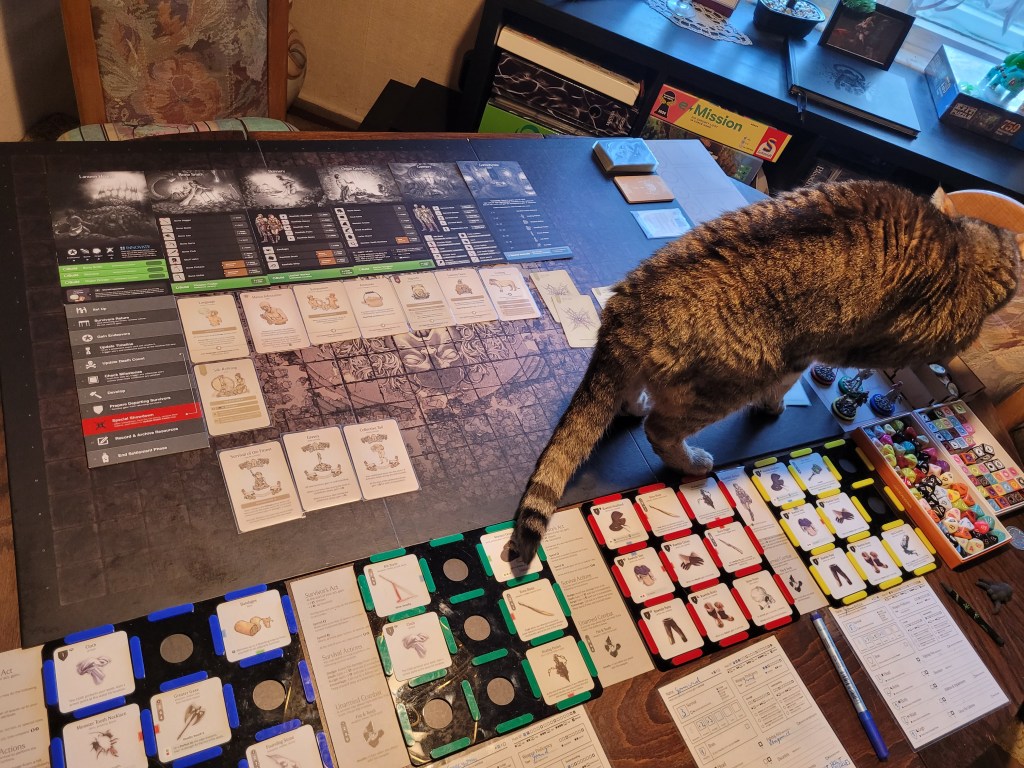
Cracks in the Ground .. again!
The Gormpital was turning into a dangerous place to be living in – I rolled a 3 .. this killed Greegorm as he was the slowest of the returning group with only 4MOV.
After thinking about it for a moment, I used his reroll, as it would be gone either way, and he managed to save himself and find a Founding Stone resting besides the Feline Entity instead.
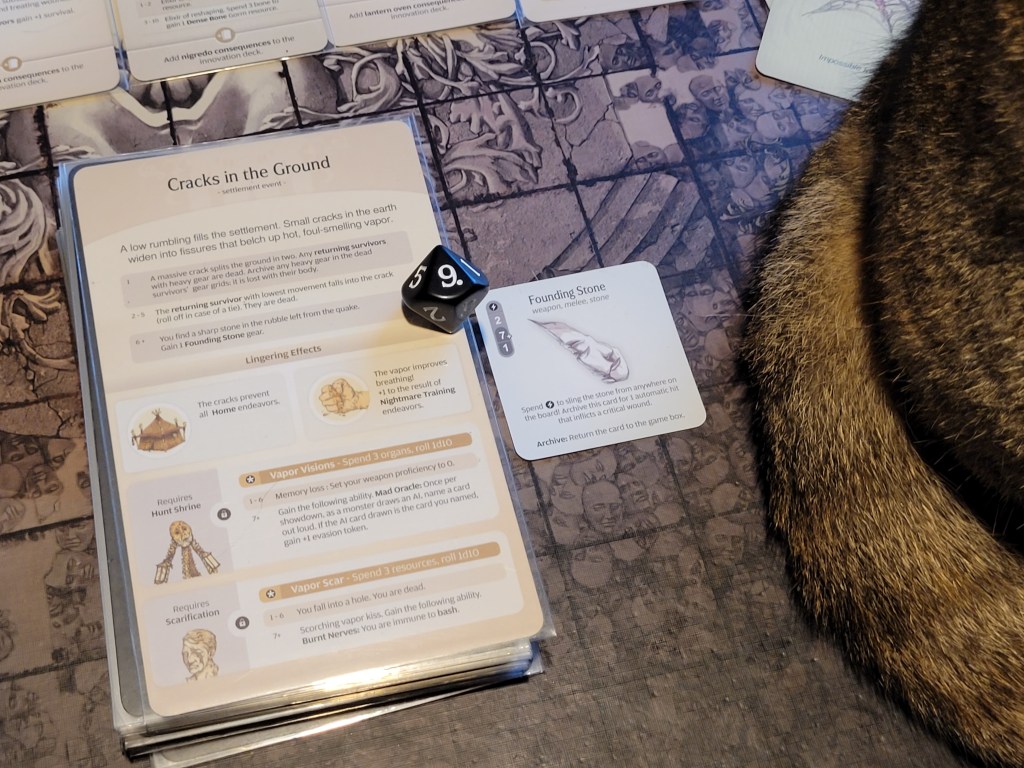
Up next: An Uninvited Guest. The Lion Knight intro event!
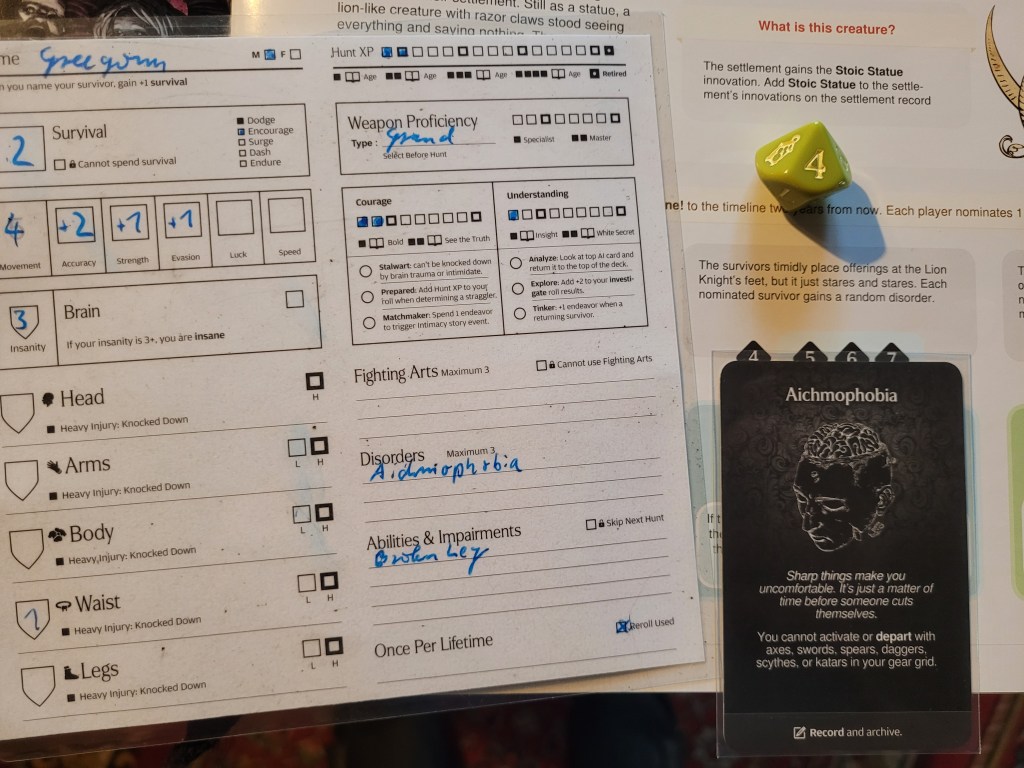
As the only player, I nominated only Greegorm and he gained Aichmophobia (D) for rolling a 4 .. I can’t say what I expected when I chose him for the roll but this checks out.
Looking at the event as a whole, getting a shot at free Nightmare Training (I) seems like a great bonus on a 9 or 10!
Either way, the Stoic Statue (I) was added to the settlement and in 2 Lantern Years we’d be triggering the next event of the story “Places, Everyone!”
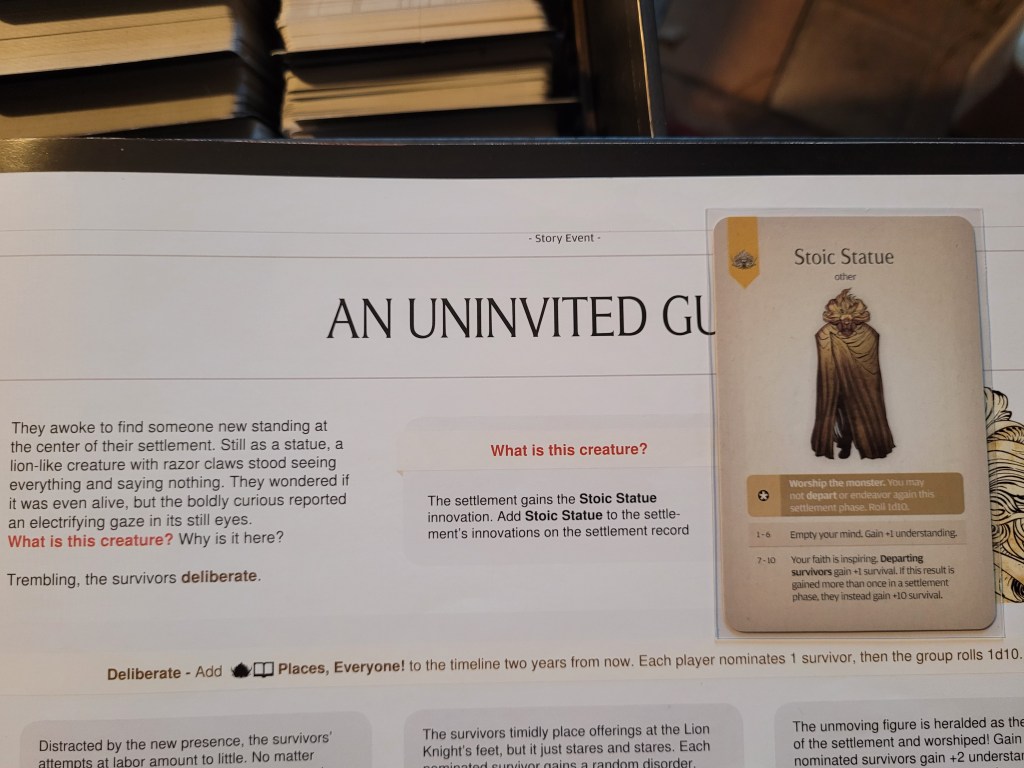
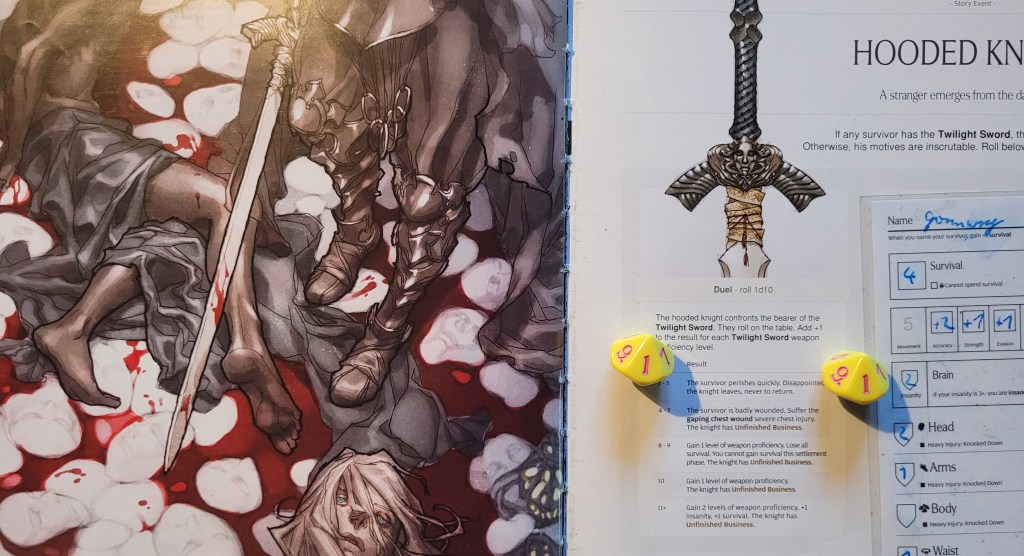
Shortly afterwards the Hooded Knight had returned, striding into the Gormpital ready to duel their “student” Gormwry. At that moment I was brimming with confidence. I had it all mapped out – we’d train her with the event and then she’d have a child which she’d teach the way of the Twilight Sword to herself and when she ultimately leaves, she entrusts the weapon to them ..
But Gormwry, she instead rolled a 1.. and rerolled that into another 1.
As I could do nothing but burst into laughter at that outcome, I quickly decided to leave it be at that point (R.A.W. even).
Gormwry had been absolutely demolished by the Hooded Knight which had them decide that the Gormpital just wasn’t worth their time. As Gormward was utterly devastated at this sudden loss we gained 1 more endeavor and the Hooded Knight left, never to return again.
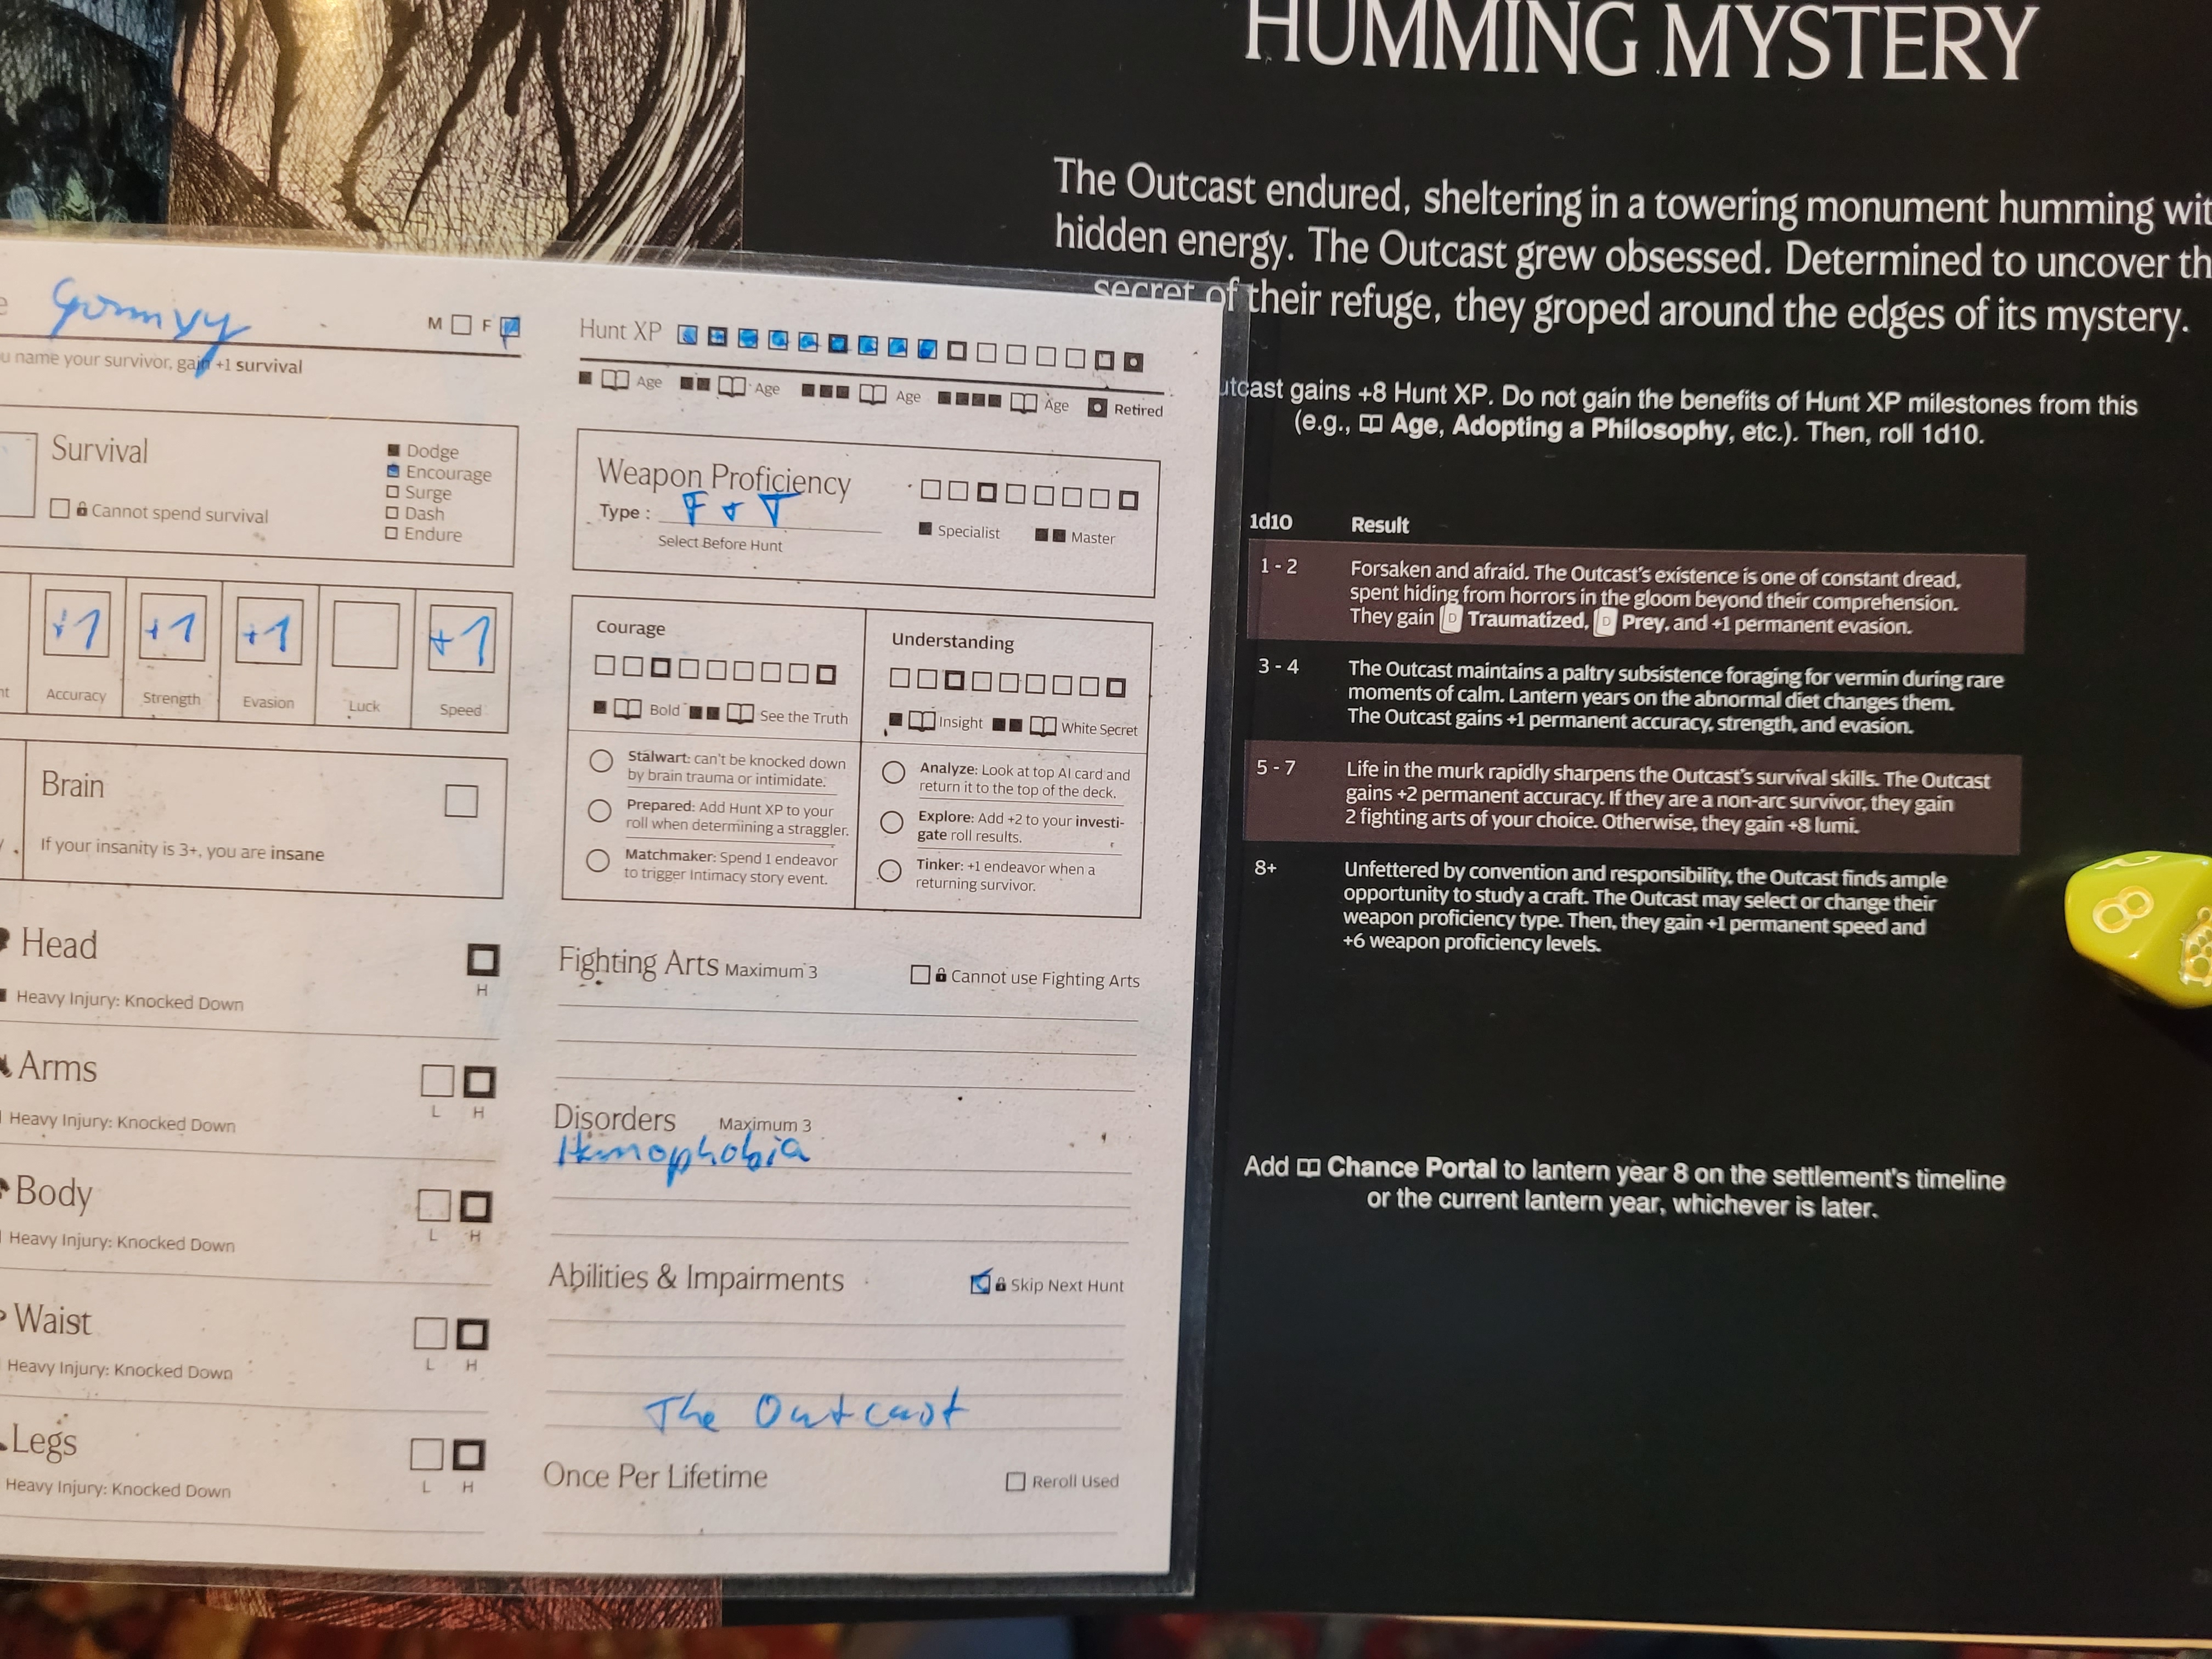
This led us to check in with our outcast Gormvy and the Humming Mystery. And as very much the opposite of what had just happened to Gormwry, they high rolled it – a Lantern 10!
I chose for them to gain 6 points of Fist & Tooth weapon spec, as they also got a +1SPD from scratching and biting at the walls!
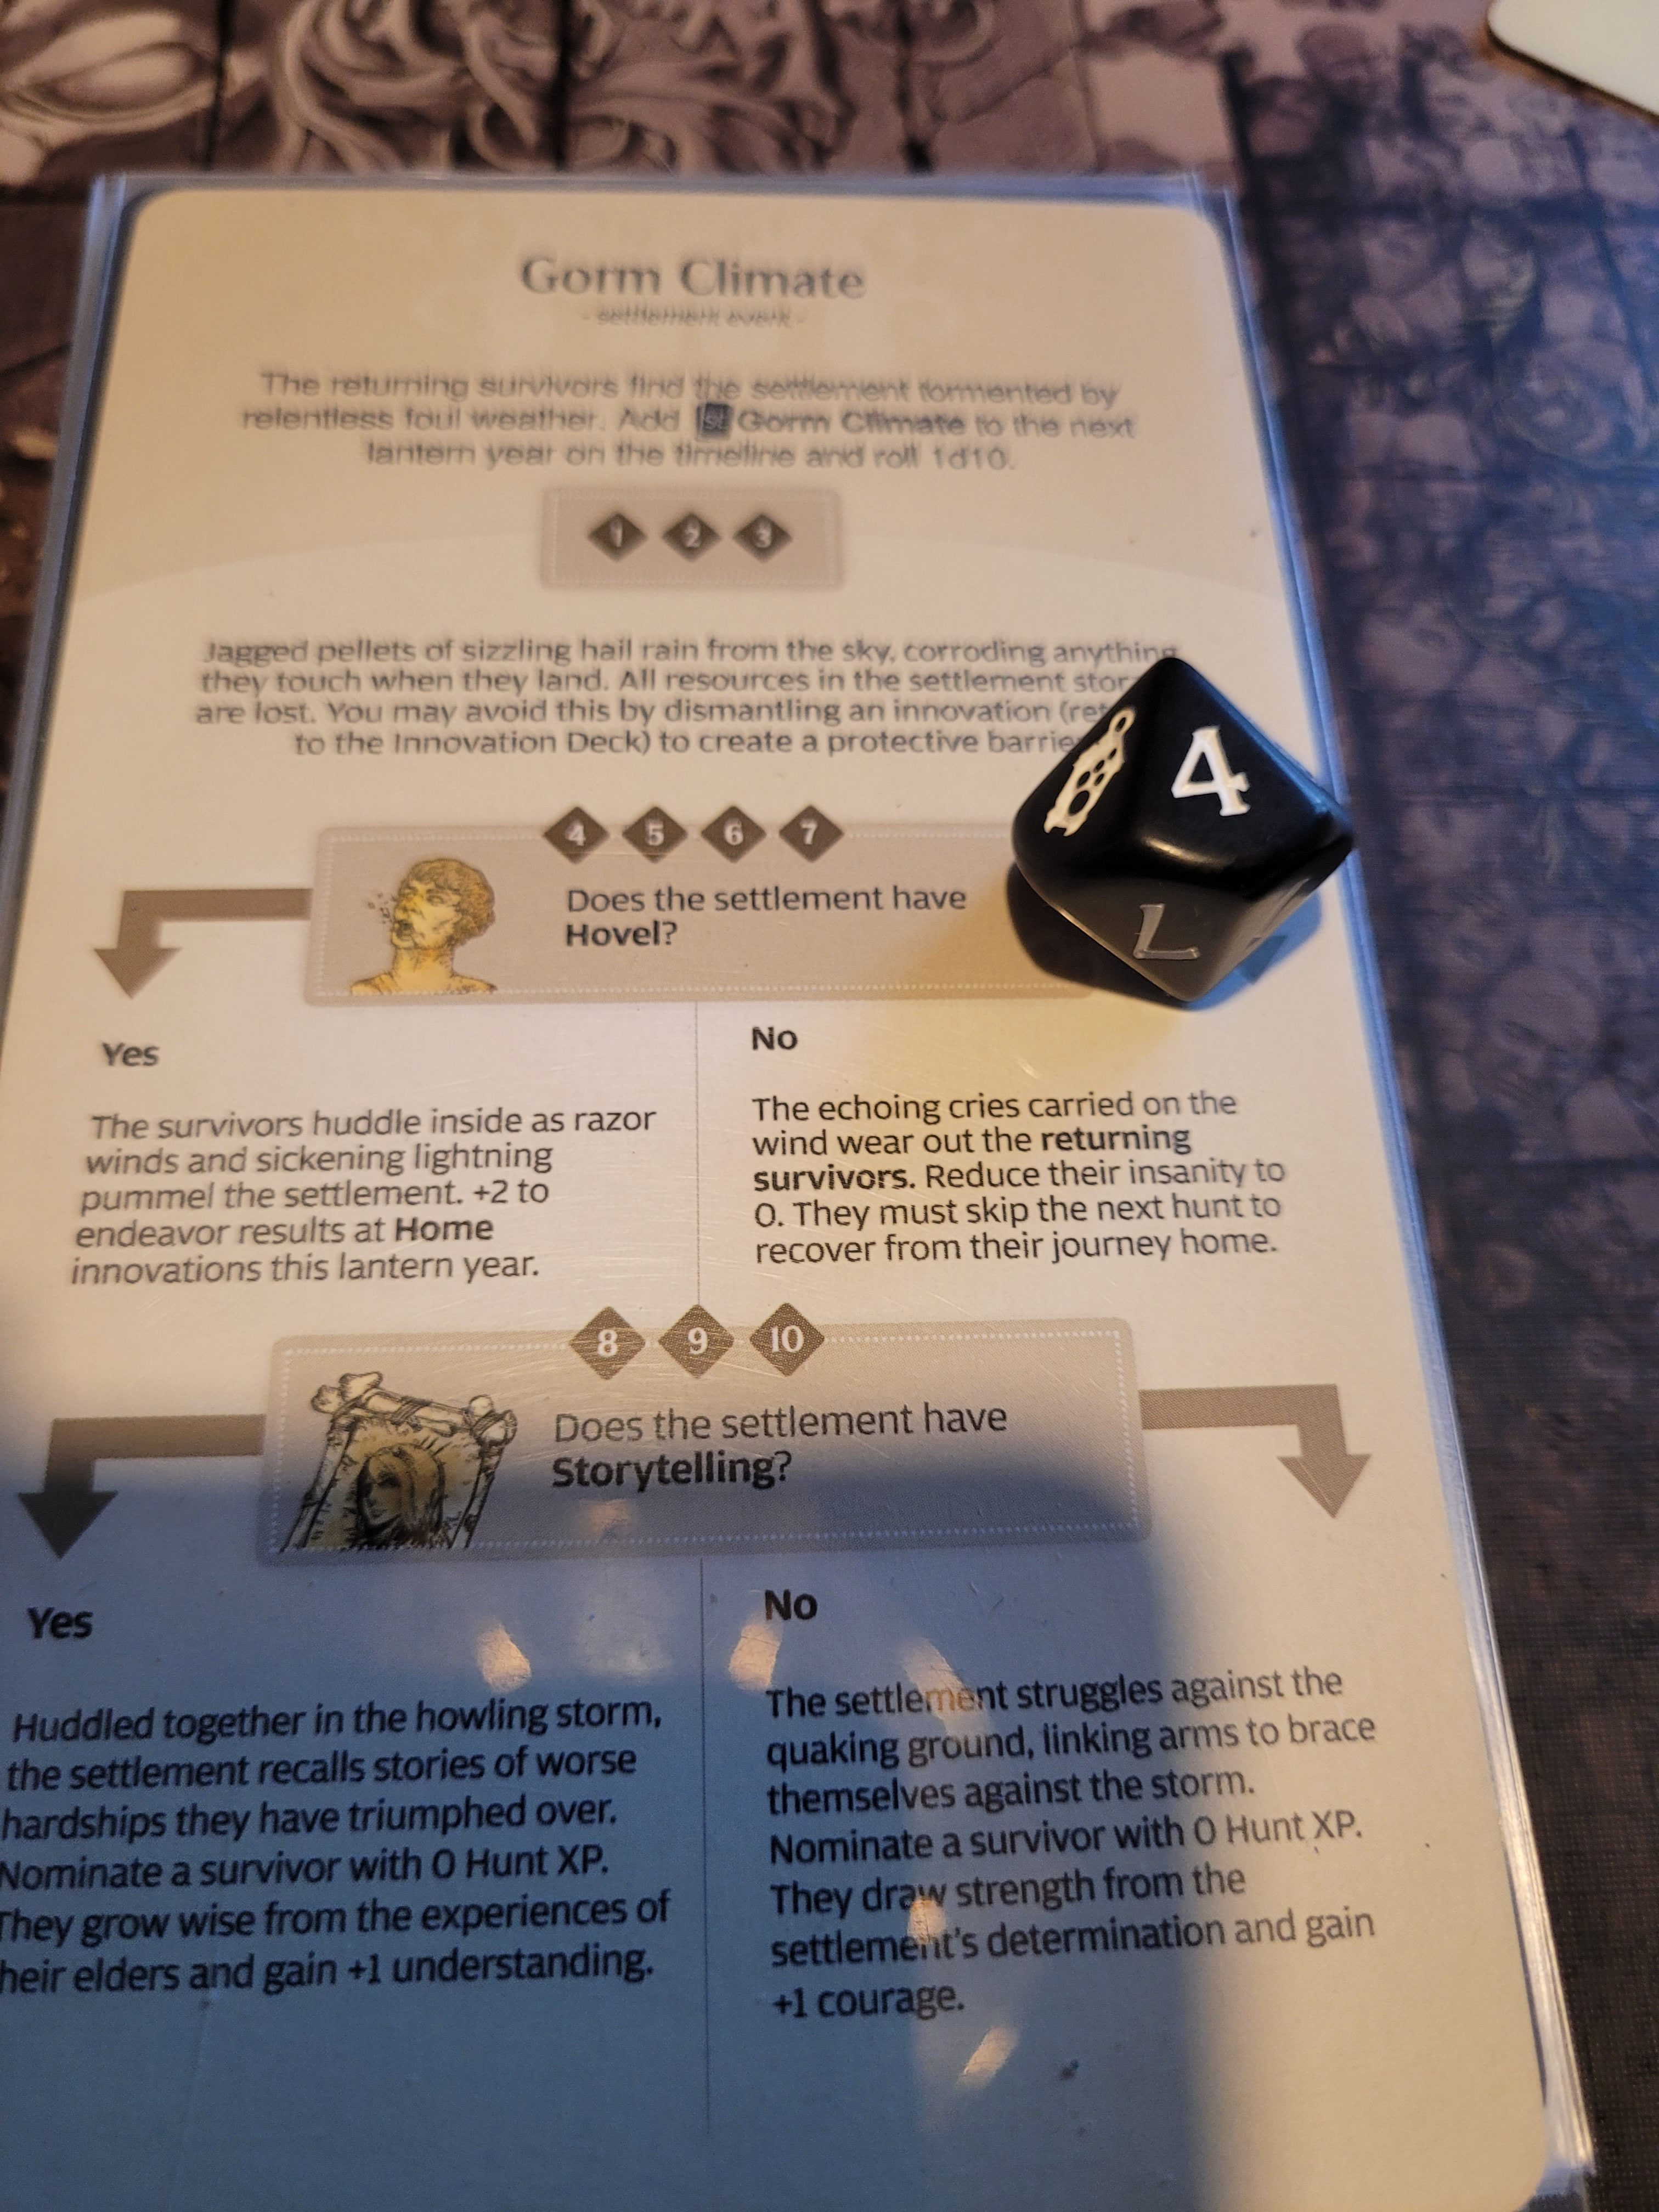
Finally, the roll for Gorm Climate:
I chuckled at the idea of archiving the Stoic Statue (I) on a bad roll imagining how the Lion Knight just got up and left the first time it started raining, but when I actually threw the dice across the table it came up as a 4 and my returning survivors all got drenched and were unable to depart yet again.
After I had marked Gormwry’s passing we had finally reached the develop step. And as I’ve already mentioned a gazillion times, we desperately needed to innovate our remaining survival actions dash & surge! Not to mention Song of the Brave (I) if we ever wanted to get rid of this weather.
Albedo, Drums, Storytelling or Scrap Smelting were the choices I had.
..
Hrm.
..
From those, it had to be Drums (I), I felt.
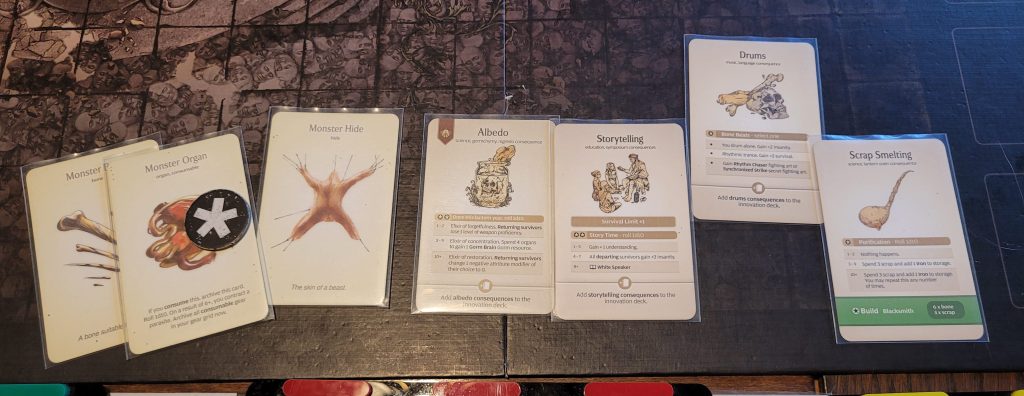
Whilst we could still go for the Lvl2 fight against the Spidicules fairly easily all in all, I really would have preferred to have surge in that fight as its Lvl2+ was going to trigger Spawn at the start of every monster turn – potentially swarming us with Spiderlings. And whilst there definitely could be an angle in which we just burst down the big spooder (reactions willing), the fact that you want to collect the Web Silk from the Egg Sacs alone means that you will want to draw the fight out at list a little.
Furthermore, the Gormpital had been left in a slightly tricky spot regarding resources thanks to the spooder. Nothing we could build would actually make something new for us this Lantern Year. And once I build the Silk Mill, we should go for another Spidicules as well to actually make use of this investment.
At this point, I gave it a little more thought, but ultimately with a slight sigh I did opt to build the Silk Mill anyhow and lock in that back-to-back Spidicules hunt.
As for the other resources we still had left(1xExoskeleton, 1xLarge Appendage, 1xMonster Hide, 1xBroken Lantern), I held off and just stored them. Hopefully 4 more spooder resources gained this hunt would do the trick for us to build something nice! Like some Chitin or some Small Appendages.
And whilst I was already done with this settlement phase resource-wise the Gormpital still had 4 endeavors left to spend! So, back to doing augury we went – this time it was Shaogorm who would have the honors of reading the bones and mushed up bits.
Endeavor #1 – a 5 – +1 survival for her.
Endeavor #2 – a 4 – another +1 survival
Endeavor #3 – a 1 .. we spent a Broken Lantern from storage to give Shaogorm +1 understanding.
Endeavor #4 – an 8 .. babies! The typical parents were selected and I rolled a 7 and an 8. That’s another baby! Another girl called Giza was added to the Gormpital. That I didn’t think of her earlier is downright scandalous.
The Hunters:
Gormward – blue (Bone Blades)
Kigorm – green (Rib Blade)
Shaogorm – red (Rawhide Armor, Greater Gaxe)
Magorm – yellow (Rawhide Armor, Riot Mace)
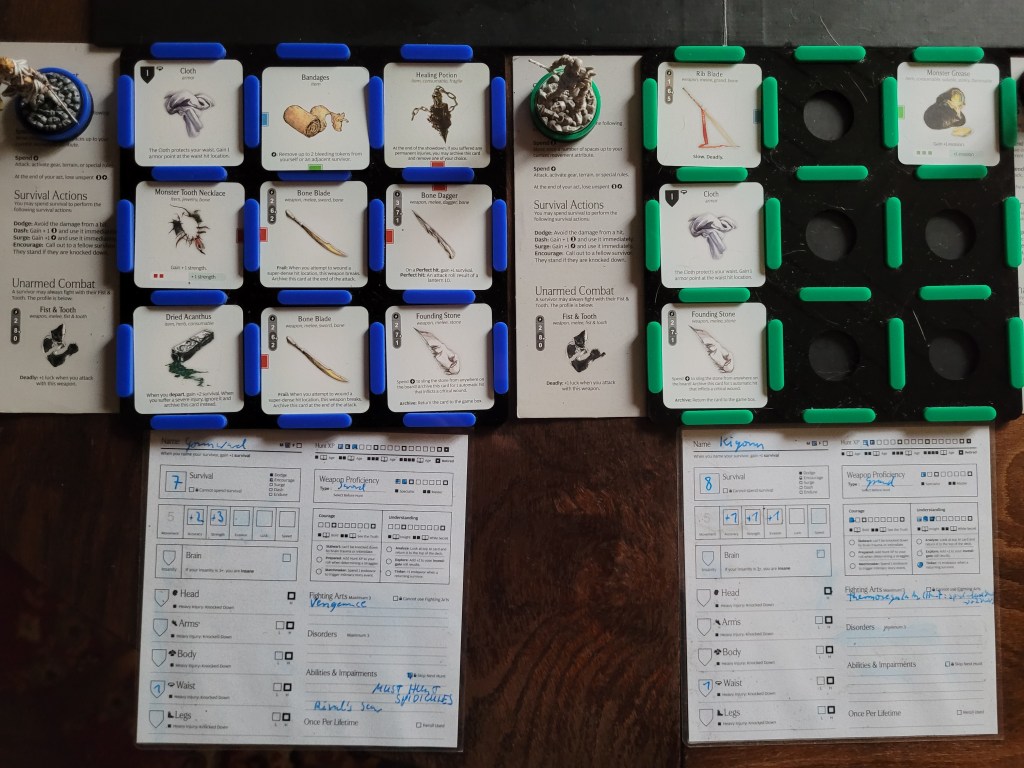
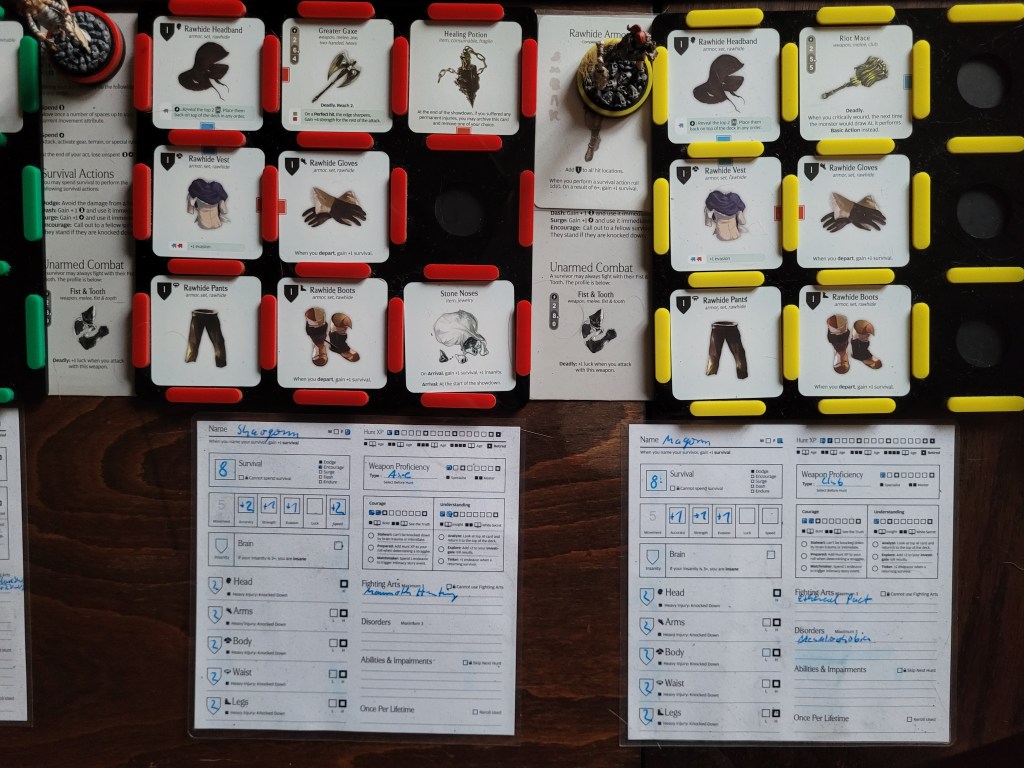
Heading out to hunt a Spidicules forced Gormward to come along as well .. but who am I kidding, it was probably better for his mental state if he kept busy by joining us.
Setting up these grids I also couldn’t quite get rid of the feeling that I should have made more Stone Noses for the team.
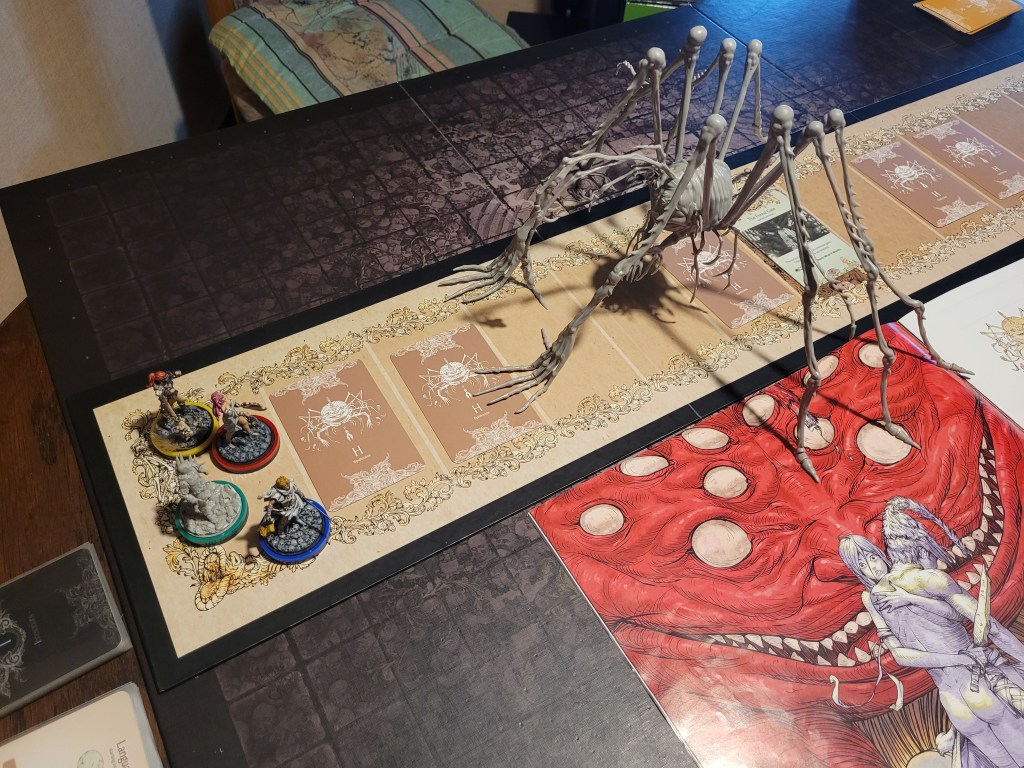
The Huntphase:
Lost to his thoughts, the grieving Gormward led the group straight into a silken tunnel and with that a Cave-In. Luckily nobody was wearing any heavy gear – the Greater Gaxe was our only piece of heavy equipment in fact – so nobody suffered an injury from the sudden collapse of the tunnel.
Curious about this newly found hollow, Magorm pressed into the Crystal Lake part of the Mineral Gathering event: a 4 – the only bad roll she could have gotten – she gained Rageholic (D) and 3 insanity.
Shortly afterwards, as the group had just settled down for a break, they were suddenly Surrounded by tens of Spiderlings! Little did the small monsters know just how ready the survivors still were for them though! With a total roll of 25 the attacking horde was easily repelled back into the darkness!
For the last leg of the journey Kigorm took the lead and he found another ruined settlement around another Broken Lantern Oven (basic HE35)! Thanks to his 3 understanding he easily harvested a Broken Lantern from the shattered remains and we moved on to challenge the monster without ever questioning what had happened in this place.
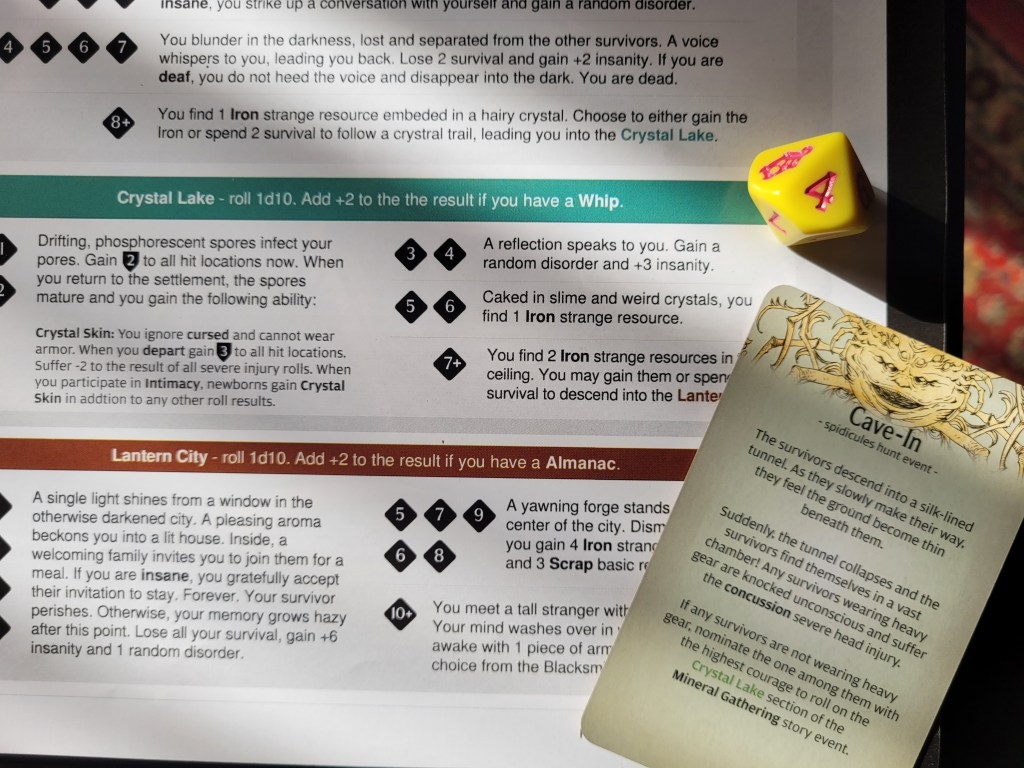
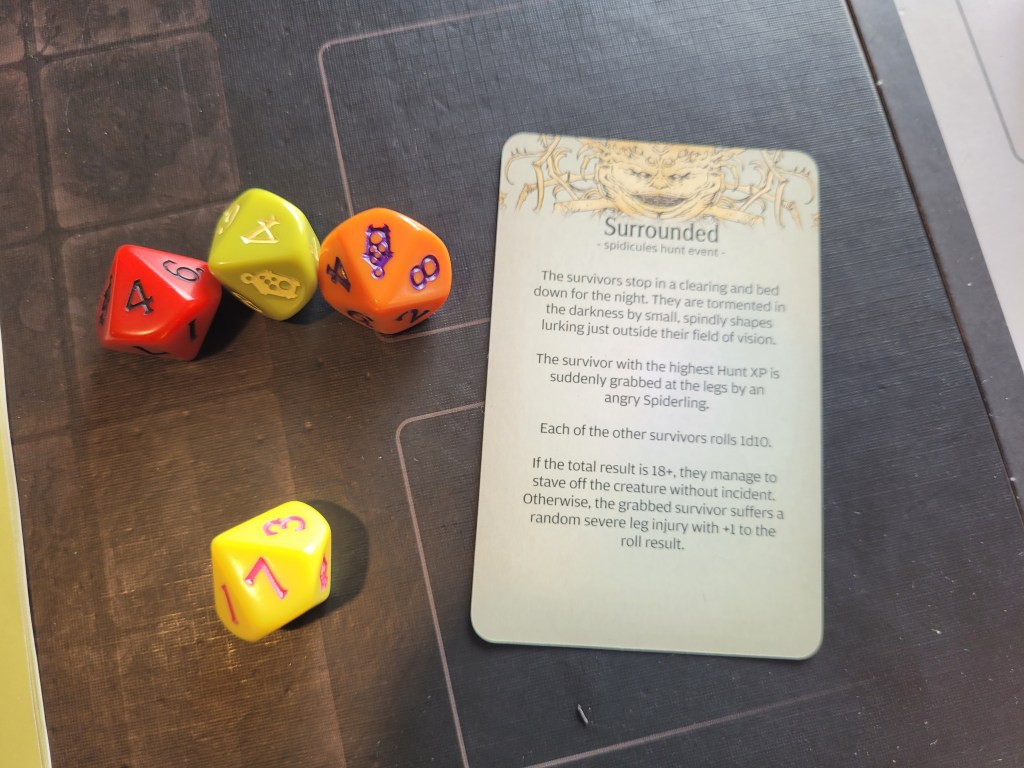
For random terrain the survivors found some Tall Grass to hide in and a Giant Stone Face right next to the monster’s den.
This should be easy.
9 (10) cards in the deck, the Spidicules had spotted us early on and came rushing at the survivors, ready to attack them with its spear-like legs – the first card was Puncture!
My plan of having the monster target Kigorm did not play out quite as intended, as the spooder randomly chose Shaogorm to go after instead.
Both its attacks connected on 4+, and both targeted the legs. Shagorm had 8 survival and a full Rawhide Armor Set so she dodged one hit – because why not?
And then Kigorm, Shaogorm and Magorm each took 1 more bleed as the monster kept stomping its long, little feet.
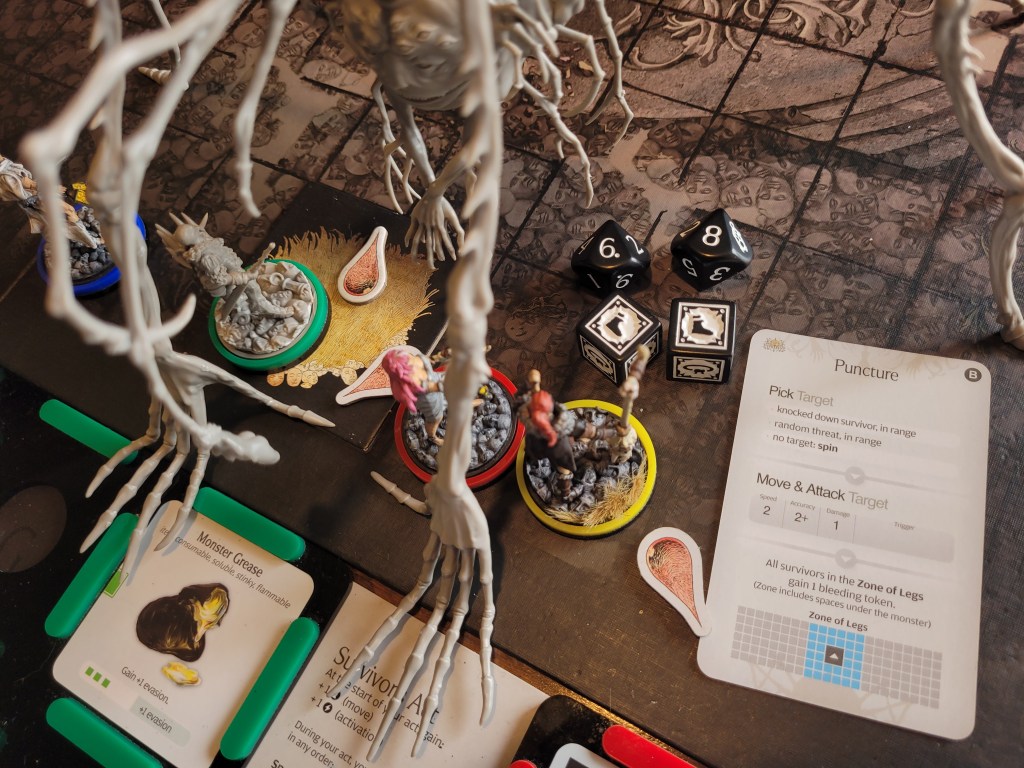
Trying to start off strong ourselves as well, Shaogorm stood her ground and started swinging the mighty Greater Gaxe around with 4 SPD! 4 hits found their mark and she did not draw the trap either – success! I tried to end the attack on a spawn instead of a knockdown but a timely 1 threw those plans out of the window. Still – 3 wounds were dealt in one flurry of blows before she was flung straight passed Magorm!
Kigorm moved around the monster to get closer to the Egg Sac, but missed his attack – as was his speciality. Meanwhile Gormward just moved towards the far Egg Sac.
Finally, after being encouraged, Magorm attacked the monster once as well – hitting twice, she crushed one of the Cunning Forelegs and criticaled the Segmented Tarsus! This not only lowered the monster’s TGH by 1 but also forced it into a basic action instead of drawing a new AI card due to the Riot Mace‘s effect!
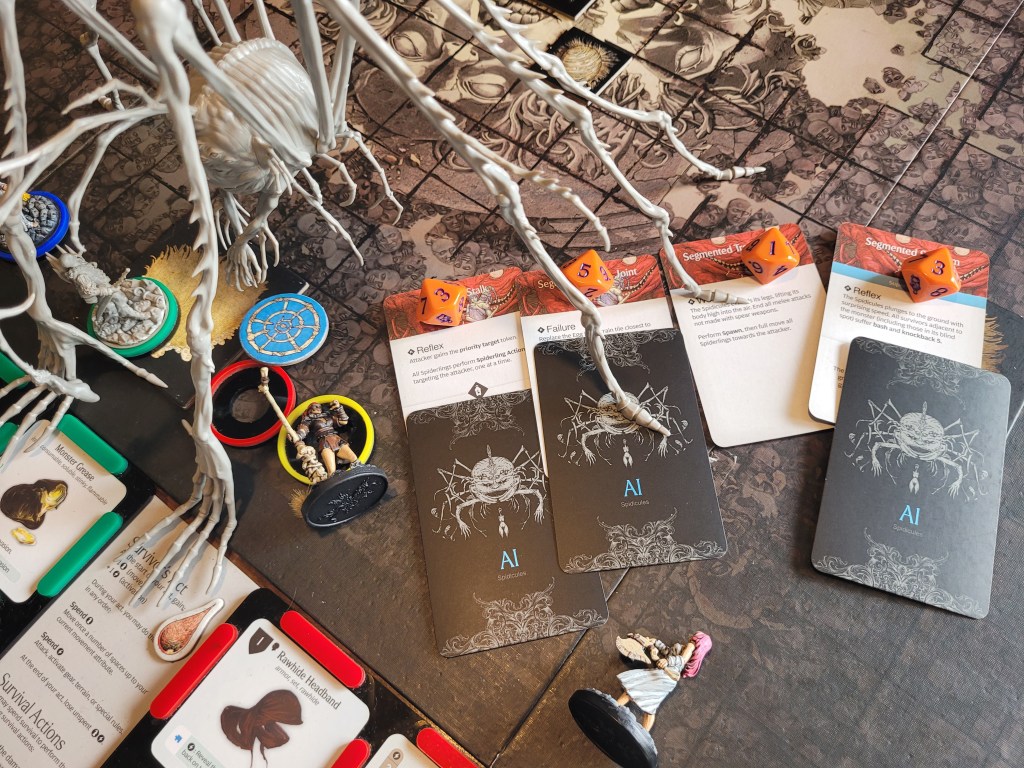
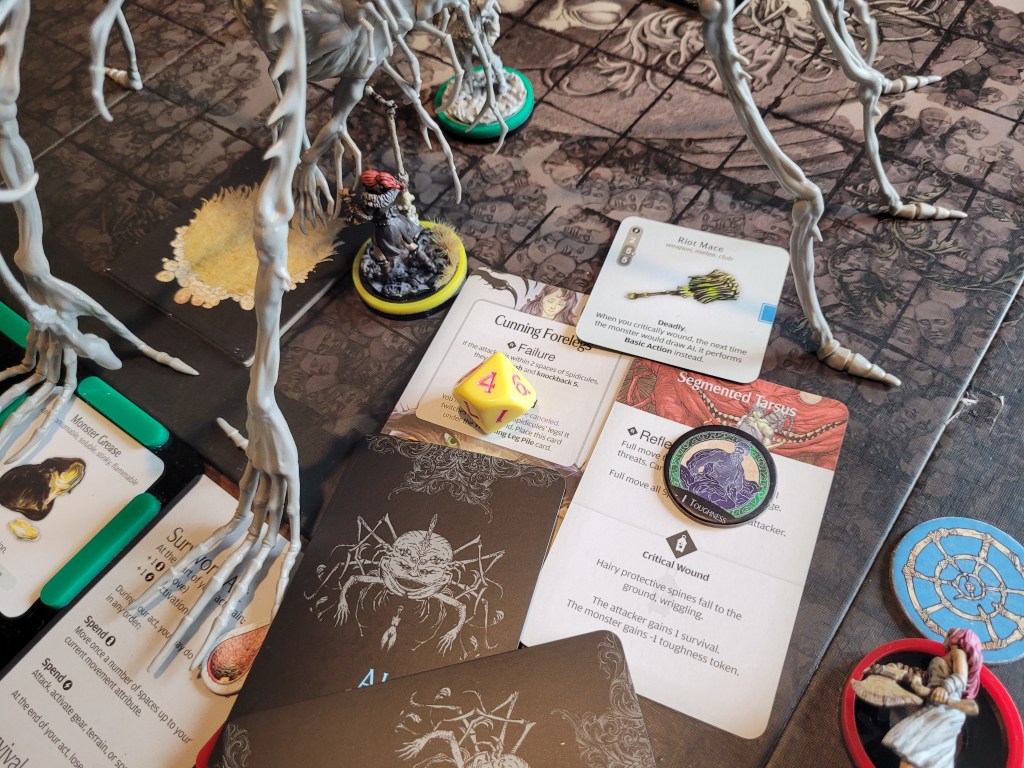
4 (5) cards remaining, the monster was stunned from getting clobbered! It’s basic action did target Shaogorm again because of the priority target token one of the relexes had left her with.
Only 1 hit to her body left her in position where she might as well dodge that hit as well. As she did not regain the survival this time she was down to a mighty 7.
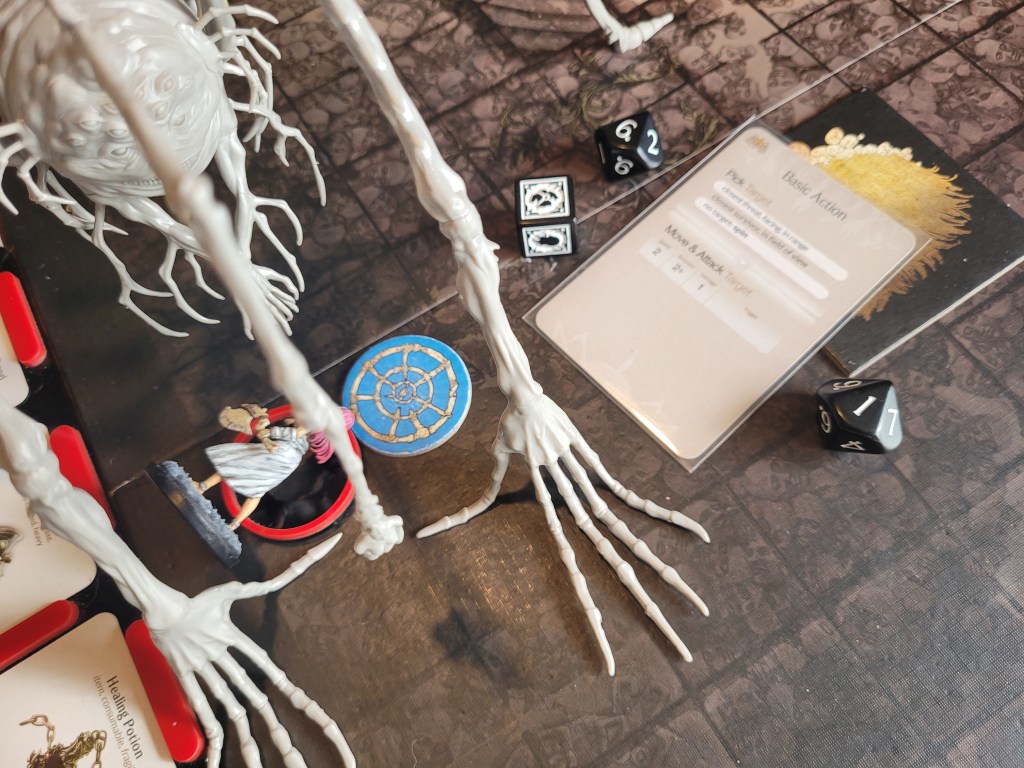
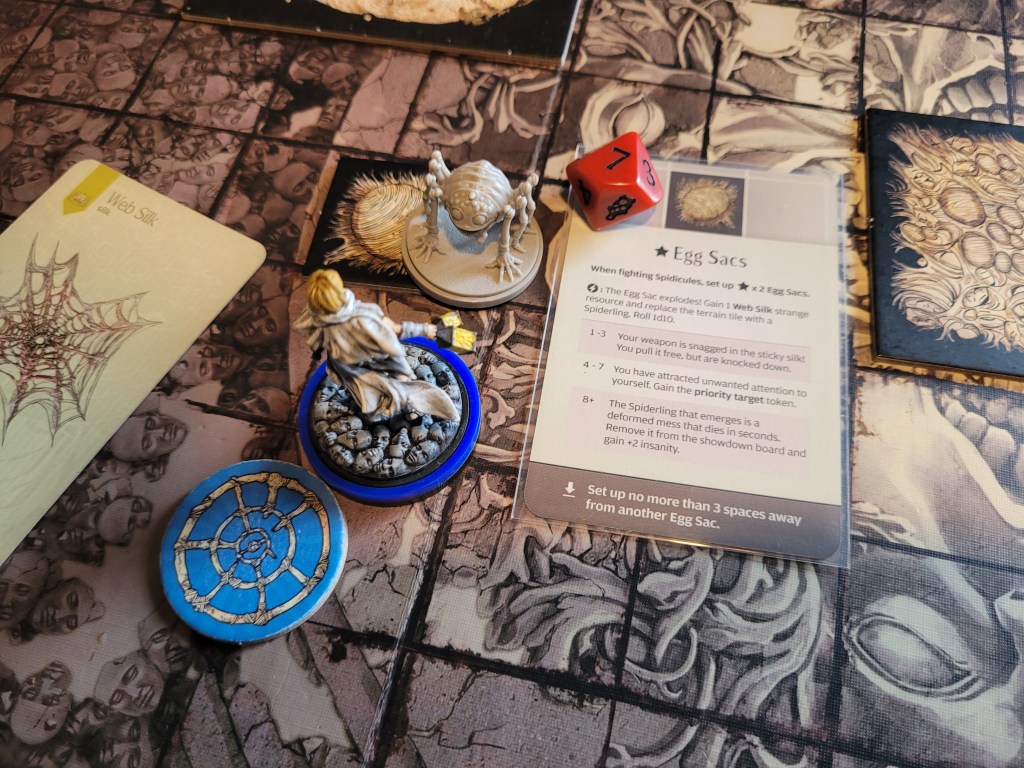
As Shaogorm got back to her feet, I wanted to use this turn to collect the Web Silk on the board first and foremost. Thus Gormward moved to an Egg Sac and popped it open with a 7. This gave him the priority target token and a Web Silk as well as a friend – he spawned a singular Spiderling into the fight.
Magorm then did the same by rolling a 5, taking the priority target token for herself.
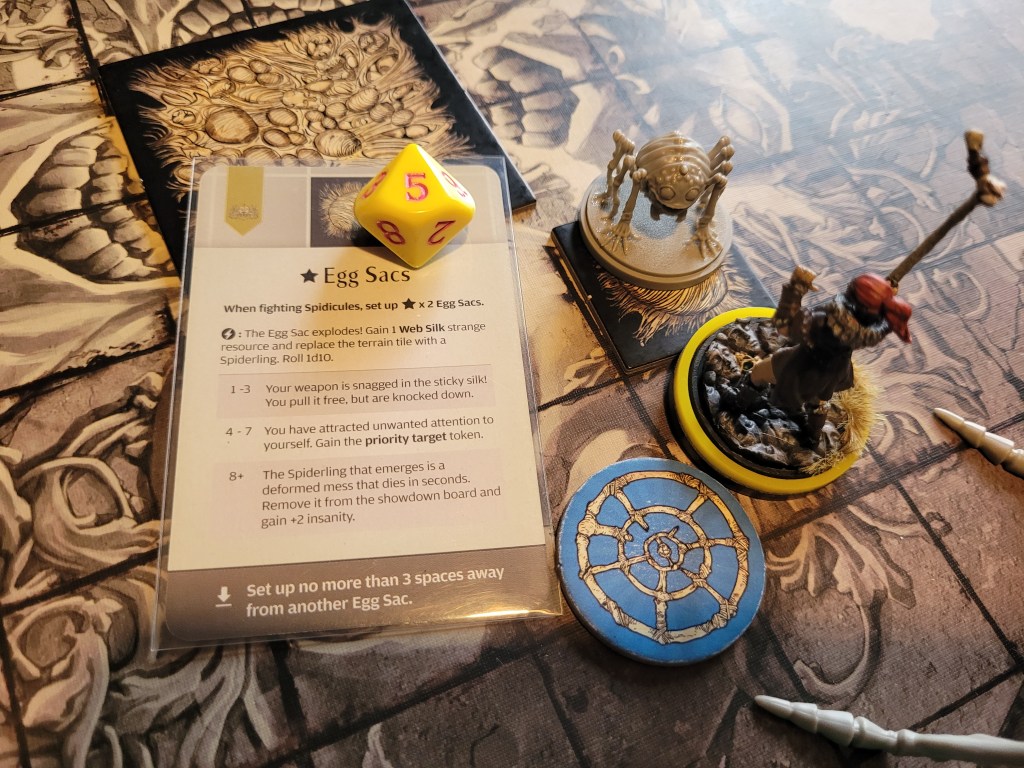
With the important resources secured I continued on to the scary attack for the round:
The Greater Gaxe cut through the air once again – with her 4SPD weapon and the monster having a fairly small Hit Location deck all in all Shaogorm had decent odds of hitting the trap already. Which would mean 3 attacks made by Spiderlings against her. But with both a 3 and a 1 amongst her rolls she only hit the monster twice! Thanks to the -1TGH-token, she wounded on 2s and crit on 9s and managed to secure one of each of those! This way she first avoided a retaliatory basic action and then applied a -1ACC-token to the spooder as well!
Finally, Kigorm moved up to the Spidicules as well and this time he actually hit his 5+ swing with the Rib Blade! Of course following the hit up with a wound was exceptionally easy with the 5STR weapon against 7TGH.
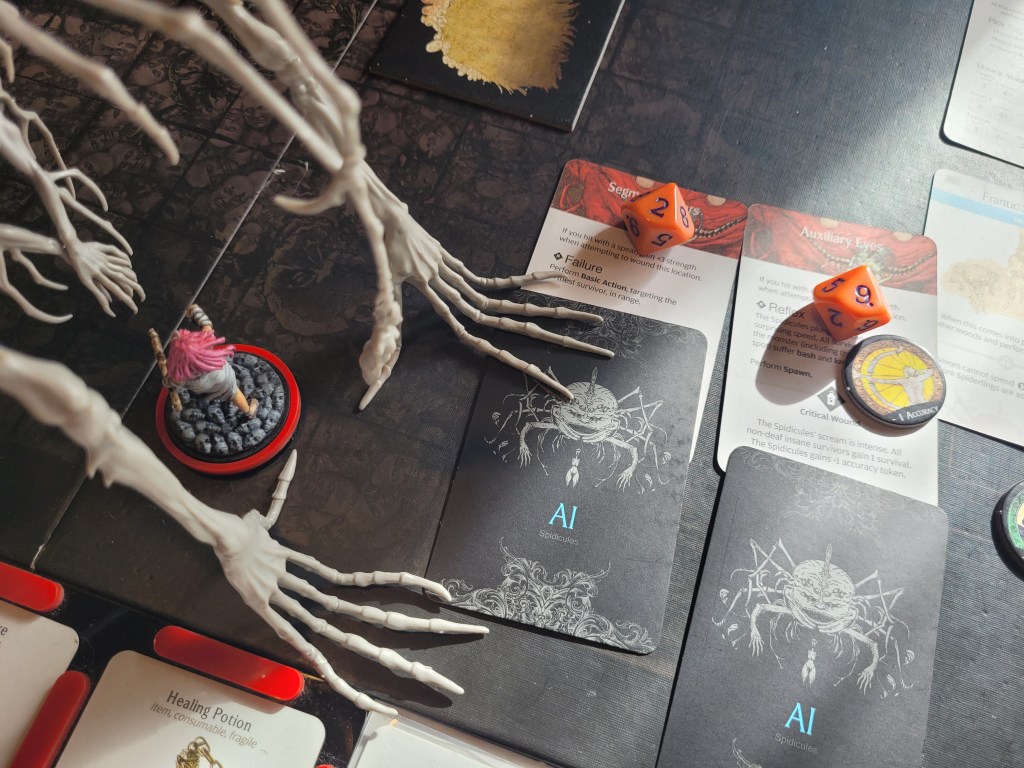
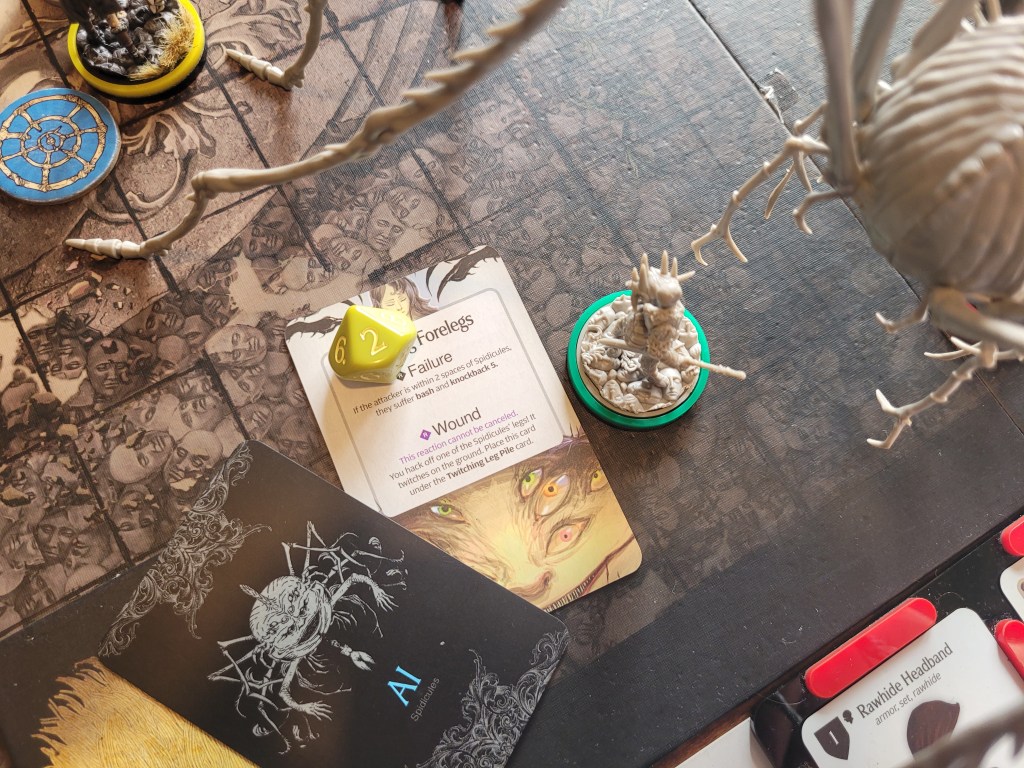
This poor, poor spooder.
1 (2) card remaining. The monster was already down to repeating a single AI card – Puncture! The priority target token had stuck with Magorm but the Spidicules missed all its attacks (5+) against her!
It did still stomp around wildely and spread bleed across several people though – as Kigorm was still in the zone of legs!
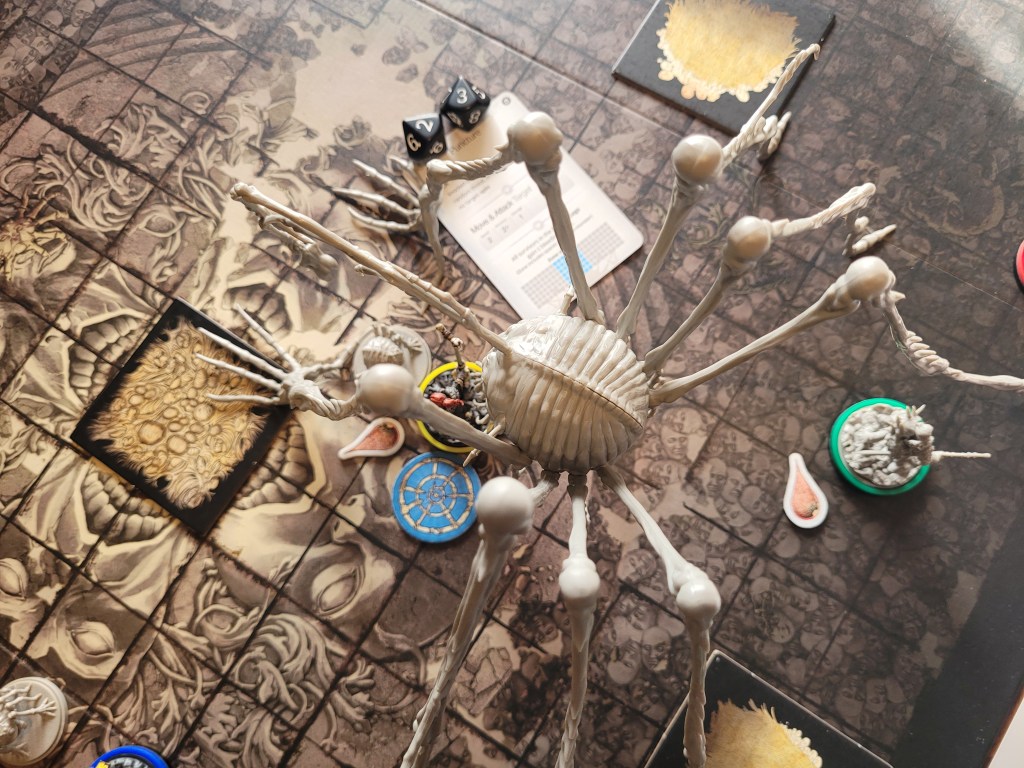
The Spiderlings were up next, hitting Gormward in the head – he dodged it – and Magorm in the chest.
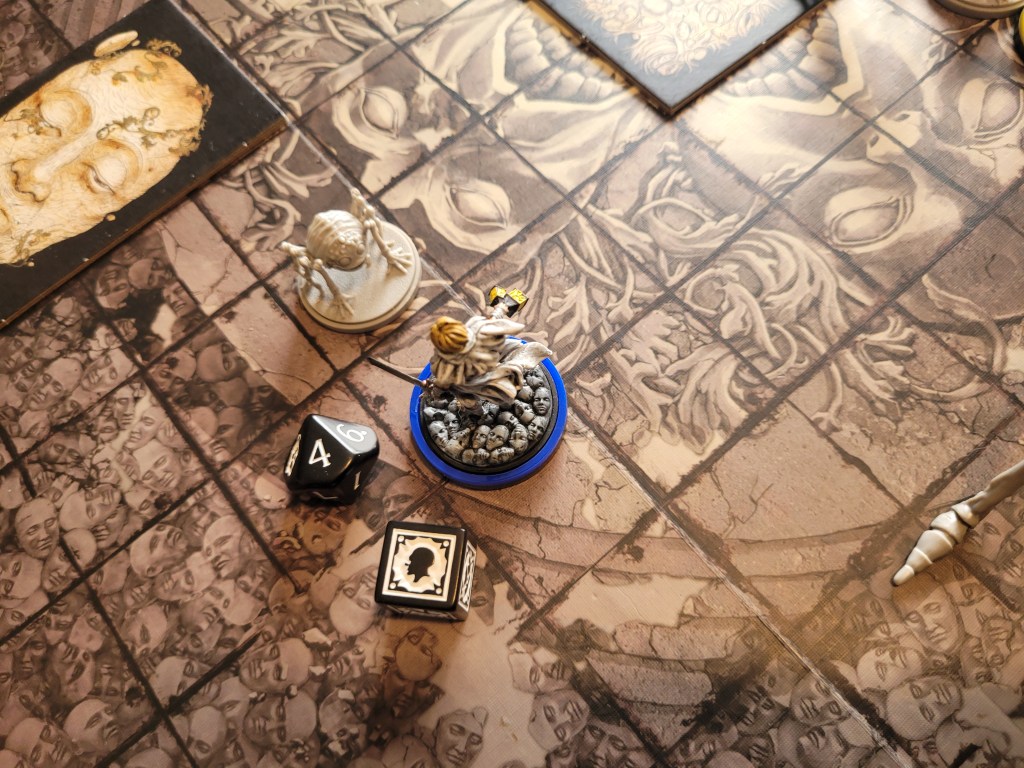
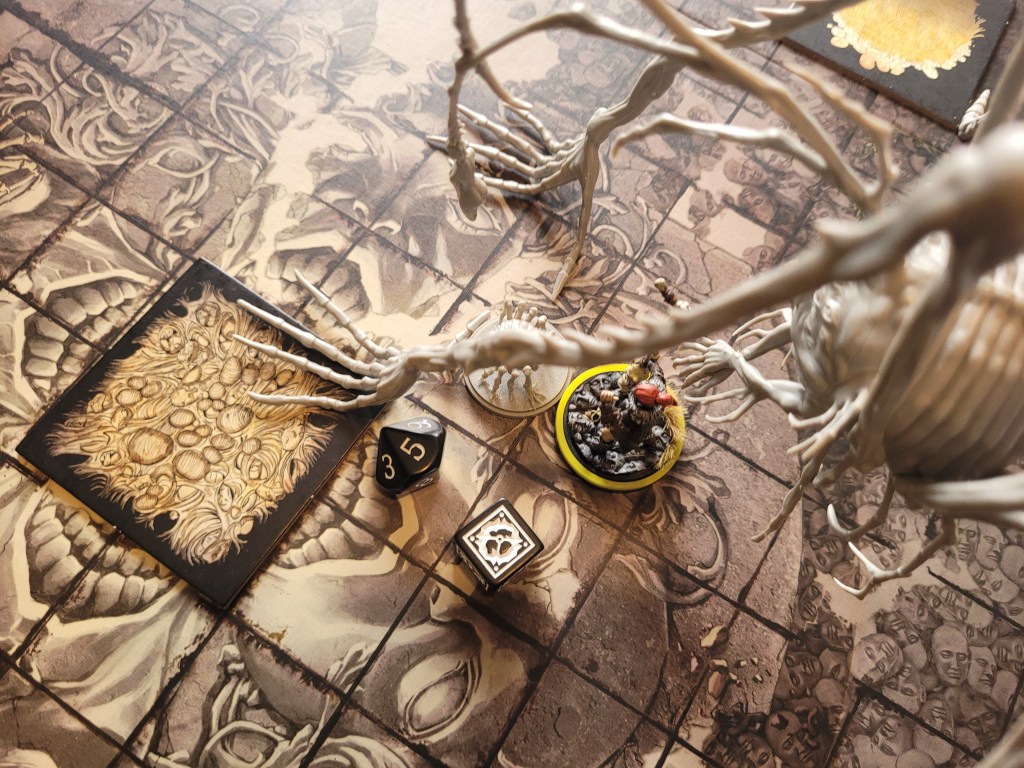
Ideally for the survivors, Gormward would get a chance to gain sword proficiency still, unfortunately the Frantic Spinning mood prevented him from moving away from the Spiderling. Considering how beaten up the Spidicules already was, I figured I could take it slow from this point on, I just needed to get rid of the Puncture AI to be safe – the amount of bleed that card could dish out was getting a little dangerous for my tastes.
With a game plan decided on, Gormward attacked his Spiderling, absolutely smashing the little guy.
Kigorm then attempted to remove Puncture from underneath the monster but, to nobody’s surprise, he missed.
Magorm also killed her Spiderling before Shaogorm simply moved into the Tall Grass and away from potential harm.
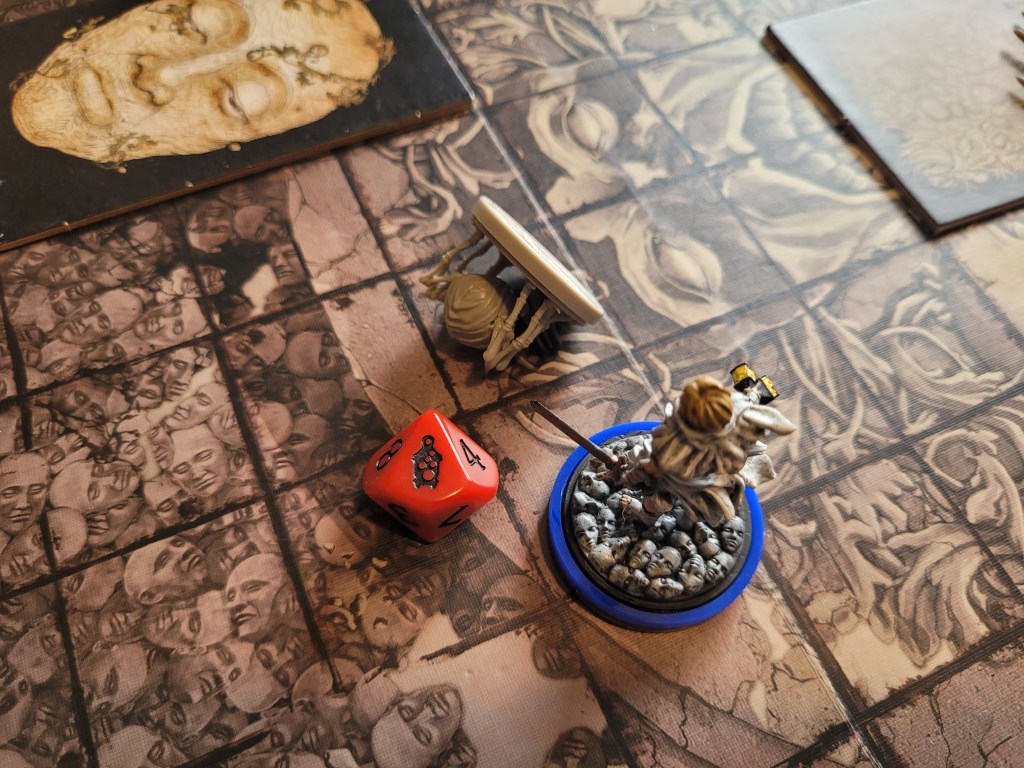
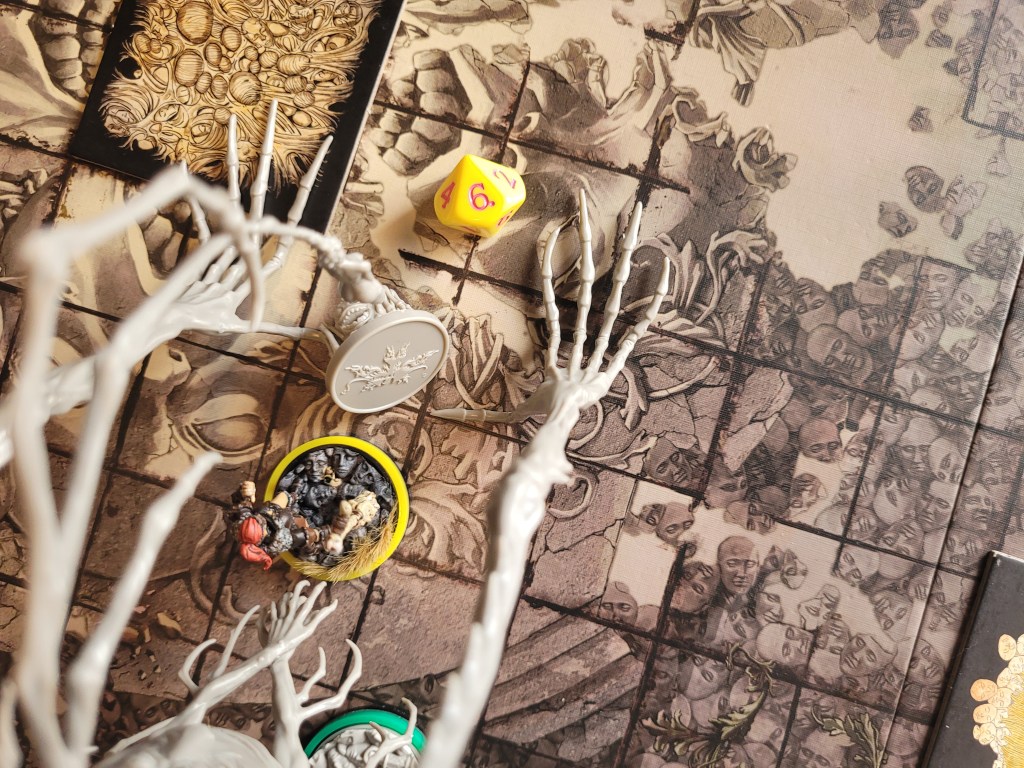
1 (2) card left – Puncture was played again. This time the target was going to be random: and it was Gormward – the spooder knew what I wanted to do! The hits were mostly negligible (luckily!) but the bleeding was starting to get out of hand – especially as Kigorm somehow found himself back in the zone of legs again!
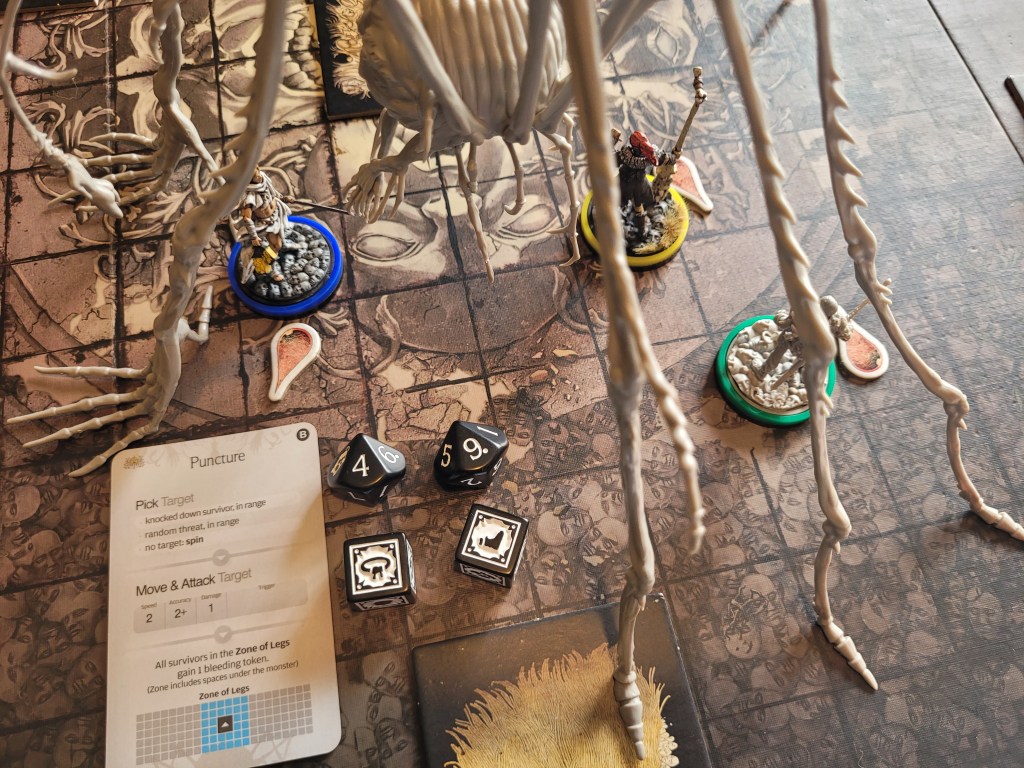
As we started our turn, Gormward simply took a single step forward and swung his Bone Blade at the monster from under it. He hit it twice on 3+ and did not draw the trap! He hit a Tricky Foreleg(s) and the Segmented Arms. Thanks to an active Monster Tooth Necklace and 3STR base he wounded on 2+ even with such a basic weapon!
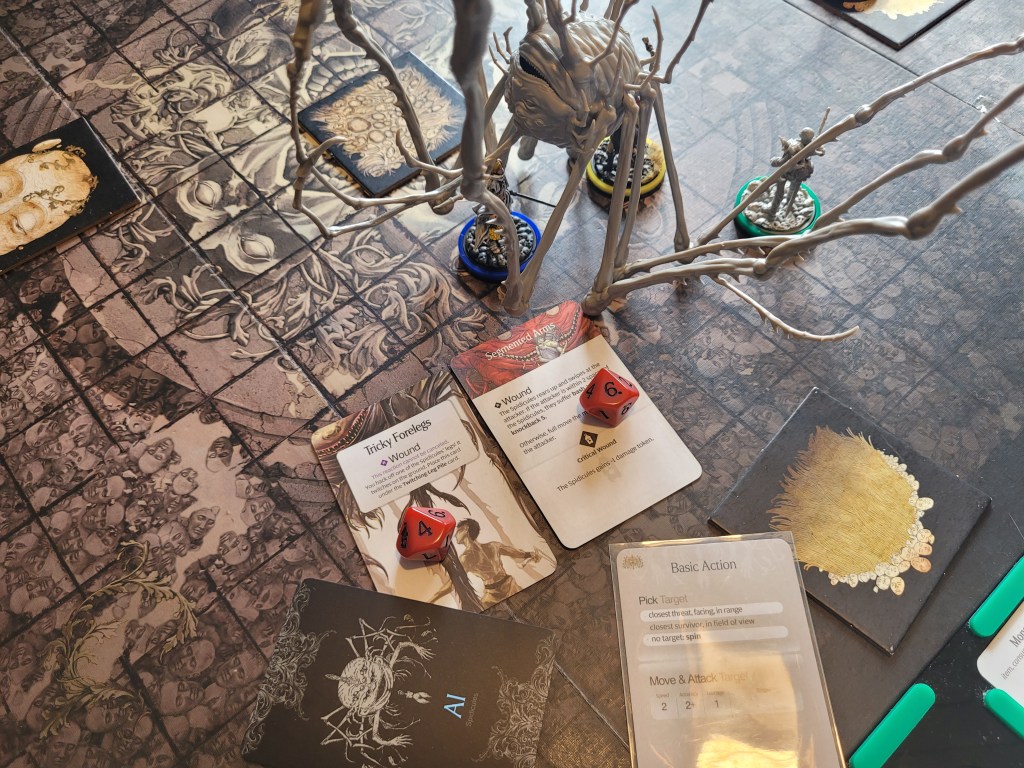
Not only did Gormward secure the point of weapon proficiency to become a sword specialist, he also killed the monster with a fatal 1-2-strike!
We quickly gained our hunt xp and the proficiency points, but it really only changed something for Gormward.
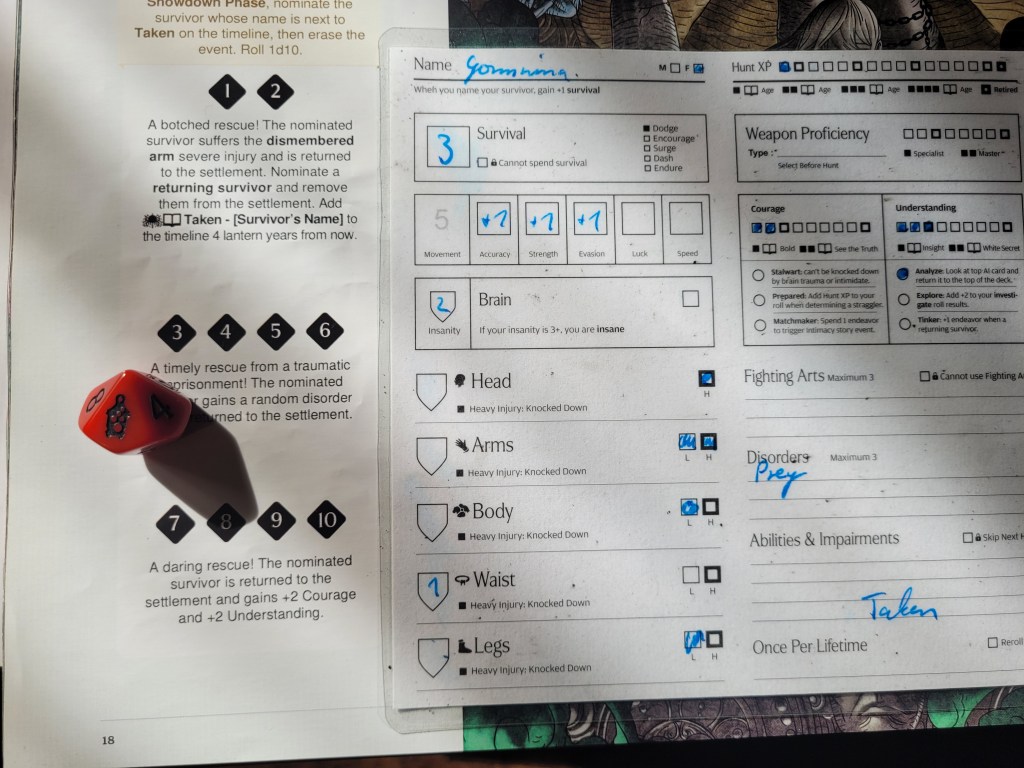
Up next we got to save Gormnina, who had been taken last Lantern Year. A Lantern 10 felt like an exceptional roll for a moment but then I realized that it pushed Gormnina into getting Analyze.
She did have her moment of Insight and gained +3 insanity/survival as well, before she also came up with the concept of the Hollowlink Pumpkin.
Unfortunately, without the concept of cannibalism from the death principle, the idea was strange and alien to us at best. Her time with the monster had clearly changed poor Gormnina.
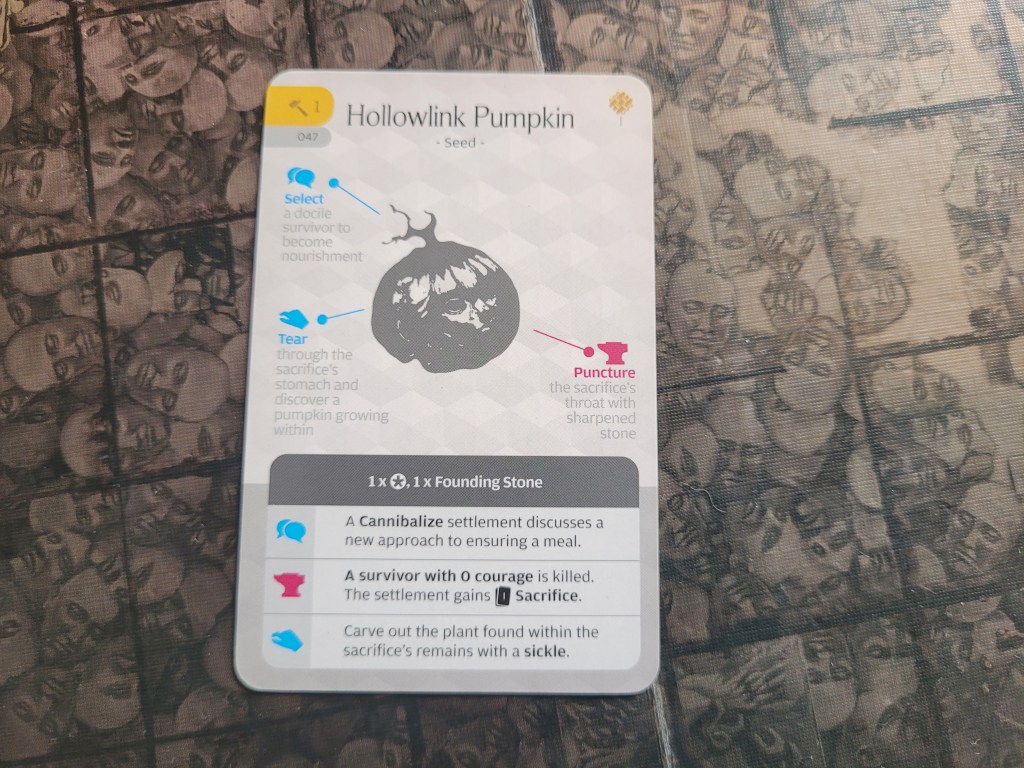
But at least the resource draws were great this time .. which did sour a little bit as I realized that Aeneas would likely eat some of them.
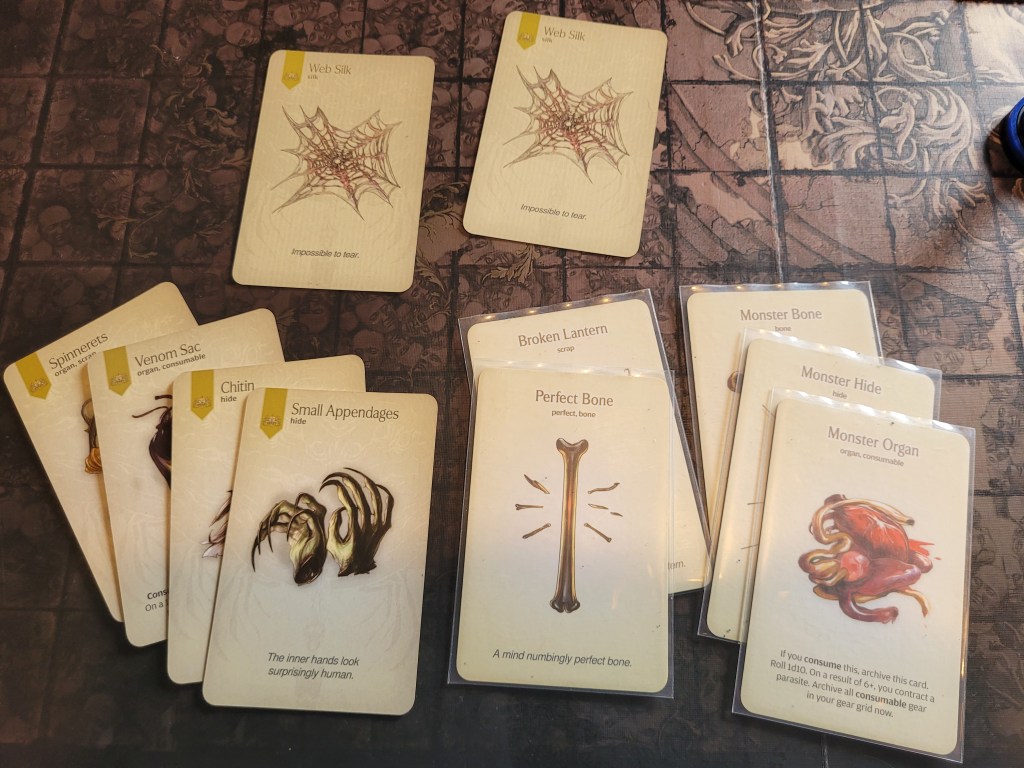
The fight against the Spidicules was just as easy I had expected it to be and we really should have moved into its LVL2 fight already .. if only we had gotten surge last Lantern Year!
***
But next Lantern Year we will be welcoming Aeneas to the settlement and that should be our definitive pointer to hunt Lvl2s. We will, quite simply, need the extra resources to keep her fed.
Although there is still the question whether we go for a Gorm Lvl2 fight or another Spidicules. And I am really unsure about which one to pick.
Both are decently easy .. but the Spidicules will keep on spawning Spiderlings all the time and without surge that fight is going to take ages as we do need to keep them in check. And for the Gorm we have to pass Overwhelming Darkness and have to deal with it throwing up each turn. That’s also not exactly great without dash.
Sure, there’s the Phoenix being added to our quarry list next Lantern Year as well, but besides typical birb-shenanigans we do need resource volume as well at this point.
It do be hard.
But that will be all from me for today – next time I’ll be back with Survivors of Death Vol. 3 before we continue the adventures of the Gormpital.
As always, thank you very much for your time, the time on the stalk may change you!
Amathul


Leave a Reply